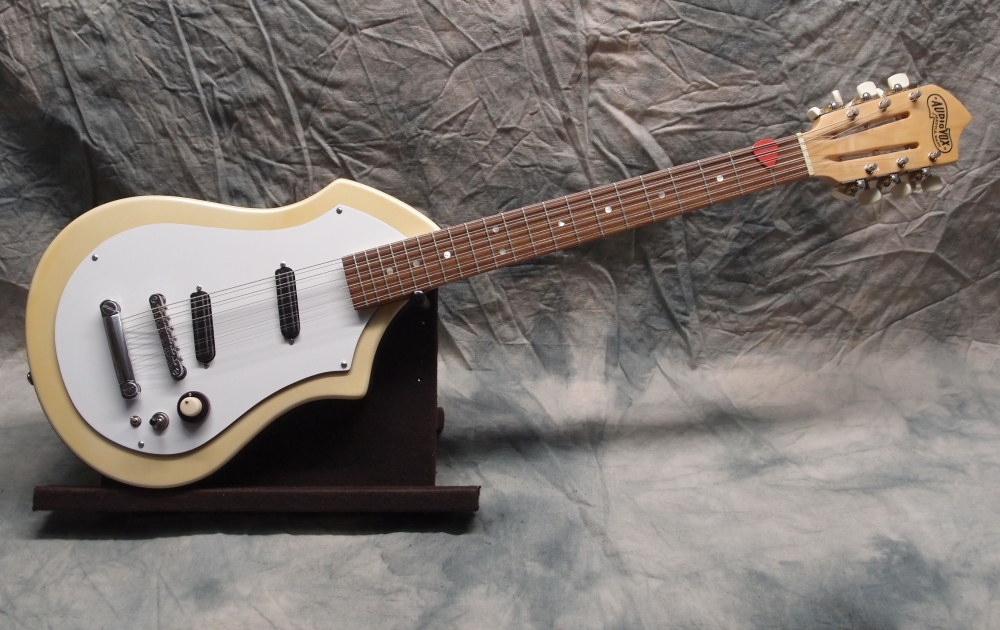
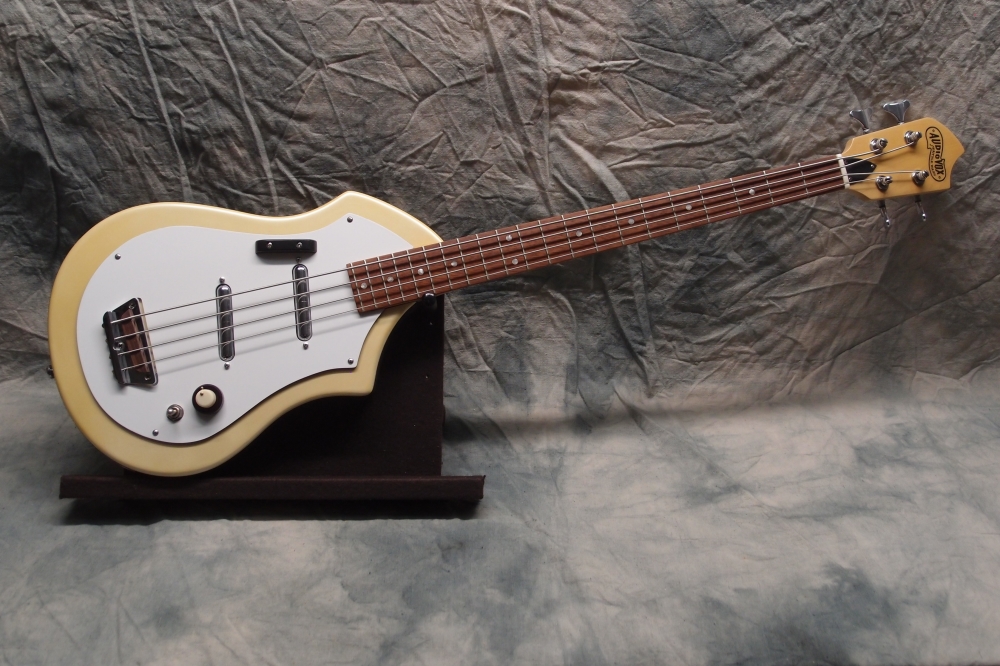
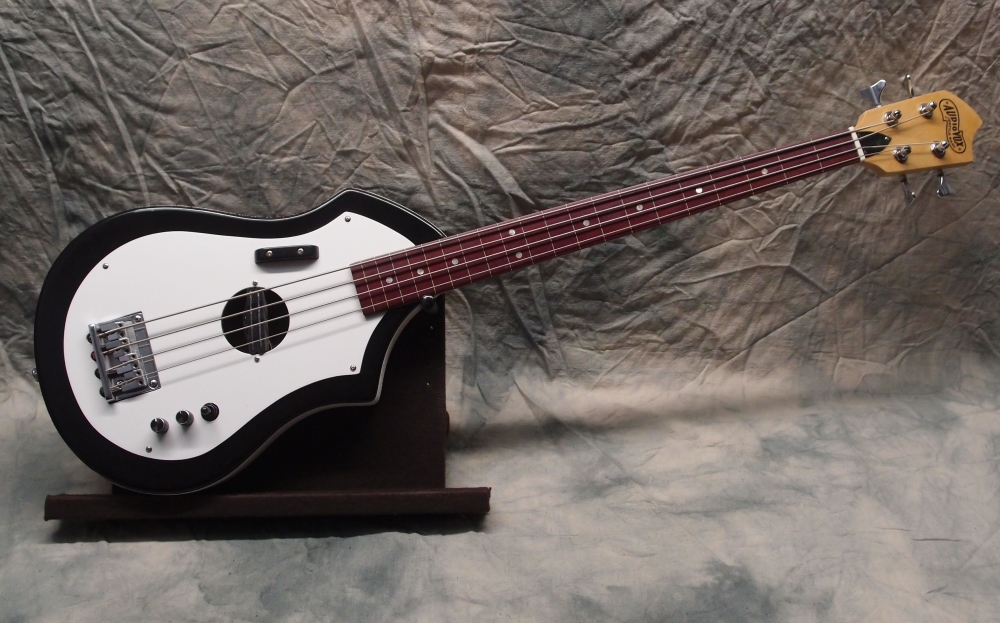
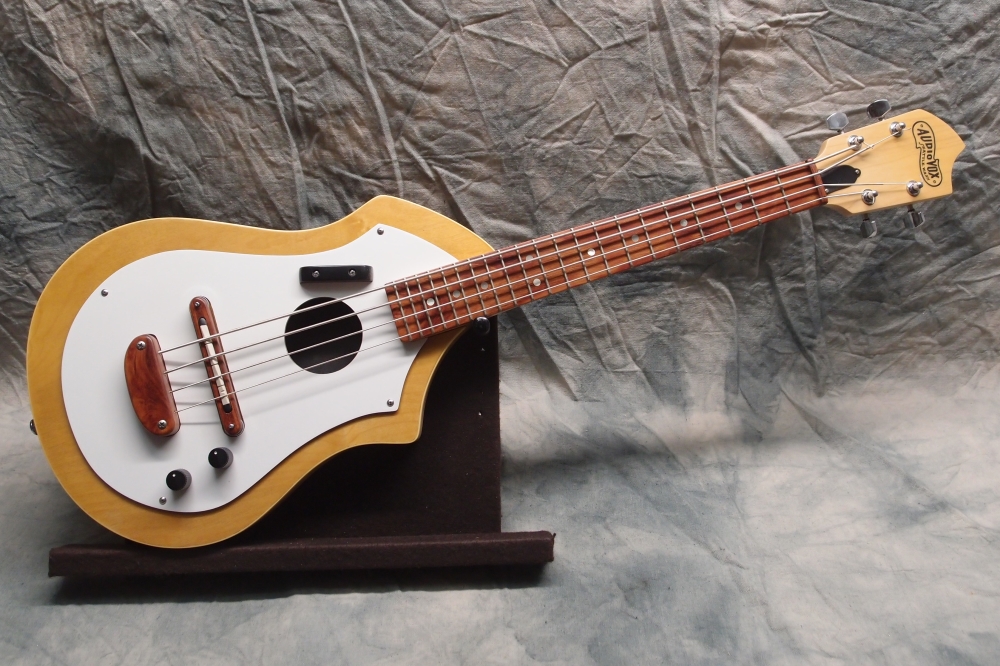
Audiovox Mandolin (2/5)
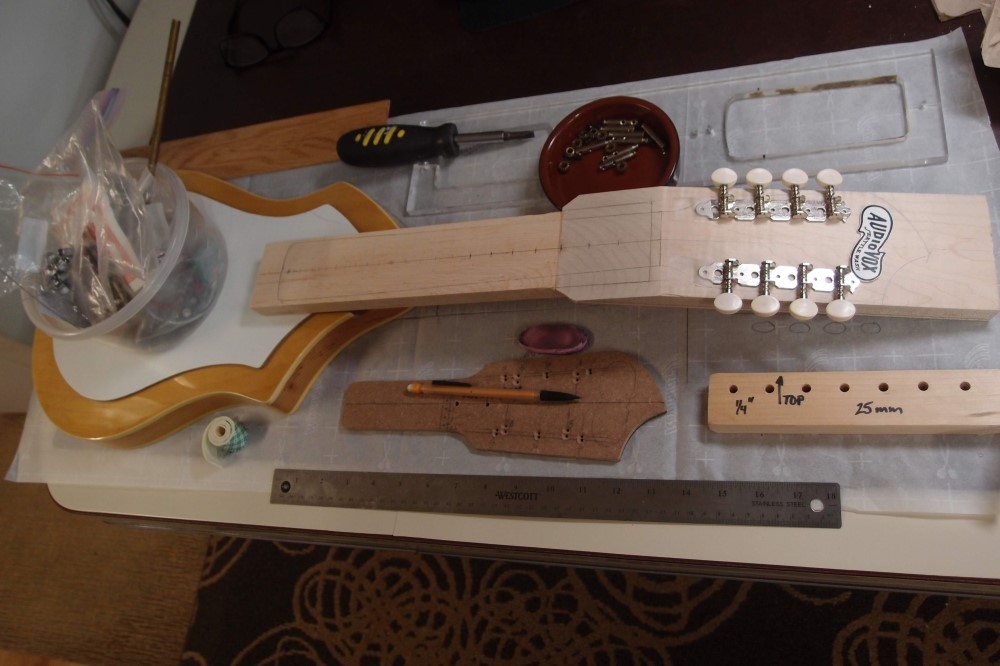
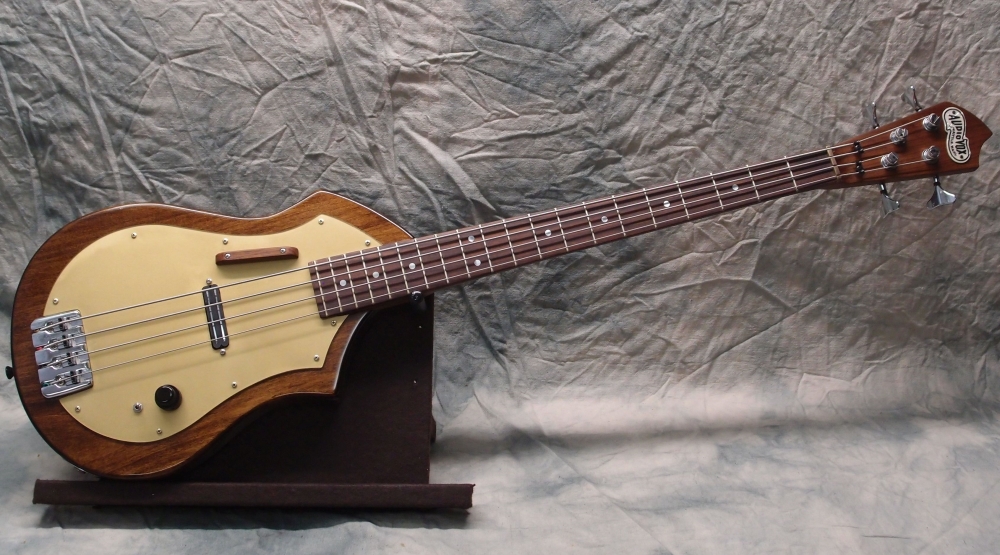
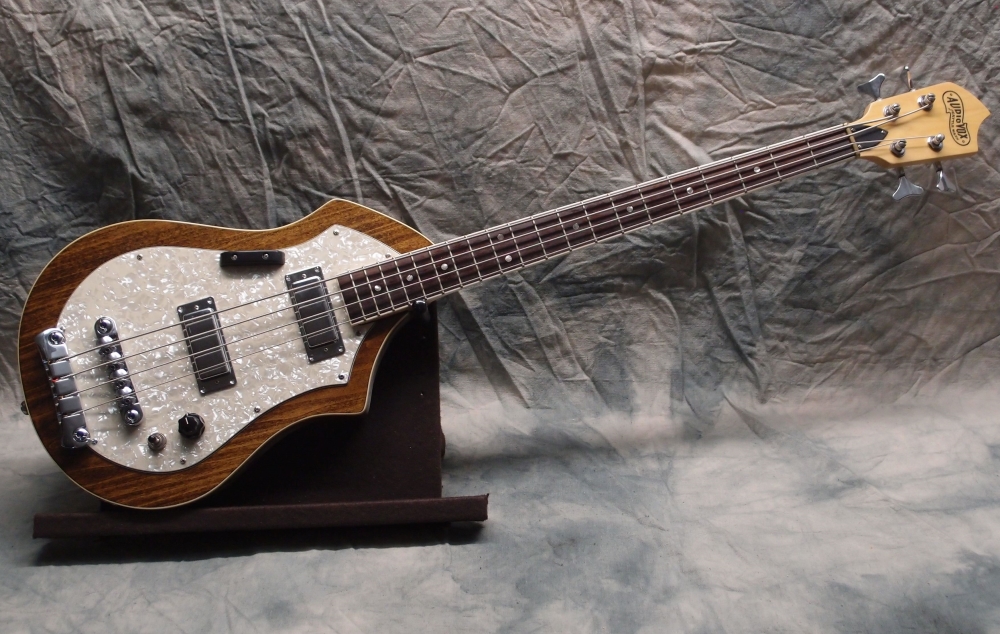
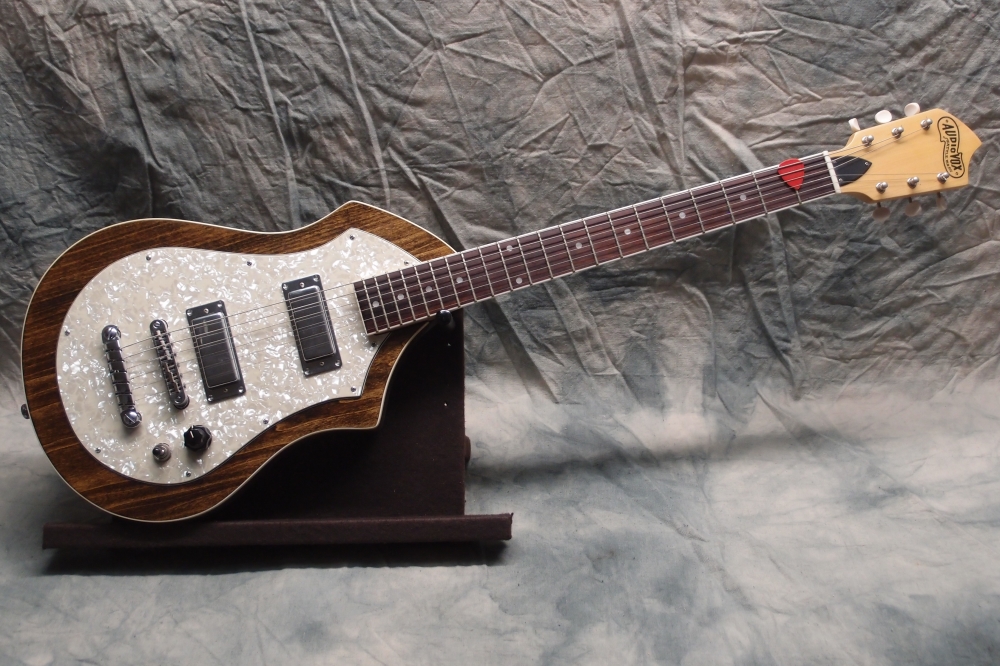
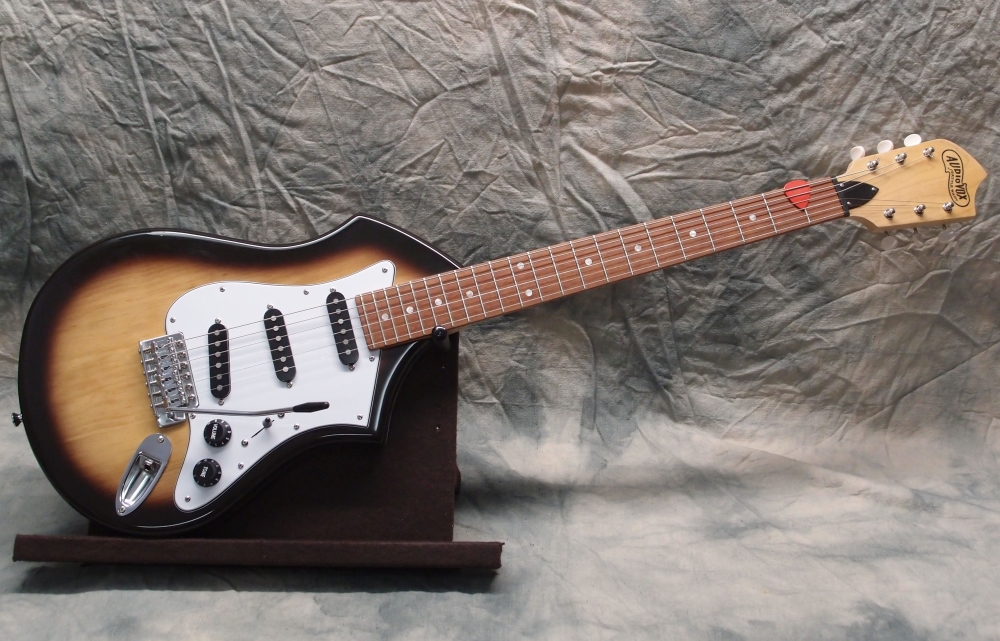
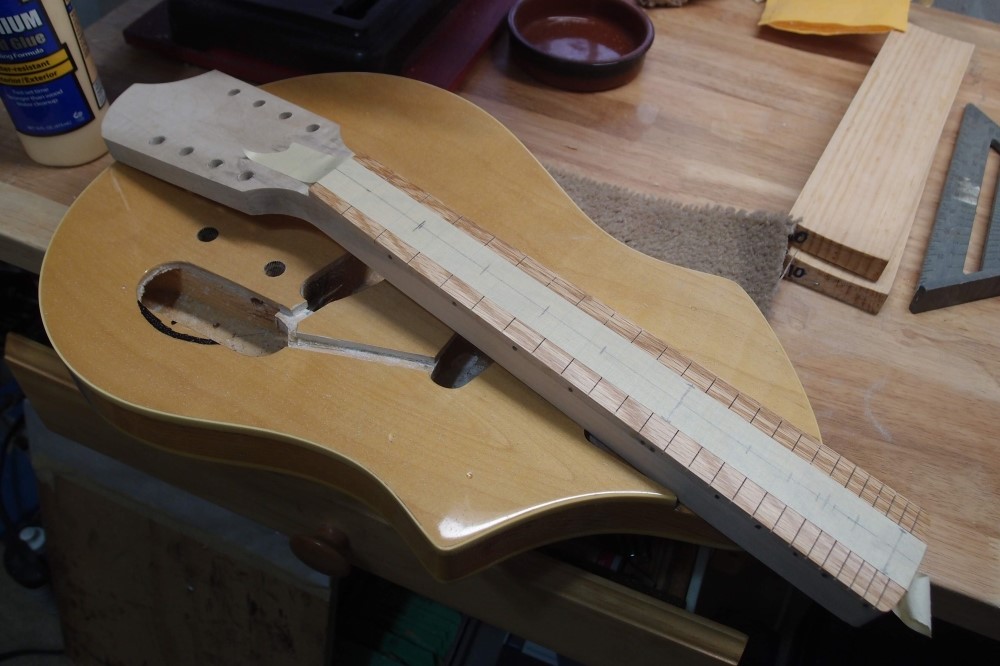
The mandolin getting fitted together.
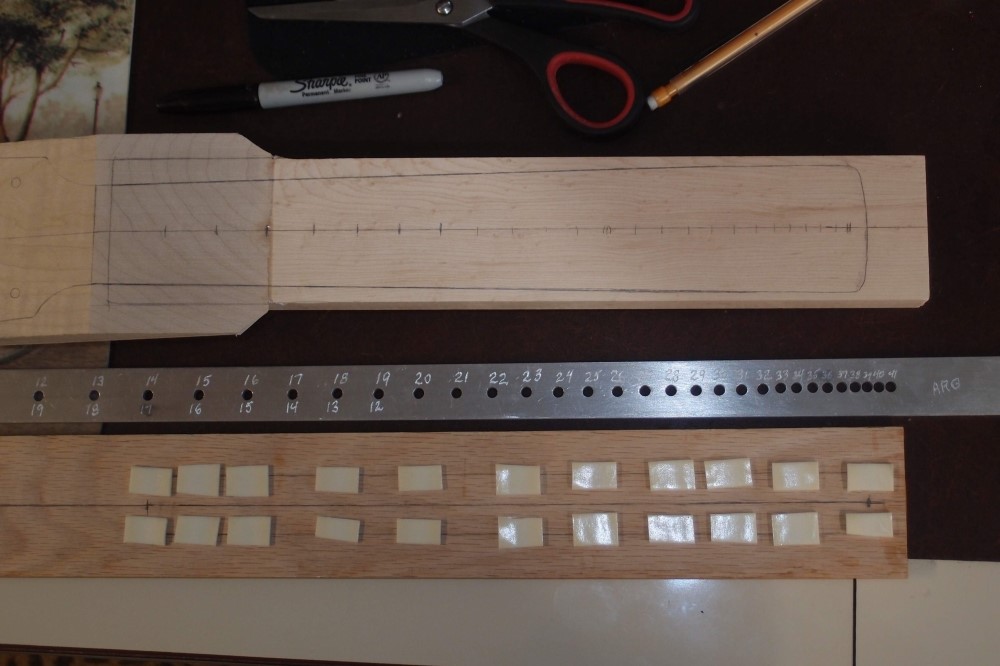
My fret guide can do any scale from 36" down to 12". This is the shortest thing I've ever done.
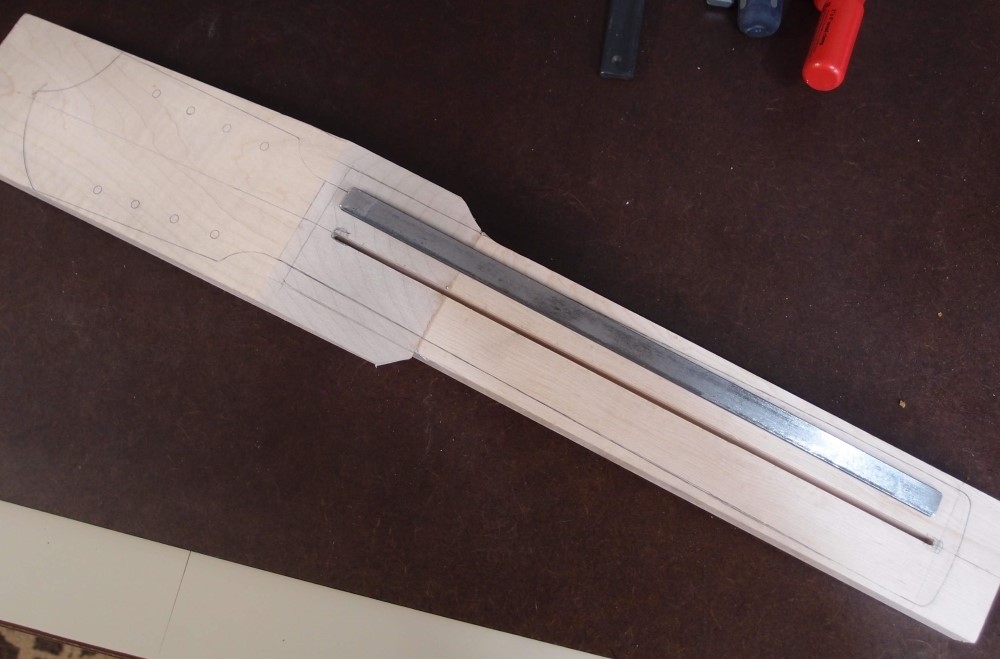
This neck is so short that I really don't think it needs a truss rod at all. But to be safe, I will install a simple and easy one - a piece of 1/8" x 1/2" steel bar. Here I have routed the corresponding slot and scratched up the sides of the bar on the belt sander. This gives the steel some 'tooth' that the glue can grab onto. Put a generous amount of wood glue in the slot, maybe 1/3 full, and press the rod in. You want to get good squeeze-out all around so that the rod is completely covered in glue. Scrape off the excess and put it back in the bottle.
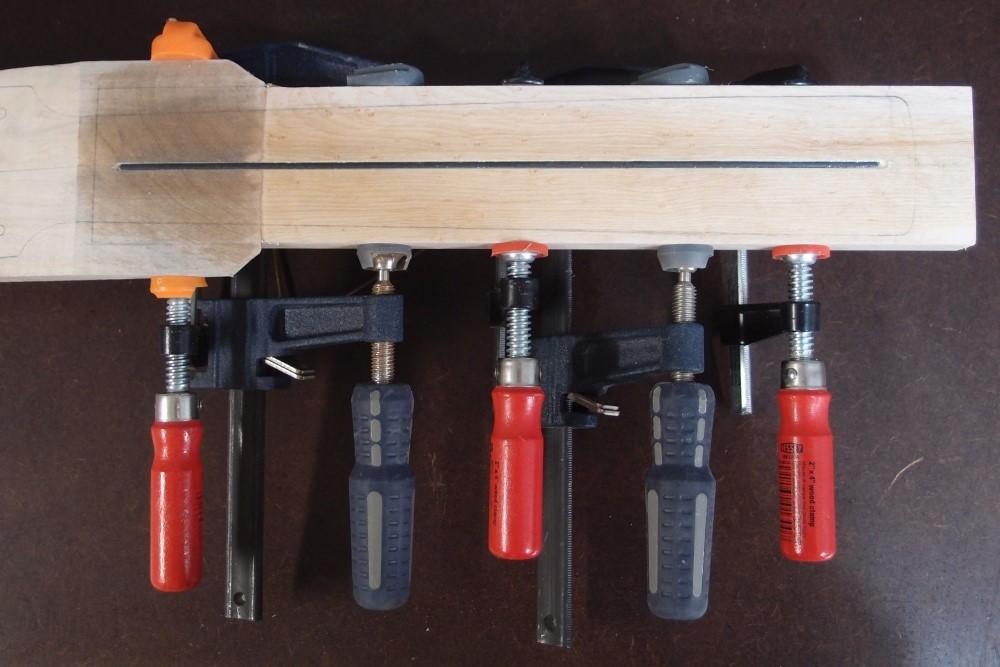
The next step is essential. Water-based wood glue will swell the wood and cause the neck to spread out around the slot. To prevent this, clamp it firmly at the sides, checking that the top surface remains flat and true. I will let this dry overnight, then it will be stable. Wood glue does not actually bond metal, but with the rod roughened-up and completely encased in the wood, it will be locked in place.
In the deep direction, I cannot flex this bar at all. It is far more than enough to counteract the tiny string forces that might otherwise warp the wood. This neck will stay arrow-straight forever. For a guitar-length neck, I have used two rods like this, each in its own slot. A 1/2" square steel tube as I used on the twelve-string is even easier to install. Steel is much stronger than carbon fiber. I want to reiterate that while a fixed truss rod is suitable for a guitar, it is not suitable for a bass.
I think this is the first time I have used a spiral router bit. I really like it, I think I will get some more.
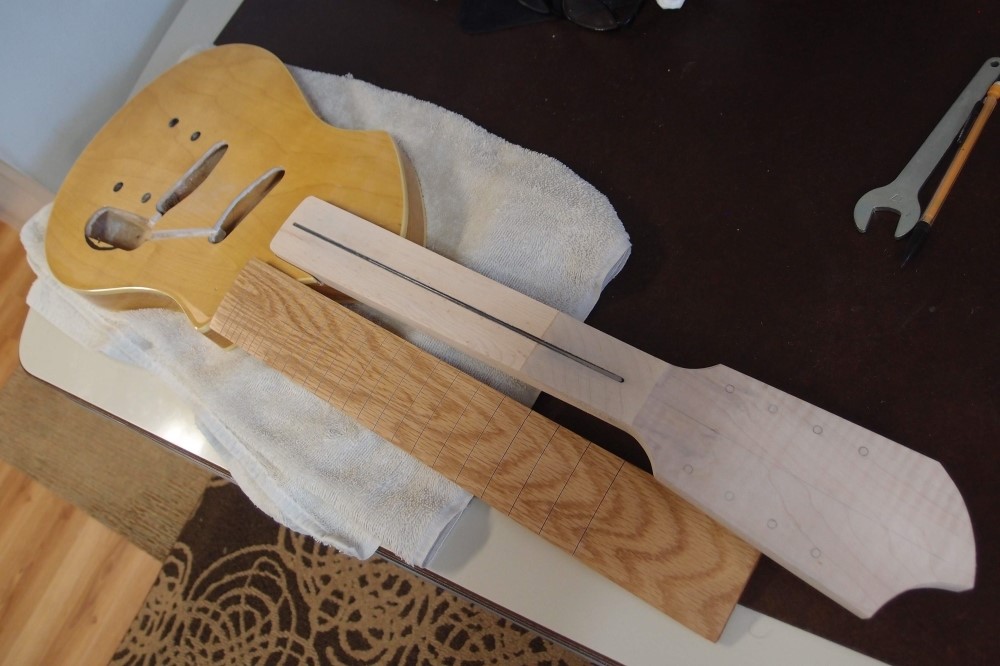
I cut out the rough contours on the scroll saw, then sanded in to the lines on the bench-top belt sander with an 80 belt. Final straightening was done by block sanding. All these curves came off the roller on the belt sander.
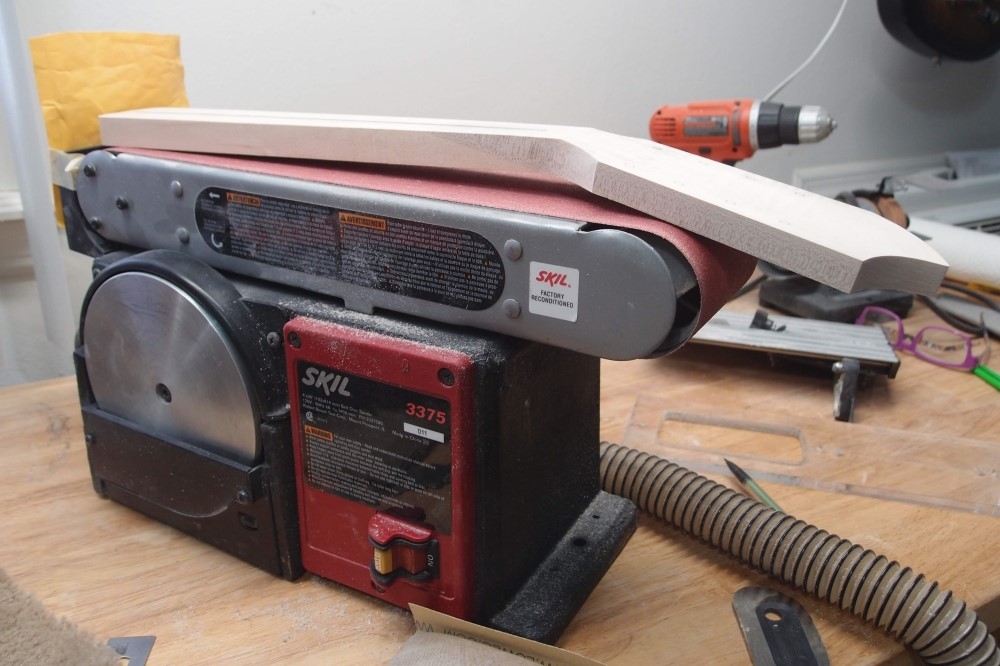
I thicknessed the headstock to a standard 9/16", also on the belt sander. For most of the material removal, I used a 50 belt, then switched back to the 80 for fine-tuning, and finally block sanding and scrapers to finish. I also trued up the surface where the fretboard will go.
You can see I have taped a scrap to the end of the sander to catch the dust. I finally figured out how to attach a vacuum to the near-useless dust port on this thing, and the dust collection is now very effective.
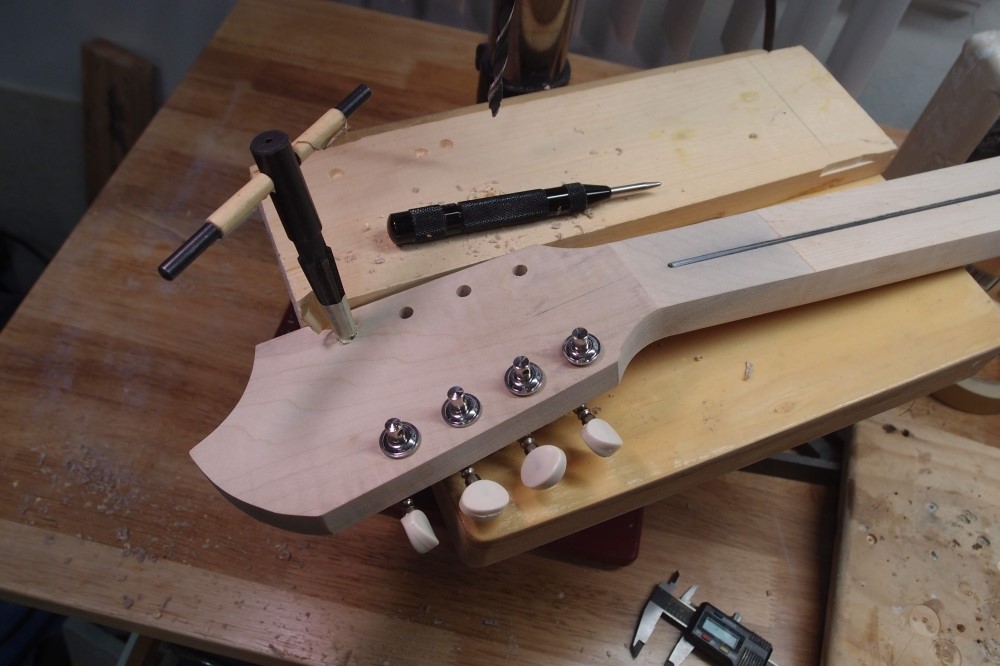
I pre-punched the tuner holes and drilled them out to 1/4". One of them went a bit crooked - in line on the back, but off on the front - so I hand-filed it into line with the rest. Then I reamed them all out to take the bushings. You can buy an inexpensive reamer like this online, or take out a second mortgage and get a "special luthier's tuner bushing reamer". Not sure what these bushings are made of, but it is probably not very strong, so I am making the fit pretty loose. It will tighten up with finishing, probably enough that I will have to ream them out again. I also drilled the screw holes on the back 1/16". Everything fits nice and smooth - that can be a problem with x-on-a-plate tuners if you are sloppy.
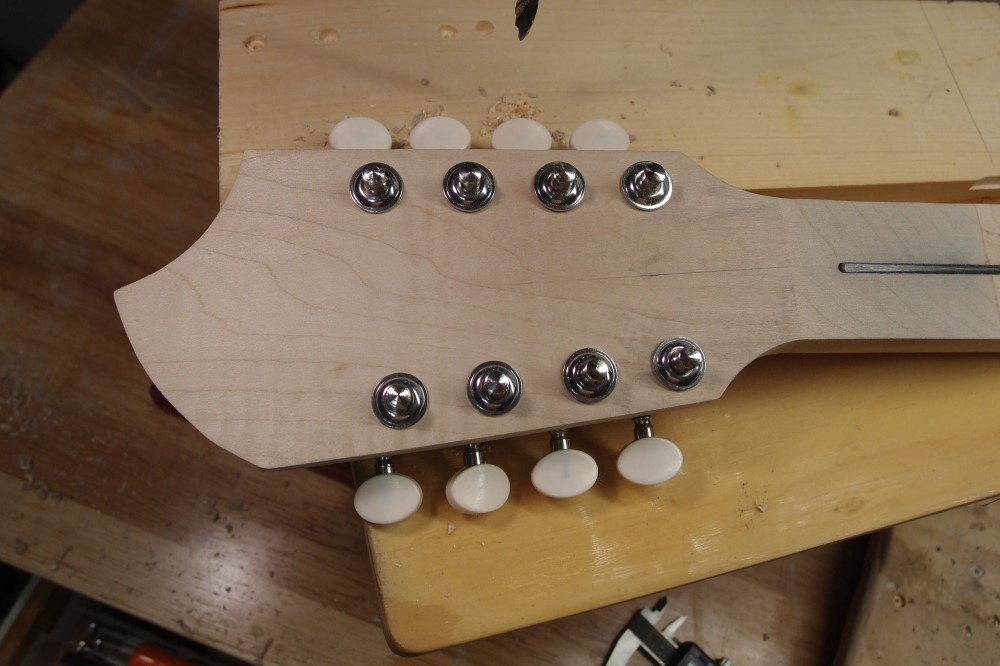
Looks good, so time to glue on the fretboard. I worked out the angle to compensate for the crooked slots. Normally I just eyeball everything to center, but in this case, I drilled for alignment pins to make sure I get it right. Apply wood glue generously on both pieces, and ...
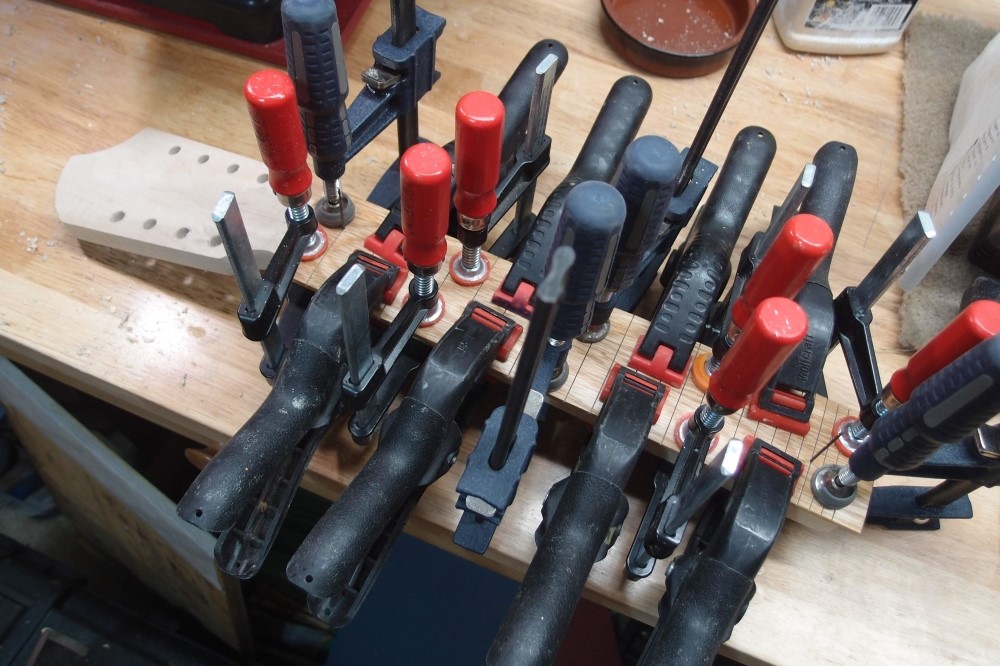
... clamp. A lot. The clamps are set to cover all the edges - you want them nice and tight, just a hairline seam. On a longer neck, I would use clamping cauls, but I don't have the right ones handy, so I'll just use lots of clamps. For a 12" radius fretboard, I would use a 10" radius caul, so that the pressure is on the edges. The center will take care of itself.
You want to see a good amount of glue squeeze-out all around. You can see what I used for the alignment pins - the 1/16" drill bit I drilled the holes with, and a spare, backwards. The holes are drilled into fret slots, where they will be covered up. This is all fairly standard practice. I'll pull the pins out before they become stuck, and let the whole mess dry for a couple of hours.
Compensating for the crooked slots will leave the radius curve a little crooked, but that will get fixed later. That truss rod is never going to get out of there. That's why you don't need epoxy.
I have cut and sanded the fretboard in to the neck profile. Then I brought the edges in to approximately a Jazz bass nut width, the heel is a Stratocaster. The edges are very straight and square. You want to avoid sanding the heel area, or it will become too skinny. I also shortened the heel a bit to buy a bit more space on the body - things are going to get tight.
You can't make really straight edges on a belt sander. That doesn't seem right, but it is true. Even small parts that fit entirely on the belt will usually come out slightly curved, and anything that hangs over the roller is going to get all messed up. Use the machine to get close to your line, and then finish it by hand with a sanding block. Rasps and files are also useful for making straight edges.
You can see I have laid out the markers. Often you see people drawing an X between the ends of the fret slots to find the center. Do it that way if you want it to come out wrong. Find the centerline, and then mark along it. For a long bass neck, I use a ruler on the larger gaps, but on this shorty I just eyeballed everything. 1/4" black plastic dots will fit up to the octave. Beyond there I will switch to side marker dots on the fretboard. The second octave will only fit one dot on the side. The frets are now straight, and when I sand down the markers the radius will straighten out.
Now I have a problem: I haven't really thought about what to do for a nut. I have a piece of brass, but that would be a pain. I think I will cut a sliver off my big slab of polycarbonate and make a clear nut. That stuff is very hard and should work well, probably better than the cheap plastic nuts you can buy.
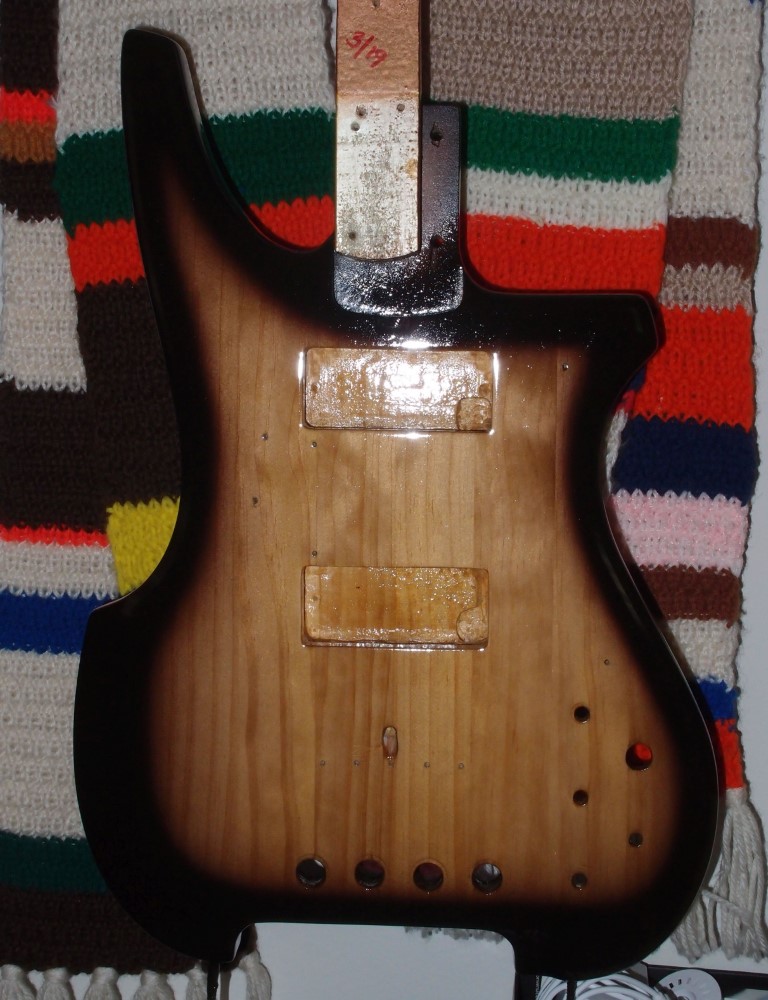
In the picture above, you can see how the body was set up for a guitar. For the repurposing, I need to install a bridge block approximately between the existing pickup holes. However I do it, this body is going to need a fair amount of work. The mounting holes for the guitar bridge will stay. They will provide extra resonance. Fortunately, this design uses an enormous pickguard that will cover up everything. I also need to deepen the neck pocket to a standard 5/8".


