Danelectro Dead-On '67 (Coral Hornet) Guitar (3/3)
I inspected my temporary pickguard, and I don't see any issues, so I ordered a sheet of plastic from Home Depot: 24"x36"x1/16" for $22.43, delivered. That's enough for six pickguards like this, or five screw-ups.
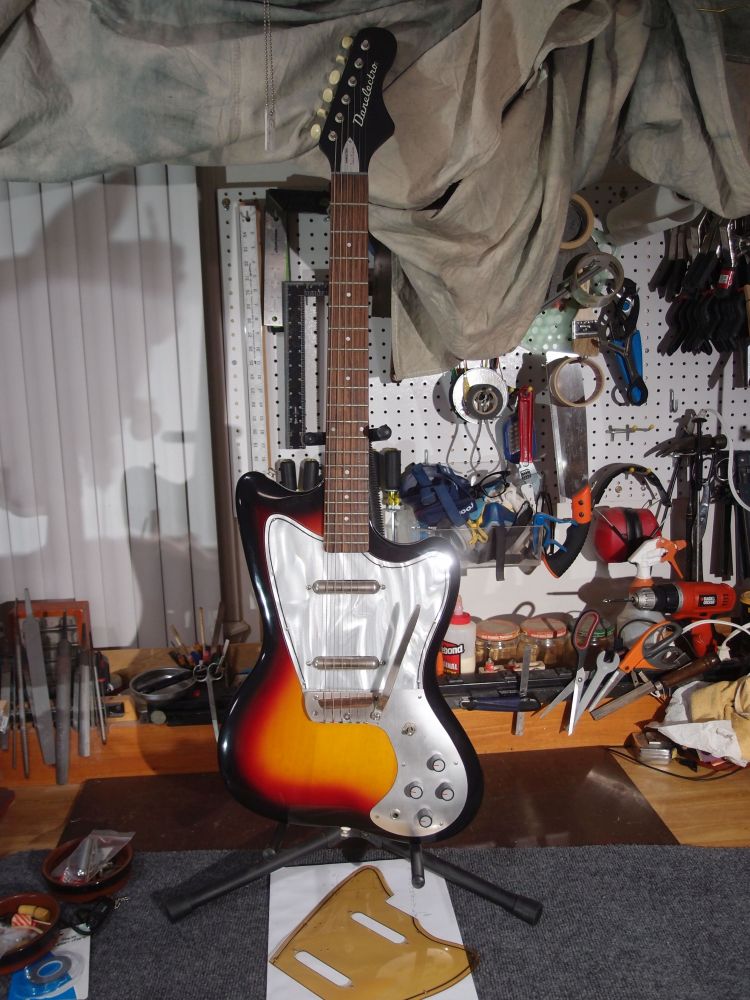
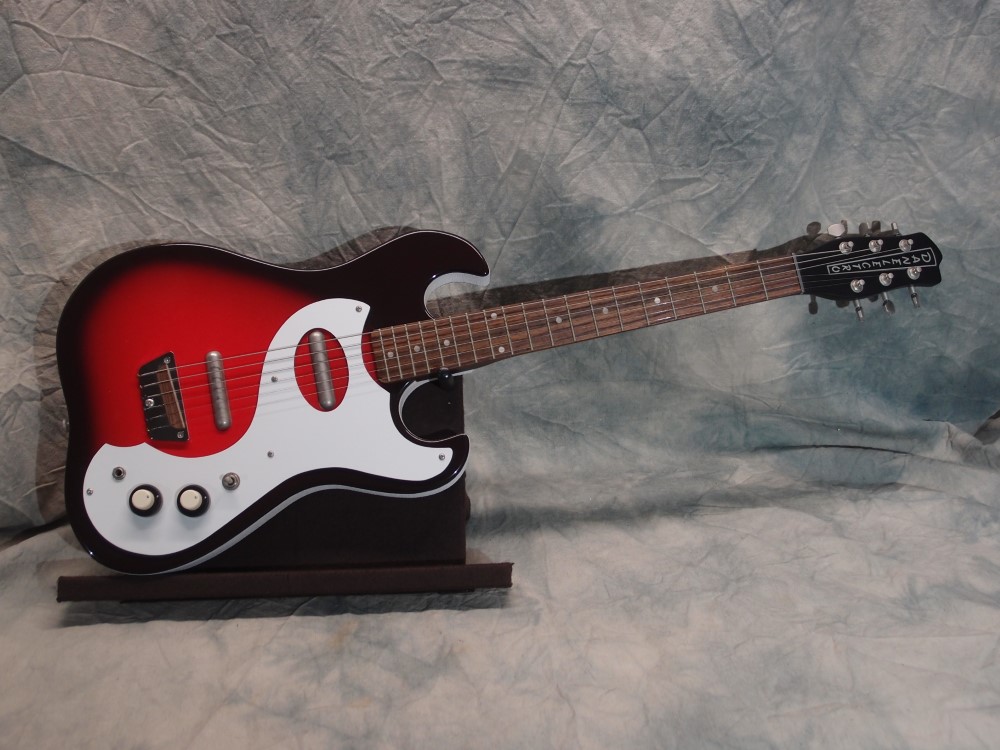
My prototype pickguard came out good enough to use. You can see here what an improvement it is over the old brown one ( on the bench in front of the guitar - you can't call that yellow! ) The thin plastic conforms pretty well to the curved body. Unfortunately, shortly after taking this picture, the corner of the new pickguard snapped off by the bridge as I was doing some final adjusting and tightening. Good thing I got that extra-large piece of plastic! After wrecking a second one on the scroll saw working out the best blade and settings for the material, the third one came out perfect. ( The ruined piece went in the junk bin, but it didn't stay there for long. )
While working on the replacement, the old engineer in me got to thinking about why the material would break at a point that's not particularly stressed. The body is actually pretty flat there, it is much more curved around the lower edge, which is where I was expecting problems. Obviously, the screw caused it. But why? The factory screws on this reissue are Fender-style countersunk heads. Danelectro always used truss-head screws with wide flat heads. Apparently, the countersunk holes, together with the extra stress of making the plastic conform to the curved body, was enough to start a crack, and once a crack gets started, it just keeps growing. Also, the screw threads might have cut into the plastic, resulting in what is known in engineering as a 'stress raiser'. So for this pickguard, I switched to the correct screws, and also drilled the holes slightly oversized. It is now a month later, and it worked. In time the plastic will take a permanent set in the new shape, and the stresses will actually go down.
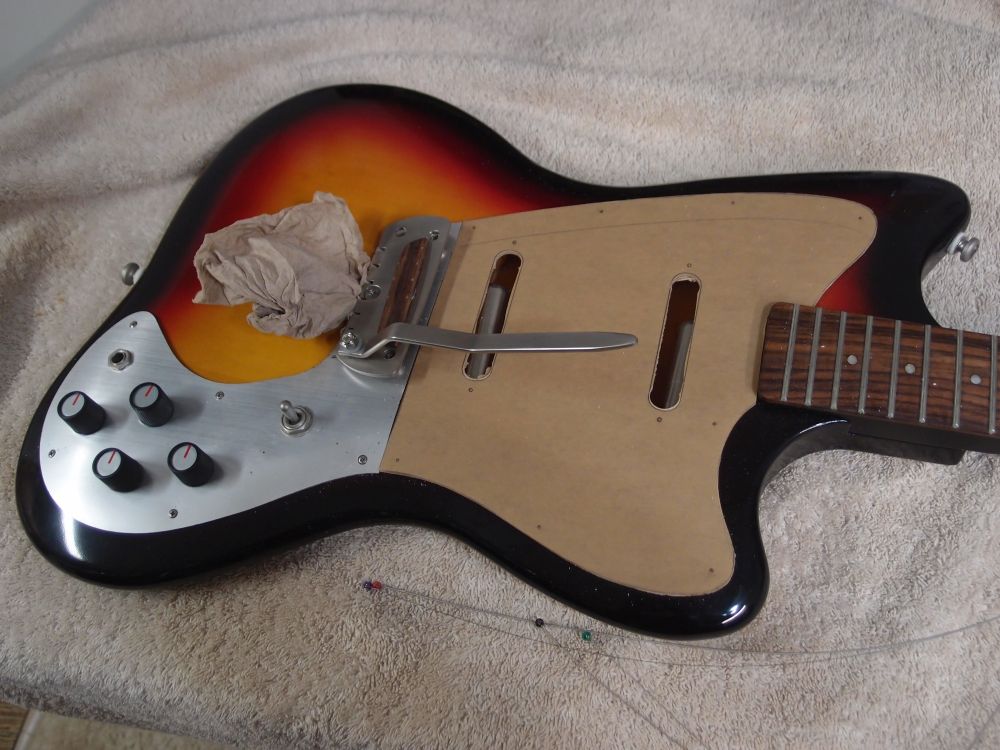
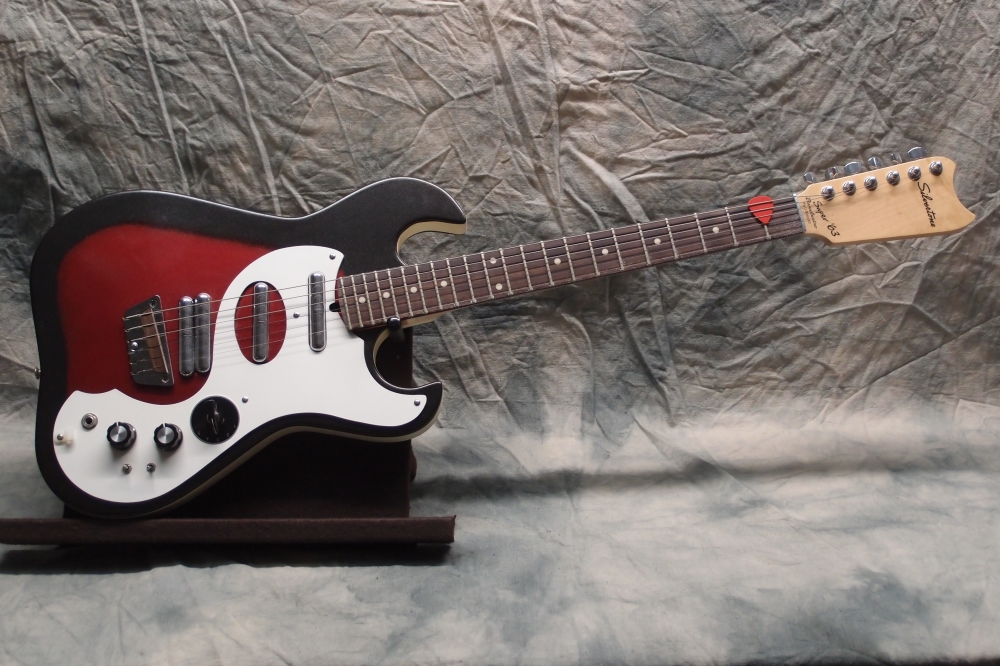
That first pickguard was a prototype after all, and the second one came out better ( and faster. ) Just checking the fit here. Without string tension to balance it, the tremolo wants to clamp down on the body, so it is propped it up with a rag. This time I will fit the pickup mounts to these pickups, which are slightly different from standard lipsticks. That's all hand filing. You might think that takes a long time, but it really doesn't - it's only plastic. It would take a lot longer to make a fourth pickguard after the router destroyed the third one!
Actually, I would not dare touch this plastic with a router. Clear plastics all seem to have a low melting point and are somewhat brittle. Thin clear plastic like this doesn't like power tools at all, it takes care and patience not to end up with a globby mess, even with a saw or sander. And yet, it is also hard and brittle and cracks if you are not careful. Just imagine what a router would do.
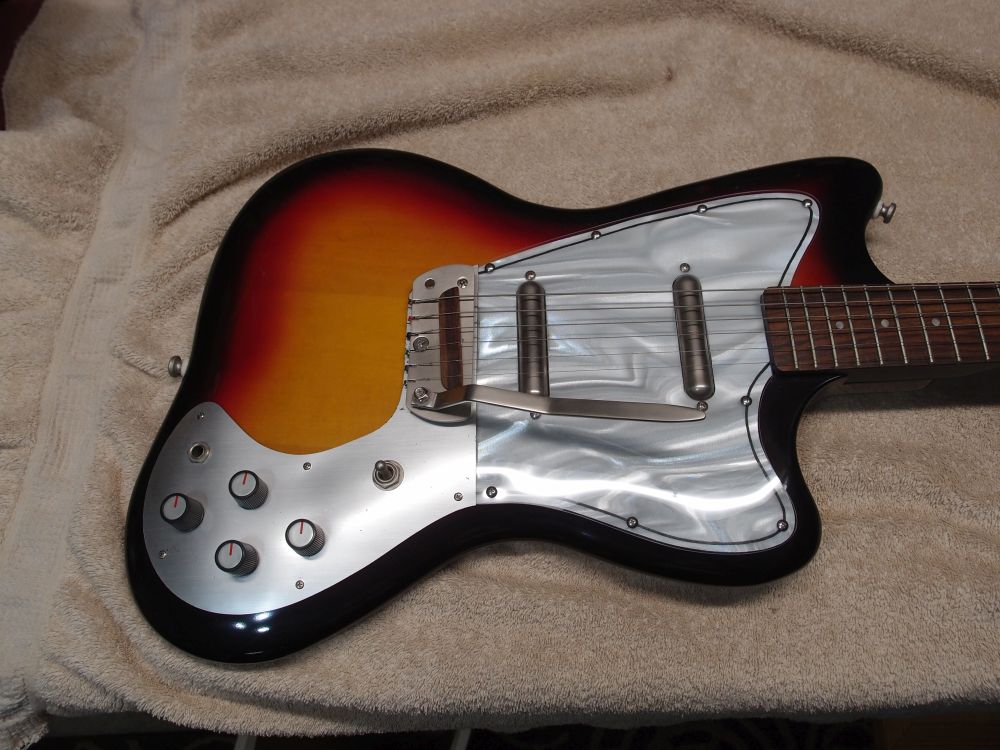
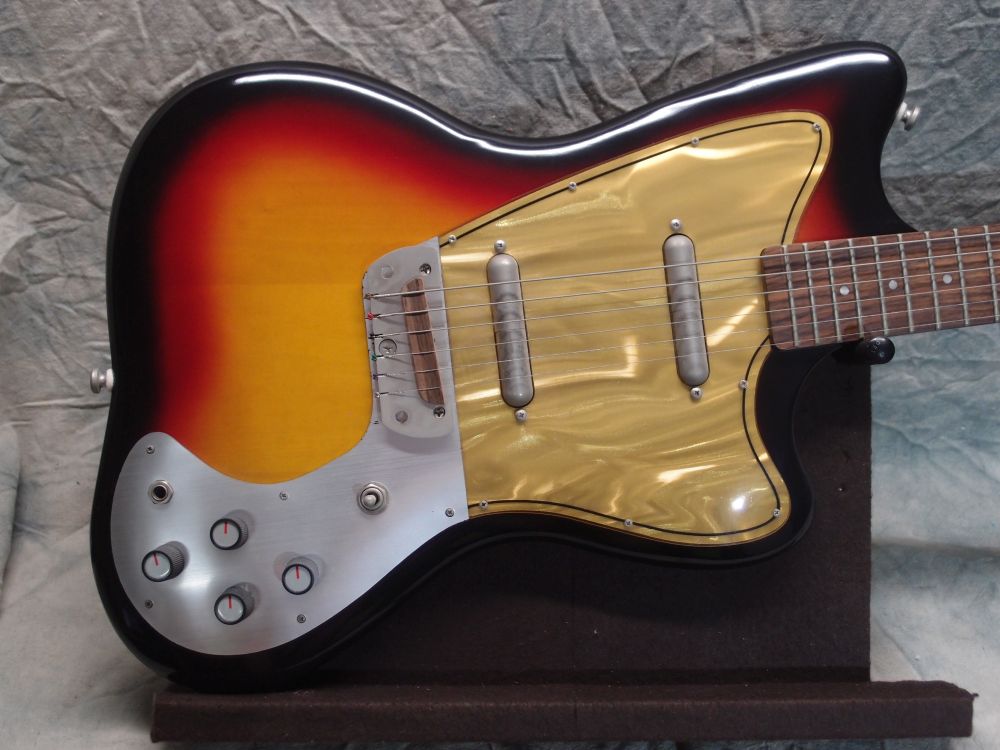
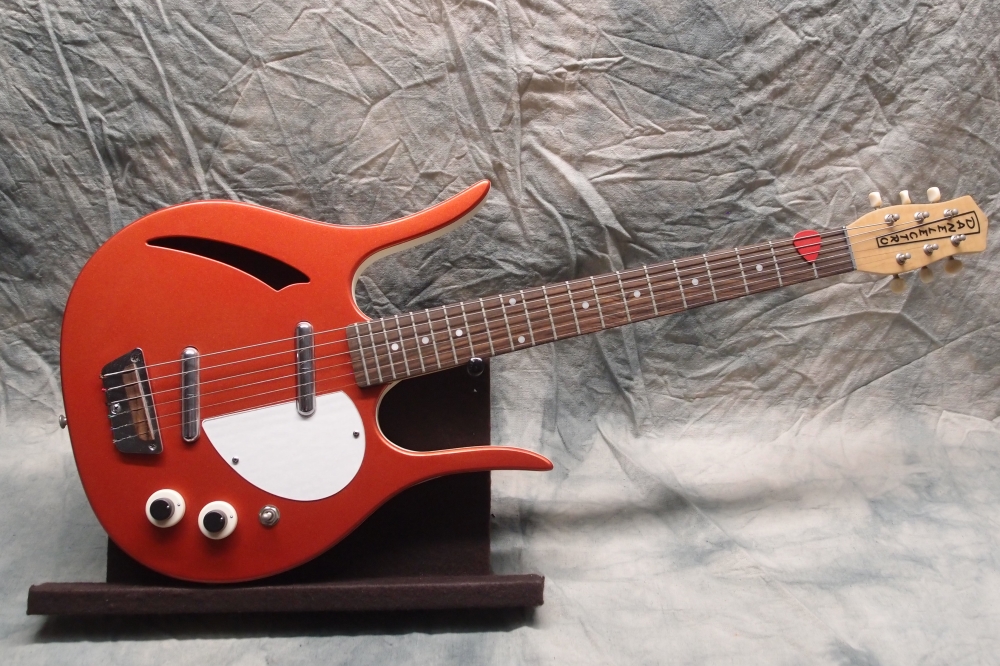
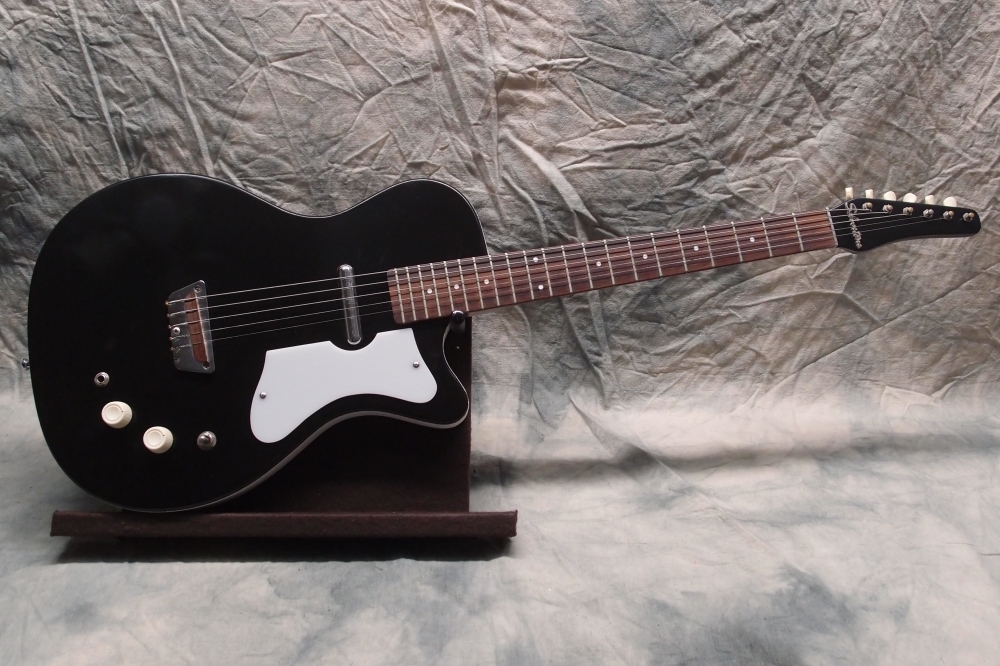
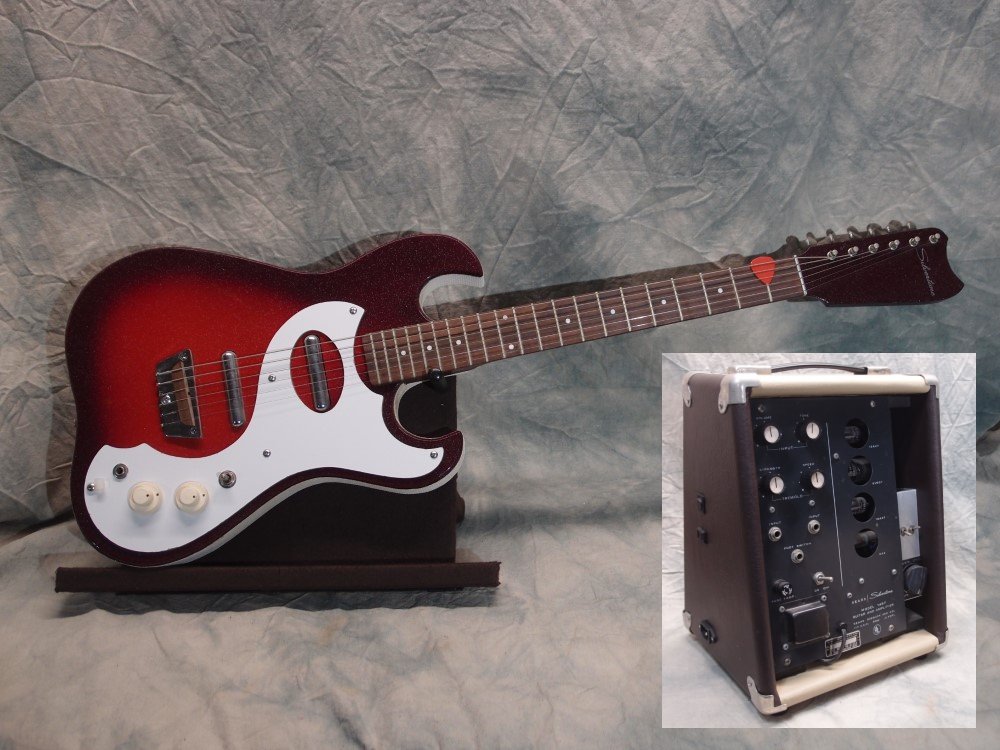
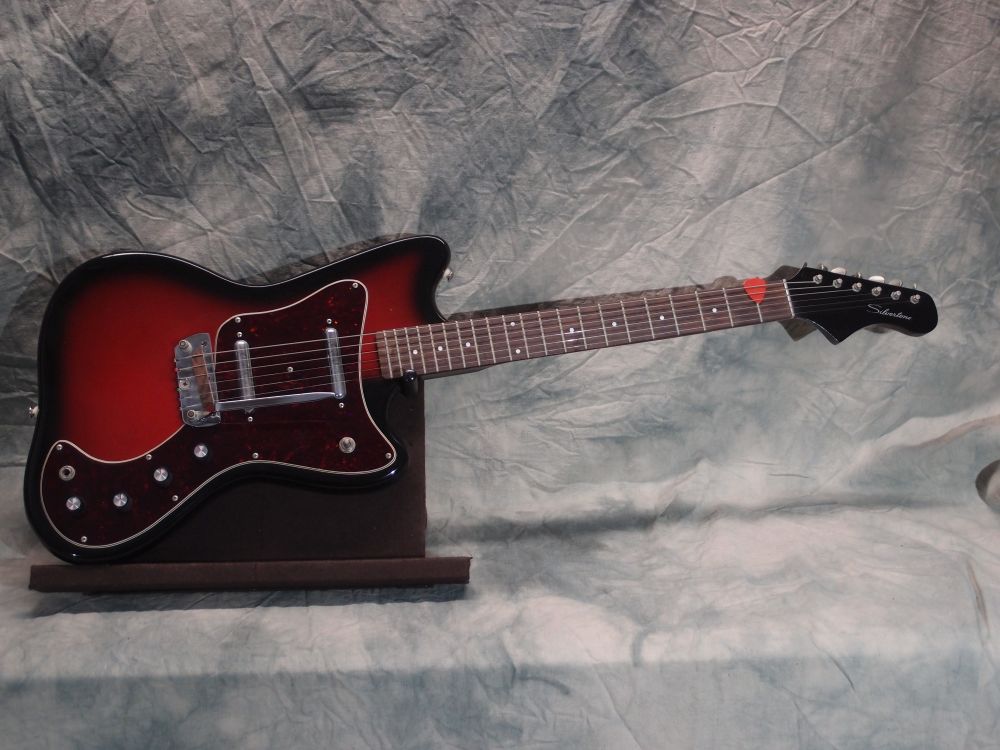
Here is how the guitar came out, with the new pickguard and screws, and all the chrome polished back to a shine. The black stripe came out nice, I think. I could also replace the screws on the control cover, but I'm running low on them, so I'll just leave the factory ones. I also reassembled the tremolo, mainly for looks, because it barely works. It pivots on the two forward screws, with a spring on the back one. That's the theory, anyway.
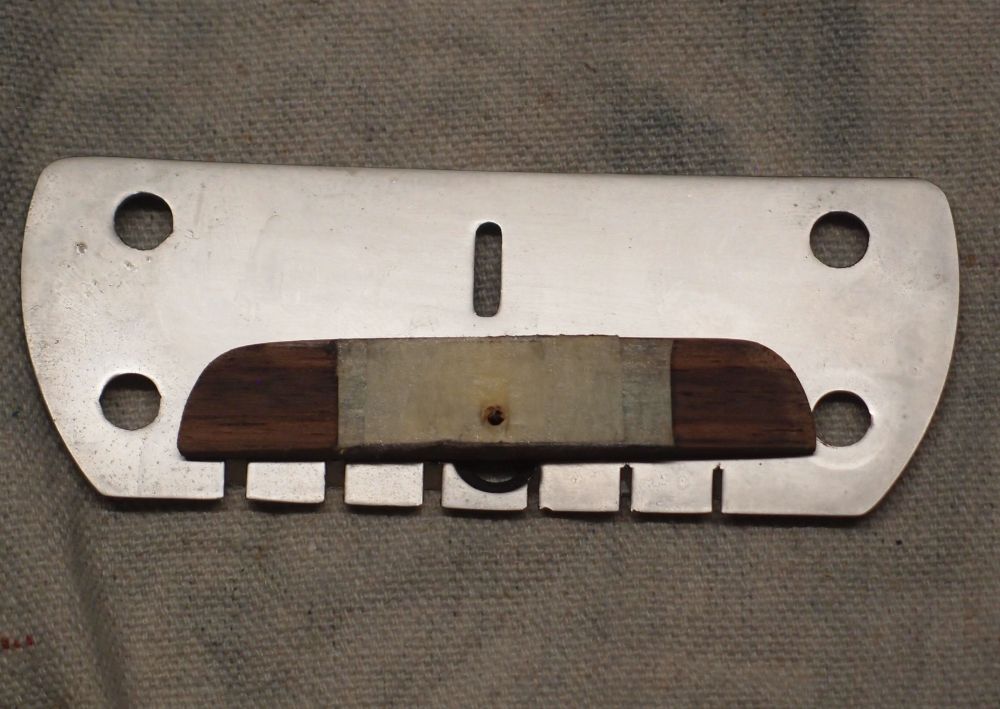
While I have it apart, here is the solution to the collapsing bridge problem - a simple shim. I like to use masking tape applied to the bottom of the saddle. Normally, a few layers of tape is all you need, but this particular bridge is collapsed so badly now that I pulled the tape off and used a washer. Fortunately, the collapse is self limiting, it gets to a point and stops, but this is the worst I've ever seen. These Danelectro bridges are pretty easy to disassemble, but the tremolo on this one makes it tricky, and I confess to a bit of swearing while putting it all back together. Really could use a third hand!
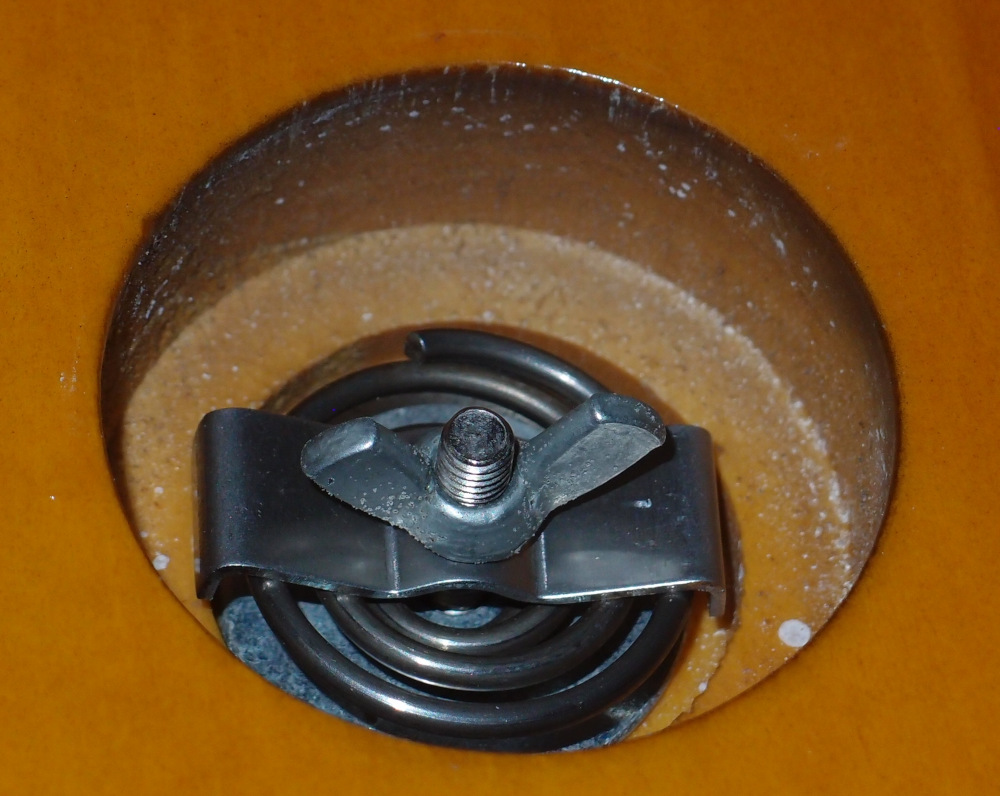
This is Danelectro's tremolo mechanism. It is both extraordinarily clever and almost useless. The mechanism replaces the rear hold-down screw with a bolt which floats on a spring inside the body. Tension is adjusted with the wingnut. The bridge plate is enlarged slightly to mount an arm. To convert it to a hard-tail, put a spacer under the bridge plate and tighten-down the wingnut. A small sliver of wood would do, and would not even require disassembly. A more permanent solution would be a stack of washers.


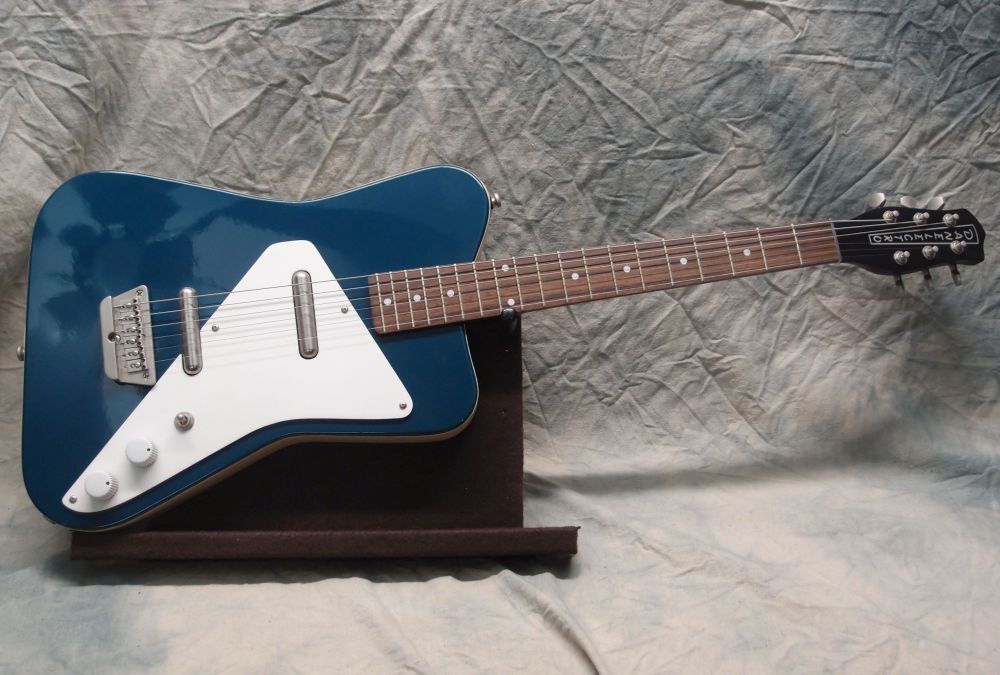
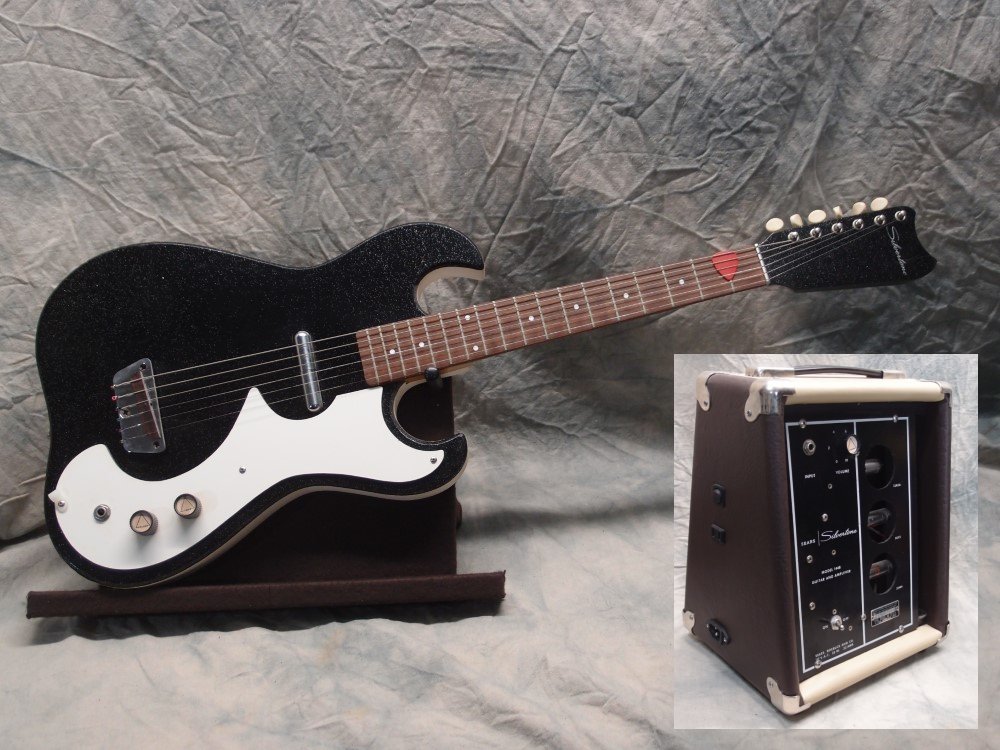
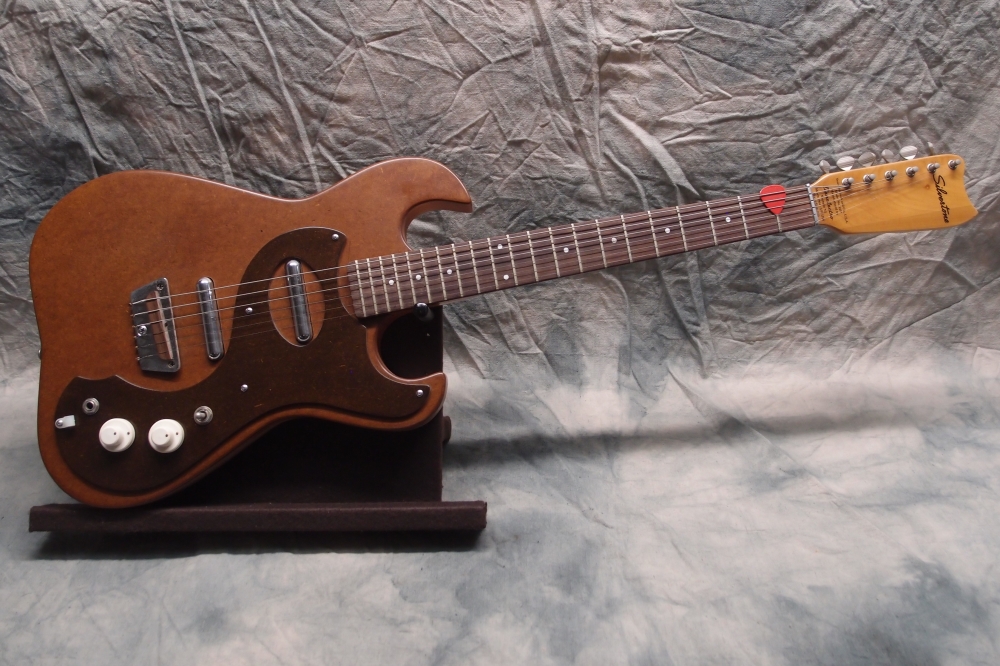
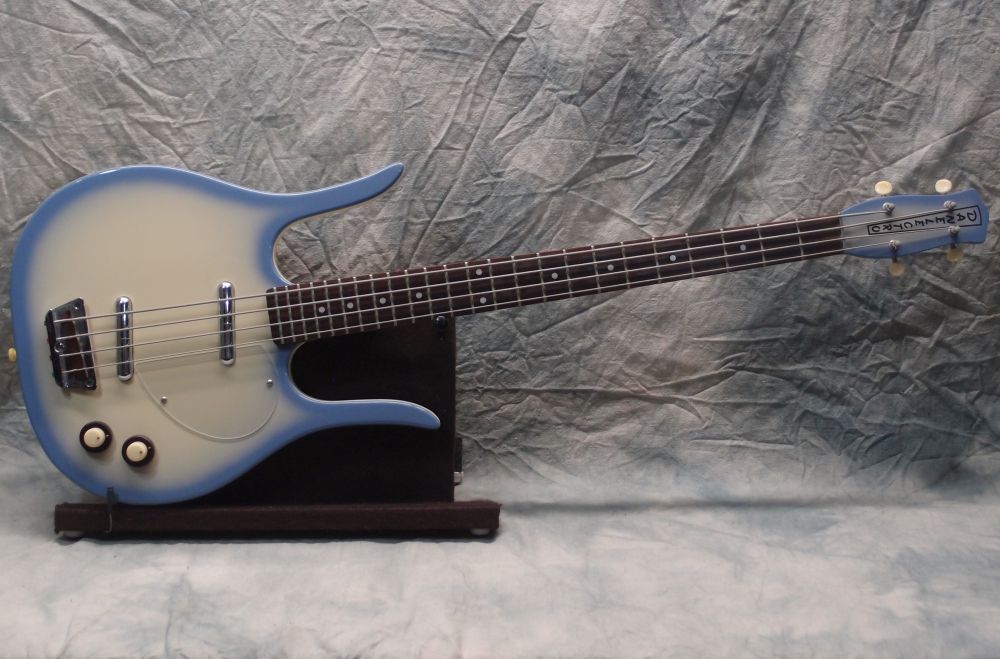
For history's sake, here is what the guitar looked like before the restoration. I think this is a really pretty instrument, well worth the effort. In fact, I think this one is now the nicest one on earth, literally!

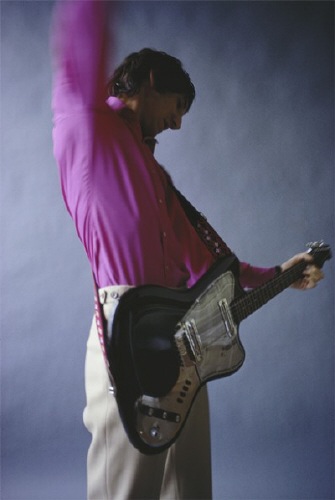
Pete Townshend played Danelectros, but for the wrong reason - they were cheap to smash! I don't think he smashed very many Rickenbackers. With their solid steel truss rods, Danelectros are probably not easy to smash, he should have tried Gibsons, they break all by themselves.


Questions or Inquiries?
Just want to say Hello? Sign the .