RetroBrite
"RetroBrite" is a name for a process that restores old yellowed plastics to new. Many plastics yellow or darken over time. RetroBriting can reverse this aging, but with a number of caveats that, in my opinion, make it pretty useless. While the process actually does work - it reverses the discoloration - the effect is temporary. After a few months, the plastic will return to its yellowed state. When this happens, you can repeat the treatment, but at some point the chemicals involved are going to start to degrade the plastic.
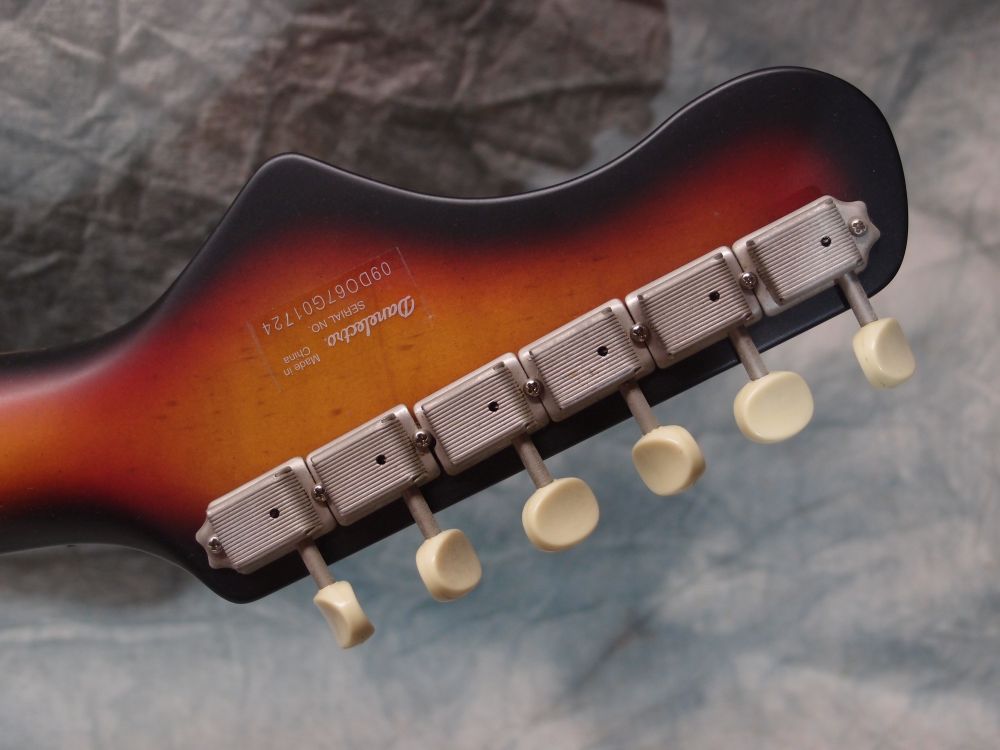
My first experiment was whitening some yellowed tuner knobs, and it did work. With nothing more than sunshine and hydrogen peroxide, the knobs lightened considerably. That was several years ago, and today the knobs are as yellow as ever.
What causes this yellowing? It is variously attributed to sunlight, oxygen, bromine content, and other causes. While all of these things can contribute to it, none of them are necessary. Some plastics simply turn yellow with age, and nothing will stop it. In my experience, the real culprit is simply bad plastic, and the only real solution is replacement.
Recently I did some experiments with RetroBriting. If you want the short version: it didn't work. Not to my satisfaction, anyway. If you want more details:
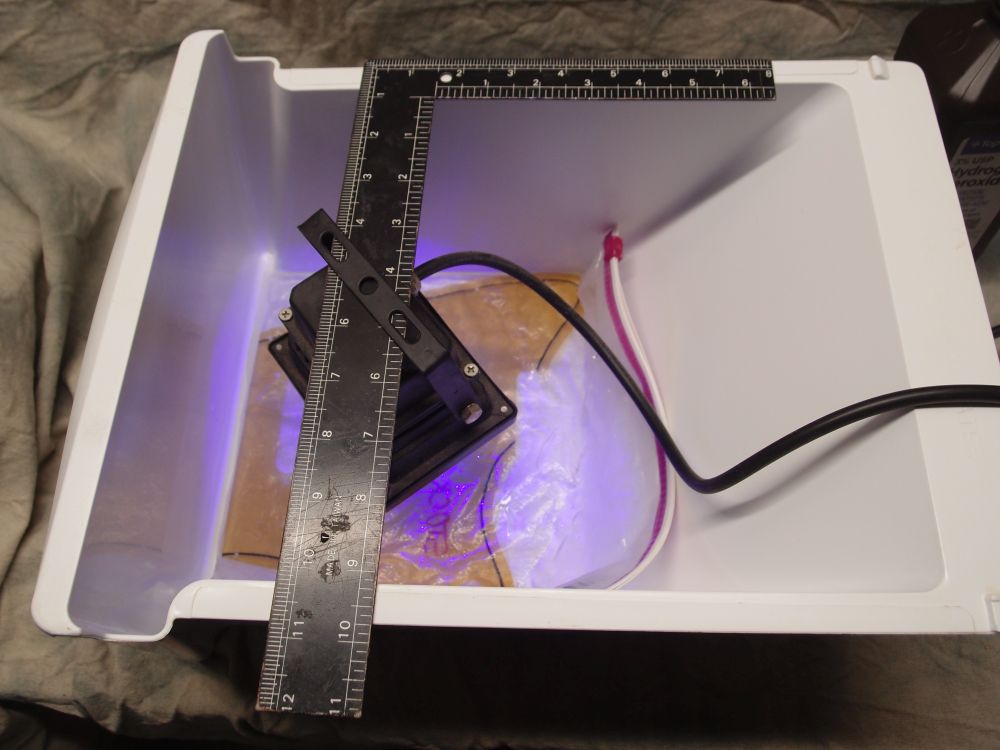
After several days and a stronger light, nothing happened. Conclusion: some plastics ( clear plastics? ) do not respond to RetroBriting at all. Instead, I got a new sheet of material and made a replacement part. See Danelectro Hornet, link at left. I was actually not surprised by the result above, I wasn't expecting it to work. At least it didn't cost a lot to try.

This is the same setup in a Ziploc bag with peroxide. These UV lights have gotten a lot cheaper since I got the small one years ago, so I got a bigger one to see if that would make a difference. Not really.
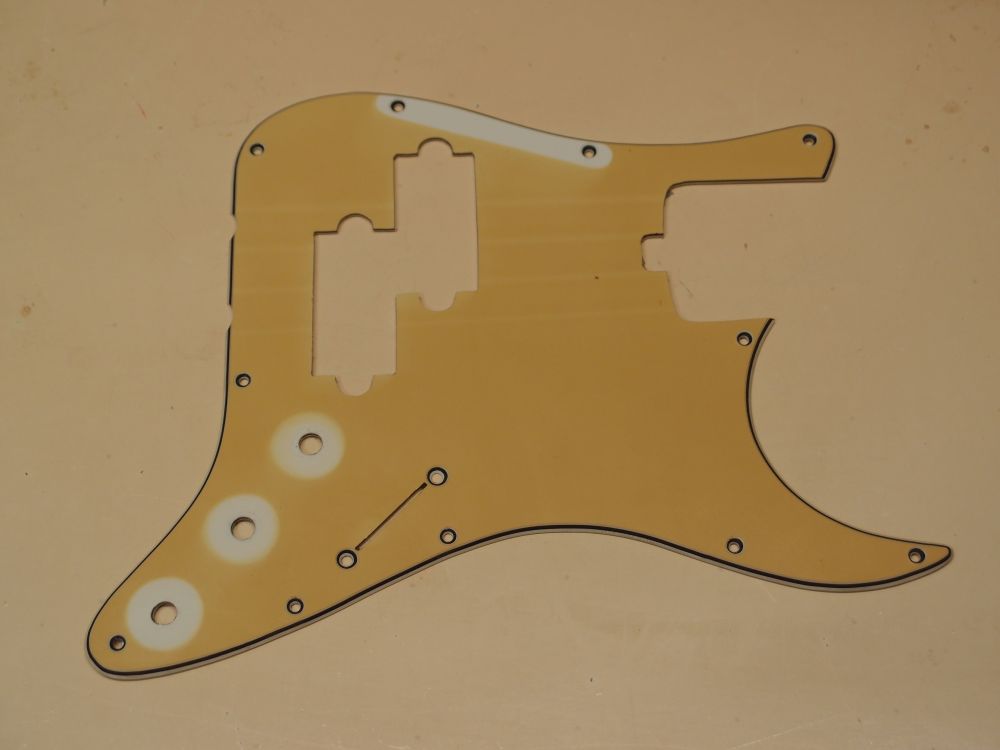
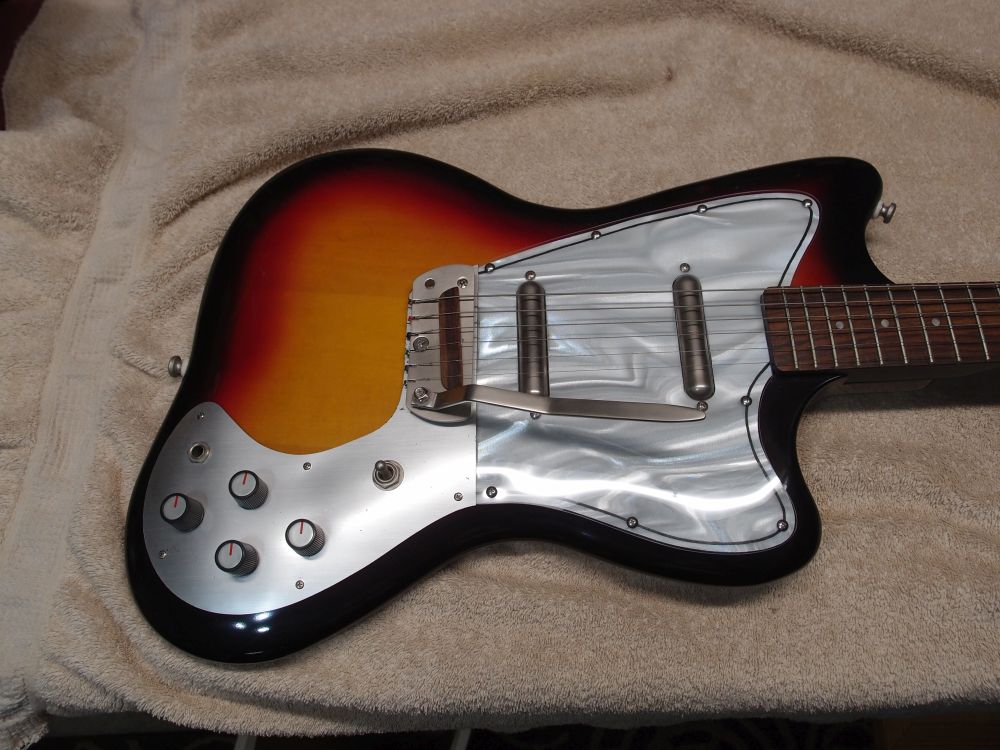
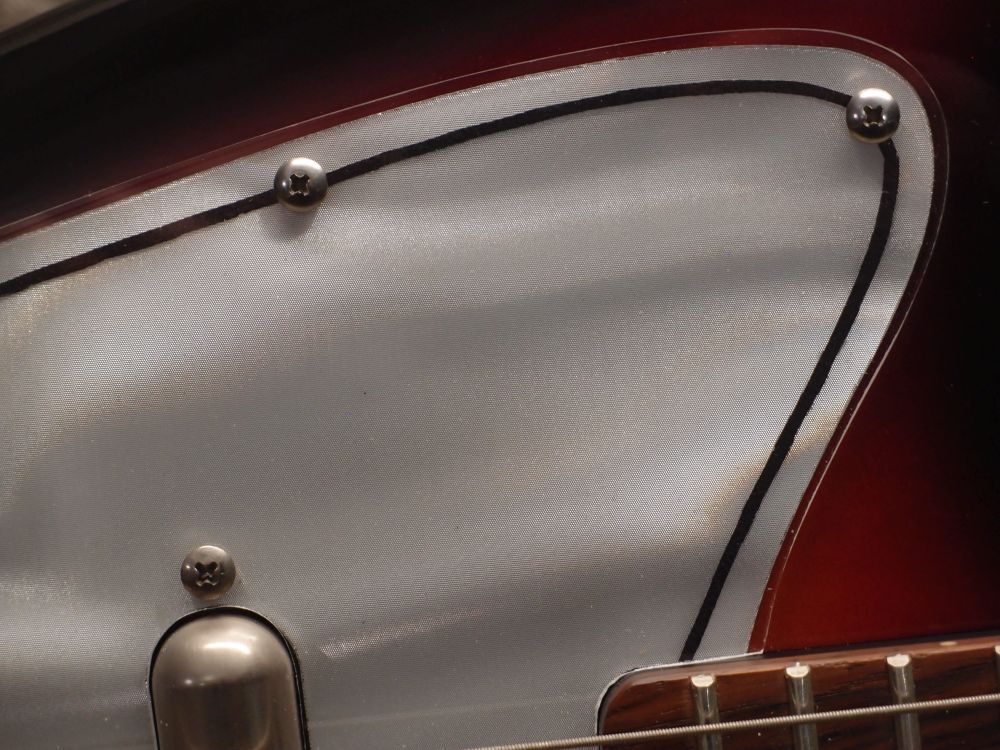
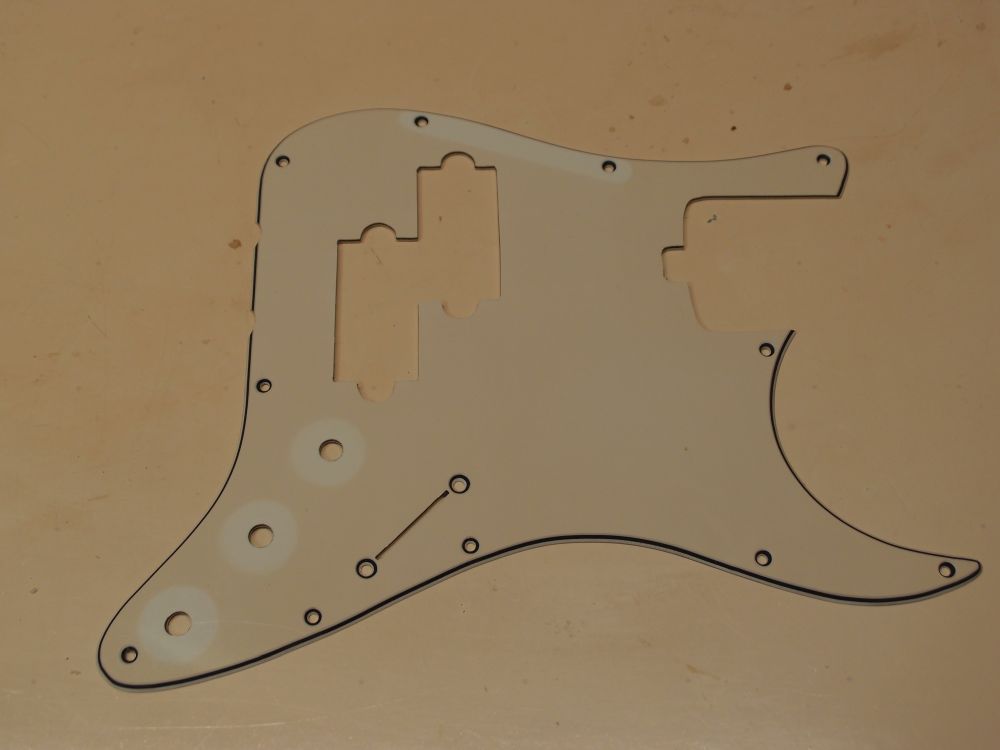
This is what the test article looked like before I started. It was white when I made it. You can clearly see the shadows of the strings, so it is caused by light? Except this piece was kept in the dark. You can also see the outlines of the knobs, so maybe it is caused by ... air? The funny thing is, the bottom white layer is still white, even where it is exposed. The fact is, this is just bad material. Back in the day, I was getting lots of stuff direct from China with free shipping. I guess it wasn't such a bargain after all.

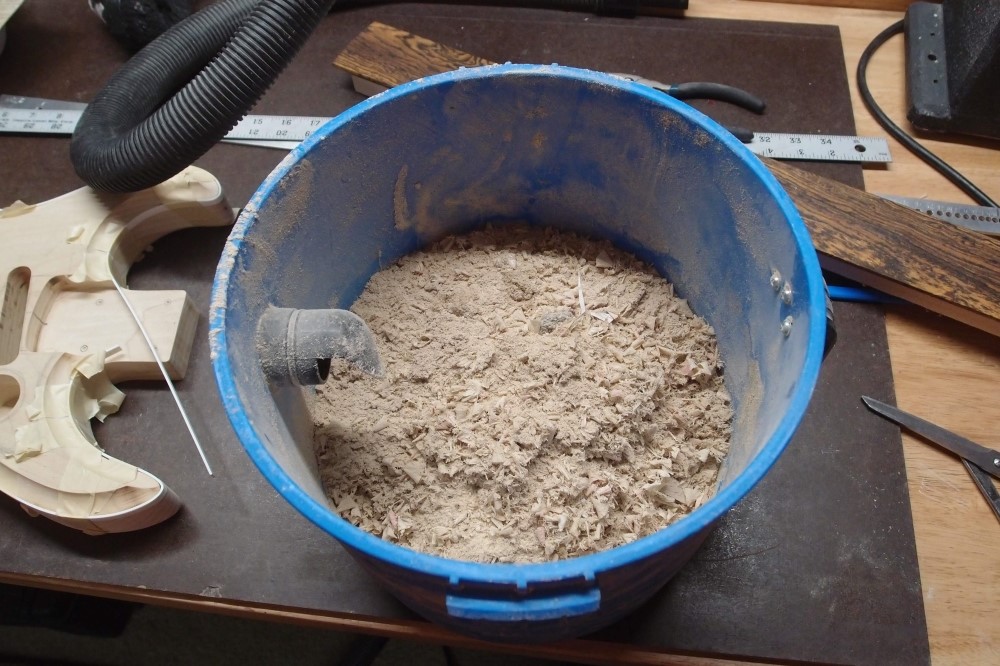
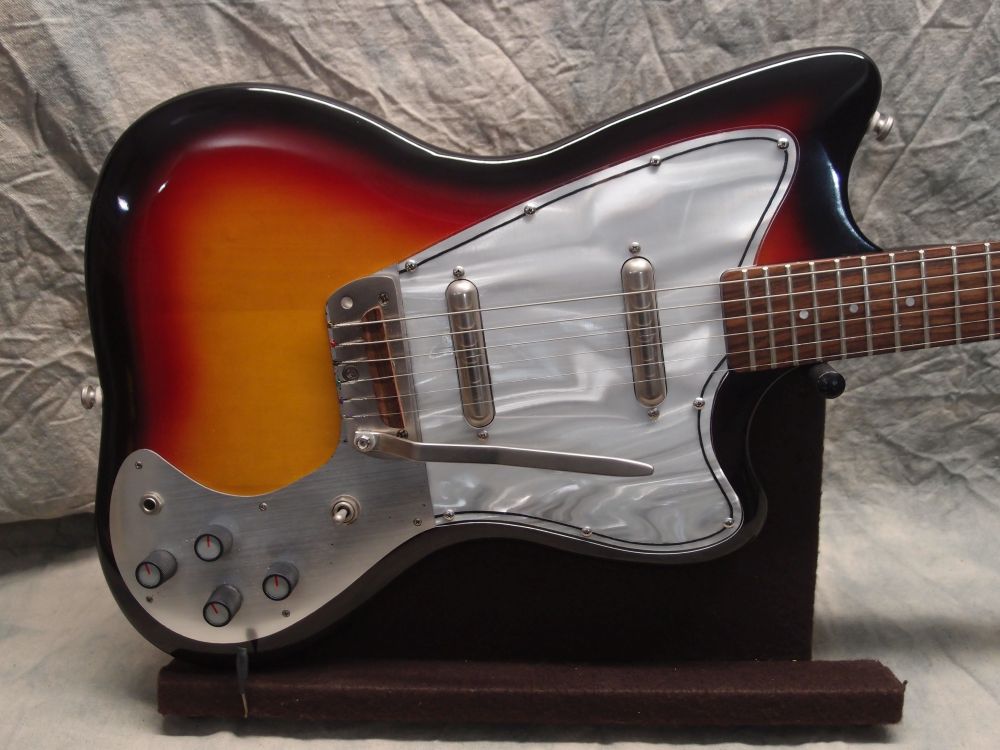
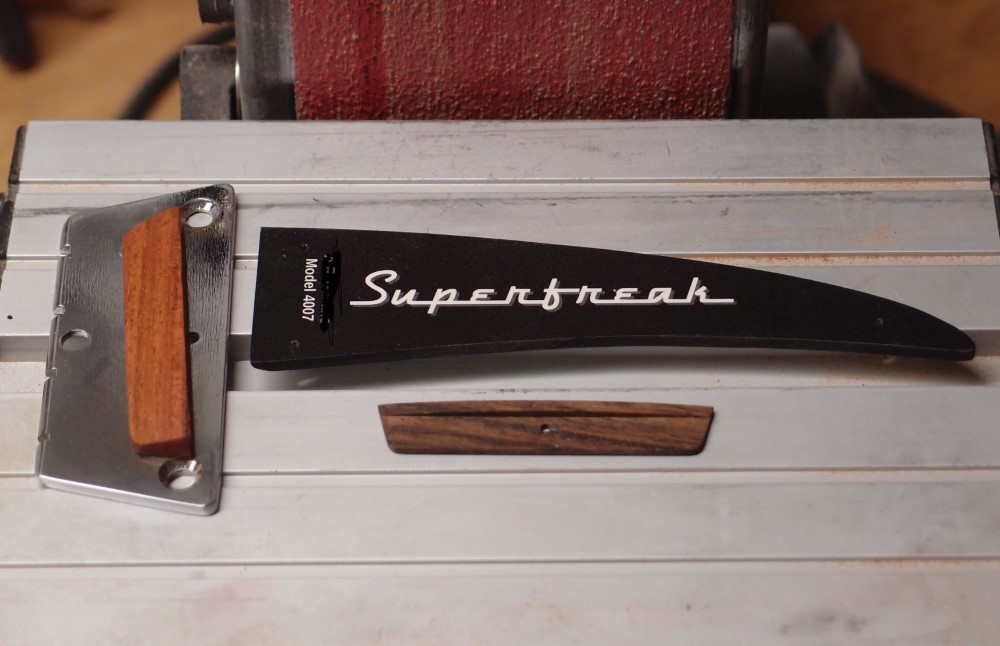
At this point, I gave up on RetroBrite, and resigned myself to making a replacement part. The government is not going to give me billions of dollars to do 'science', they said they blew it all on the space station. At least now we know there is dust on Mars. An afternoon of whittling, and I had a lovely new pickguard that is snow-white, cut from a piece of plastic that I have had for years that has never yellowed at all. See the Stratocaster Bass, link at left.
I'll keep this part in the junk box, so I can watch it turn back to brown. I guess the real moral of the story is don't invest your time and effort in cheap materials from China. It sounds like I am picking on China, but this happens over and over - quality is non-existent.

Coda:
I've found some Korean parts that have also yellowed, so China does not have a monopoly on crap materials. Although I must say, I was shocked to find it on anything that didn't come from China. The solution is to make a replacement part. Making a pickguard is easier than you'd think, it can be done entirely with hand tools on your kitchen table. It might take longer by hand, but you're only making one.