Drill Press (1/2)
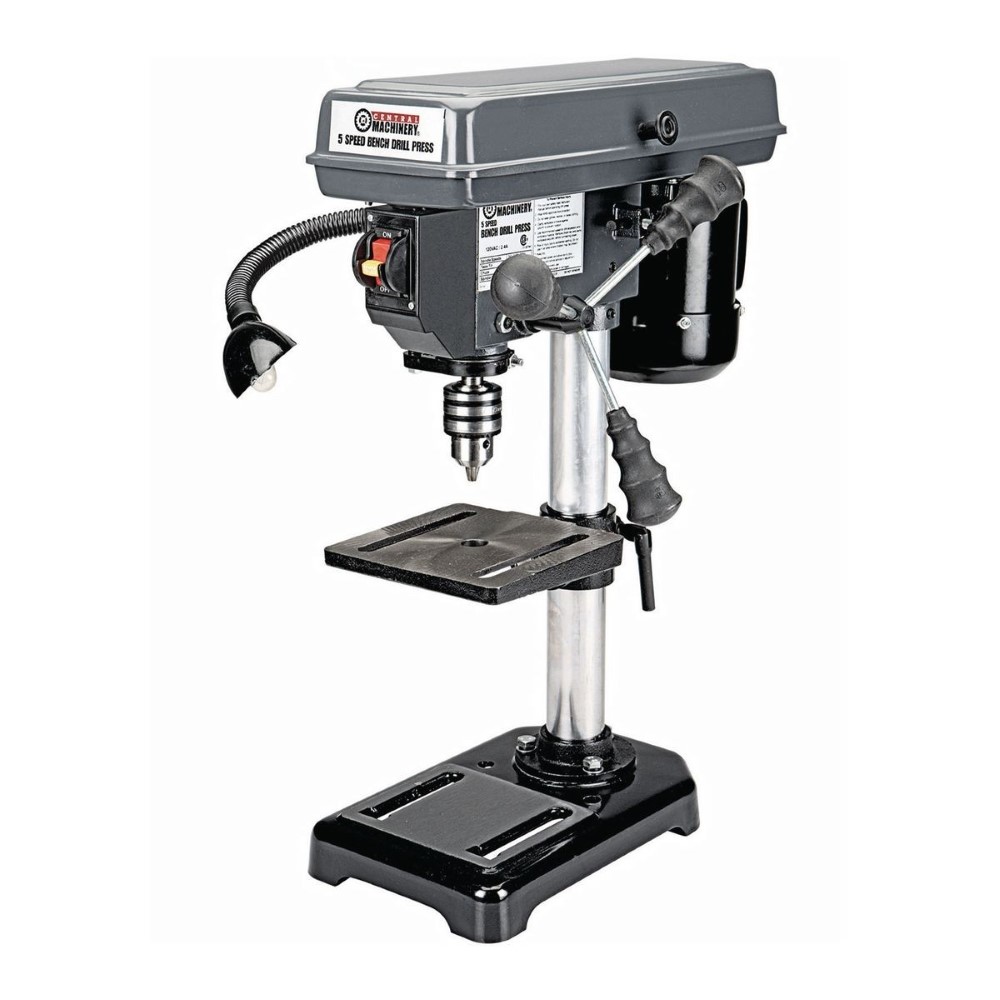
I took a drive over to Harbor Freight - purveyor of fine {sarcasm} Chinese tools & hardware - and picked up this little drill press. With a coupon, it cost me just over fifty bucks. This is not what I would call a good drill press, in fact, it is pretty crappy. The base and the table are stamped, not forged, and small. The quill travel is a measly two inches, parts that should be steel are aluminum, parts that should be aluminum are plastic, vibration is excessive, and the 3/8" chuck has a disconcerting wobble to it. I knew all that when I bought it, and I never would have if I did not already have a much better one, or at least a decent one. What I wanted from this drill press is small size and lightweight, so I can add it to my inside workstation, and not have to leave the heat/ac to go drill a hole in the garage. This press weighs well under 40 pounds and doesn't take up too much space on my inside workbench. My 'good' drill press is not something you'd want to move around a lot.
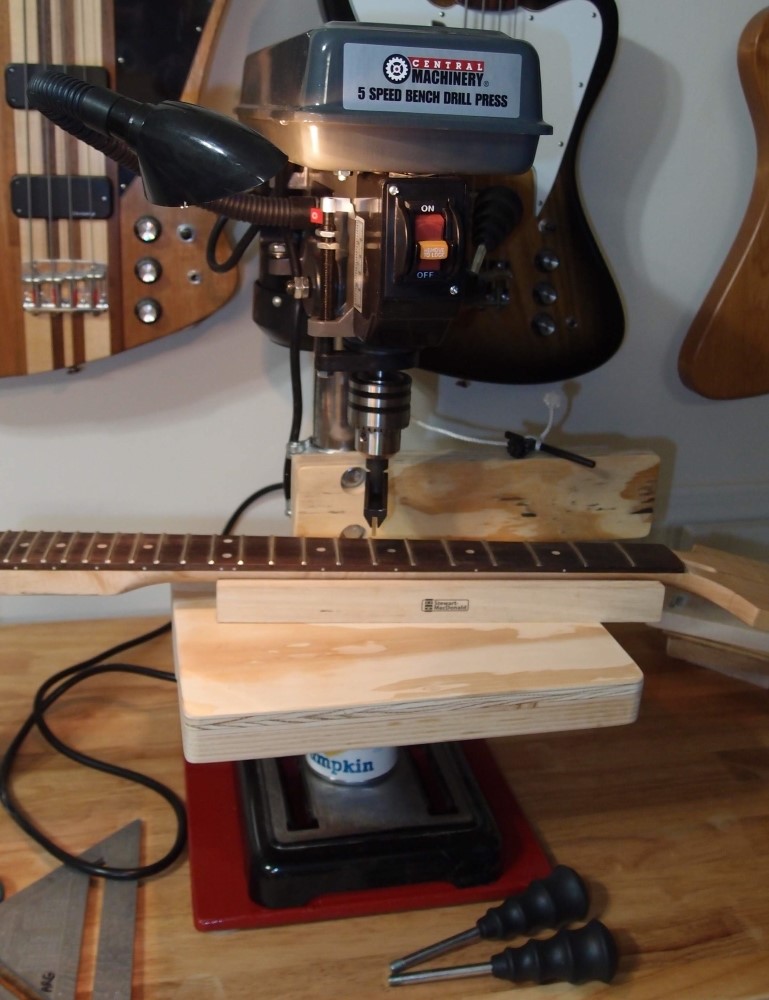
At this size and price point, I was not expecting great quality, but rather hopefully something that I could build on to be useful. The first thing I did was disassemble the table pivot and grind the flange so the table sits square in pitch vs the column. Then I aligned it in roll against the column with a square and locked it in tight. I never use the angle adjustment of the table, if I want to drill something on an angle, I clamp it or shim it or something. I built the little table extension in the picture from scrap wood. It slides on and off from the front, and wedges in place tight without fasteners. Then, I built the sort-of fence dealy from more scrap and some pipe clamps. The fence mounts to the column and pivots around it, so you can move it in as close to the bit as you like. It gives you a guide to vertical for edge drilling, and swings out of the way or removes when you don't need it. This drill press is so small, a conventional fence would hardly fit. Finally, I built a non-marring base extension, which cures all the tipping tendencies of such a small lightweight tool, and ran out an old can of red paint on it. Total out-of-pocket for upgrades, maybe four dollars.
Some testing, and it's not half bad. With care, it can drive my largest Forstner bit, and the wobble settles down once you start drilling - holes are clean and accurate, at least in wood. Plastic and aluminum should be ok, but I'd use the bigger press to drill steel. The other thing I want this for is my StewMac fret press, which is mounted in the picture. You can make out the can I used as a support for the table when testing this, and it seems like it should work. It should also be useful for light-duty sanding and grinding. This is the first time I've ever bought a power tool from Harbor Freight, so I am curious to see how it will work out. For making necks, pickguards, and other small parts, this might be just the thing. It will certainly drill a straighter and more precise hole than I could by hand.
So what's my point? A tool like this can open up a huge range of capabilities for the DIYer. It doesn't cost a lot or take up a lot of space, you can use it on your kitchen table and keep it in the closet. Good workmanship comes much more from the operator than the tool. A craftsman with a cheap tool will get better results than a hack with an expensive tool. * Set it up right ( better than it left the factory, ) take your time, and do a lot of test pieces before you try the real thing, and you'd be surprised what you can do.
* My ex-brother-in-law was living proof of that - thousands of dollars worth of the finest tools his wife could afford, and f'ed up every job he ever touched.
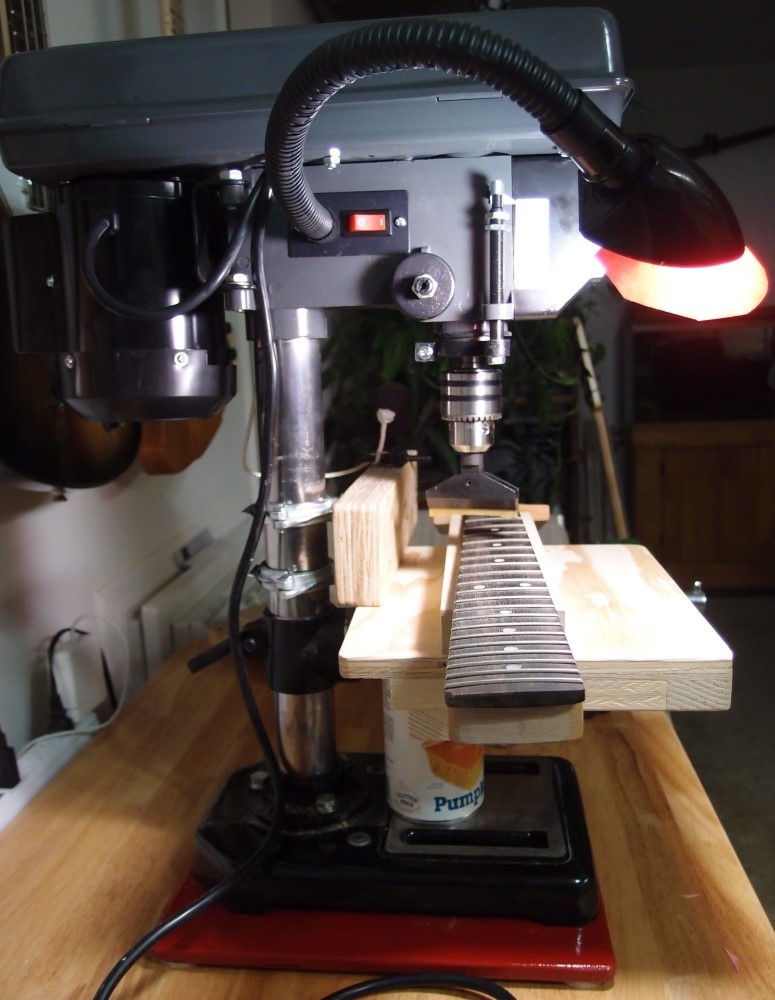
Here's a better shot of the table, fence, and base. You can see how the pipe clamps hold the fence to the column. For very little added cost, these simple additions vastly improve the base tool. I like the light, especially now that I've installed a much brighter fluorescent bulb and extended the shade with a piece of manila folder. The can is the perfect size for pressing operations, the support is not needed for drilling or sanding. Also, notice the lanyard for the chuck key - no more "Where did I put that $%#@%^$ thing?"
You really don't need an entire workshop of power tools to build a guitar. The baby router I mentioned earlier, a hand drill, a small sander, a jigsaw and belt sander, and a drill press like this, pretty much covers it. Here in this thread, I've outlined a lot of useful jigs you can make yourself. You can also get a lot of things pre-made, like fretboards already slotted, etc etc. I knew someone in high school who built a decent Telecaster with not much more than a coping saw and a lot of determination.
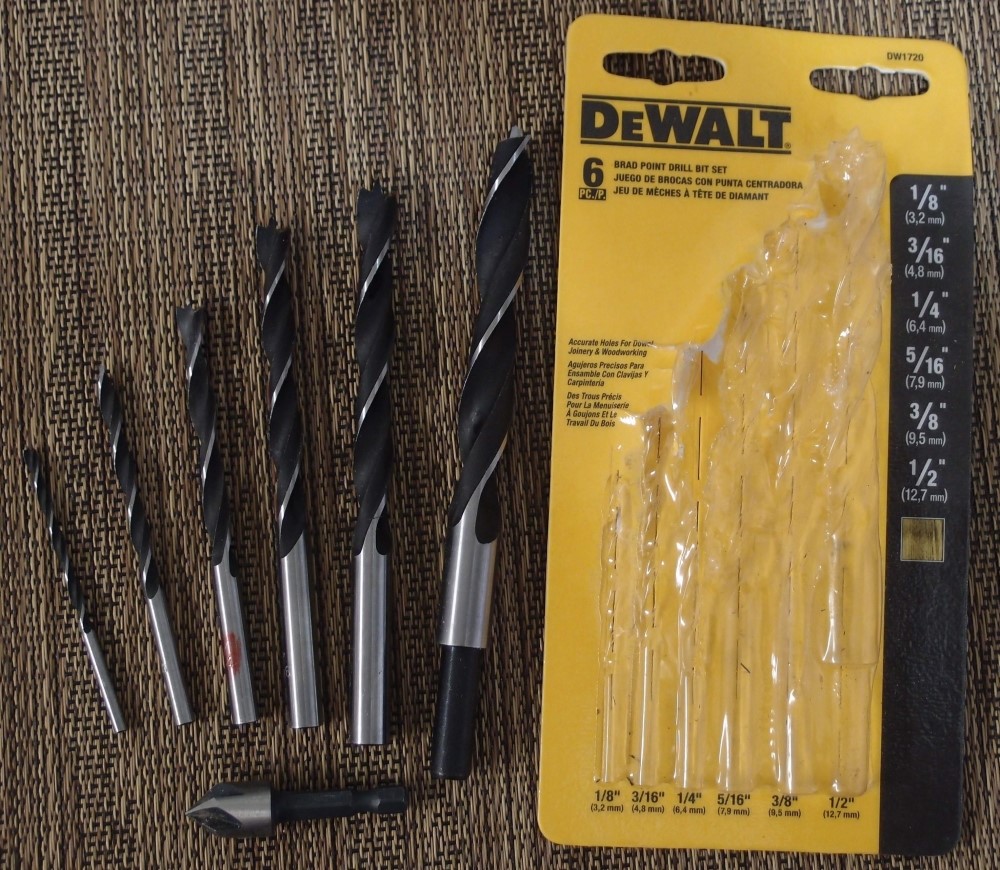
While fitting out the new setup, I picked up this set of brad-point drill bits, which Home Depot sells for just ten bucks. You can't beat that. Brad points are only for wood and plastic, I wouldn't even use them on aluminum, but they are much better than regular drill bits. You put the tip on your mark, and the bit follows, much like a Forstner. Better yet, punch a dimple in the workpiece and drop the point into it. Also, a two-dollar countersink from Harbor Freight, that, after a little sharpening, works better than my other more expensive ones.
Questions or Inquiries?
Just want to say Hello? Sign the .