Work Bench (1/2)
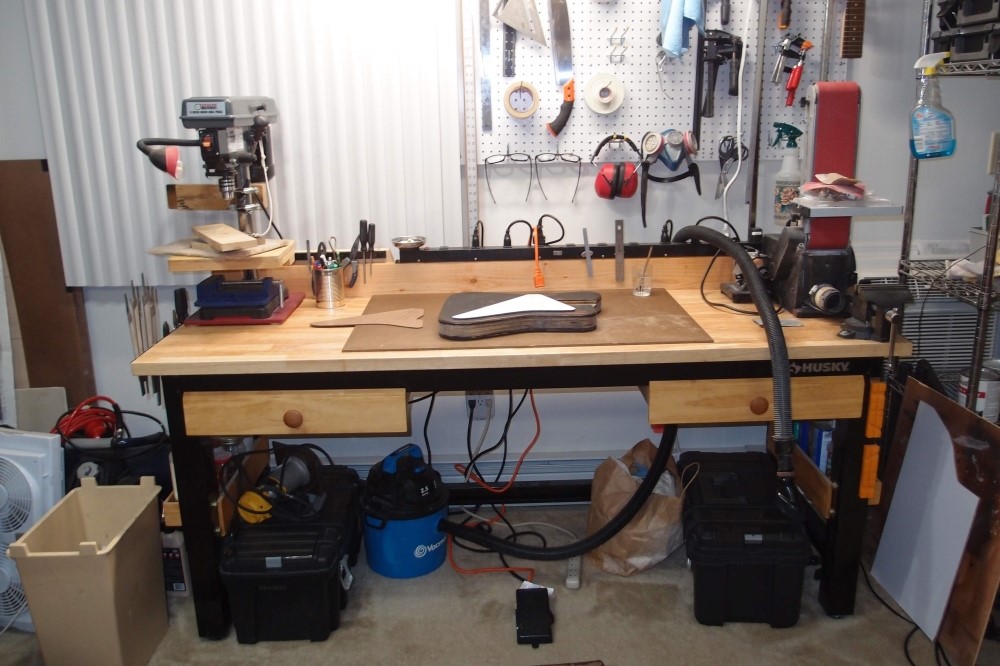
Here is my new guitar workbench, gratis, courtesy of Home Depot for me to review.
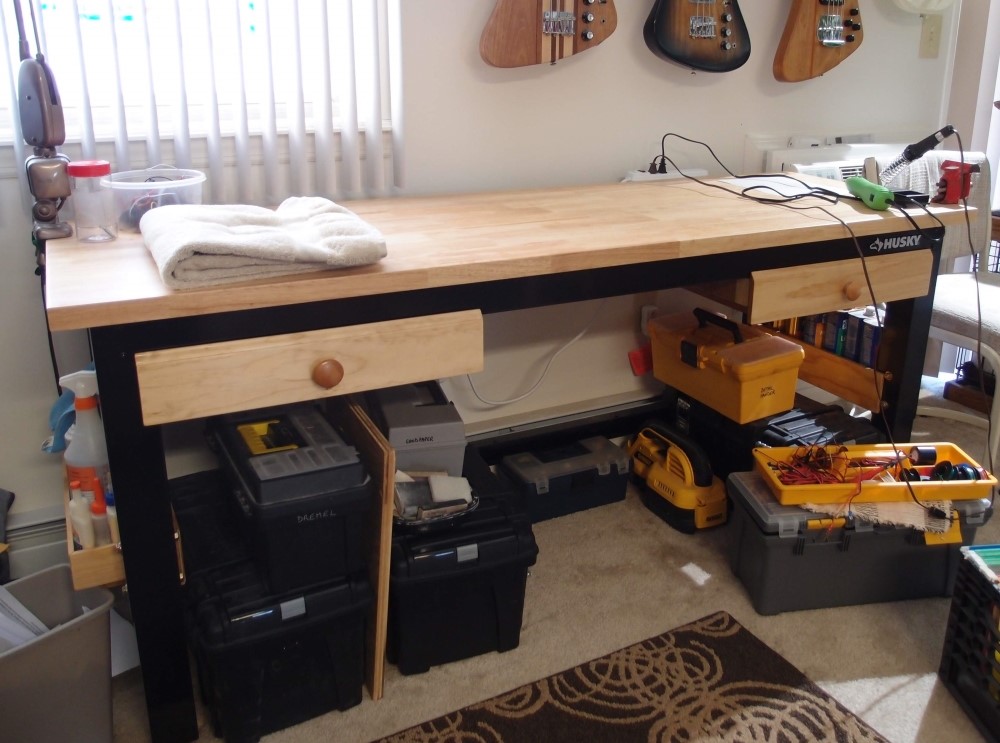
I added the drawers myself, and the side bins, to make a real nice piece of furniture. I pulled the drawers out of an old desk someone was throwing away last summer and tossed them in the attic for someday. Well, someday came - it pays not to be too proud on trash day - go price drawers, they're expensive. I made new matching fronts from a piece of floor molding. I also added the little shelves, vise, and power strip. The old towel makes a nice work surface for guitars. Of course, this bench is rated for 3000 pounds of abuse, but this one will never see that. Thanks, Home Depot!
I was wandering through Harbor Freight, looking for something to use my coupon on, the way you are supposed to, and I found this 12-outlet power strip. An expensive way to get a free flashlight, but what the heck, if you're not impulse-buying, then why did you go in there in the first place?
Actually, I was getting fed up with the outlet situation on the workbench. I tried to velcro a second power strip between the drawers, but it fell off. 12 outlets, spread over 4 feet, solves my problem perfectly, except for how to mount it. I don't want to give up any of the top area or depth. I slept on it, and the next day I got a 2x6 for six bucks and screwed it to the back edge of the benchtop. This gives me a nice backsplash, and the outlet strip mounts to the top edge, up away from all the dirt and dust, I hope. I also mounted a third magnetic tool holder. The power strip is steel, so whenever I get a stray magnet, I can slap it on there and have another spot.
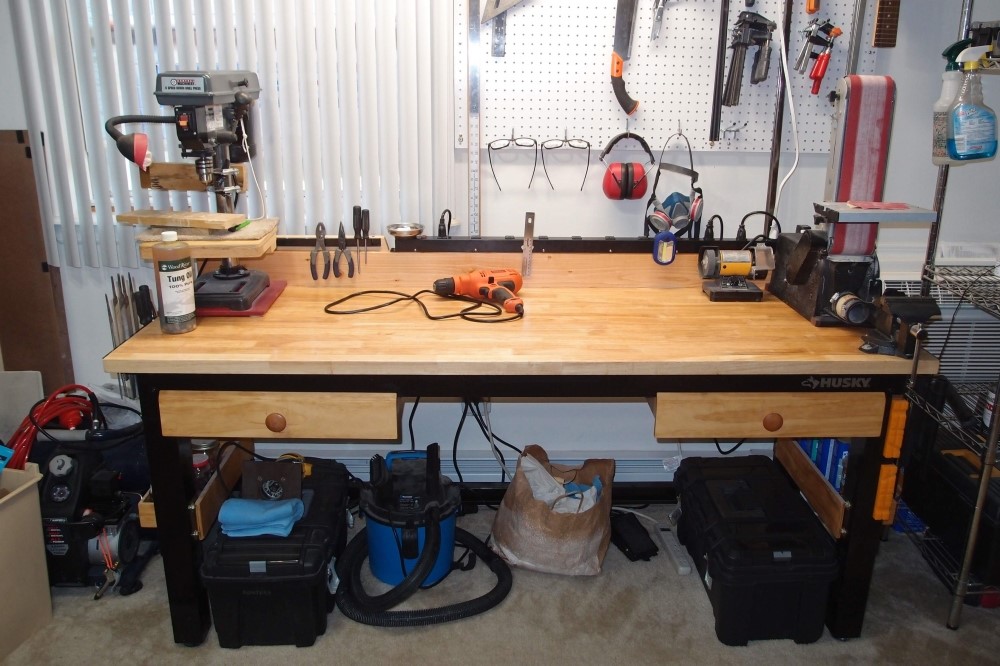
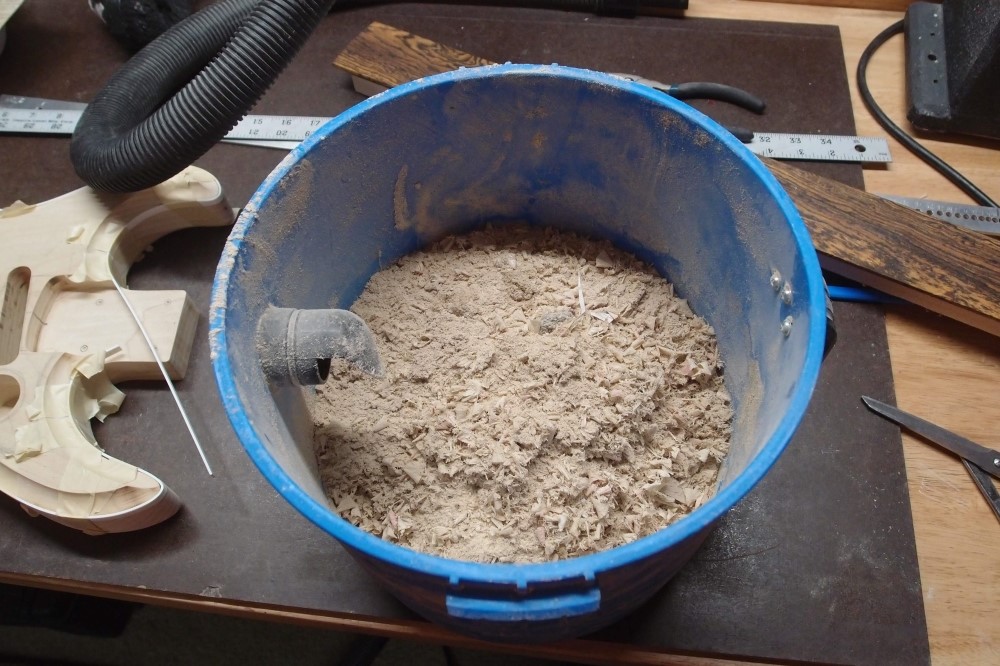
While I was at it, I added the pegboard and sanded the benchtop, and Tung oiled everything. After all, this is indoor furniture and should look nice when it's cleaned up. Lastly, I ordered a plug-in switch, so I can control the little shop-vac from above. The vise, drawers, and side storage bins, I did when I first got the bench, which was another Home Depot Freebie ( so was the vac. ) As much as possible, it is all salvage and scrap ( my favorite tonewood! ) but now I broke down and spent some money on it, and this is worlds better, everything easily at hand.
You can also see the cheap little B&D drill I got recently, with a cord. How retro !!! I got sick of the cordless dying on me. Now I have plenty of outlets to plug into. And this drill has something I haven't felt in quite a while - torque. It took some getting used to. The little orange saw on the wall is a Harbor Freight cheapie - and it's awesome, get one.
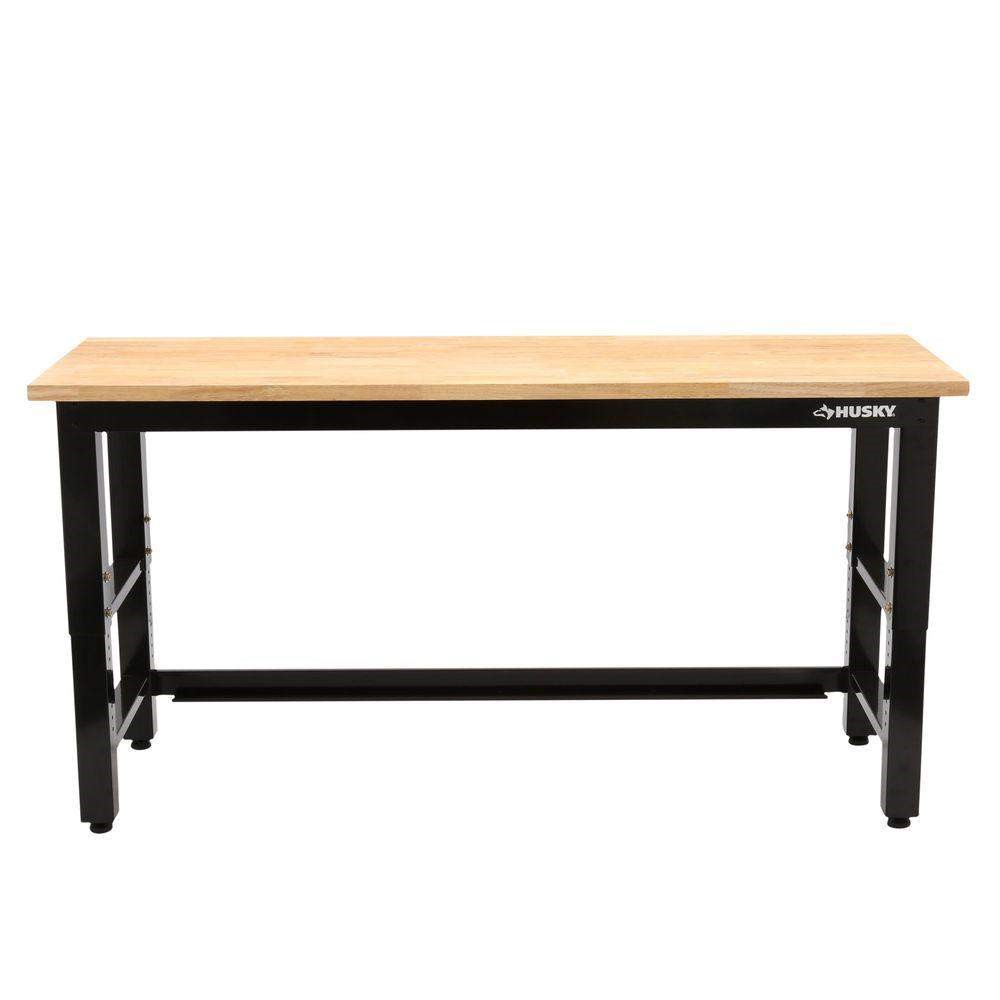
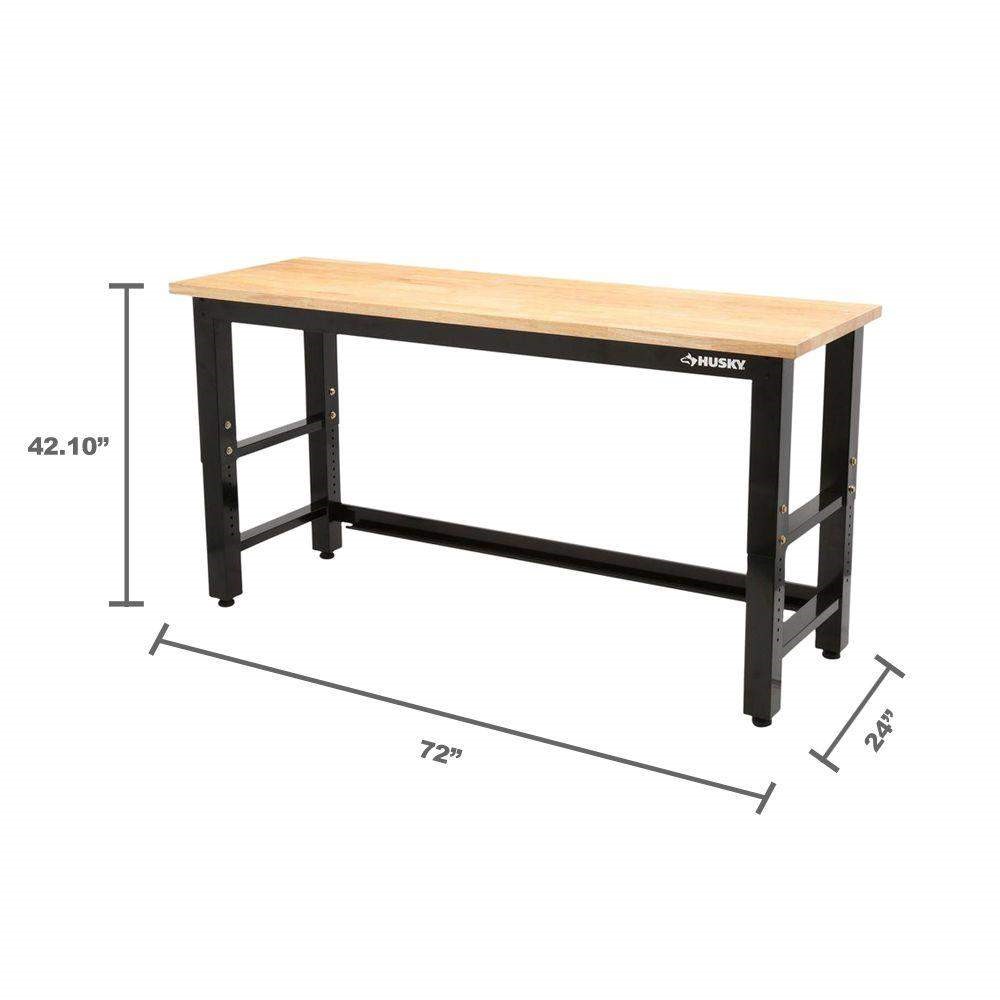
https://homedepot.com/p/Husky-6-ft-Solid-Wood-Top-Workbench-G7200S-US/206288247
The is also an 8 foot model. Now I have envy.
Here is the workbench again, with a couple of neat ideas implemented. The vacuum is now permanently 'on' and plugged into a switch on the power strip, so I can turn it on and off from above. It's going to get a lot more use now. The extra-long hose is courtesy of a dead vacuum someone threw away. It pays not to be too proud.
You can see the footswitch on the floor. The new orange extension cord comes off the footswitch and is secured at the back of the bench so it can't fall. Now I can take any tool and quickly put it on the footswitch. This is super useful for the drill press, and sometimes the belt sander. I also filled-in the peg board some more. Having the safety gear right there makes you much less likely to not bother with it. The old dry-erase board becamer the perfect sacrificial top.
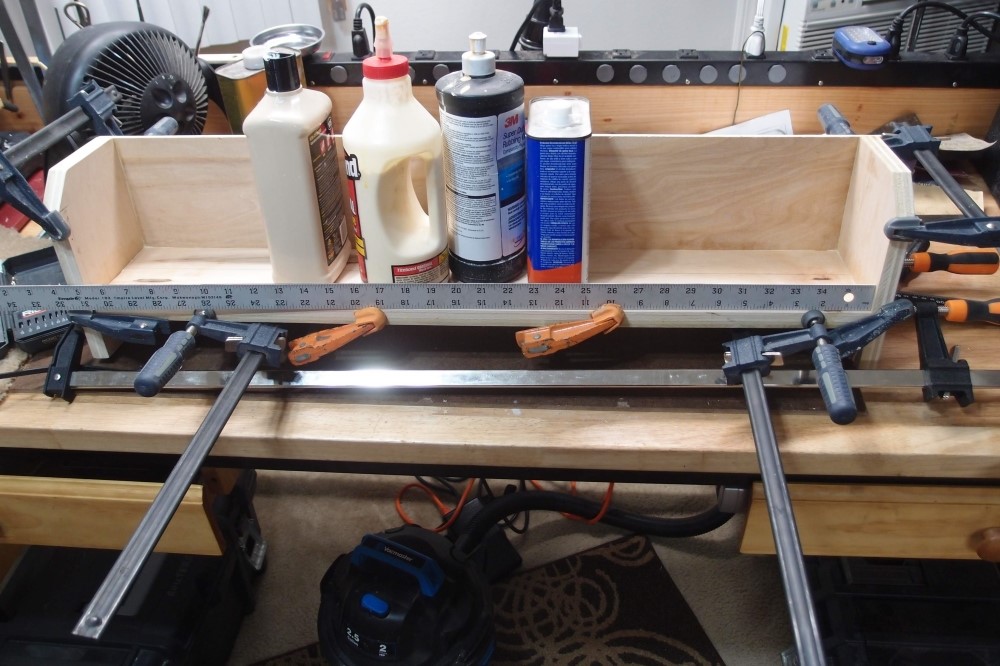
The back-splash that I added to the workbench to mount the power strip to adds new possibilities, so I built a set of storage bins to mount to the back of it. These are assembled entirely with glue and clamps from that same plywood I was using earlier. They are sized around the containers in the picture. If you want to do something like this, save yourself a lot of work and use dimensional lumber; I just happen to have a pile of free plywood.
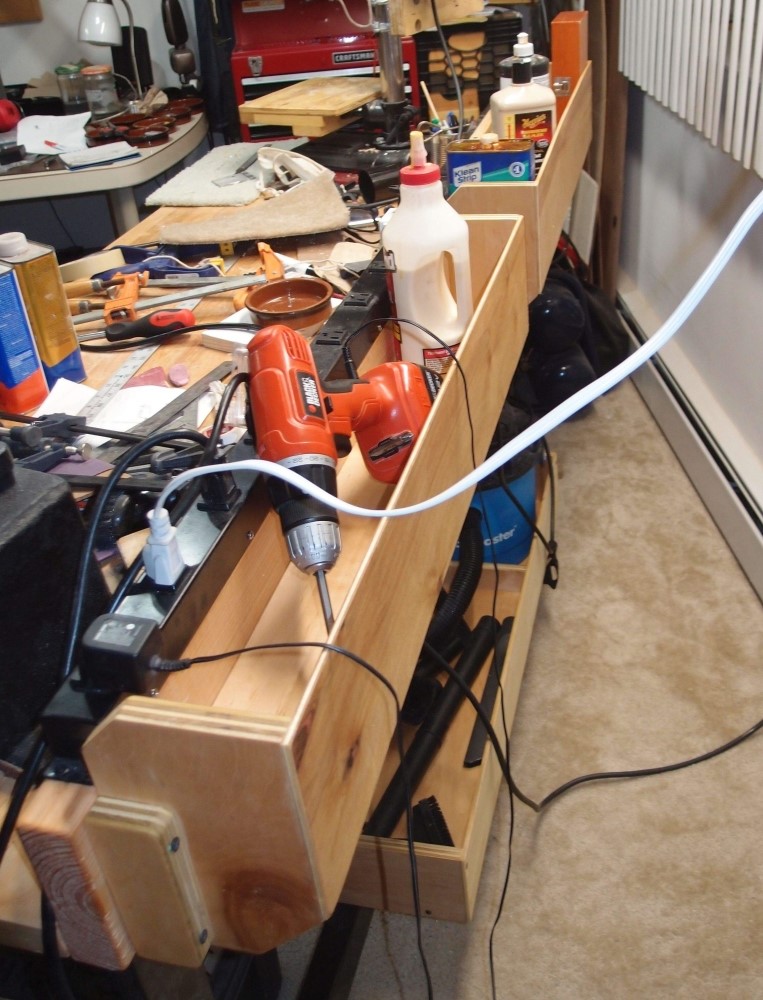
The bins are installed with screws, so that I can take them off if I ever need to. Two of the screws that hold the back-splash to the bench top would have been covered, so I removed them and reinstalled them in the clear. This way I can remove the entire back-splash as a unit without having to remove the bins first.
Here is the bird's-eye view. It was easier to build two small bins than one big one, and I wanted the gap inbetween to route the vacuum hose, wires, etc. The bench now stands about 5 inches further from the wall, which is not even noticeable. I have not given up one square inch of top area, except for the vise, which can't be helped. The drawers serve as handy extensions to set tool boxes on. The cordless drill finally has a place of its own with the charging cord handy.

Questions or Inquiries?
Just want to say Hello? Sign the .