Airbrushing "Off the Grid"
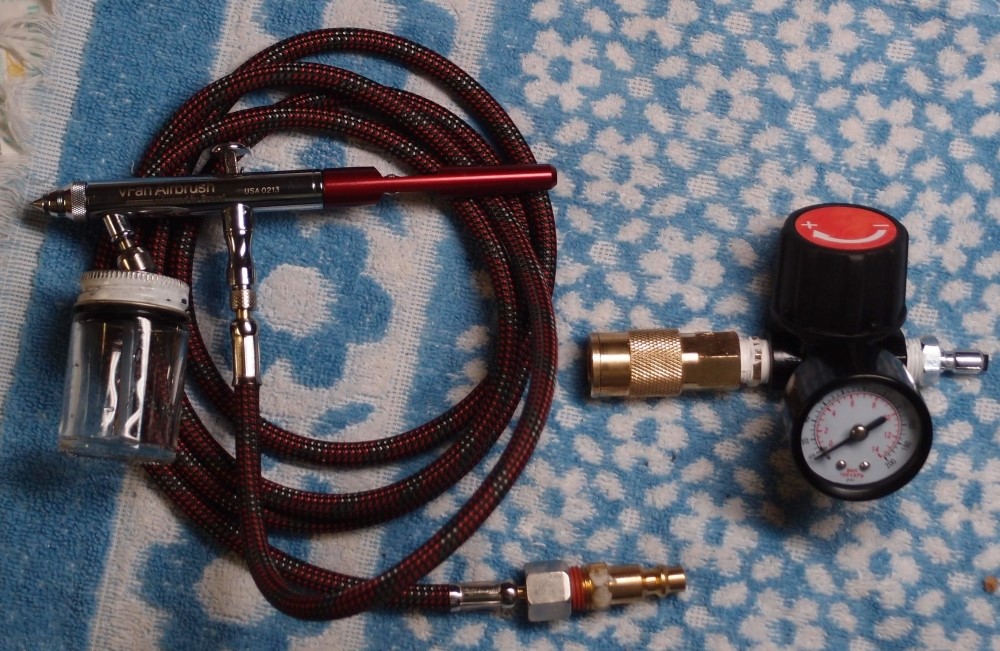
On the left is my excellent Preval vFan airbrush that Home Depot gave me to evaluate. You can see the hose has a standard 1/4" male QD connector installed. On the right is a pressure regulator, with a standard female QD connector on the outlet side, and a scuba-to-NPT adapter on the inlet side. Plug that into an inflator hose on a scuba regulator, and set your output pressure on the inline regulator.
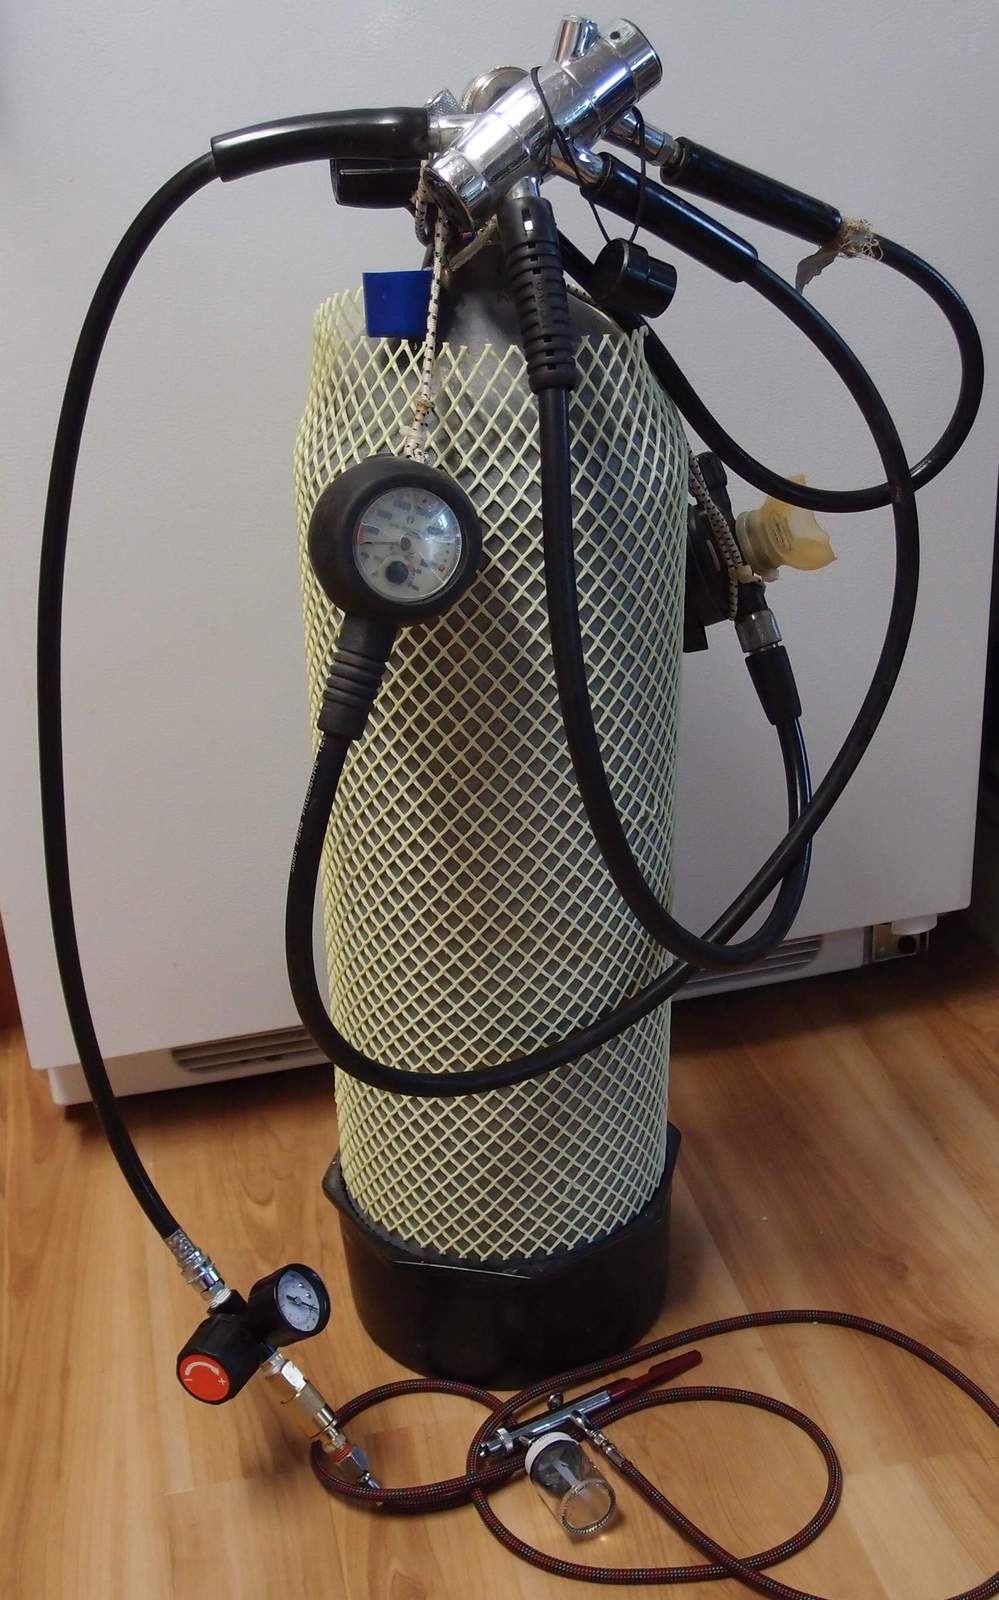
A scuba regulator outputs about 140 psi, roughly the same as a compressor, while the airbrush wants 20-40 psi. The flow rate is more than adequate to drive the airbrush, and breathing air is already super-clean, so no filter is necessary. A typical scuba tank holds 80-100 cuft at around 3000 psi, and costs well under $10 to refill at the dive shop. The vFan spec is 5 cfm at 20 psi, which works out to over 15 minutes of continual spraying, or several hours under real conditions. This could even drive a bigger spray gun for a useful amount of time, but I don't think I will ever use it for anything but the airbrush, since Home Depot also gave me a nice compressor. It's like Christmas every month.
About $20 in parts. Of course, doesn't apply if you're not a scuba diver, or at least know someone you can borrow a setup from. I would like to note that this idea is not all that original, scuba-inflator tire chucks have been available for years, I just took it a little further. Preval also sells a compressed air product to power the airbrush, about the size of a hairspray can. It actually works pretty well, but would quickly get expensive to make much use of.


Questions or Inquiries?
Just want to say Hello? Sign the .