Doing Things Wrong

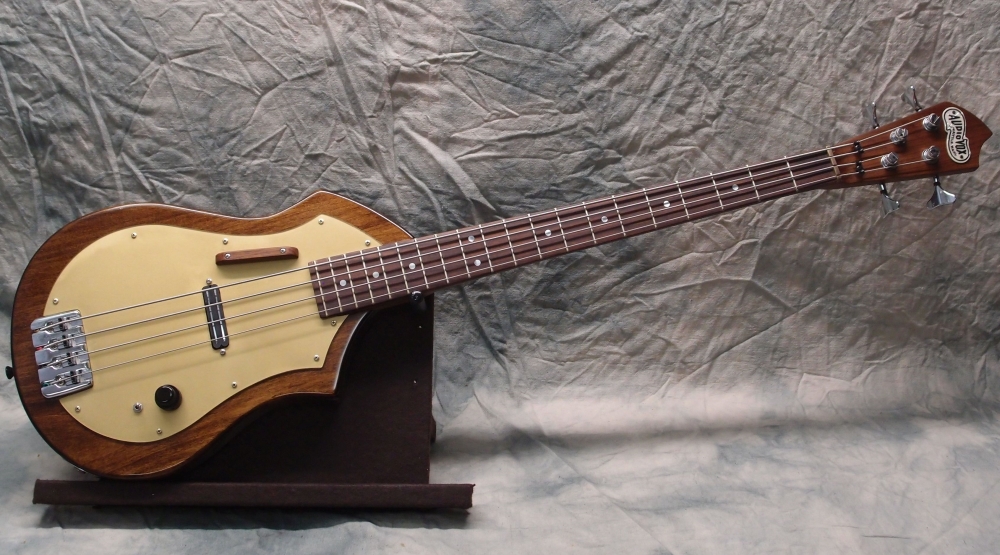
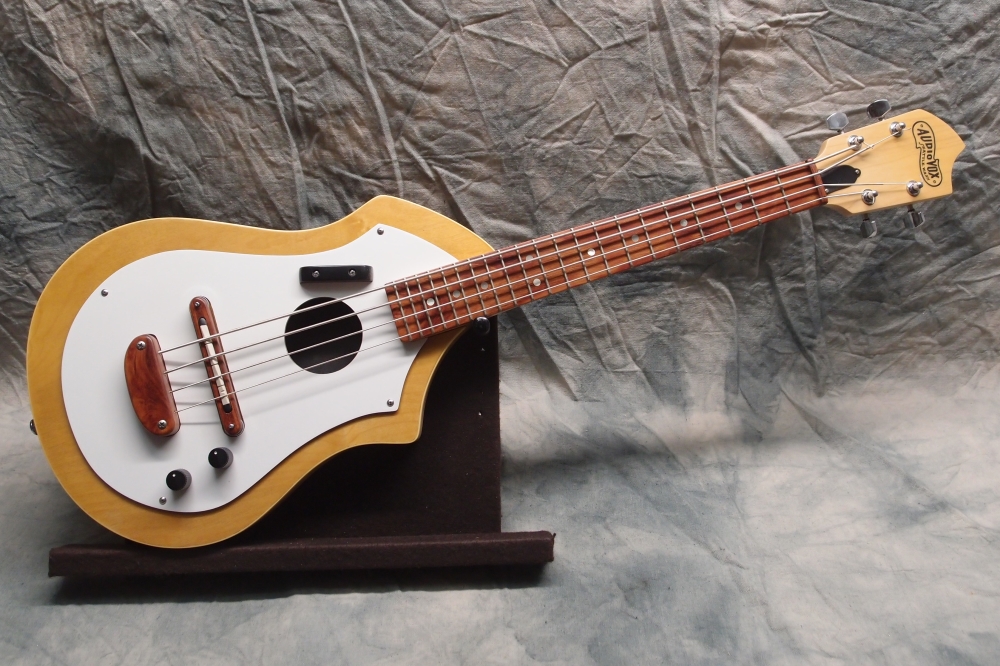
Audiovox Uke Bass (1/2)

Well, it's that time of year again, time to renew the web hosting. And for those of you that don't know, that has become a lot more expensive than it used to be. Fifty dollars a year is now several hundred. Not to mention the price of domain names has gone up ten-fold.

And I just found out that the nice folks at PayPal disabled all my Support buttons, and I never got a notice (although that may be my fault.) In any case, it is all working again now, so if you would like to make a small donation to help defray these costs, it would be greatly appreciated.

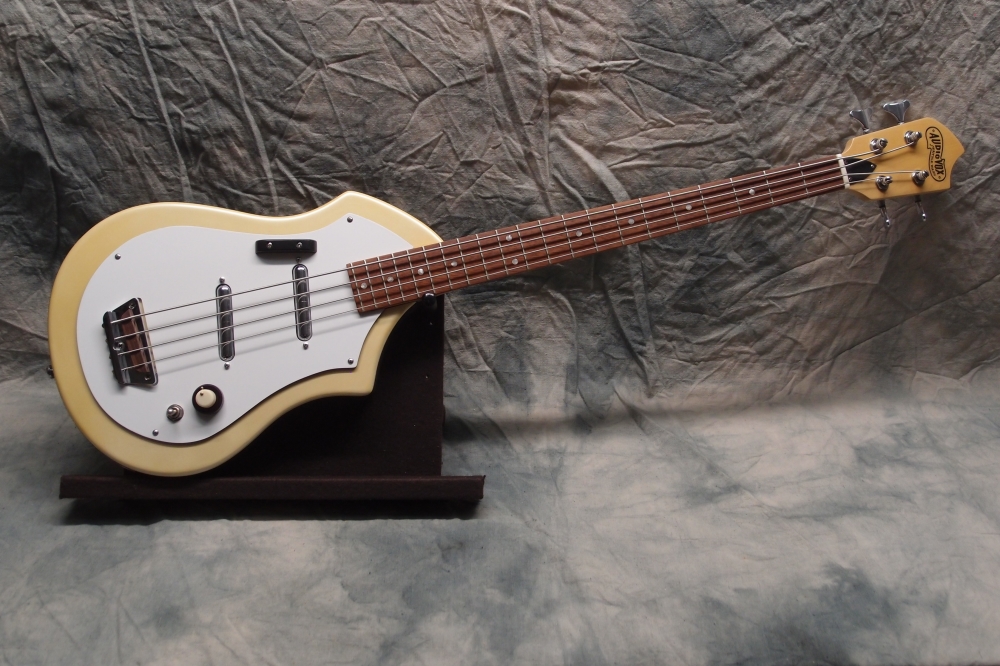
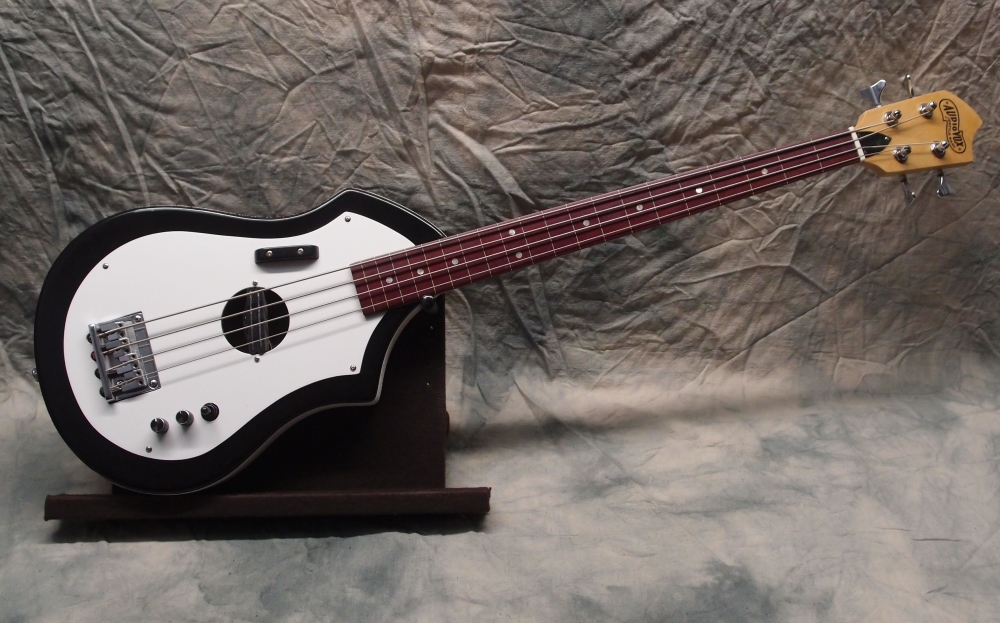
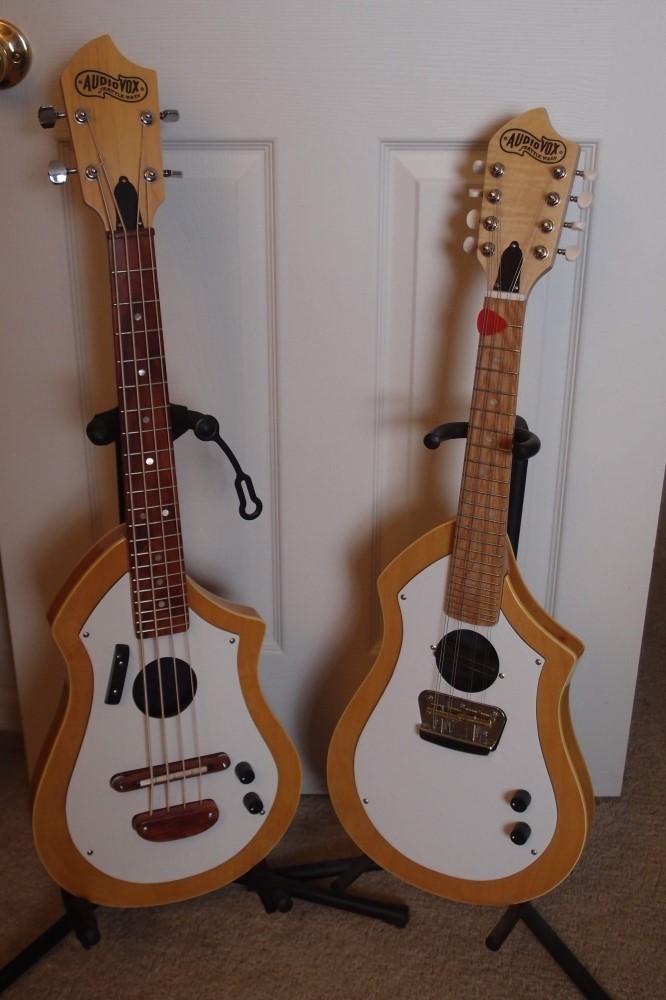
This bass is a 21" scale, with a piezo saddle mounted in an adjustable bridge. The soundhole is just for looks. The strings are metal-wound Kalas. The fretboard is cut out of the ugliest piece of wood I ever received. For such a small neck, I managed to cut around most of the ugly, and the result isn't half bad.
image

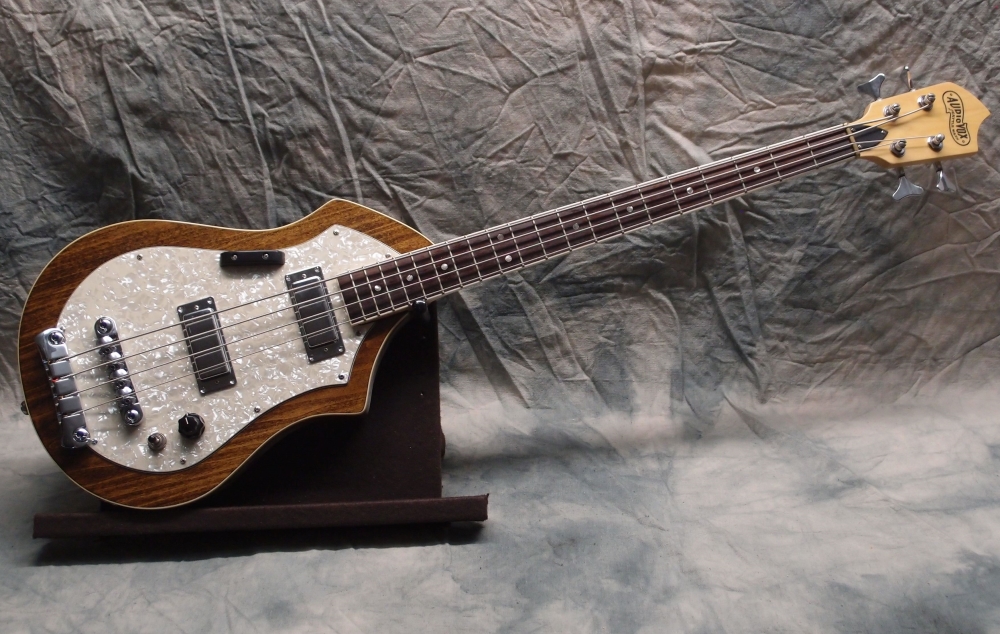
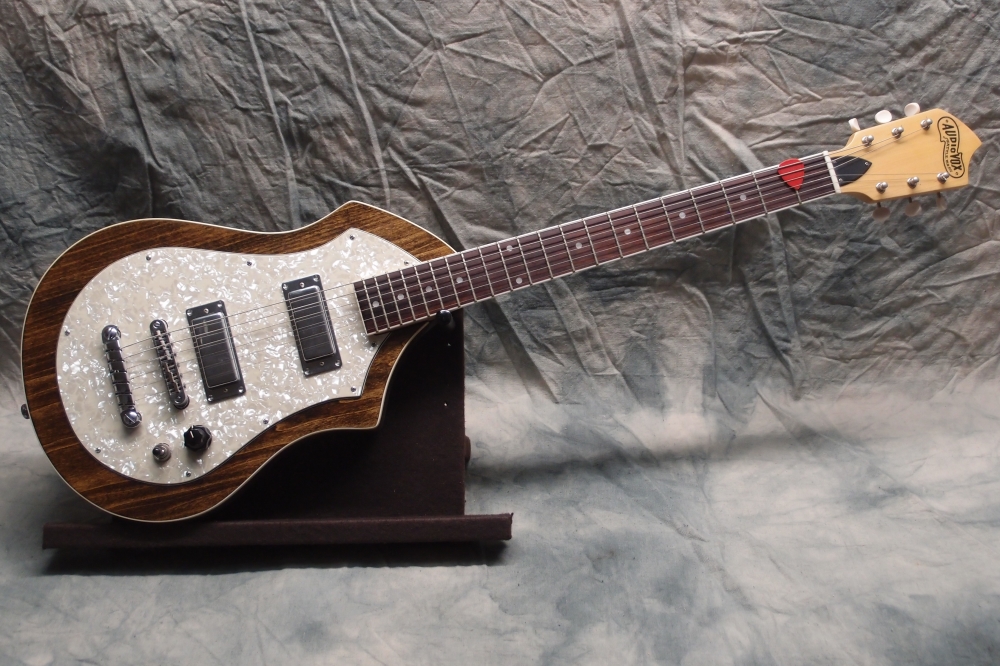
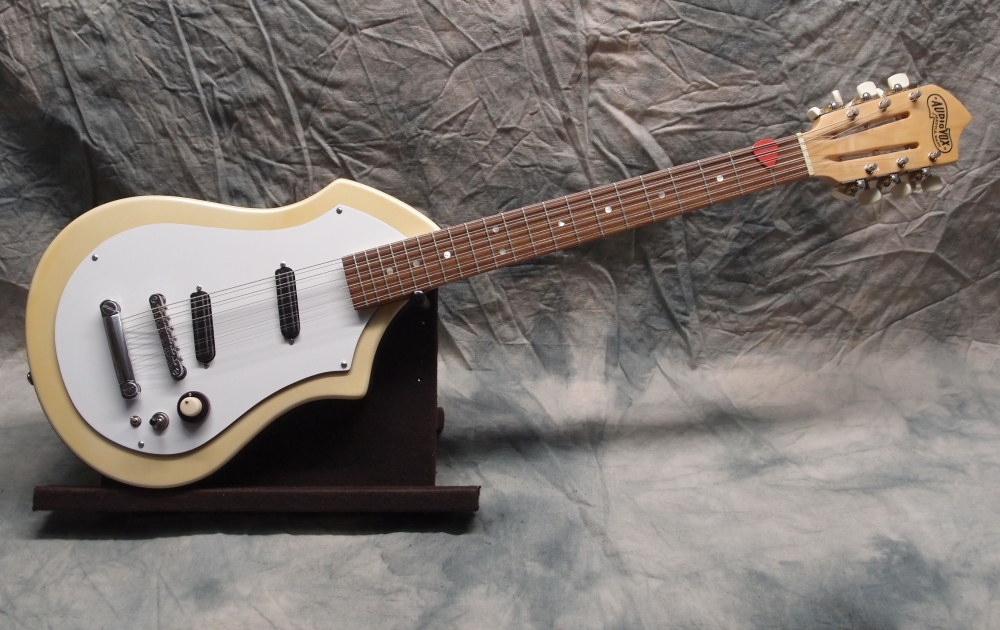
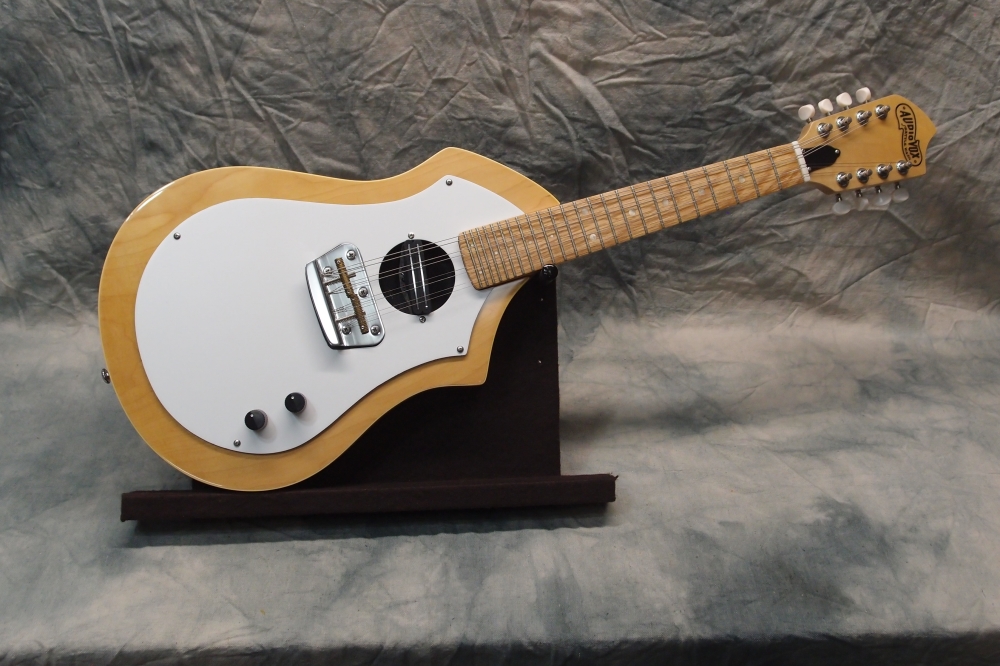
These two bodies are maple plywood over a hollow pine core, double-bound. They came out very lightweight, too light to balance even a guitar neck. The short uke bass was always planned. I shuffled parts and bodies between some other projects, and that left the second body free. I thought about it for a while and decided it would make a good mandolin.

Both of these short necks have fixed steel truss rods, although they probably don't need them. Both are finished in polyurethane, with masonite pickguards.
 1 2  

Comments on Audiovox Uke Bass

Questions or Inquiries?

Just want to say Hello? Sign the .

Submit a Comment

Your email address will not be published. Required fields are marked *


Click image to replace if unable to read.

Enter the digits from the image above, except for the last one:

This site uses Akismet to reduce spam. Learn how your comment data is processed.


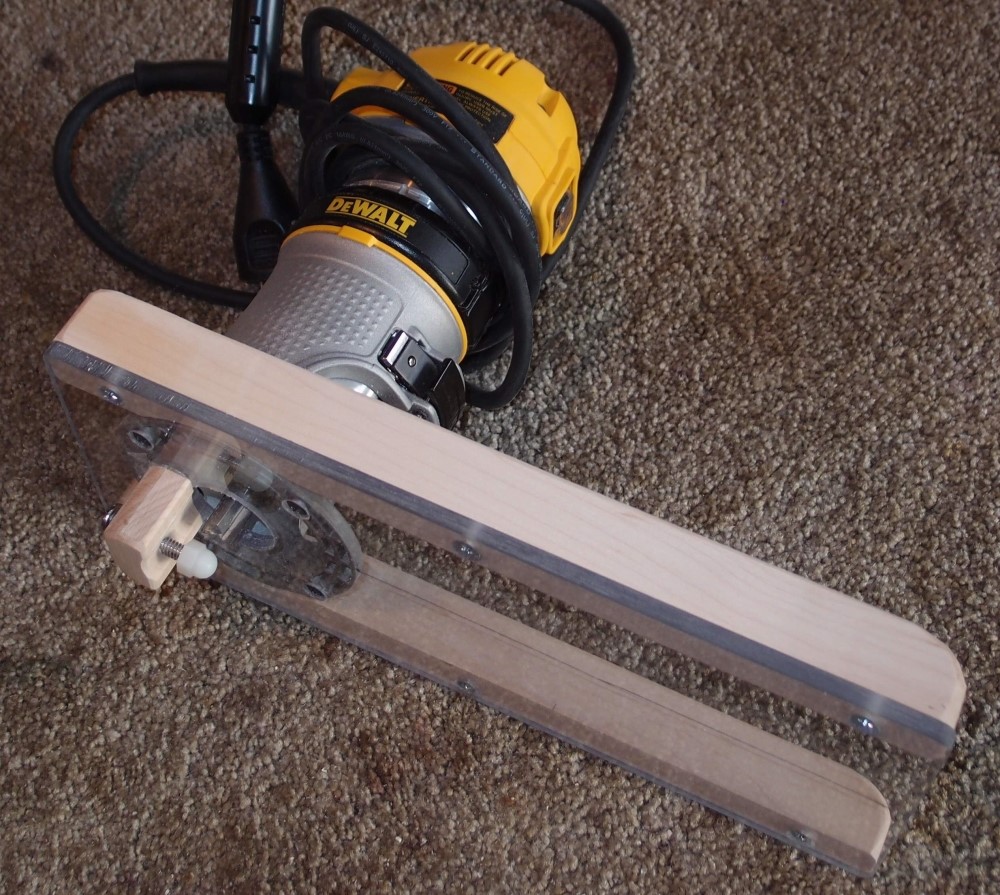
I've cut out the slot for the truss rod. This is a standard 540mm truss rod for a 34" scale bass. To make it fit in a 32" neck, I need to add one more fret. So my project will have one more fret than an actual Ric, just another way it will be better than the real thing. The jig and tools and method are all described in the Laboratory. Most of the work was done in the jig, with a little free-hand nipping for the adjuster end. I haven't carved out the access for the adjuster yet.

Printed from luthierylabs.com