Audiovox 736 Bass (4/4)
Dec 18, 2015
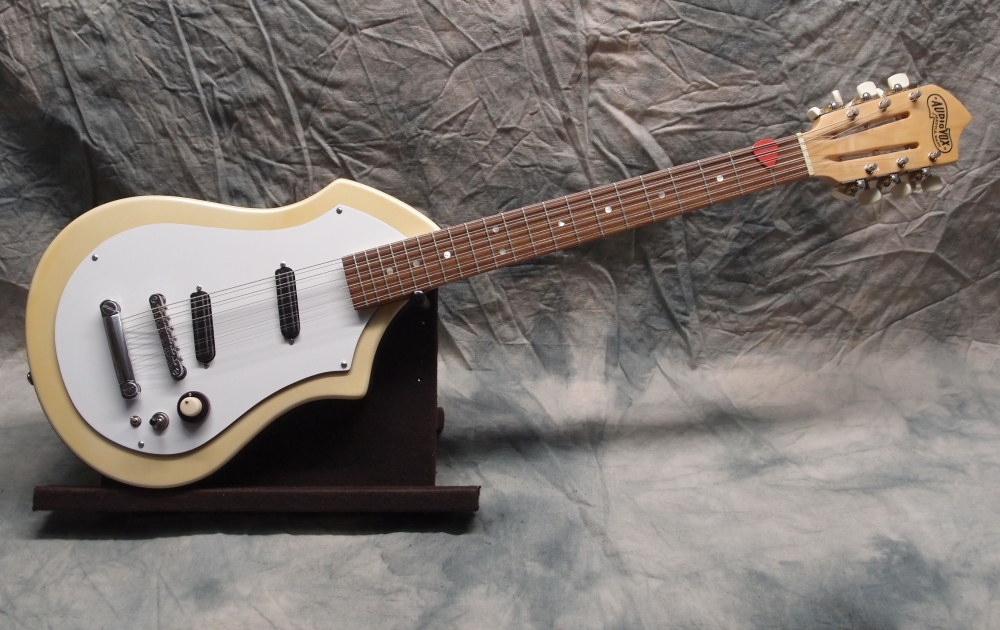
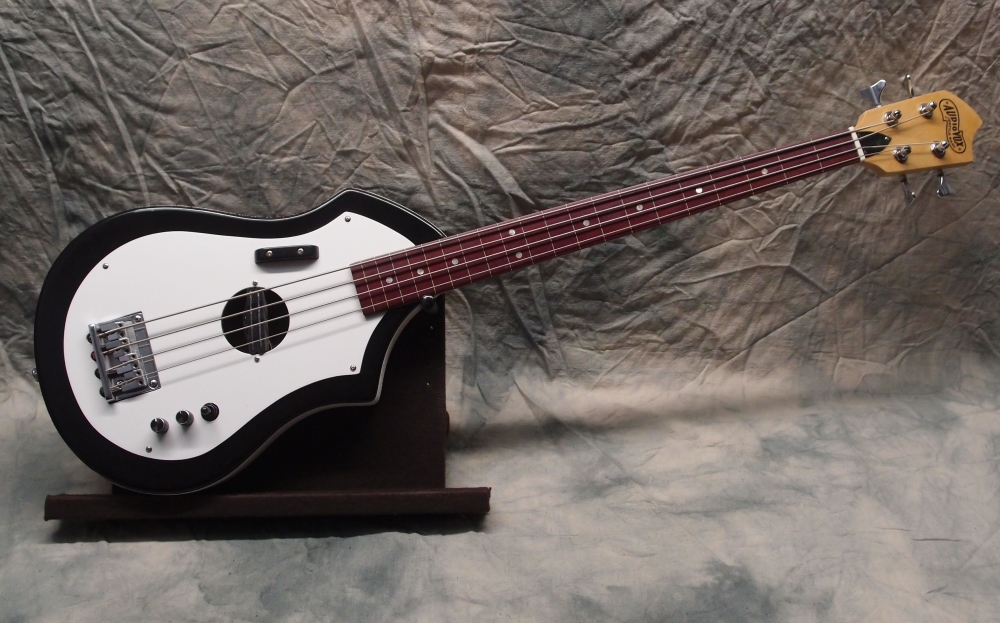
Doodling
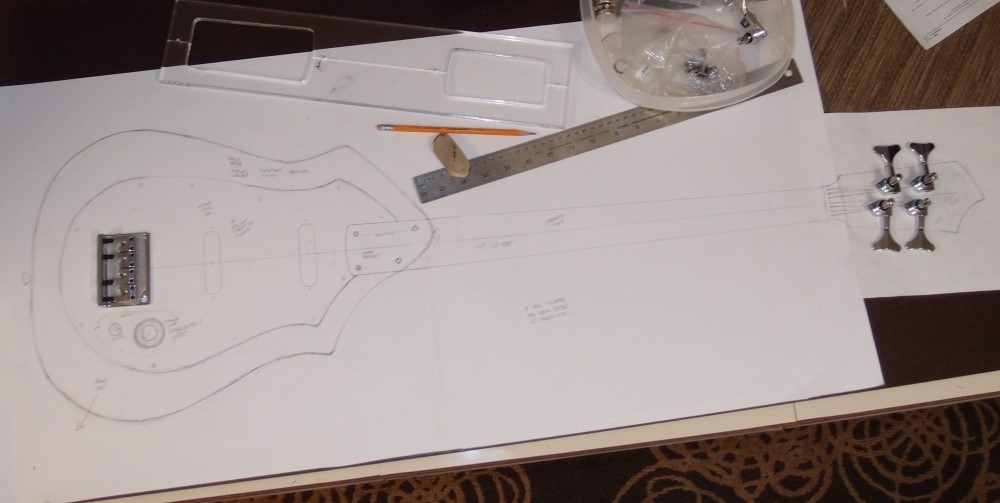
If Tutmarc had been better at marketing, we might all be playing these ...
... saving these plans for someday.
If I only knew where this was leading ...
Rebuild
Apr 14, 2018
Who Needs Walnut?
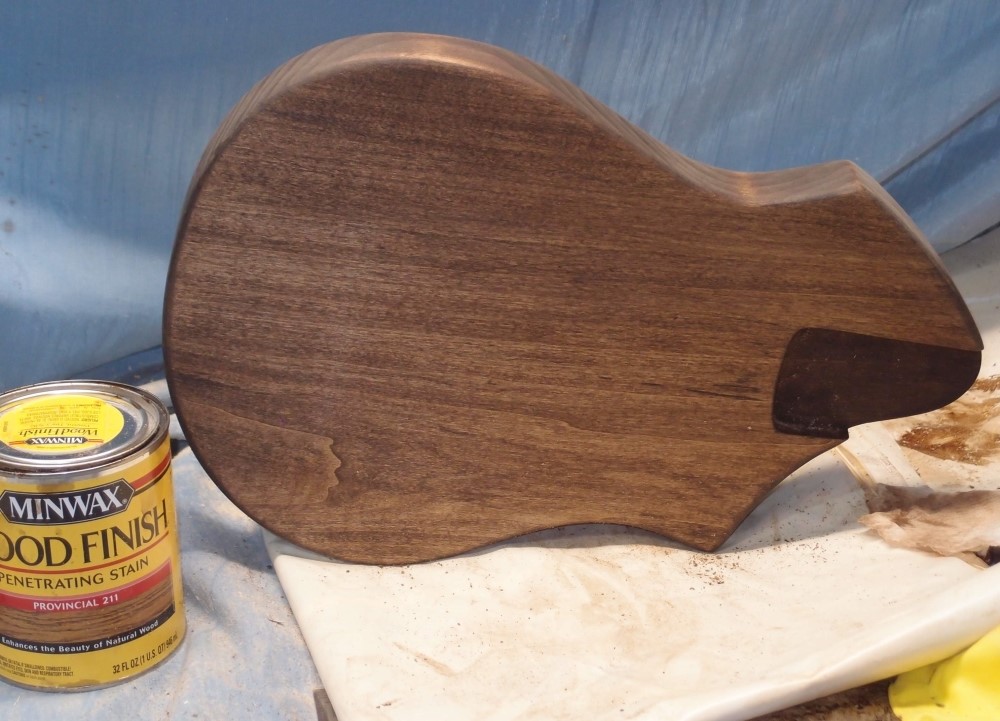
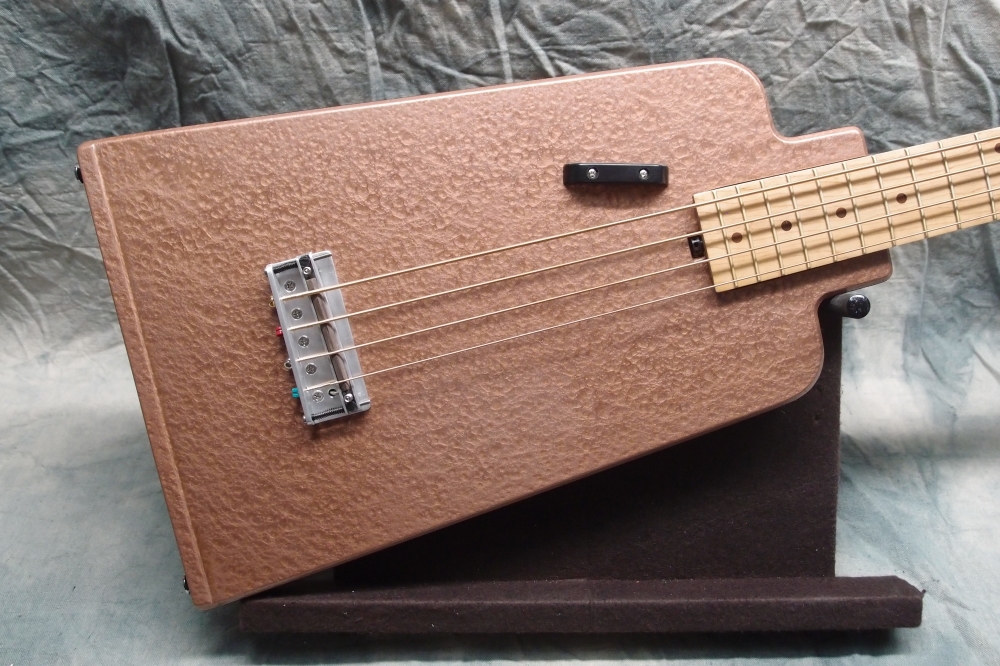
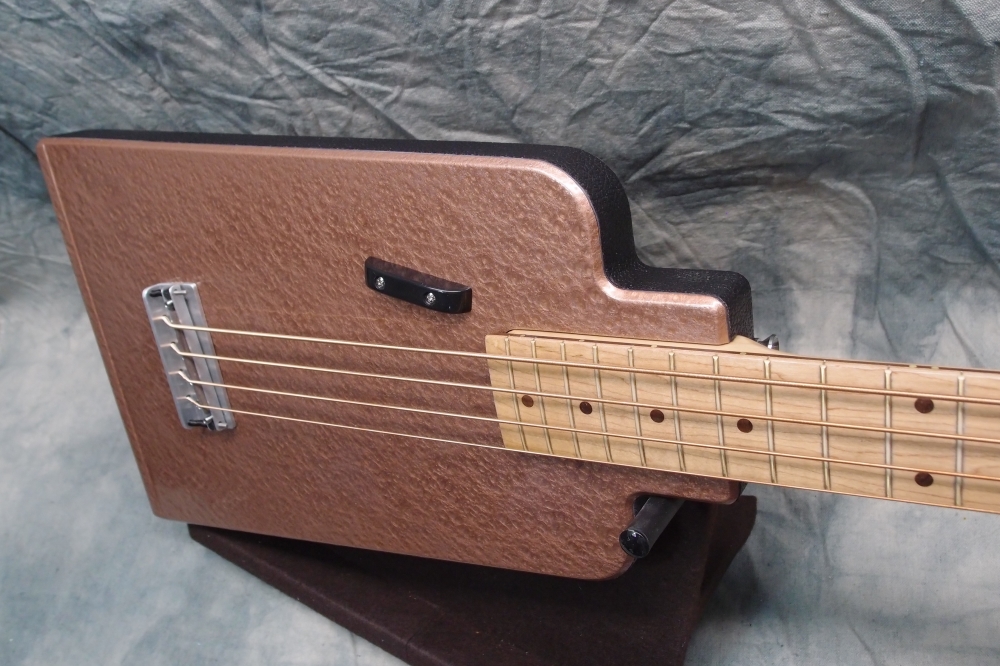
I decided to make a new body for Audiovox #0, as I find the existing one is unplayable. From a $5 piece of poplar, I carved out one of my 'standard' Audiovox bodies. Much like the original Audiovox, this one is going to be a plain slab. The edges are 1/4" radius, less now after sanding, and there will be no other contours or binding.
After sanding the faces, I used a scraper to re-level them. Poplar has softer and harder areas in the grain, so you can't sand it flat, the harder you try, the wavier it gets. The steel scraper took the high spots off and gave me a flat surface again.
Then I drenched it in three coats of my usual stain, the same stuff I used on the stand. Poplar is well-known for staining badly, and I am taking advantage of that. You could think of this job as one big blotch. I think the end result is actually better-looking than real walnut. Polyurethane will yellow it a bit.
It is possible to get proper results staining poplar if you first pre-treat it heavily. On another project, I applied three coats of clear natural stain to choke the grain before the color coat. A coat of this same stain then came out perfectly even and lighter than the can shows. Just goes to show that the color of a stain is much more dependent on the application than the wishful thinking of the manufacturer.
Poplar does not require bothersome grain filling to achieve a smooth finish, as walnut would. The main drawback of poplar is its softness ( walnut is very hard, you can make fretboards out of it. ) So this body will get a protective coat of poly before it is done. A piece of poplar this size is also likely to have some tiny cracks, which I found and filled with Crazy Glue just after band-sawing.
When it is done, I will transplant the neck and all the other parts to the new body. I may make a new pickguard, depending on how some experiments go. But first, the stain needs to dry for a day, I can't handle it without my hands turning brown.
Apr 15, 2018
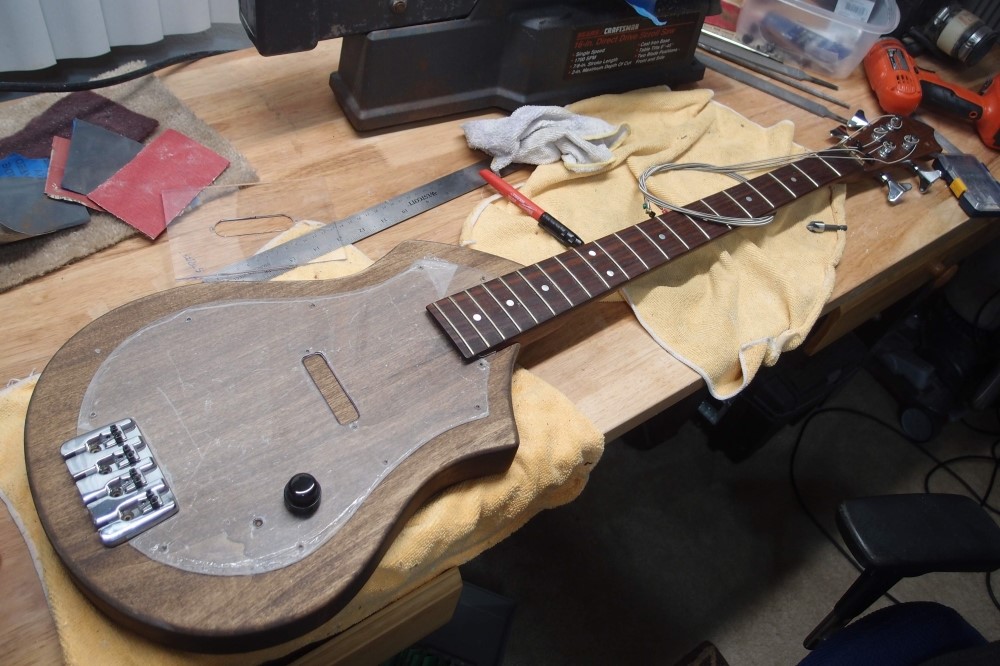
This rebuild is moving along. The clear windowpane material is more difficult to work with than standard pickguard plastic. It is harder and stronger, but more prone to cracking if you are not careful, and also melting. I would not dare to touch it with a router. I have all the contours and holes done, with a scroll saw, drill, and hand files.
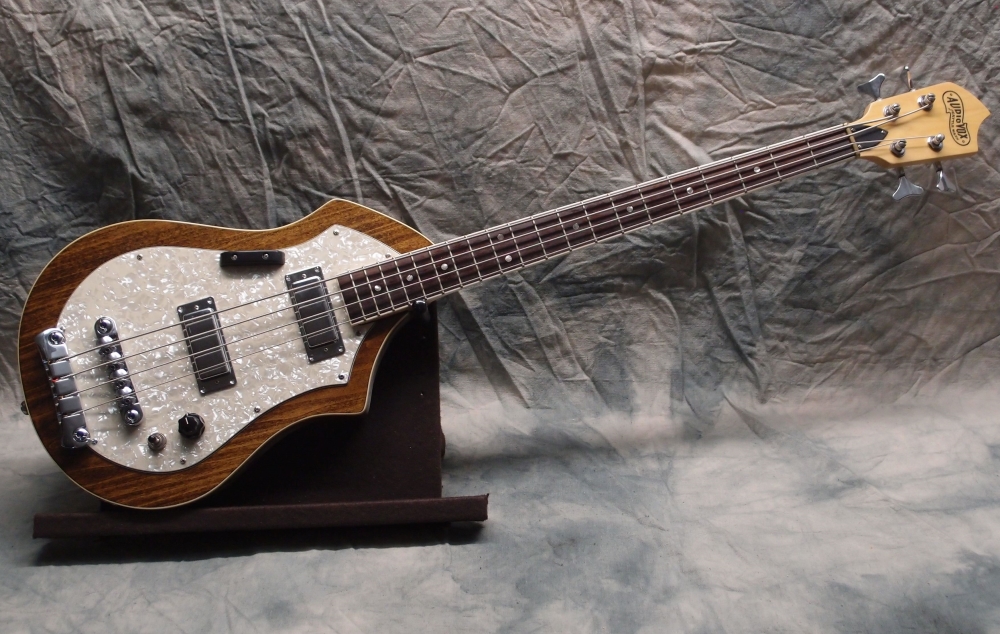
Never mind the back burner, luthiery hasn't even been on the stove for a few months. This is the new body for my first Audiovox. It is a five-dollar piece of poplar from the lumberyard, stained to resemble walnut. It actually looks better than walnut. All the woodwork is done, it is down to finishing now. The soft poplar will need a good coat of protective polyurethane
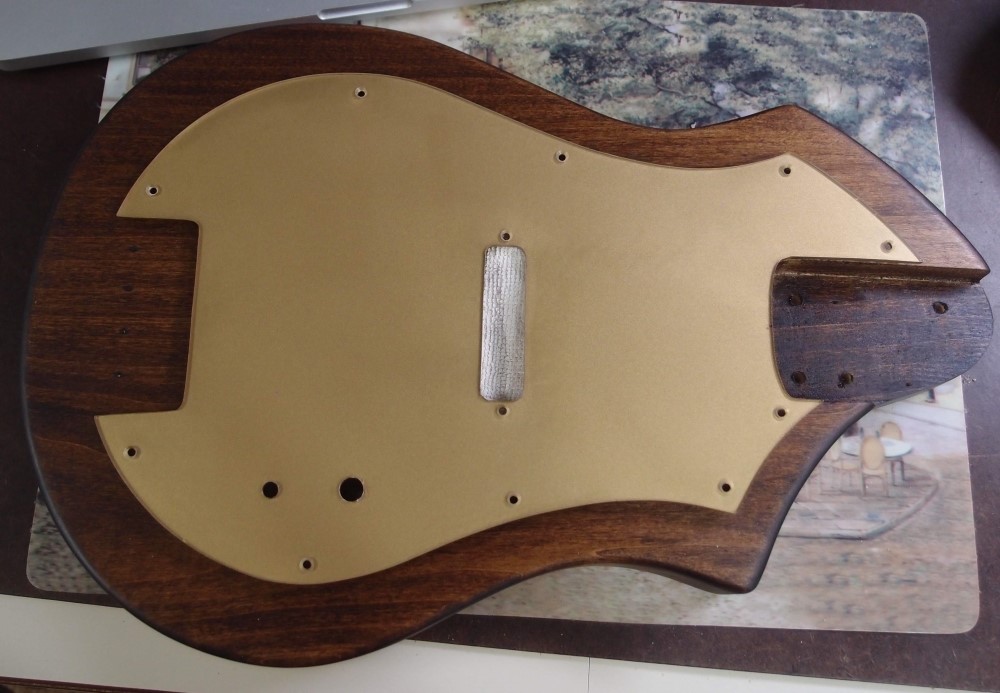
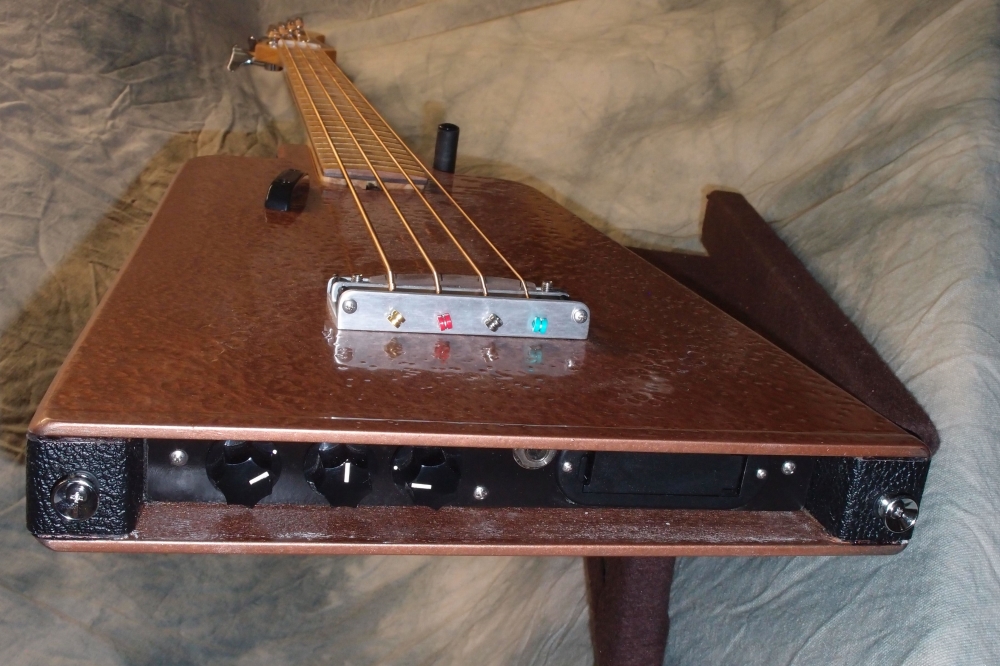
The pickguard is a piece of 1/8" window plastic from Home Depot, with several coats of brass spray paint on the back. I experimented with sanding the plastic to get a brushed look but eventually went with smooth. The paint is the right color but not really a metal texture, but it has the advantage of never tarnishing.
Also, I don't know what a piece of brass that size would cost, but I'm guessing at least fifty bucks. Altogether, you're looking at under $20, including the paint. This body will get the walnut neck and all the hardware from the original.
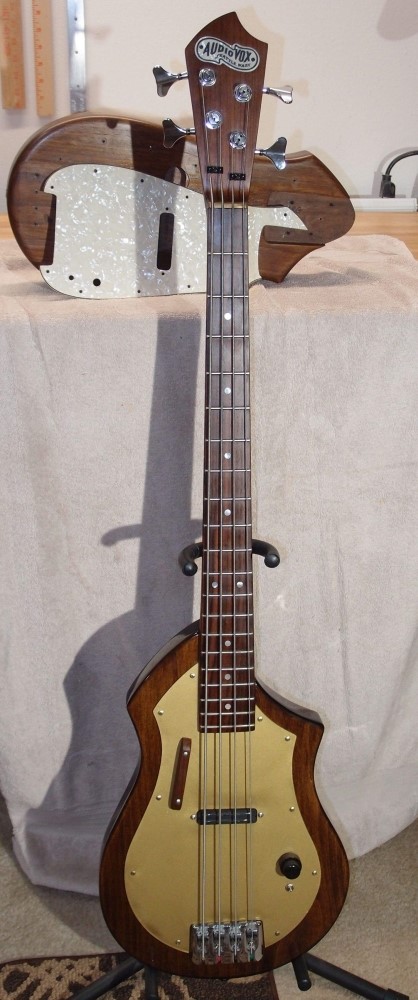
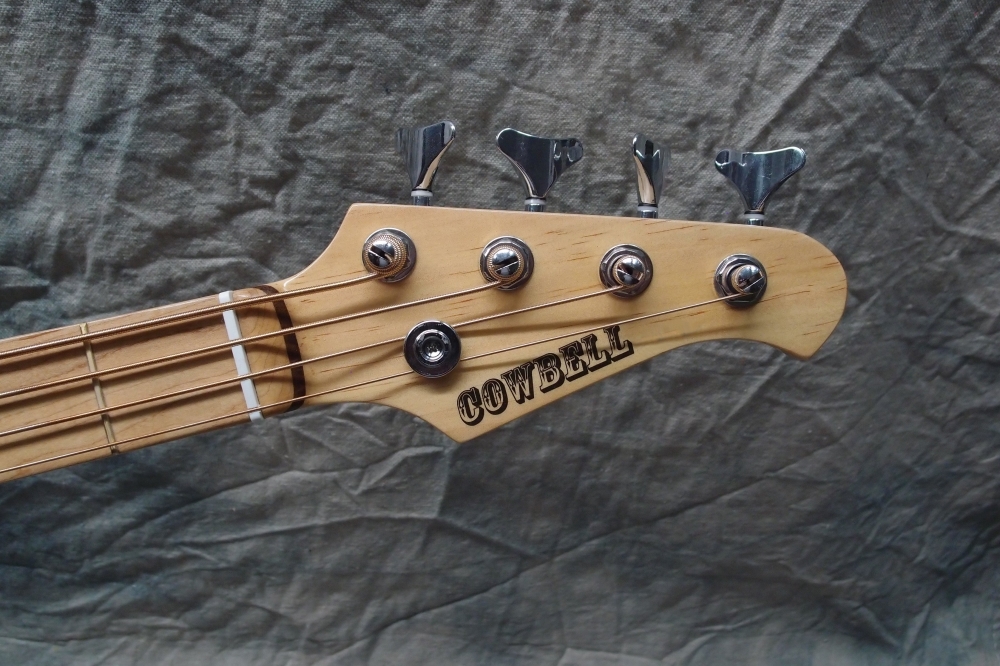
I finally assembled the re-build of S/N 0. This is the improved body style; the original body is behind it on the bench. I transplanted the neck and all the hardware. The new body is stained poplar and polyurethane, the pickguard is clear plastic painted on the back. The old neck is walnut. I started a new nameplate to match the pickguard, but right now I think the old one is fine.
New poly can pick up imprints just like lacquer, so for the next few months, this one is going to hang by its tuners. You'll notice the headstock is true to the original, and not very practical.


Questions or Inquiries?
Just want to say Hello? Sign the .