Rickenbacker 4001 Bass 1 (5/5)
July 26, 2020
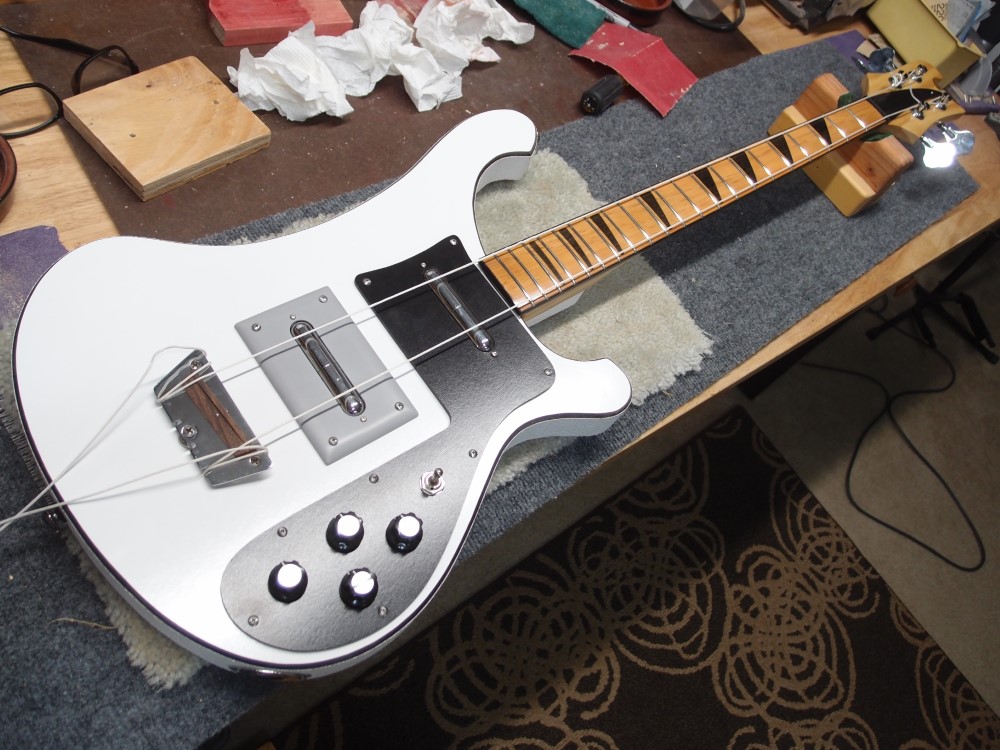
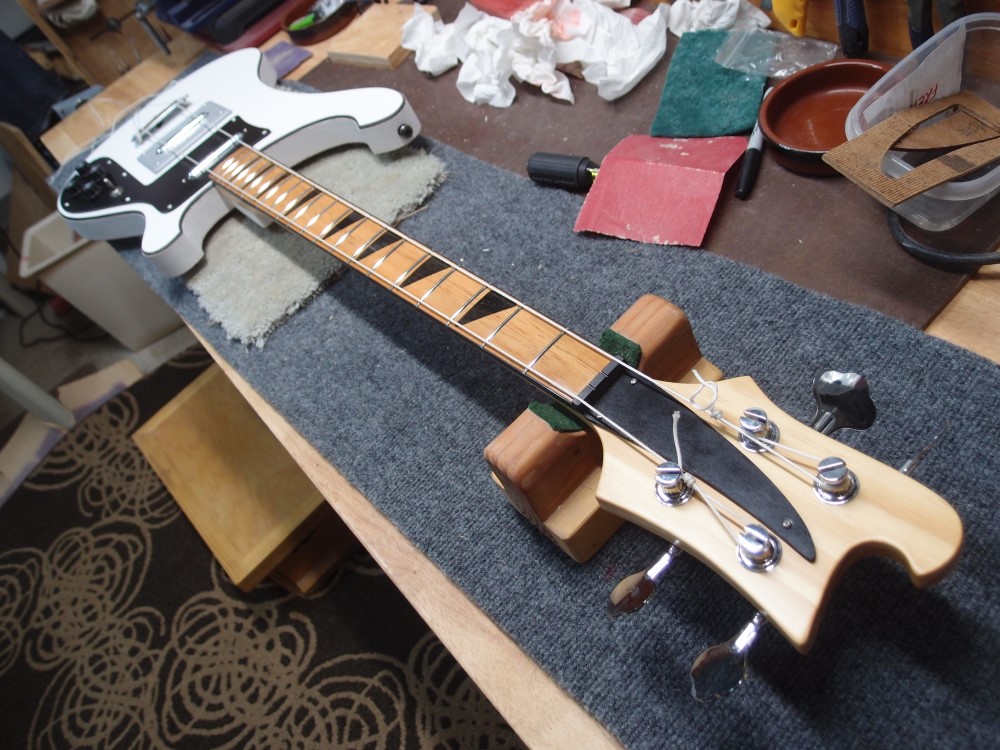
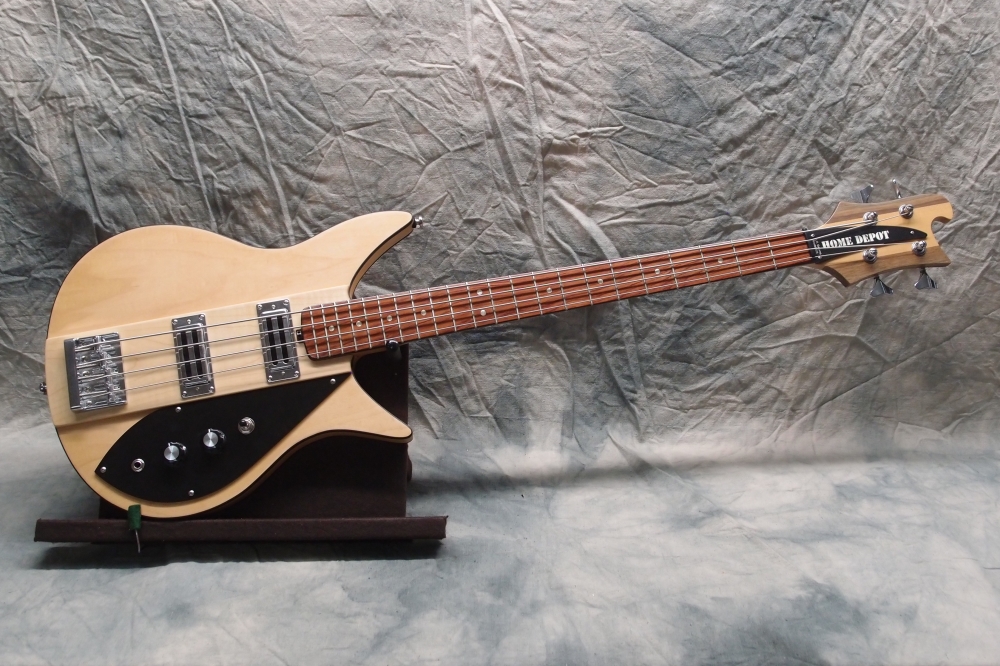
This thing is finally all together. The watermarks in the fretboard are all polished-out and it is shiny again. The only thing missing is strings and a name on the headstock.
July 27, 2020
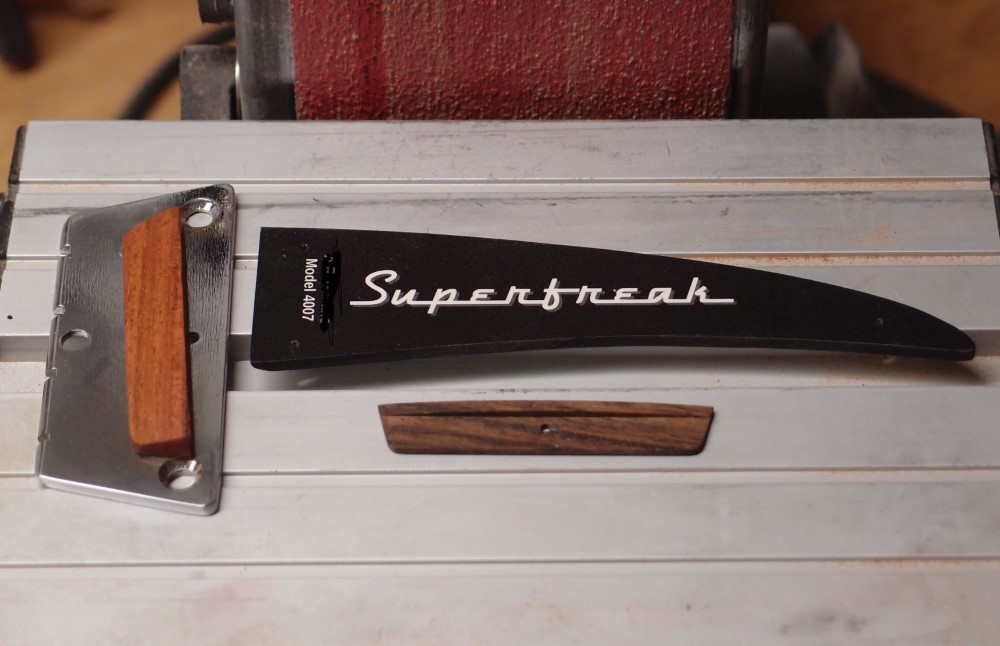
Some small parts for the new Ric. The logo is laser-printed on an adhesive packing label. A coat of poly locks-in the toner. The font is a free one called Dymaxion. It is a pretty good match for the Ric logo, which was actually hand-drawn.
Then I made a new saddle for the bridge from a scrap of super-hard Brazilian Cherry. I never liked the shape of the original saddle. The new one is much thicker, with a 10″ radius to match the neck. The color also matches the neck. A bit of linseed oil for a finish.

Finally, I ordered a set of “Alice” strings. These are not the cheapest you can find, but they are the cheapest that have at least some good reviews. The whole theme of this build is cheap and cheerful, and an expensive set of strings would go against that. We’ll see how these Alice strings are.
eBay is not what it used to be. A few years ago, you could find all sorts of nice parts cheap. Now there is much less. I haven’t seen a Bronco bridge in over a year. And the bargains are gone too, what you can find is much more expensive now.
July 30, 2020
There is a problem with the bridge. At best, the string retention is a balancing act based mostly on good intentions. As I recall now, this is not a Danelectro part, it was made by someone else. The string notches are too small, and a very thick layer of chrome finished the job, they are totally ineffective. This was also a left-handed bridge, so the notches are reversed in size.
The solution is simple, and I was expecting to do it all along. I enlarged and re-shaped three of the notches. I also filed the back edge of the plate to a better angle. None of this will show in the final assembly. The bridge now holds the string ball ends very securely, I just need to do the last notch. I made the same modifications to a 1960s bridge plate that I used on the Pro-1 Bass. See there for some interesting history concerning John Entwistle and “My Generation”.
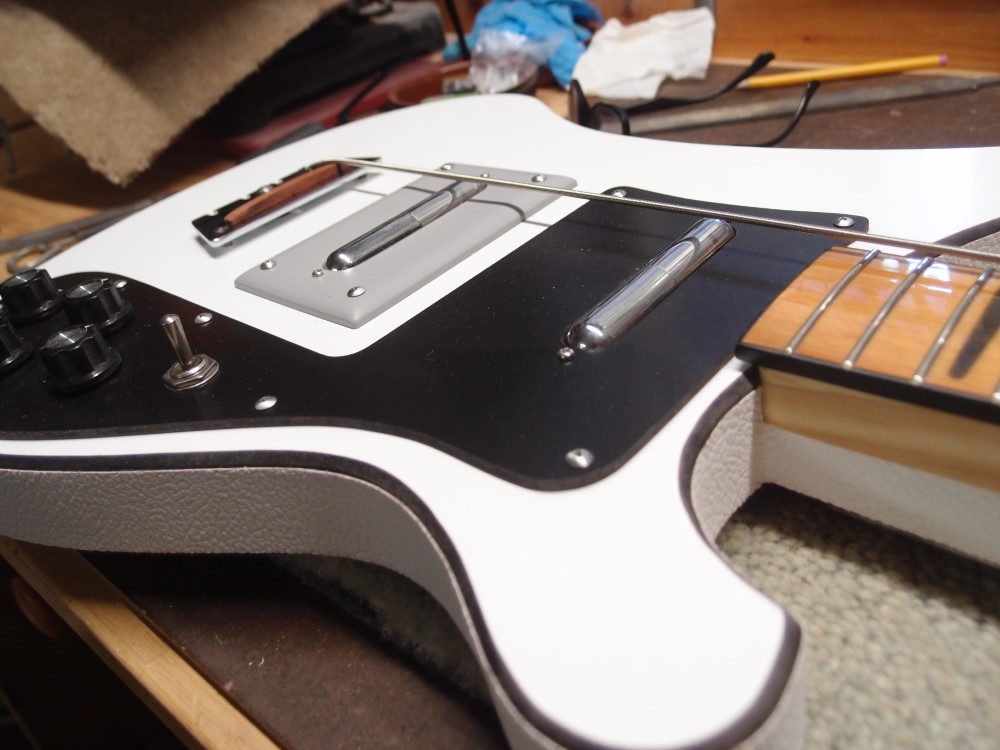
My deluxe extra-thick saddle turned out to not work so well, so I thinned it down on the belt sander, and the action fell into place. I’ll shim the neck back just a bit to give myself some wiggle room in the setup. Also, the notches in the nut are more just placeholders than anything useful, each one will have to be custom-cut. But it’s only plastic. This is going to take a while. Cheaply-made does not mean badly made.
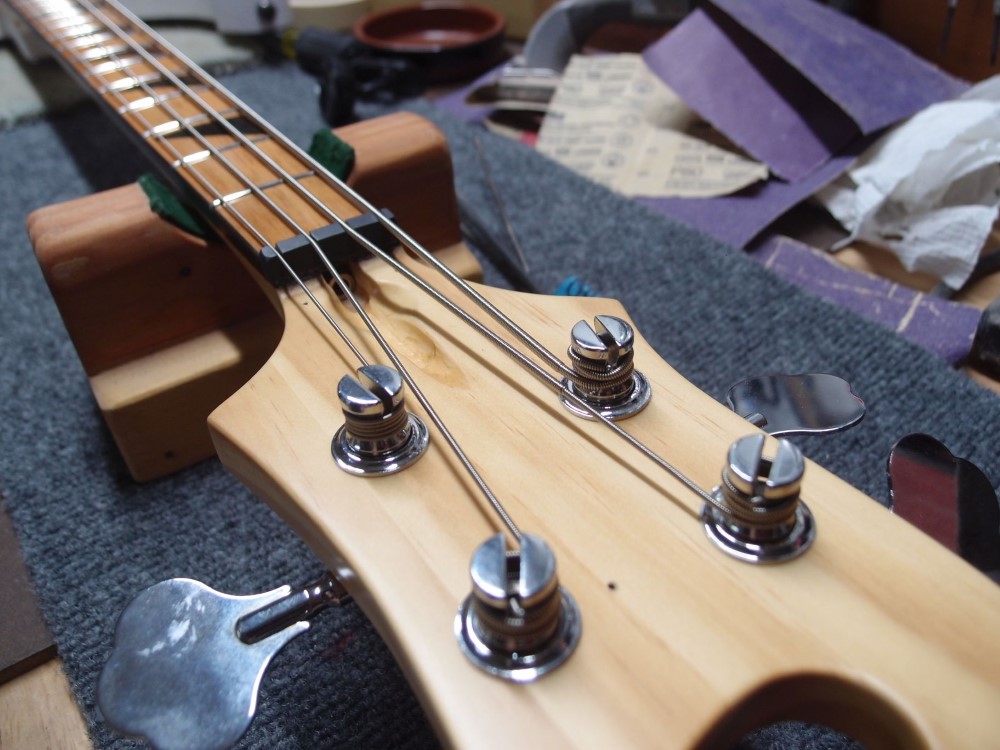
And the “Alice” strings are all on, nut slots done, truss rod set. I knew this Gibson-style nut would be a little short, so I pre-installed a piece of black binding to lift it up. This gives the height needed to make the nuts slots deep enough to completely swallow up the strings. This is necessary because of the very shallow break-over angle. The result is that the strings stay put even under the most aggressive popping. A real Rickenbacker has a very tall nut with very deep slots.
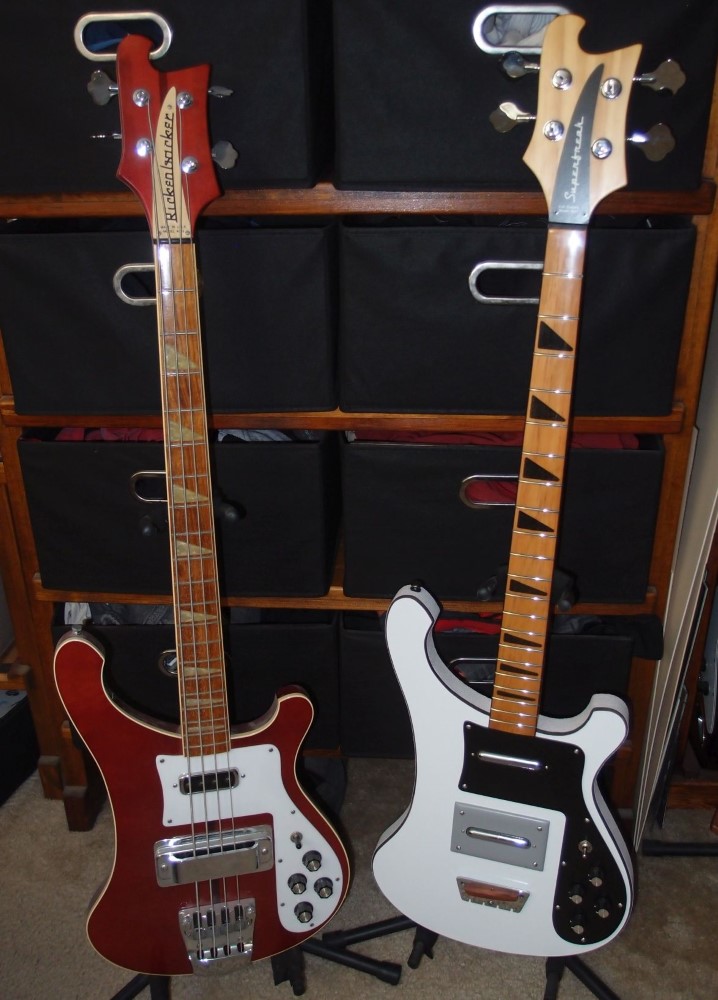
It feels ok for an initial setup. Weight is about 8.2 pounds. That’s enough for now.
In memorium: Rick James and Charlie Murphy:



Questions or Inquiries?
Just want to say Hello? Sign the .