Rickenbacker 4001 Bass 1 (3/5)
July 6, 2020
The last old project I had on the shelf was my "Rickenbacker". The body is all built, waiting for a neck. I fouled up the first neck, this is the second.

Here I am routing the edge for binding. This is where the first one went wrong when some expensive 3M double-sided tape let go. Turns out, the cheap stuff from the Dollar Store works better, and if there is any doubt, throw it away and spend another dollar.
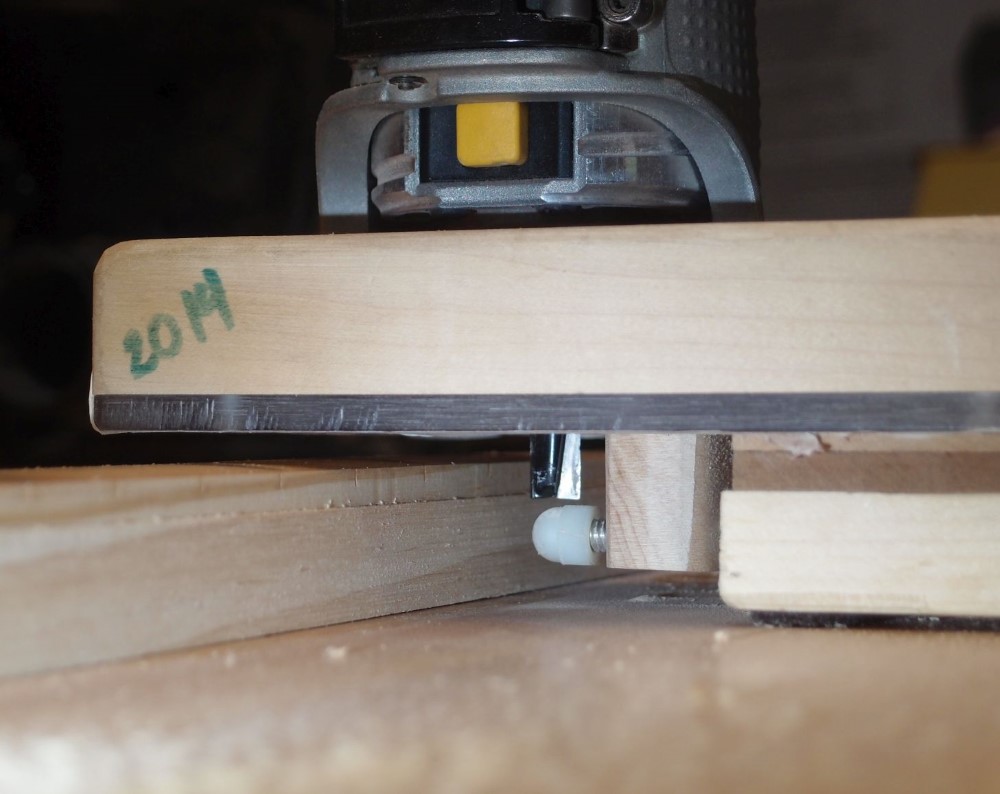
No tape was involved this time. You can see the router is clamped to the bench, raised up on a stack of shims. Here is a look from the sides, showing the bit and the follower. After getting everything aligned on a piece of scrap, I cleaned the benchtop and slid the workpiece under the router, using the flatness of the workbench. It worked perfectly.
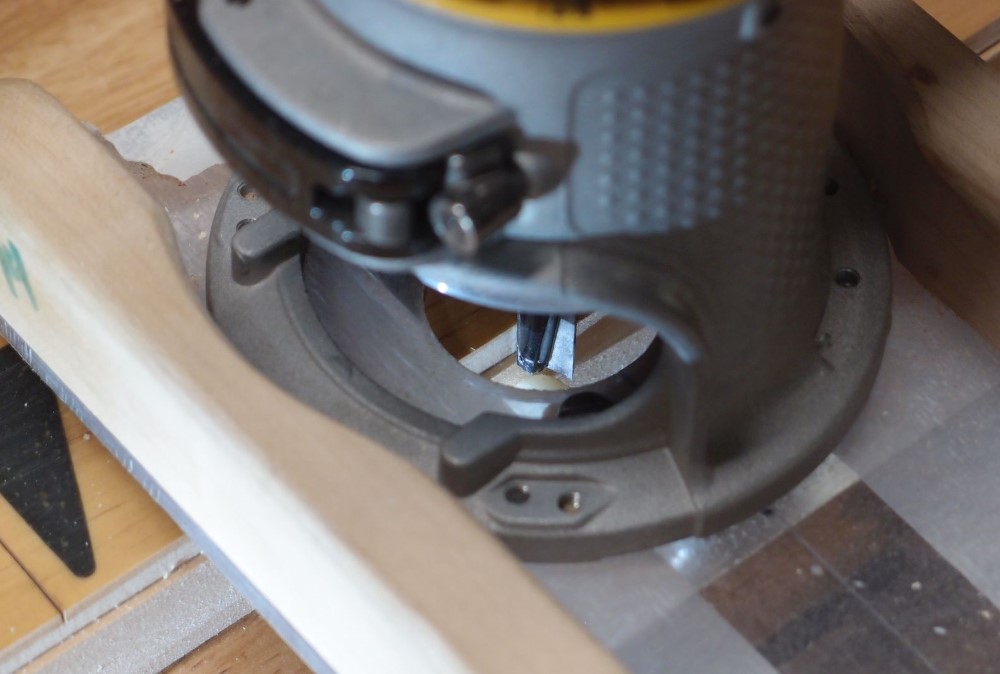
Trying to look down inside at the finished product.

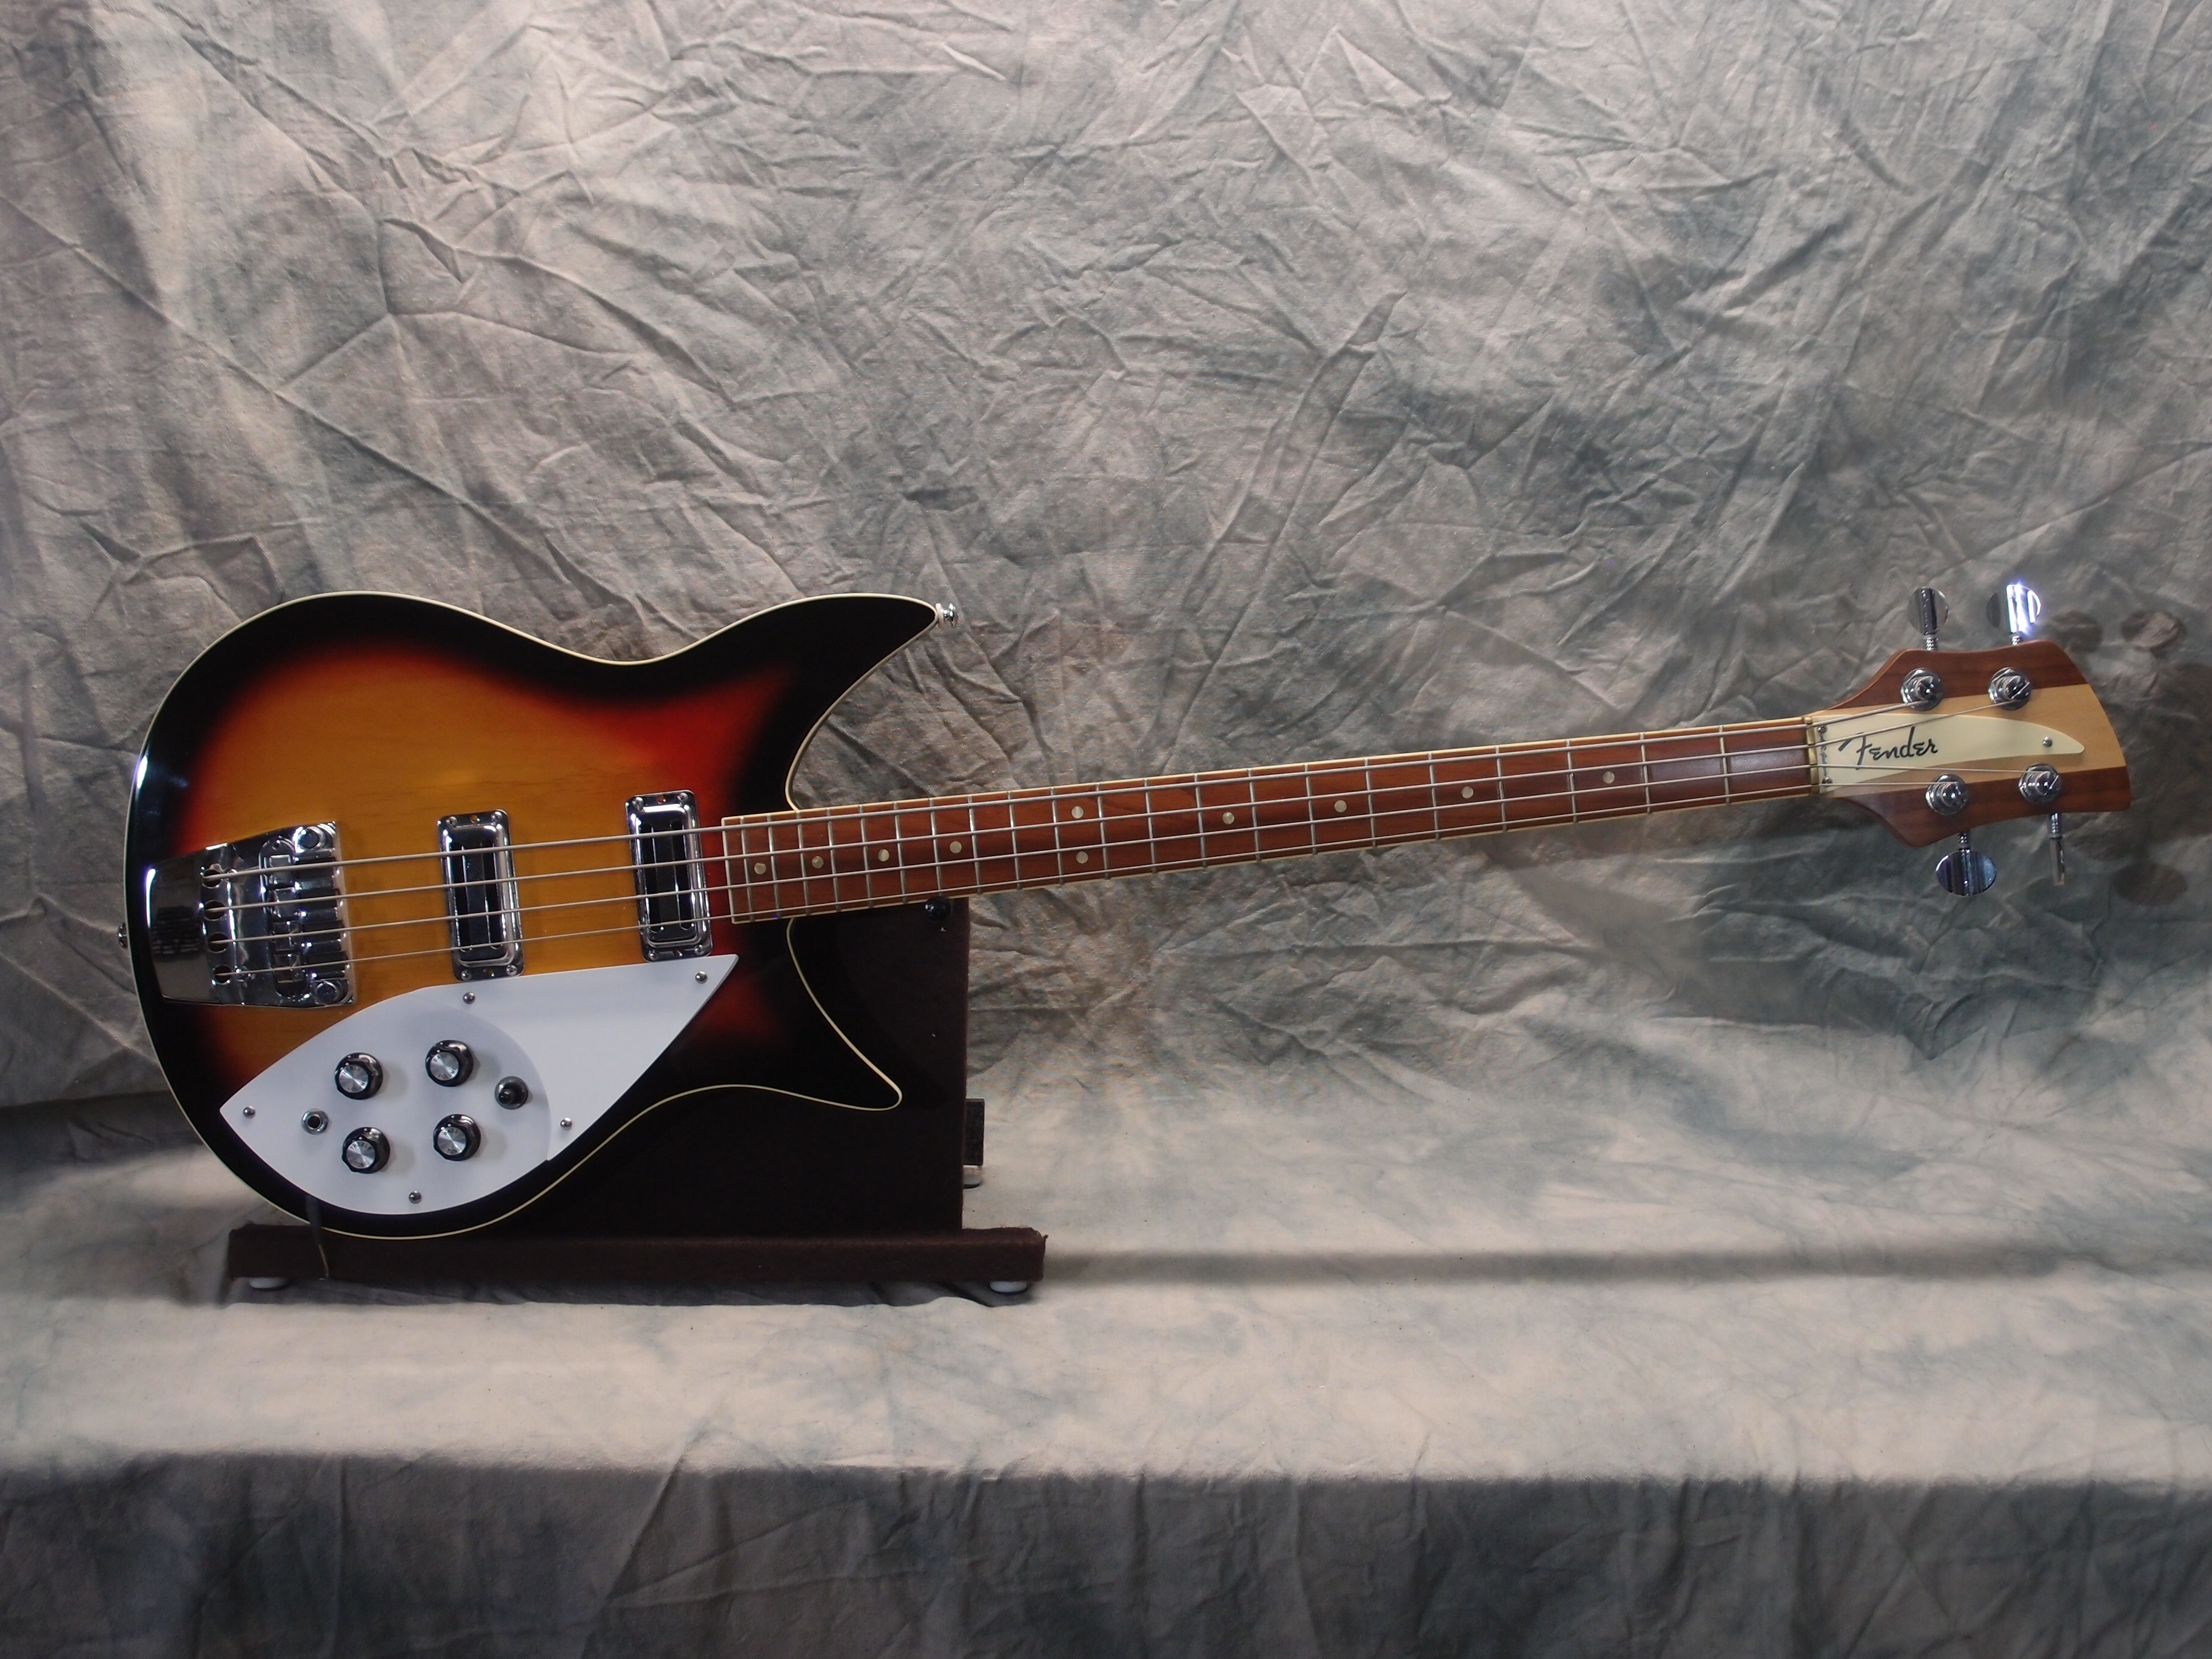
Now the binding is all on and I am working out the headstock. I'll need a piece of binding under the string nut to raise it up. That's easy. Not so easy is getting the headstock to work. Fender-style tuners have larger bushings, I'll have to adjust three of the locations to clear the 'fang' truss rod cover. And I had to flip two of the tuners from righty to lefty - easy to do with this style of tuner. The result should be a better fit than my real Rickenbacker.
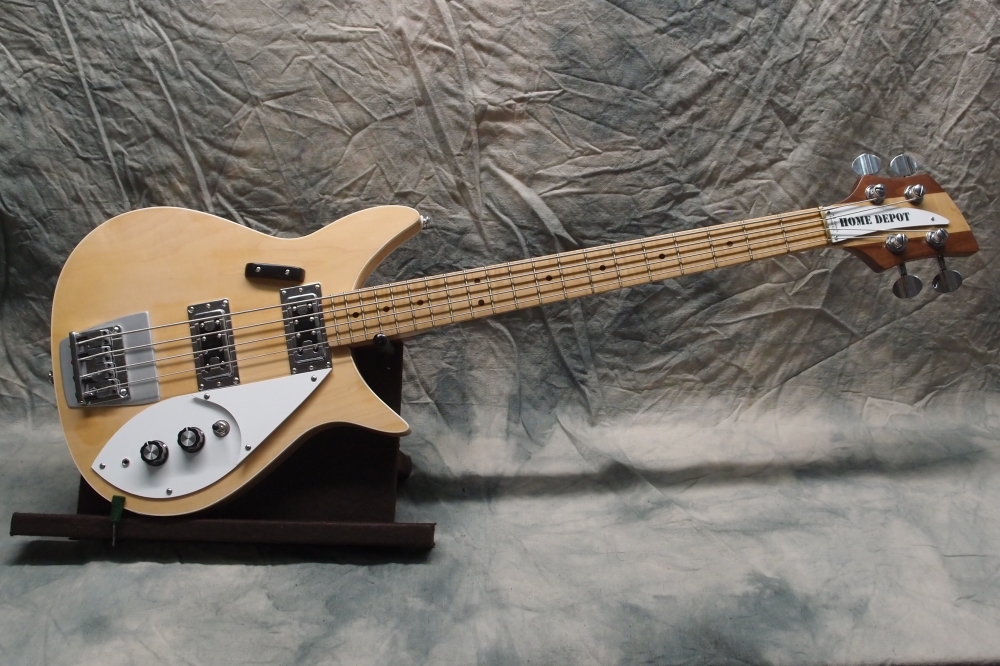
That's enough for one day, I don't want to get tired and screw something up. This neck is entirely Radiata pine from Home Depot. The 'inlays' are CA - Crazy Glue. The body and pickguard are dry-erase board over plywood, with a pickup mount made from a wall switch plate. The whole thing is an experiment to see just how cheaply I can build a Rickenbacker copy.
July 7, 2020
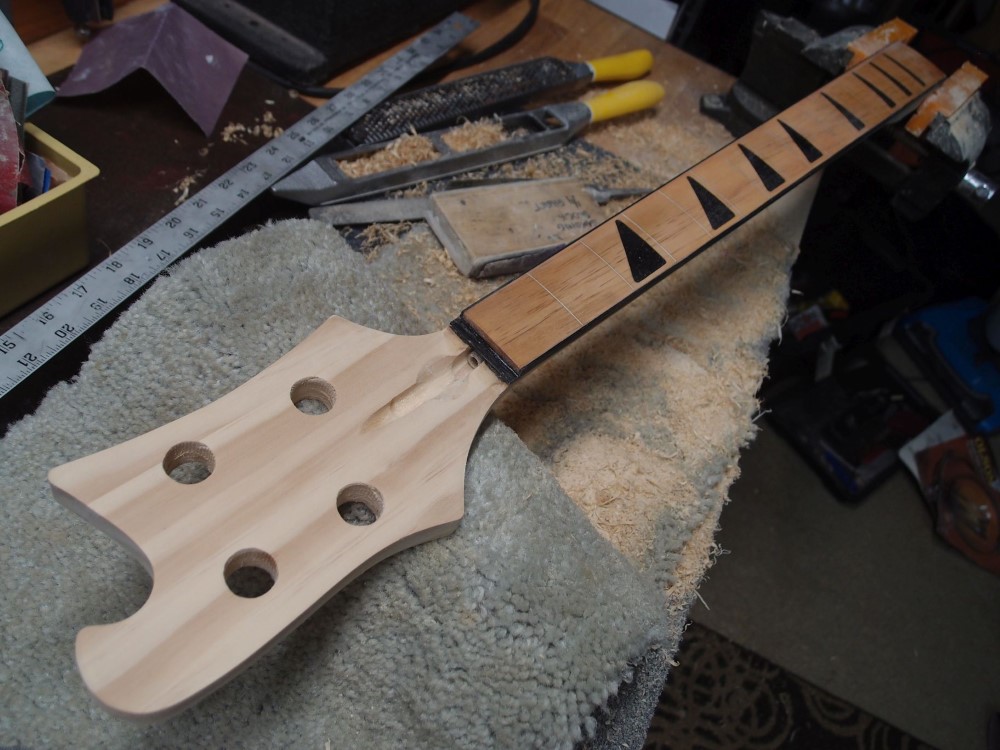
After doing the binding, I found a bulge in the middle of the fretboard. So I sanded it down with a radius block until everything is perfectly flat. I touched up the inlays with black CA, and re-stained it to be Bubing-ish again ( actually an old can of "Colonial Maple". ) Finally, I drilled out tuner holes 13/16" in the locations I determined previously, and everything fits.
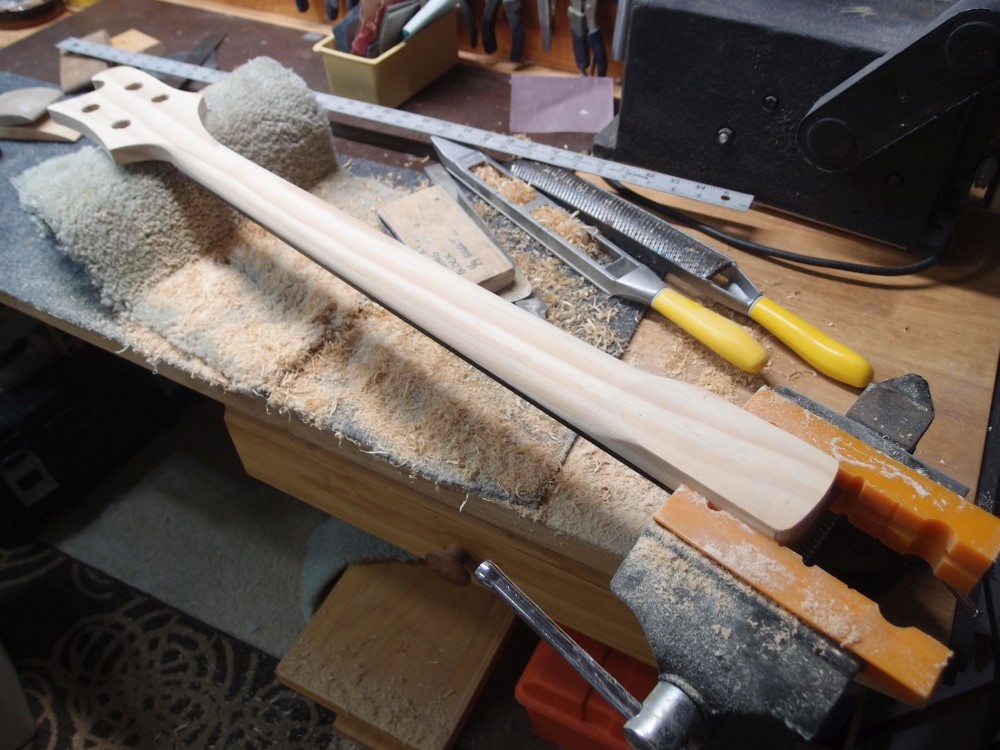
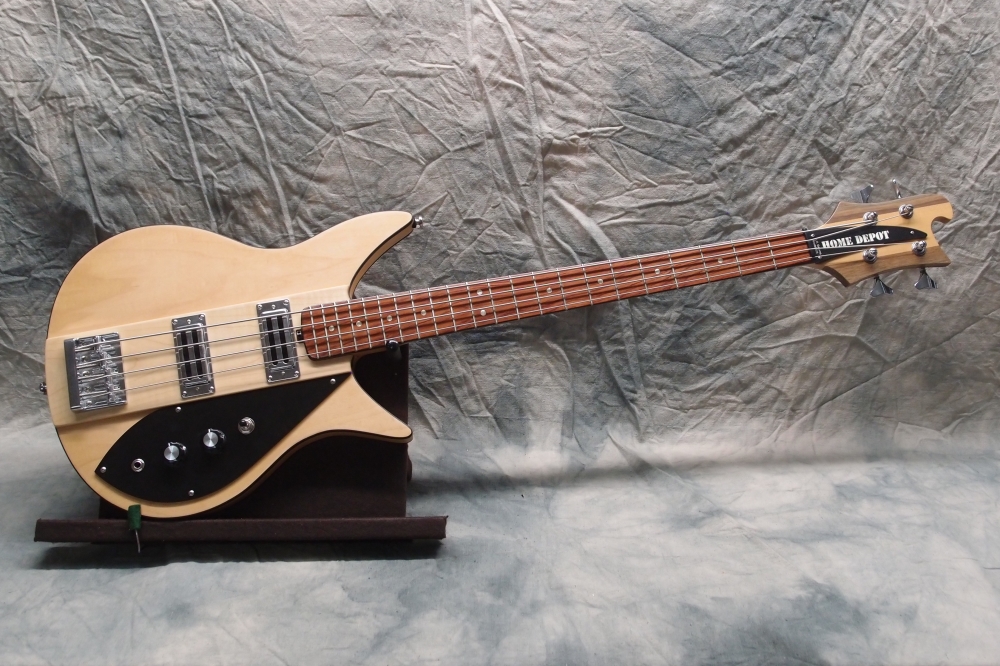
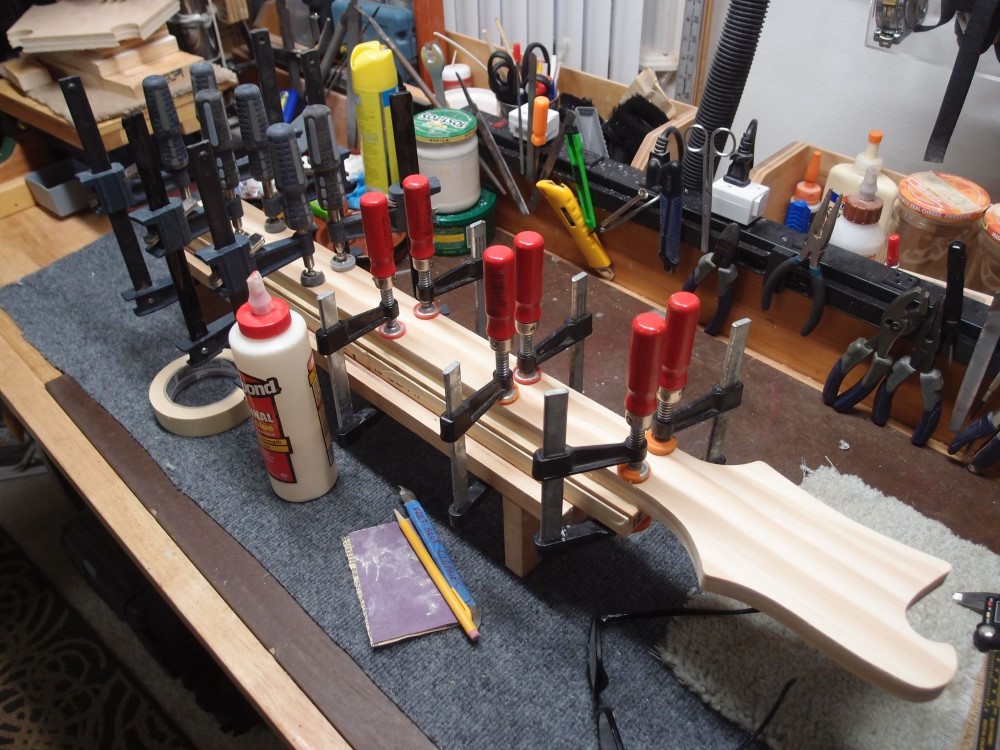
Satisfied with the front, I flipped it over and set it up to shape the back. The heel is clamped in a vise, and the head is supported to make things relatively level. I also taped up the headstock wings to avoid accidentally marring them with tools.
After sketching in Rick-ish contours for each end, I began the attack with a long flat Surform file. I also have a curved one, but the flat one did 99% of the work. When I had the basic shape roughed in, I switched to a big round-backed file, which is quite coarse and ideal for woodworking. Finally, I finished the shaping with a padded sanding block and 80-grit.
I used a yardstick and eyeball to judge the taper on the back, and hands to make sure it all feels right. Long straight tools naturally give a smooth even result, with no bumps or dips to work out. Everything is done by hand - good exercise, no excitement. The shape is pretty close to final, then on to finish sanding.
This neck is entirely Radiata. This is my second Radiata neck; the first one is about a year old now on the Cowbell, with no issues. This is a good wood for necks - lightweight, good grain, strong and straight, and easy to work.