Rickenbacker 325 Guitar (3/3)

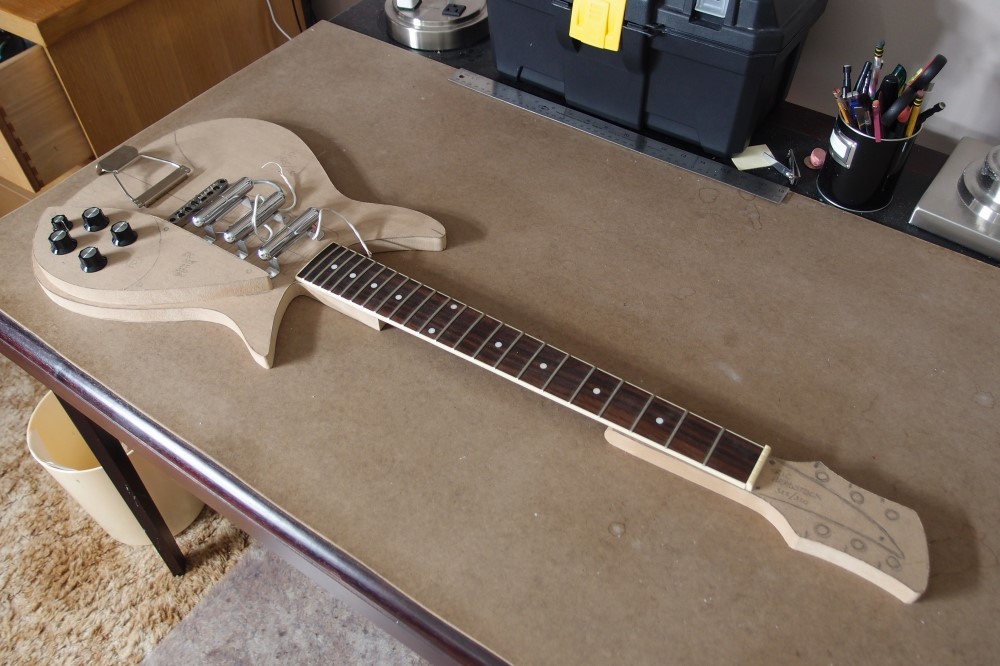


This neck is my very first attempt at one, out of poplar from Home Depot! It is narrow and chunky, like a Ric, but with a pair of steel bars down the center, like a classic Danelectro. It is absolutely straight and stable, with no need for adjustment, ever. Much better than an adjustable truss rod. The neck pocket is tilted a bit, and in the end, it needed a small shim to be perfect. Three neck screws fit between the rods. The tuners are a spare set that I had lying around. I left the covers off and lacquered the plates for a more vintage look. The fingerboard is a piece of salvage from a ruined Ibanez. The truss rod cover logo is laser-printed on a waterproof shipping label.
The body is standard Danelectro construction, but the bridge block is minimal, not much more than a post to keep the top from collapsing. The body materials were mostly pulled out of the local school's dumpster one day while I was walking the dog. With a tall Ric-type bridge and an old trapeze tailpiece, it is surprisingly resonant when unplugged. Now I wish I had put an f-hole in, but I was modeling it on John Lennon's 325, which didn't have one.
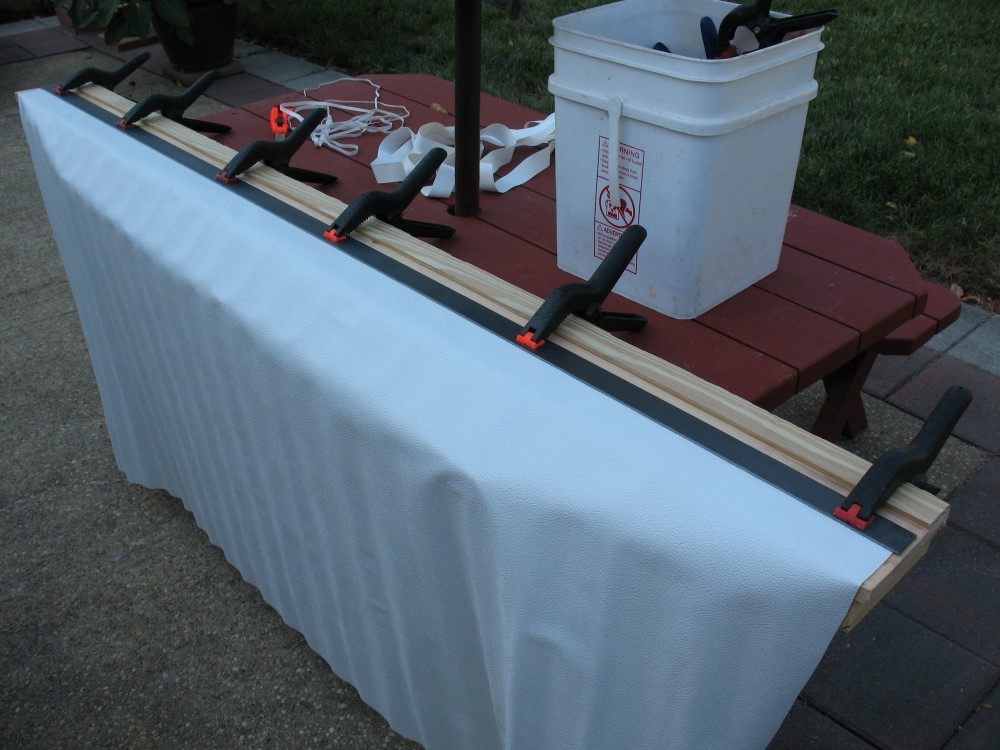
The binding is not one of the ones you sent me, I'm saving those for future projects, and I wanted pure white for a real tuxedo look. To attach it, I tried an experiment and hand-brushed the same cement that I use on my diving suits. That stuff never lets go. We'll see. I have had adhesion problems with every single binding I have ever installed, and always end up going back and re-gluing all the inside curves. I'd like to figure out how they did it in Neptune because, after 40 years, that binding is still stuck on tight. Maybe they just used water-based wood glue, but all I can imagine is a slippery mess doing it that way.
The pickups are '90s Danelectros, but the wiring is really novel, and you might want to try it someday. The neck and bridge pickups are wired in series through the switch in the typical Danelectro fashion, as though the middle pickup wasn't there. The output of the switch and the middle pickup are then wired in series again. The second volume knob is actually a balance pot, with one side wired as a bypass (variable short) across the switch and the other as a bypass across the middle pickup - in effect, a series balance control between the middle and end pickups.
This gives an incredible range of tones. With everything centered, you get all three pickups in series, the 'blow' setting. The switch then selects either of the 'quack' positions, neck-mid or mid-bridge. Rolling the balance control all the way forward gives you just the middle pickup, regardless of the switch setting. Rolling it all the way back kills the middle pickup, leaving a standard 2 pickup configuration. In between, you can use the balance control to dial in anything you want. It is really awesome if I say so myself.
It took me too long to get the wiring of the balance pot right, but now that it's done, it is obvious. The first pot I tried proved to be defective, which didn't help. You could do this very cheaply on a production guitar, instead of a rotary switch. The wiring was again inspired by Lennon, who didn't like the middle pickup of his Ric, and probably had it disconnected. I can do the same and more. Rickenbacker's 3-pickup wiring is dumb anyway.
The first volume knob is the main volume, and the tone knobs are +/-12db active bass and treble. The little Rickenbacker mystery knob is an active distortion control, with several different settings. A pull switch on the main volume shunts the pickups directly to the output jack and disconnects the battery for totally passive / dead battery / too lazy to disconnect the cord mode. The plugged-in sound is pretty much what I expected. It goes from bright and chimy to warm and jazzy depending on the settings. With 12db of bass boost, it is almost a baritone if you want. Hard to go wrong with 3 lipsticks.
If I could do it differently, instead of active tone controls, I would use the little knob for a standard passive tone control, and use the regular tone controls for distortion and reverb effects. Active tone controls on a guitar are somehow not as useful as on a bass. But I had to go with what I could get.
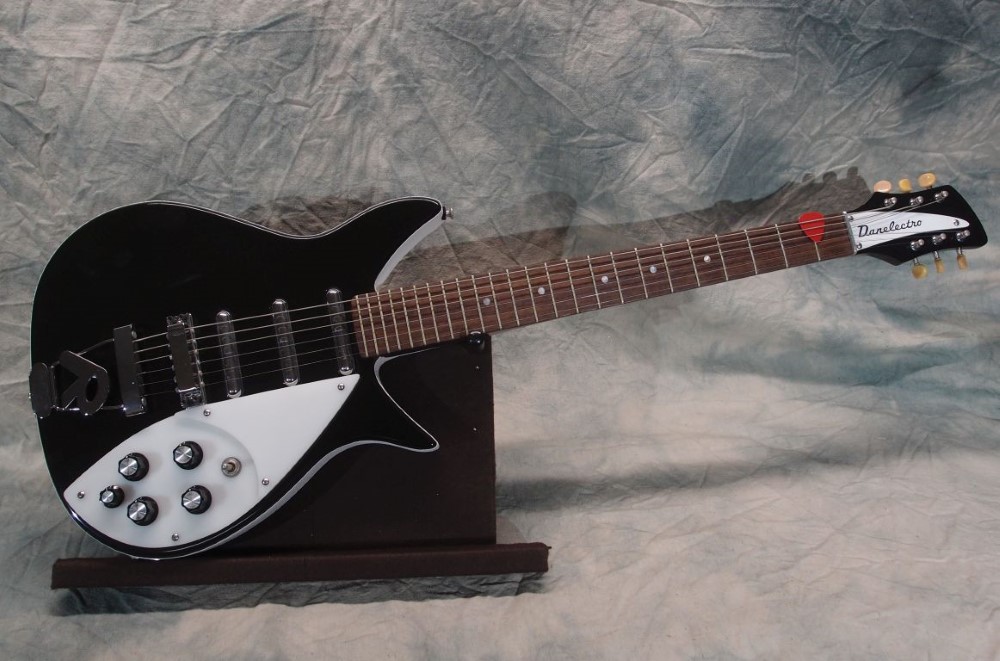
All in all, I think it came out pretty nice, and there are some interesting pickup wiring ideas that you could use someday. Sadly, it is more of a looker than a player. The setup and action are right on with no dead spots. But I was too faithful to the original. I just can't warm up to the narrow string spacing on the Ric bridge. A lot of people complain about that, unless you have tiny fingers, the things are just tough to play. Now I believe it. And I have bass man fingers. At least I didn't spend $3000 to find out. It sure looks great hanging on the wall though! The little Longhorn in the picture is a better player with a really fine shaved-down neck.
December 2019
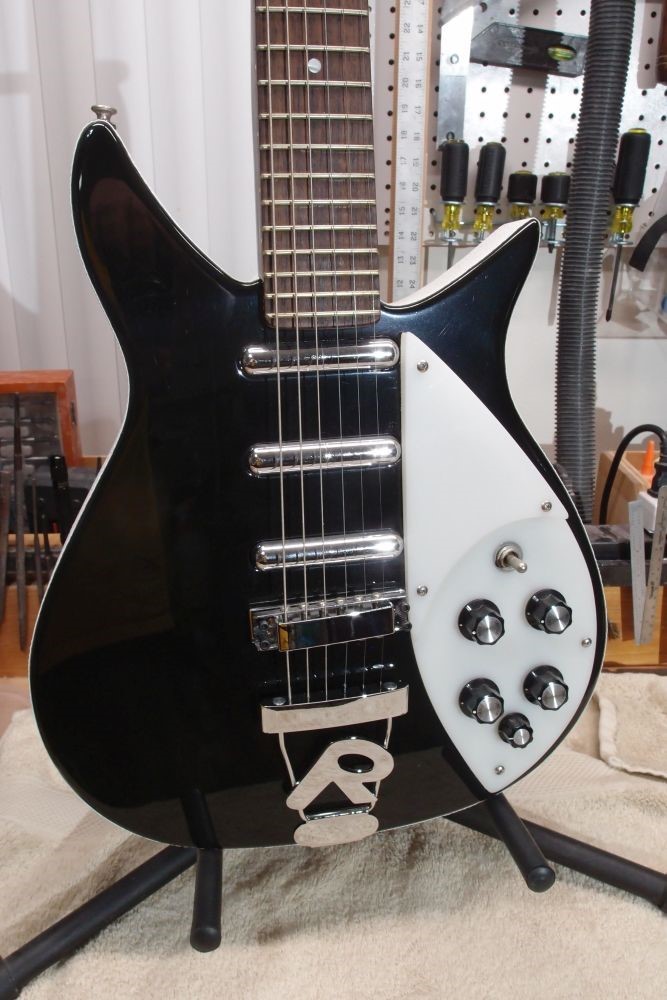
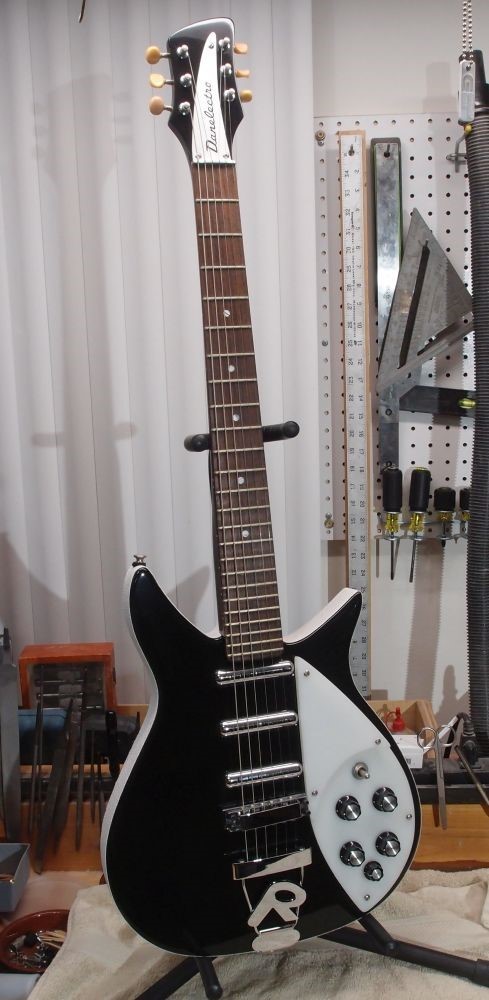
I installed this new tailpiece. Looks great, I think. I love the stack of chrome that runs from the strap button up to the neck. $12 on eBay, direct from China. 'R' for 'Retro'.


Questions or Inquiries?
Just want to say Hello? Sign the .