Rickenbacker 325 Guitar (2/3)
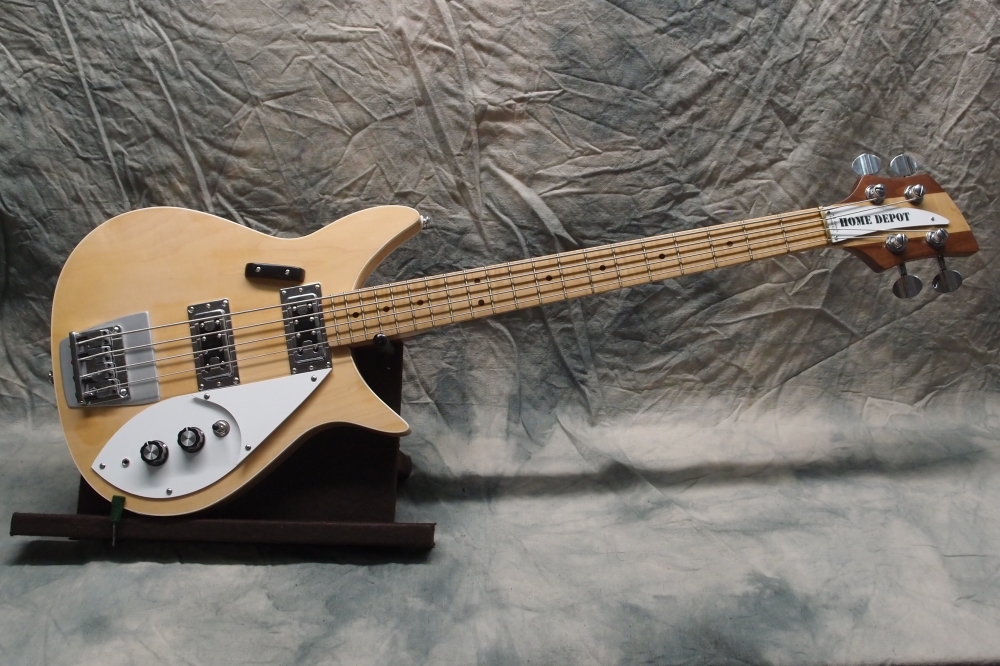
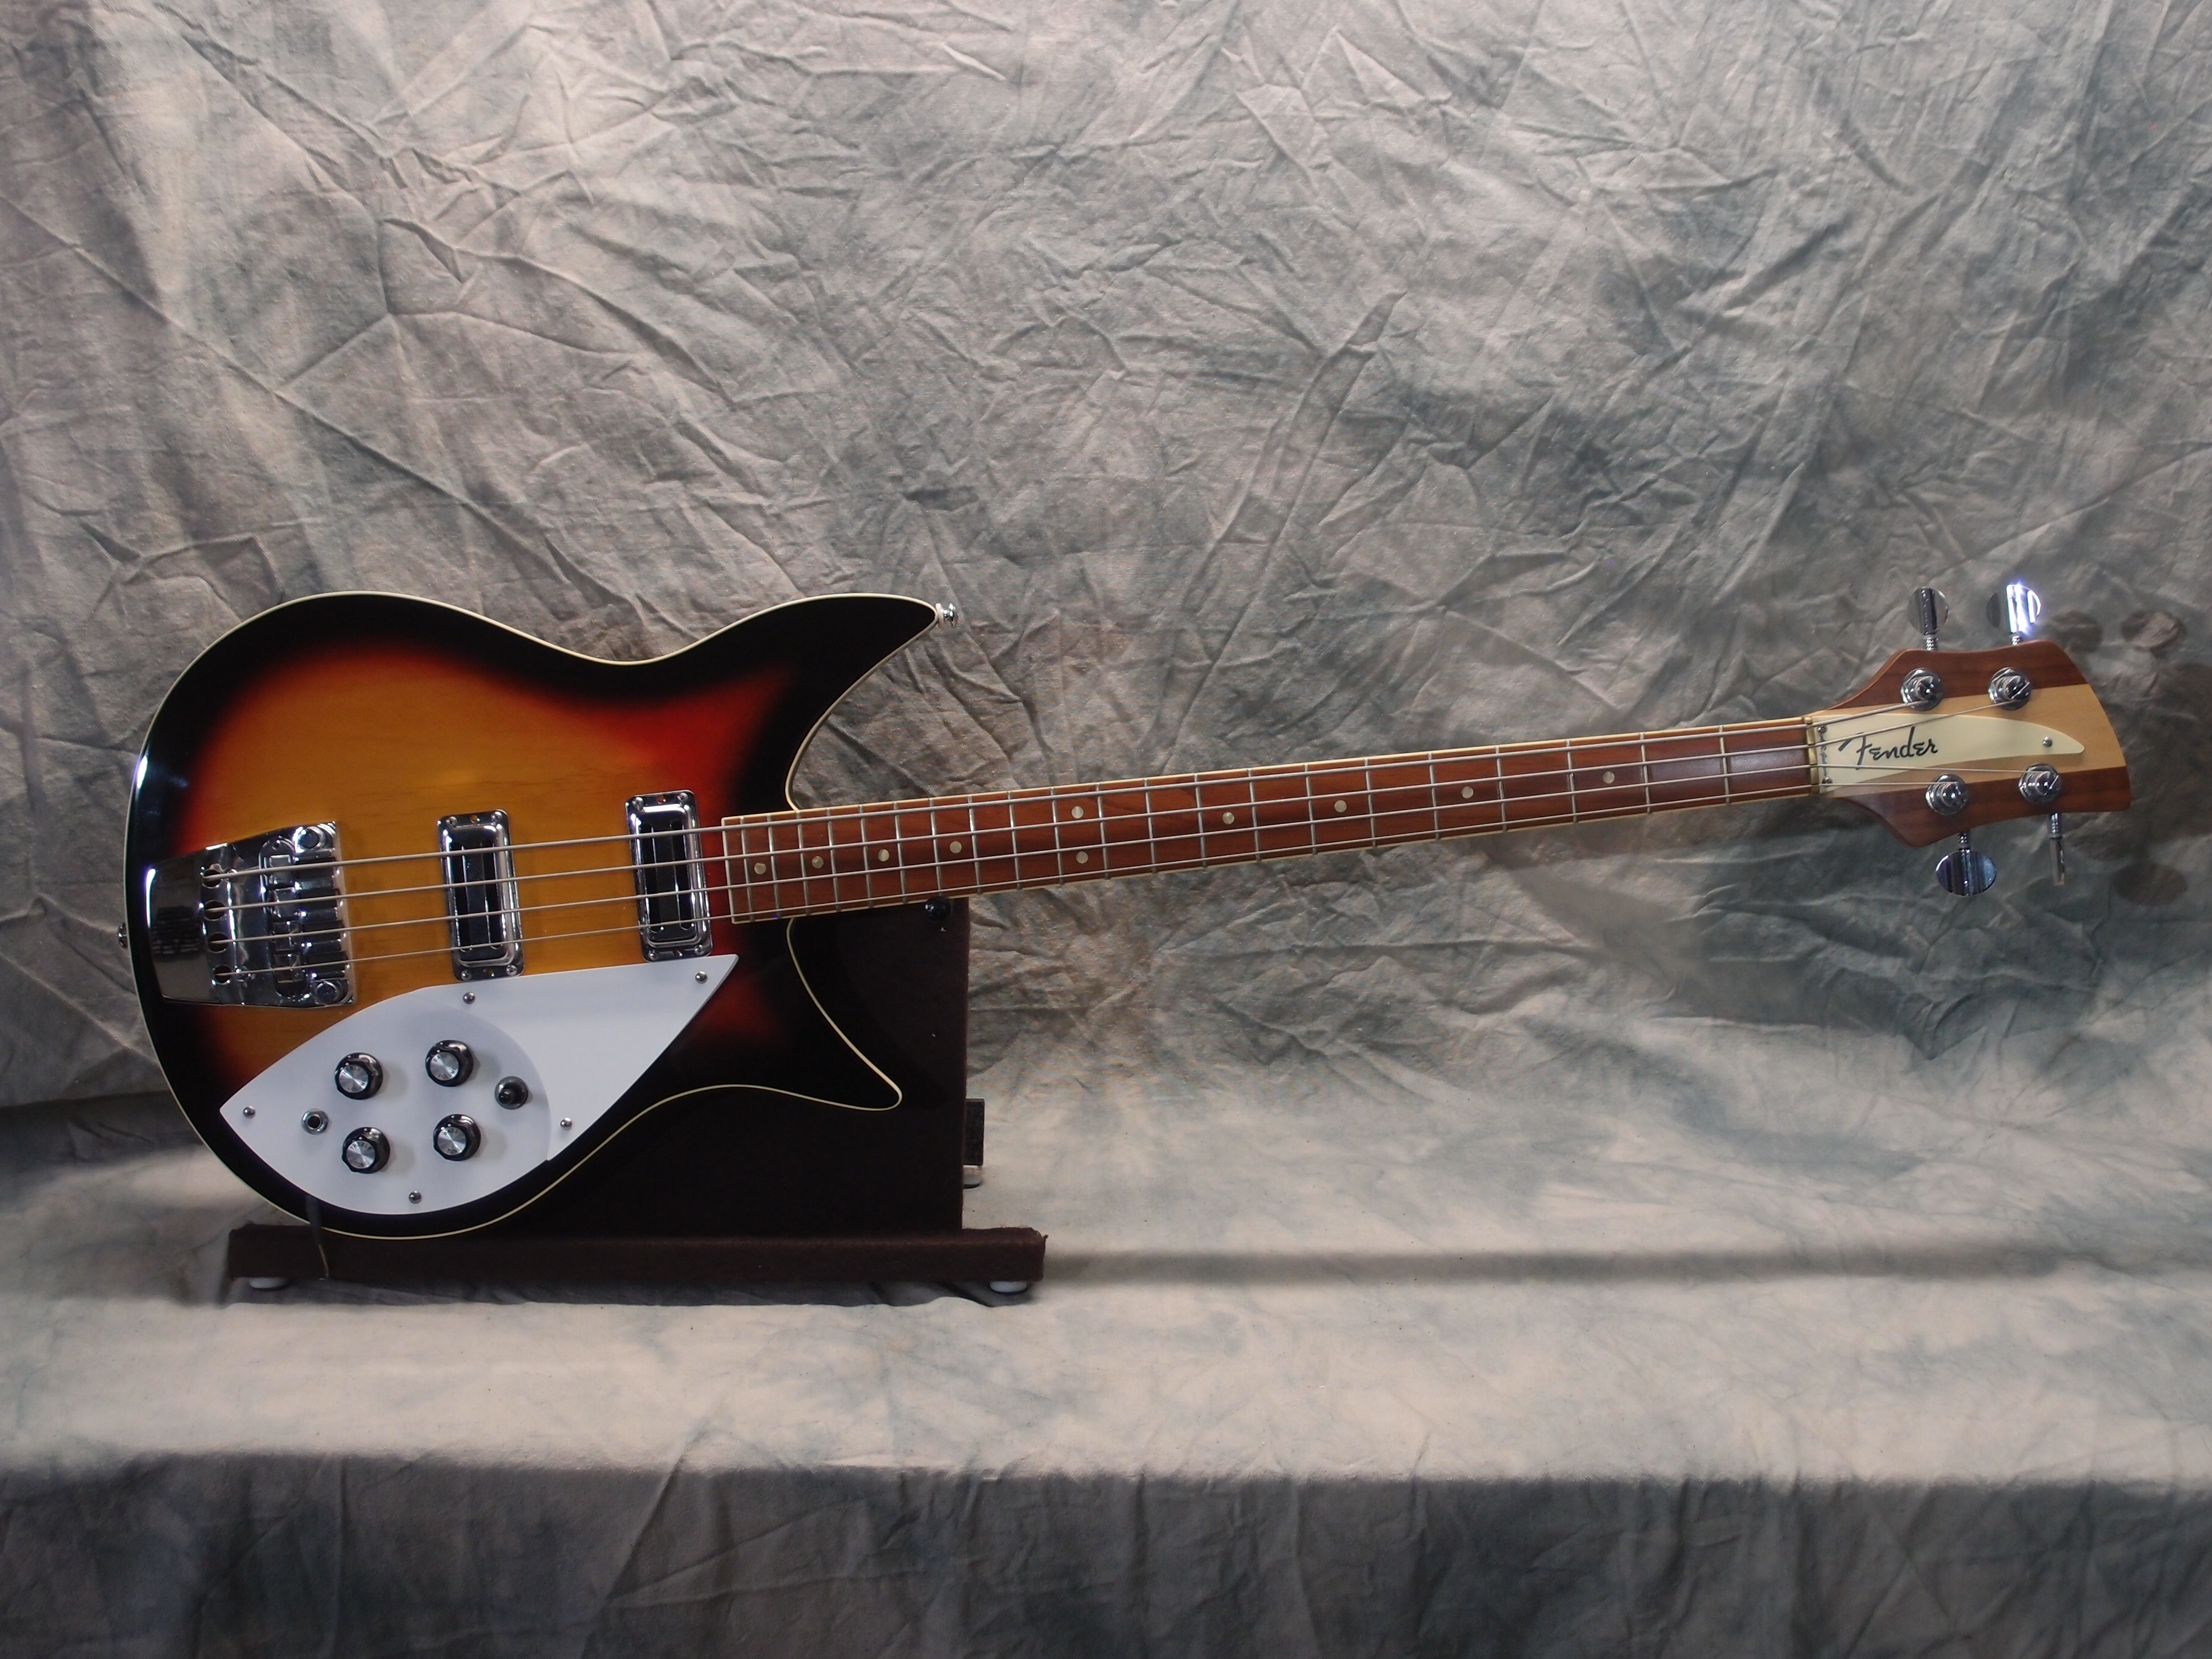
This guitar is built entirely in the spirit of wrongness. I got a good laugh one day when I showed it to a local 'pro' who was so taken with it that he didn't notice that it is not a real Ric, I had to point it out. He just loved the way it played and sounded, and completely missed all the obvious cues as to what it really is. That is because it plays like a Fender. Every important dimension matches my Strat. Rics are beautiful pieces of art, but they are lousy guitars, not made for human hands. My original setup for this one was standard Ric spacing, and I hated it. In fact, I scrapped the first neck I built for this guitar (which is the one in this picture,) but not solely for that reason. The bass will use Ric string spacing, but that is not a problem like their guitars. If that music shop in Hamburg had had a Stratocaster on display, Rickenbacker would be a forgotten footnote in music history. Just as well they didn't.
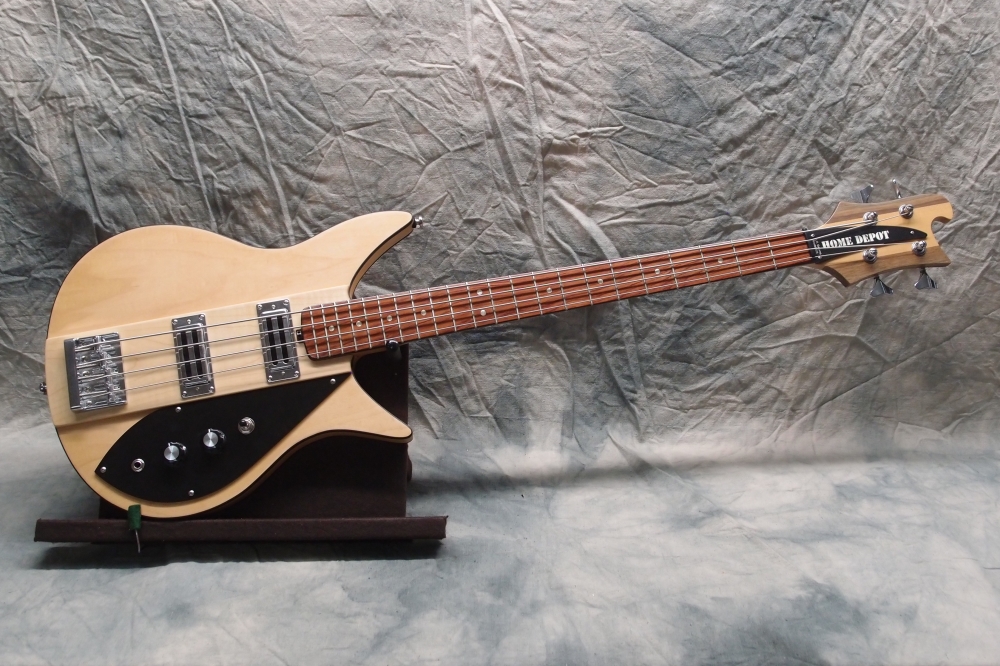
This guitar was finished in an absolutely gorgeous deep polished black nitrocellulose lacquer. What a mistake. Prolonged contact with just about any surface leaves a mark. A "hangar queen". So the other day I spent a can of acetone and a roll of paper towels and stripped the whole thing down to the wood. About the only good thing about lacquer is that when you realize what an awful mistake it is, you can get it off without too much trouble and refinish. The body already has a base coat of black polyurethane. As yet I have not managed to get the same degree of high polish with poly as I have with lacquer, but I would much rather have an instrument that I am not afraid to touch. Acrylic lacquers are somewhat better, but nitro is just terrible.
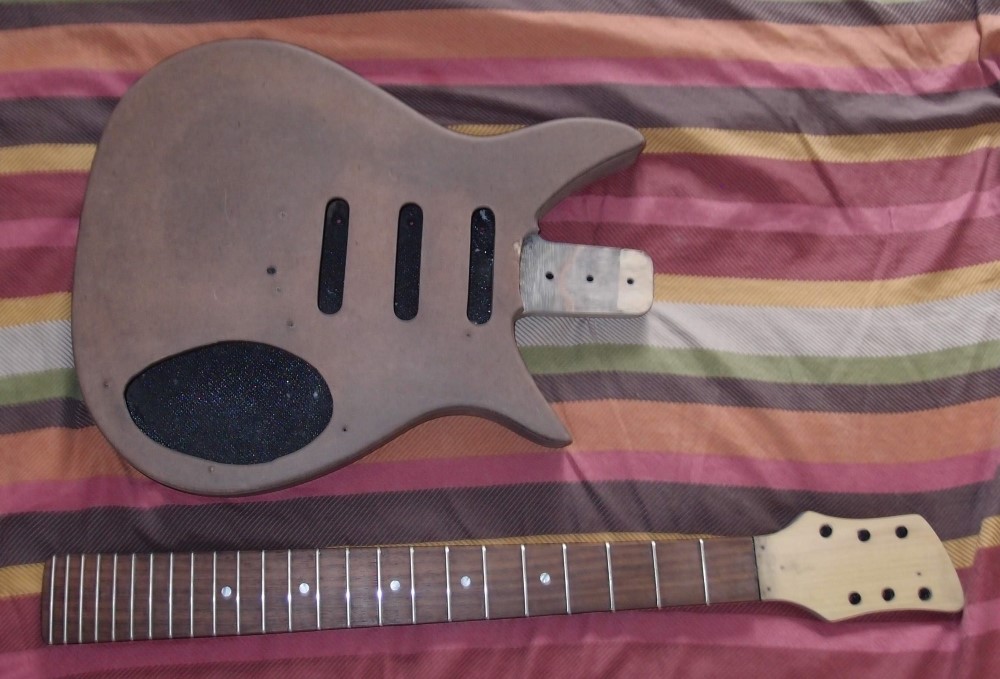
Stripped - note the quality of the old-growth masonite. I have already re-shot it in black poly/stain. The neck will get a thick over-coat of clear spray poly, and the body will get a thick coat of brush-on poly, then both will be sanded smooth and polished. New white edge binding, and it will be back to what it was before, except now in indestructible polyurethane instead of don't-touch-me lacquer. I hope all that poly doesn't clog the pores and keep the plywood from breathing.
The neck is poplar, not the usual maple. Poplar is easier to work than maple, but also softer and weaker. This neck is a success, the result of what I learned from the first one which was not strong enough at the headstock. While poplar is true to the old Danelectro way, maple is superior and just as available, and I doubt I will ever make another poplar neck.
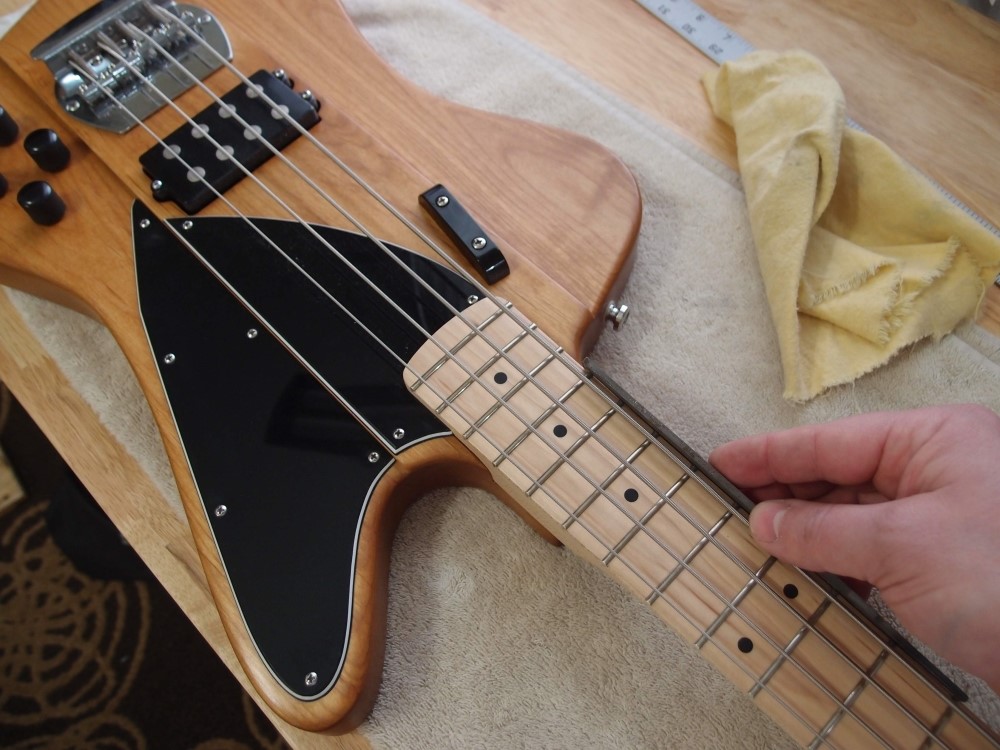
This guitar has a unique wiring harness. The switch selects between the neck and bridge pickups, in series. The second upper knob is a series balance control between the switch output and the middle pickup. You can wash out the middle pickup, or the end pickups, or have any combination of all three. Works great, and would probably be an awesome way to wire a bass.
The tone controls are passive treble and bass, with a single master volume. The little weird Ric knob is an active distortion circuit, the only remnant of the fully active electronics that I installed at first and then decided were wasted here and better used in a bass.

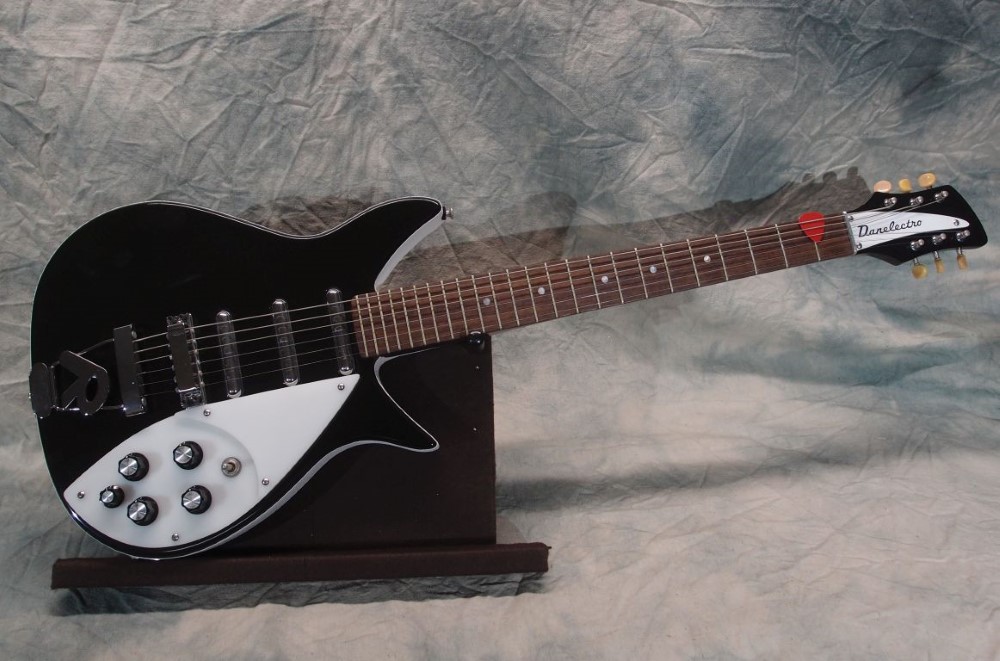
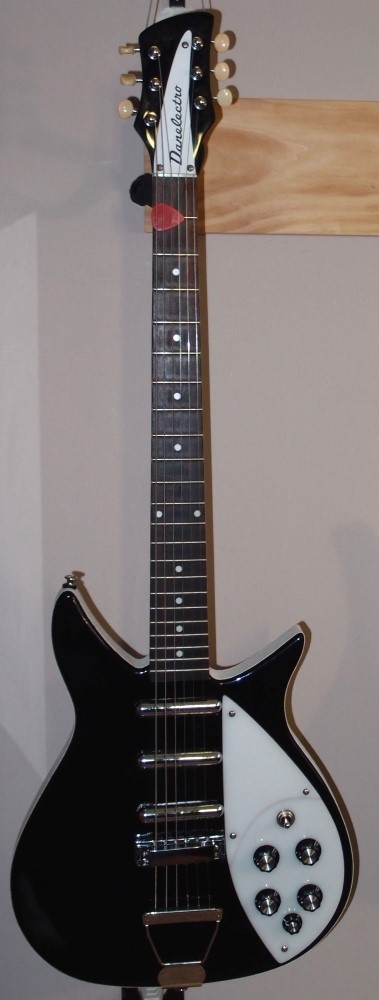
This was one of my earliest builds - a 'John Lennon' Danelectro 325. Patterned after JL's Ric 325, after he painted it black. The missing dot markers are authentic - Ric was too cheap to install a full set in the models they shipped to Europe. The neck is a full two octaves like the original, and I did install a full set of side markers, I'm not that slavish.
The body construction is masonite over a hollow plywood core, while the neck is poplar, a la Danelectro. I would not use poplar for a neck again, there is simply no reason not to use maple, it is superior in every way. The neck uses a classic Danelectro dual steel A-frame truss rod, no adjustment necessary, with a Danelectro 3-in-line bolt-on attachment, and aluminum nut. The side binding tape is the first time I used my own homemade stuff, and I glued it on with something that will hopefully be permanent because the standard contact cement sure isn't.
The scale is a modern 25.5, not the original, which was something like 22" if I remember correctly. Tuners are simple cheap covered models, with the covers removed for a nice open-gear look like you would have found back in the early 1960s. The bridge is Rickenbacker-style and works surprisingly well, the cover gives you a place to rest your hand. The pickups are Danelectro lipsticks, series-wired, the knobs are real Rickenbacker.
There are passive bass and treble controls, master volume, and a blend control for the middle pickup that lets you wipe it away because Lennon didn't like the middle pickup and disconnected it ( or more likely, it broke. ) Between the switch and the blend, you can get any possible combination of pickups. With everything centered, you get all three. The extra fifth knob is an active distortion, the only remnant of the active electronics I originally installed and then removed. Active electronics are much less useful in a guitar than a bass. So I have a much more useful control set on the same five knobs as the original.
I had originally finished it in black lacquer, but that got a crater in it from touching a bit of plastic. Lacquer is that fragile, especially nitrocellulose, it is idiocy to use it in this day and age. So six months ago I stripped the whole guitar with acetone and started working out how to refinish it in polyurethane. It is now several coats of Minwax Polyshades black, with several coats of Minwax 'Fast Drying' on top. Along the way, there were several do-overs as I learned to work with new materials and tools, so the poly got real good and thick. The end result is a hard black glass finish on the front. The back is close to that, but I got tired of polishing it, backs don't show, and get messed up anyway. I refuse to buy 'luthier' finishing supplies; this is standard furniture and floor finish from Home Depot.
It plays and sounds great. This is the second neck, the first was built to Ric string spacing, that is to say, unplayable if you have normal-sized hands. So I built a second neck and modified the bridge to Fender spec. The result plays just like a Stratocaster - perfect. The lipstick pickups ring just like a real Ric though. The poly actually looks better than the original lacquer, and is much more durable. I love the tuxedo black and white colors, with lots of shiny chrome highlights. I have at least one other project that is going to get the same conversion. I also have a 325 bass in the works, but I ended up scrapping the experimental first body I built for it, so that one will be a while.
Next to the guitar is a little amp project I did a while ago, that goes with it nicely. That is a Silvertone 'Amp-in-Case', direct from the Sears catalog, built by Danelectro. It would have originally been incorporated in a guitar case, which long ago rotted away. This is the better model 1457, with a metal chassis that can be properly grounded. I rebuilt the amp and modified it to more of a Fender Champ circuit, a matter of a few extra capacitors and you get a lot more balls. On the back is a new Jensen 8" speaker much like the vintage one, and on the side, you can't really make out a jack for a modern 3-pronged power cord and an auxiliary power out for pedals, etc. You can see the uncut original power cord snaking into the air vent at the bottom. At the right side, in the tube-breathing gap, is a two-stage attenuator. The left switch engages the L-Pad variable attenuator for cranked bedroom volumes, while the right switch engages a fixed attenuator on top of that for midnight volumes. The cabinet is a funky two-toned trapezoid tribute to the Danelectros of old.
I just suddenly got a flashback to sitting in high school when the news came out that John Lennon had been shot ( the night before. ) The shock and disbelief. That was before the tweeter and the internets and instant news on your phone.