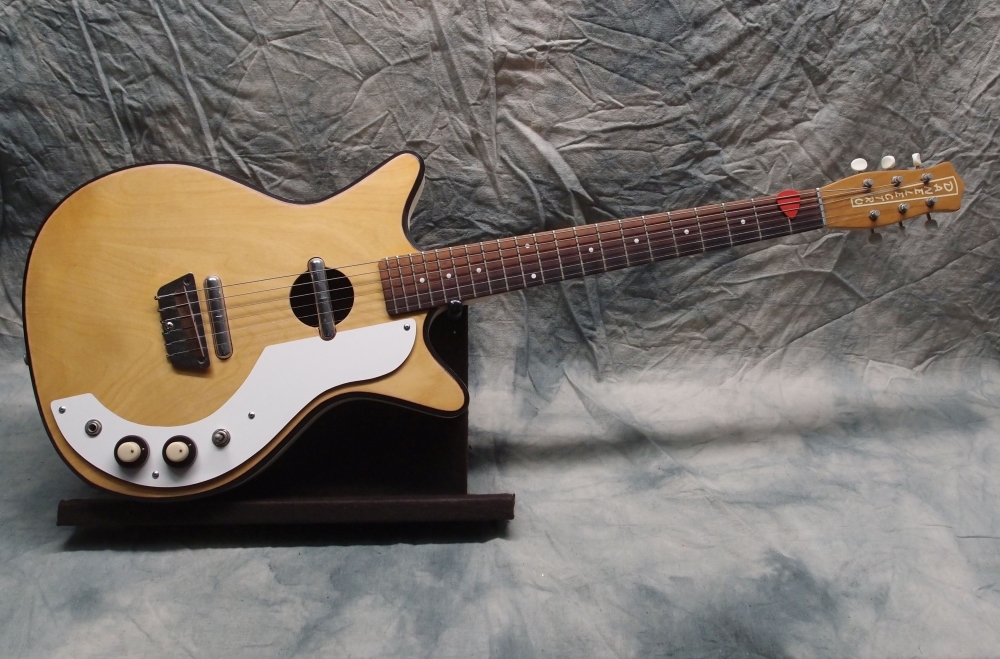
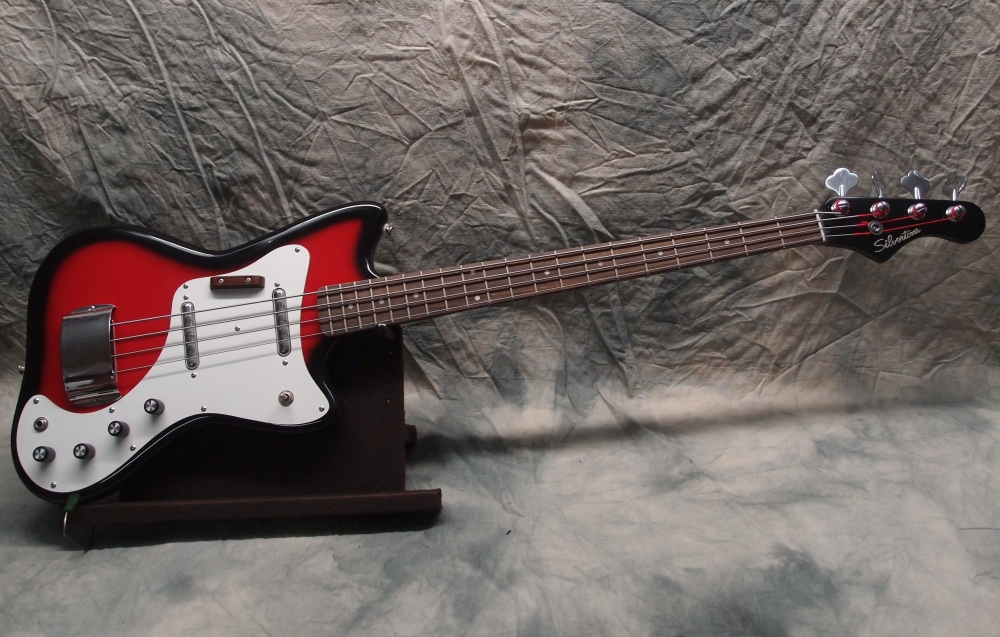
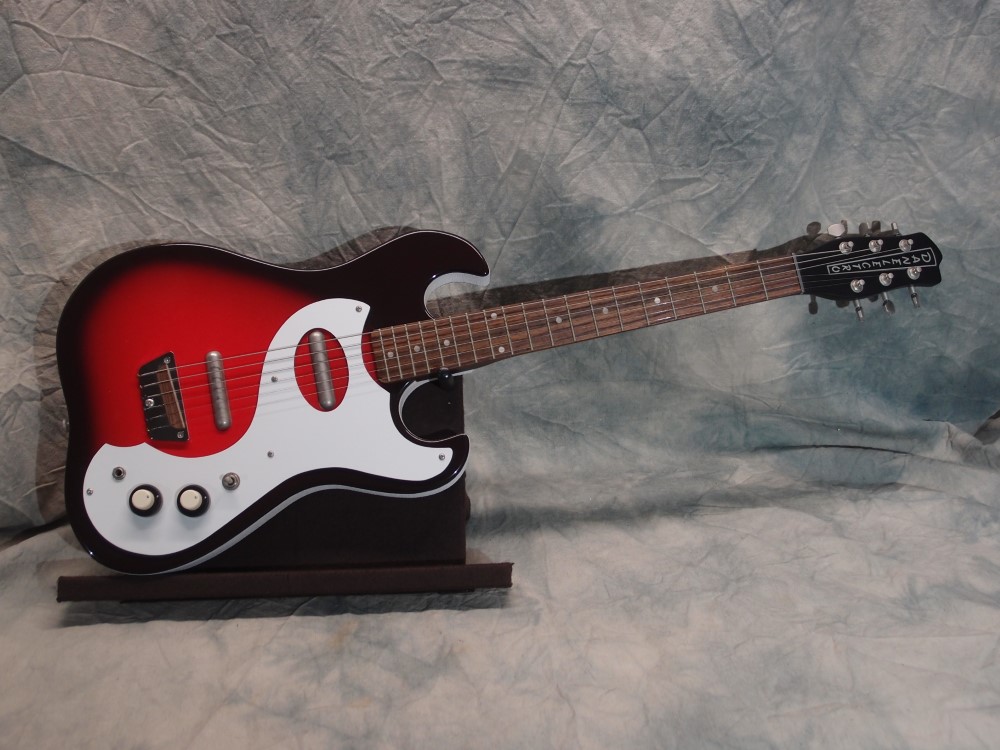
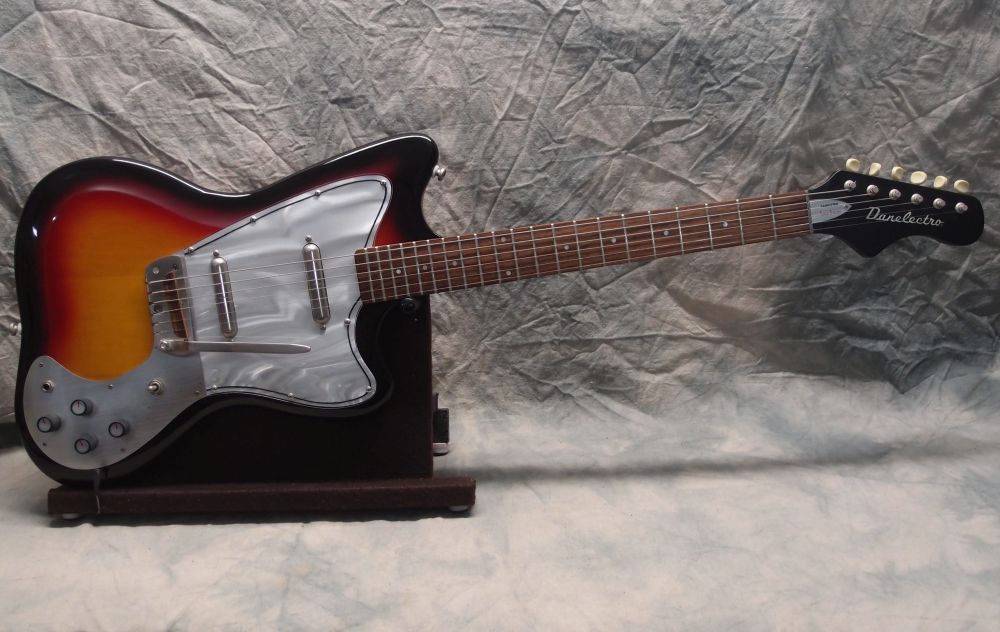
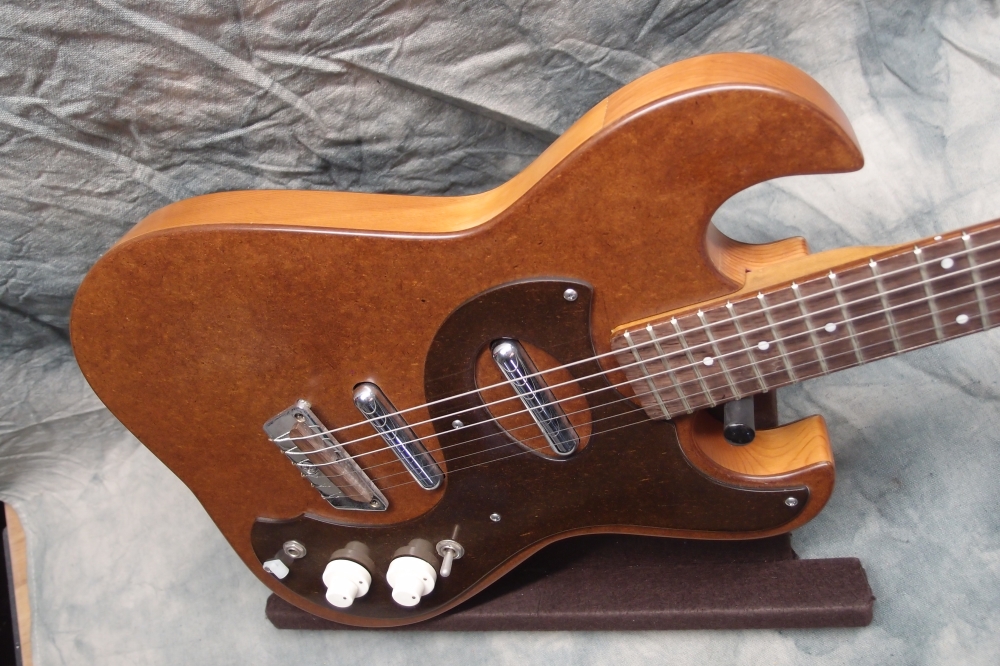
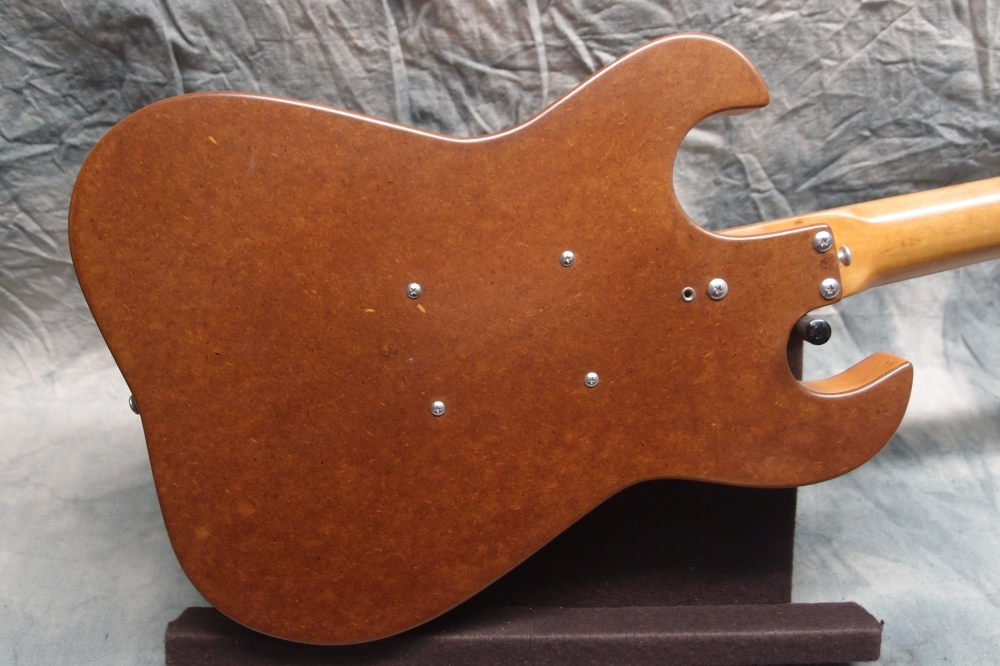
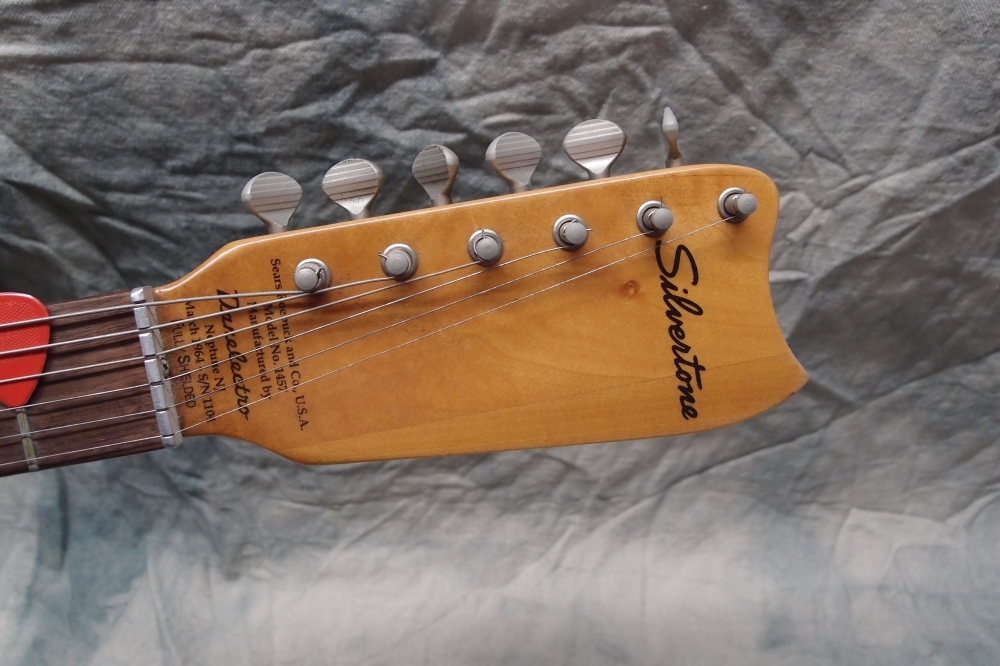
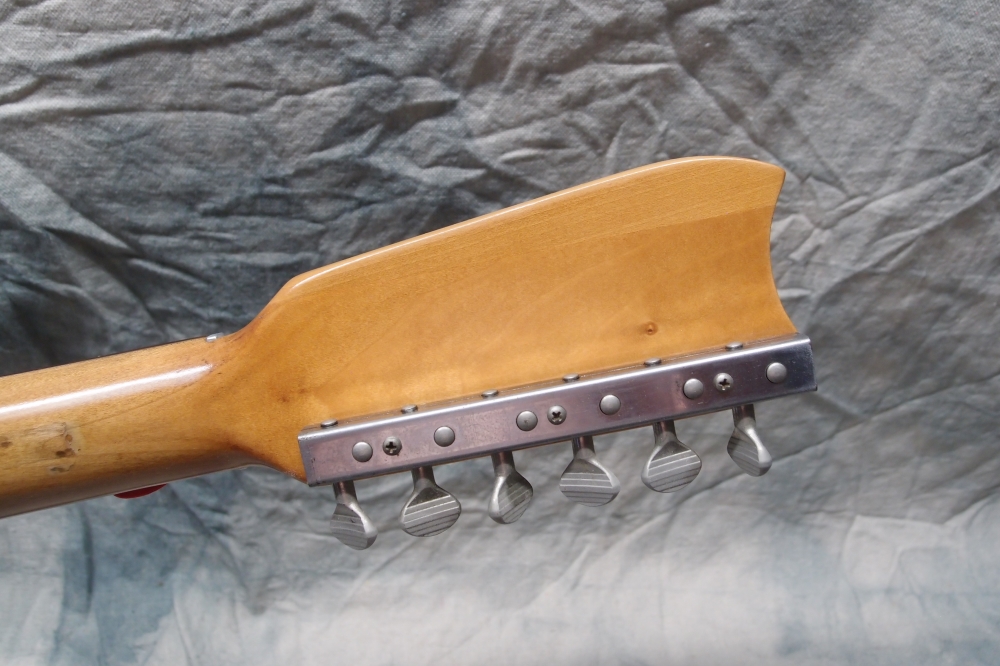
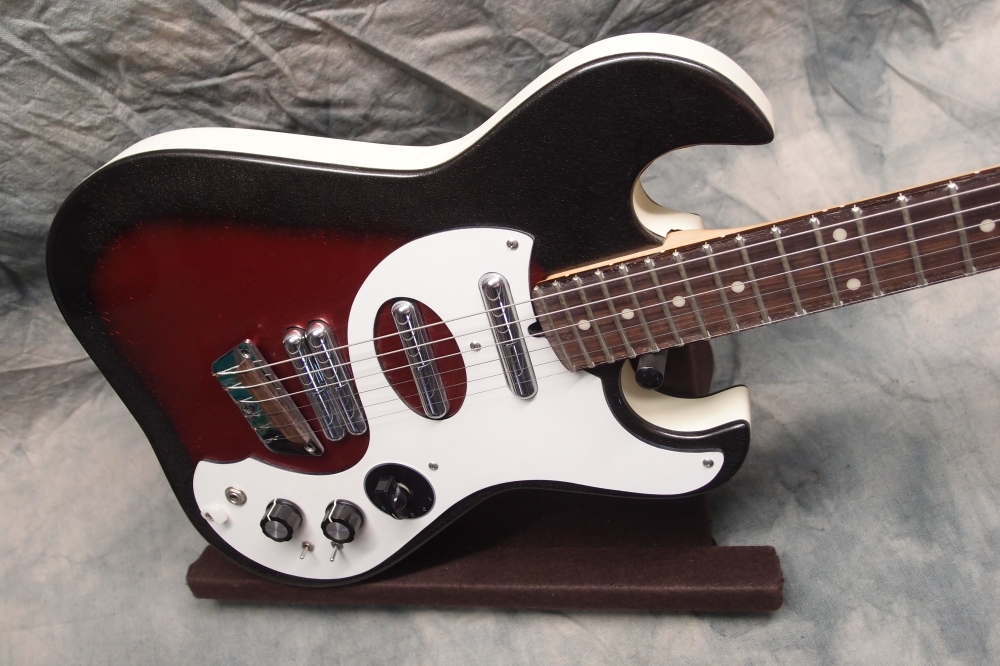
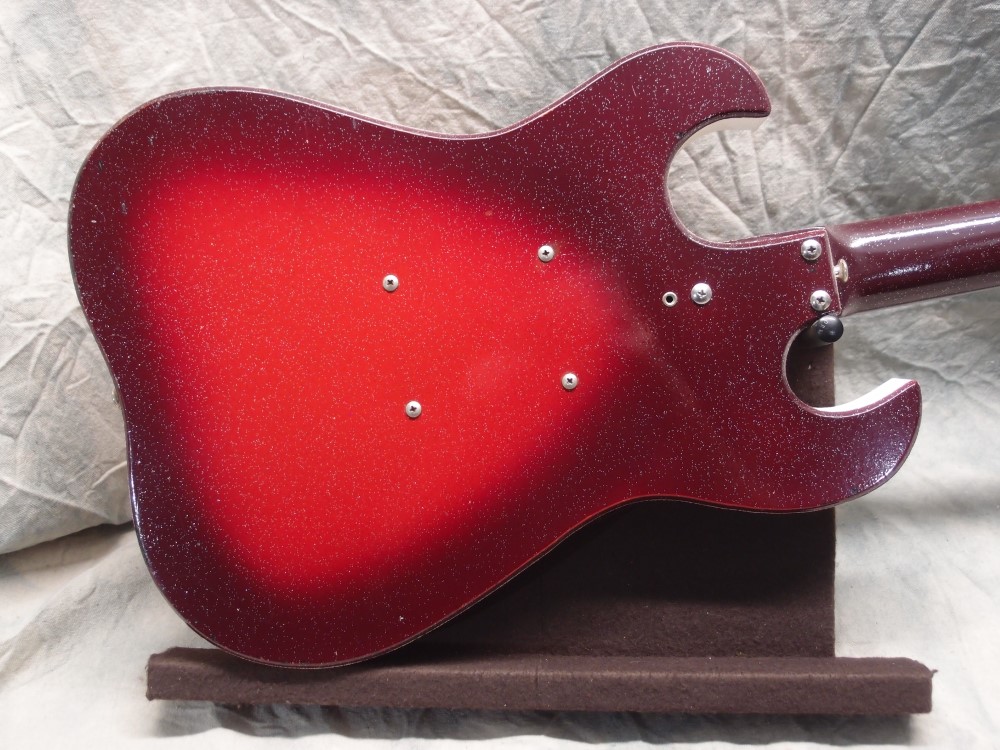
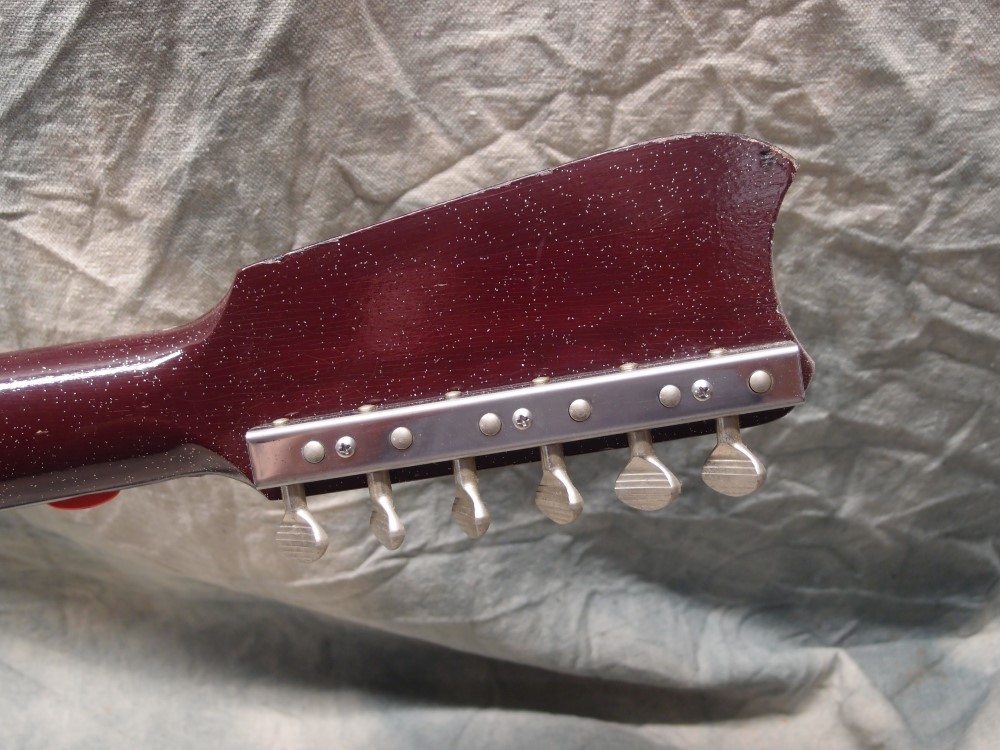
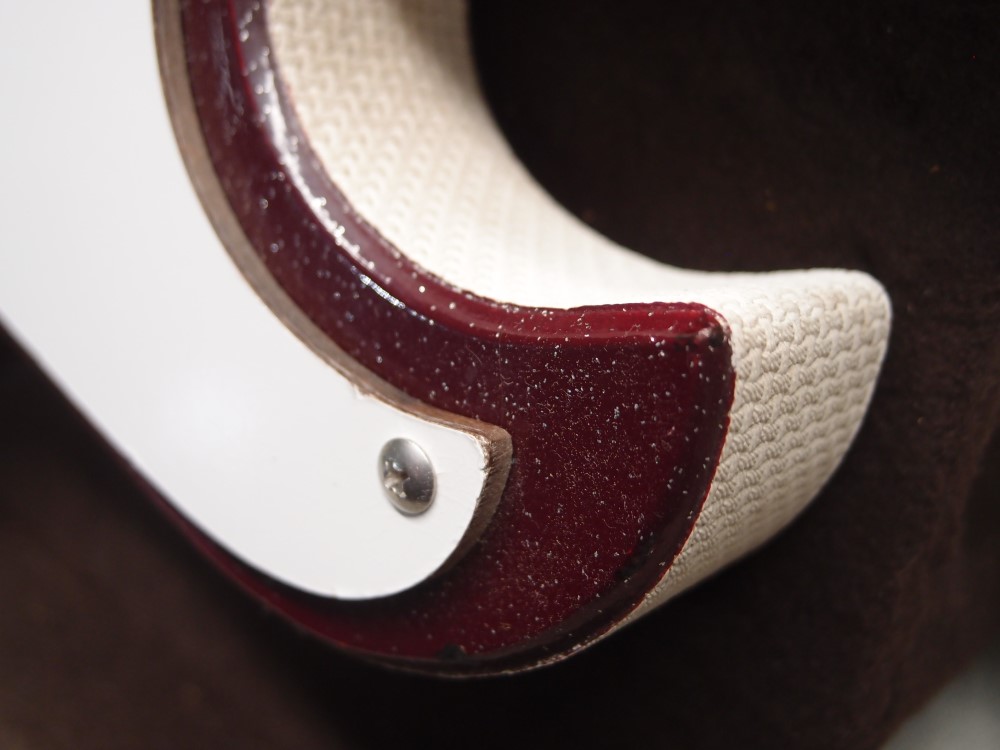
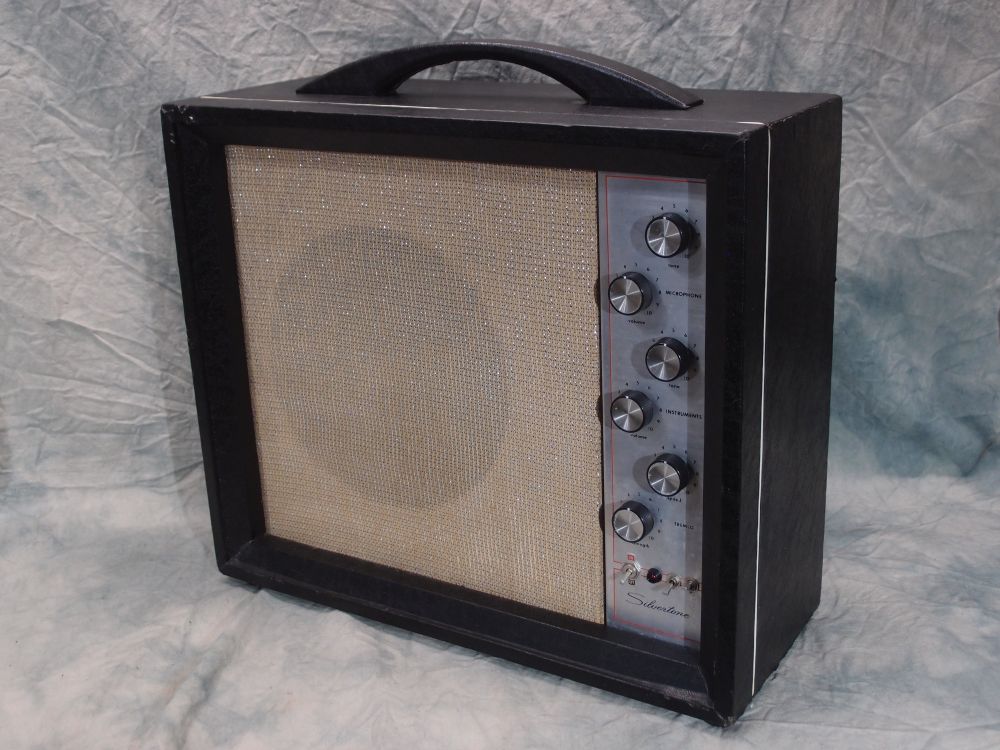
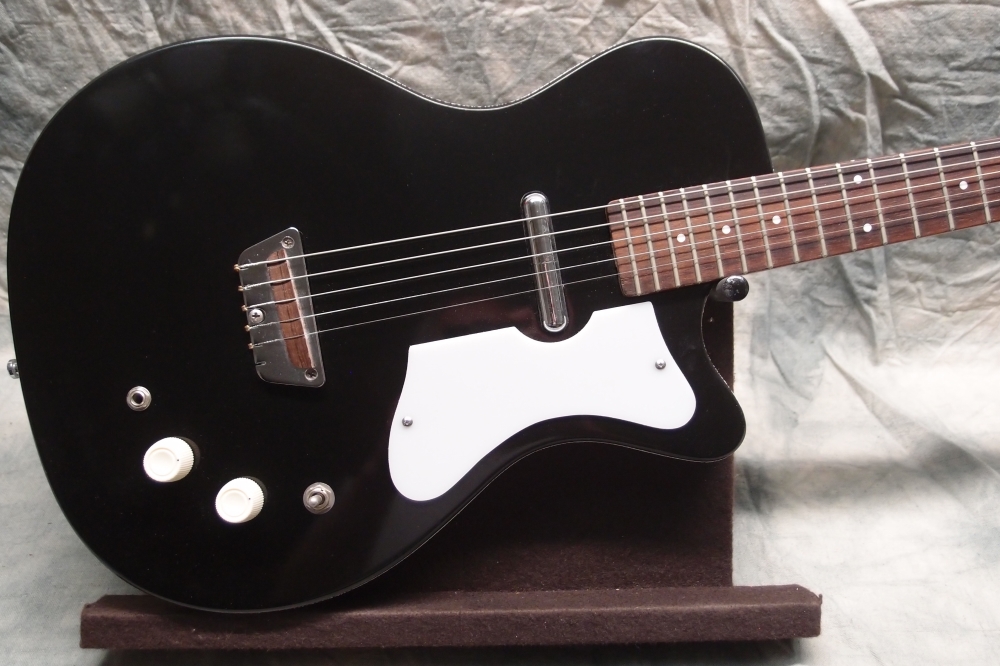
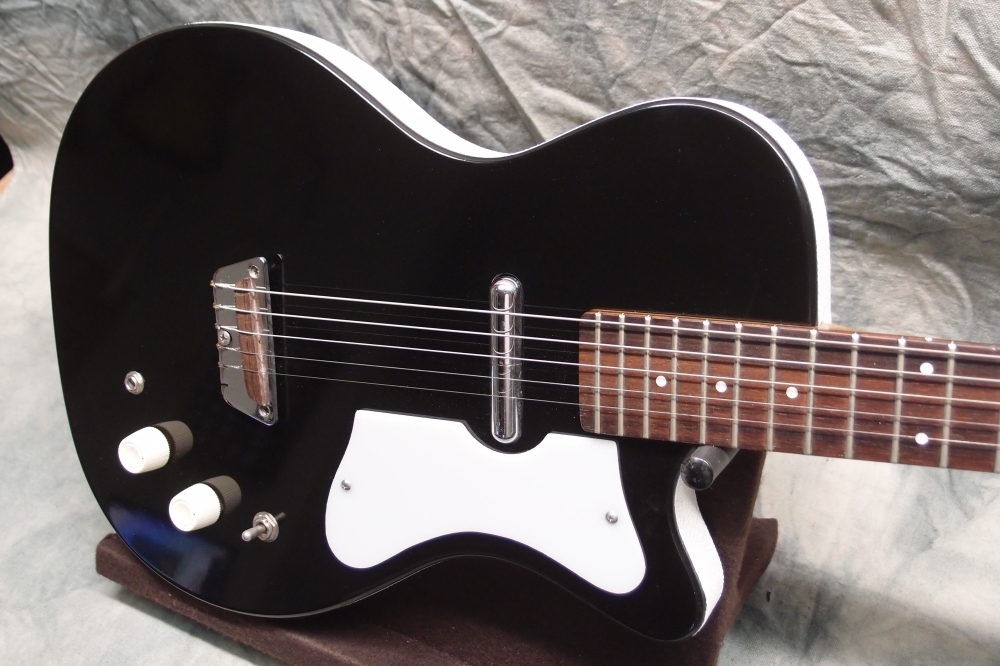
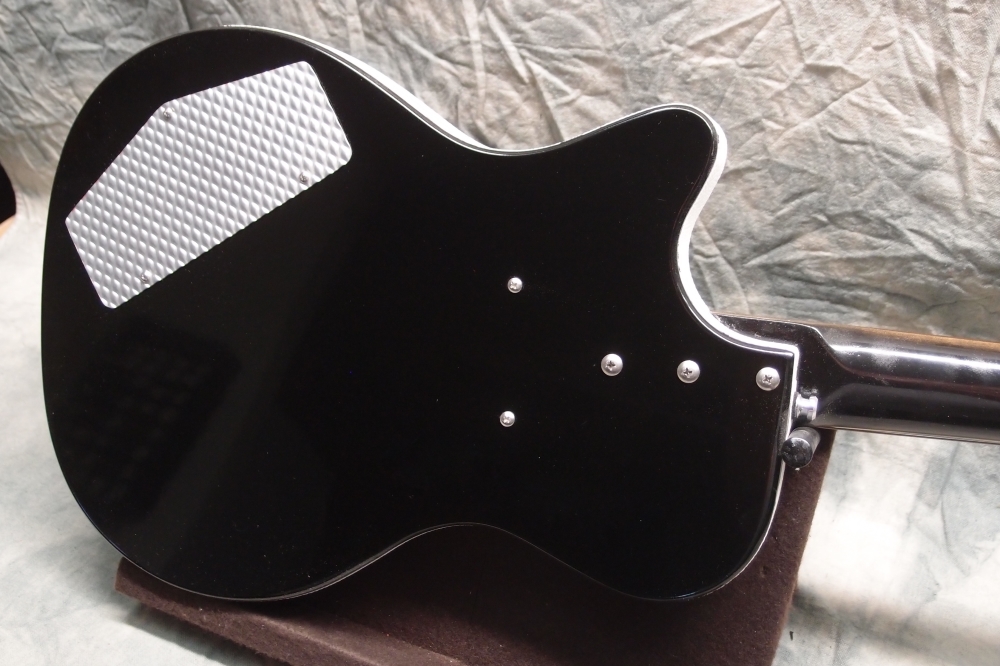
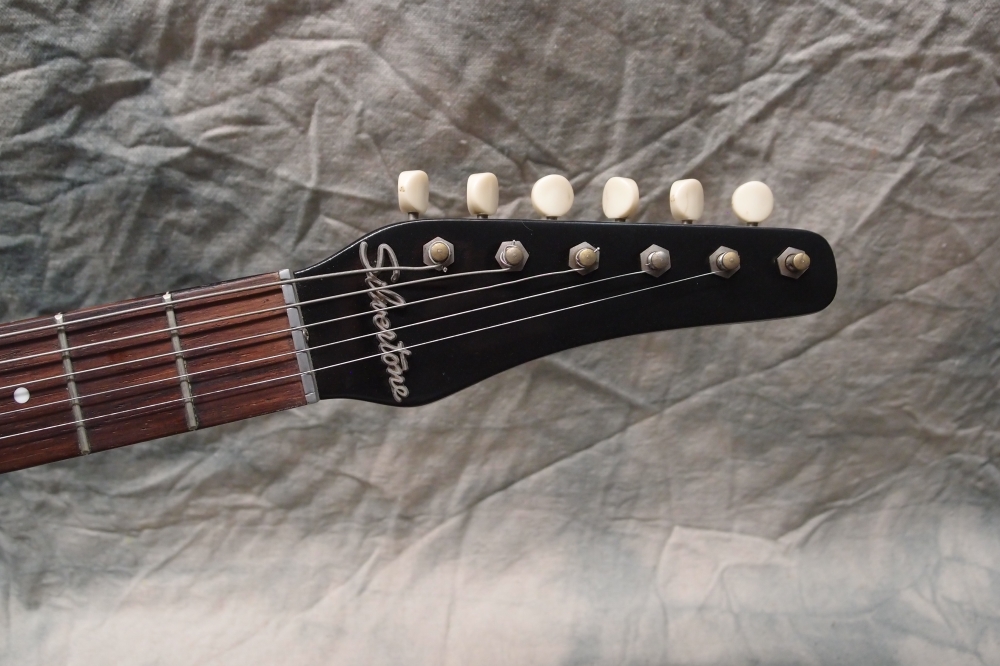
This is a real Danelectro Silvertone 1452 from the 1960s. When I got it, it was a sad box of parts. Some hillbilly had stripped it, by rubbing it on the sidewalk, I think. The fretboard had delaminated, and the old repair had simply made the problem permanent. I repaired the neck and fixed all the other issues, replaced the lipstick tubes, which had split, and clear-coated the whole thing in modern poly. I was not able to fully repair the neck, there's just not enough wood left, so I don't keep it under tension. The pickguard is stained dark for contrast. I cleaned tarnish off the old metal bits with oven cleaner, and replaced all the corroded fasteners with shiny new stainless ones.
More: Silvertone 1457 "Rescue" Guitar ...
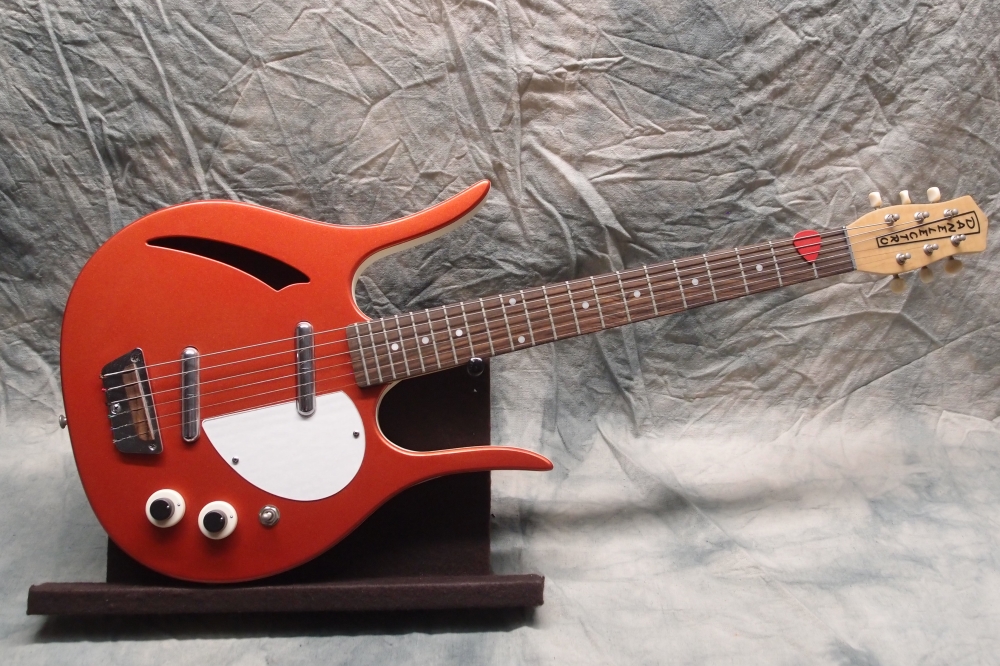
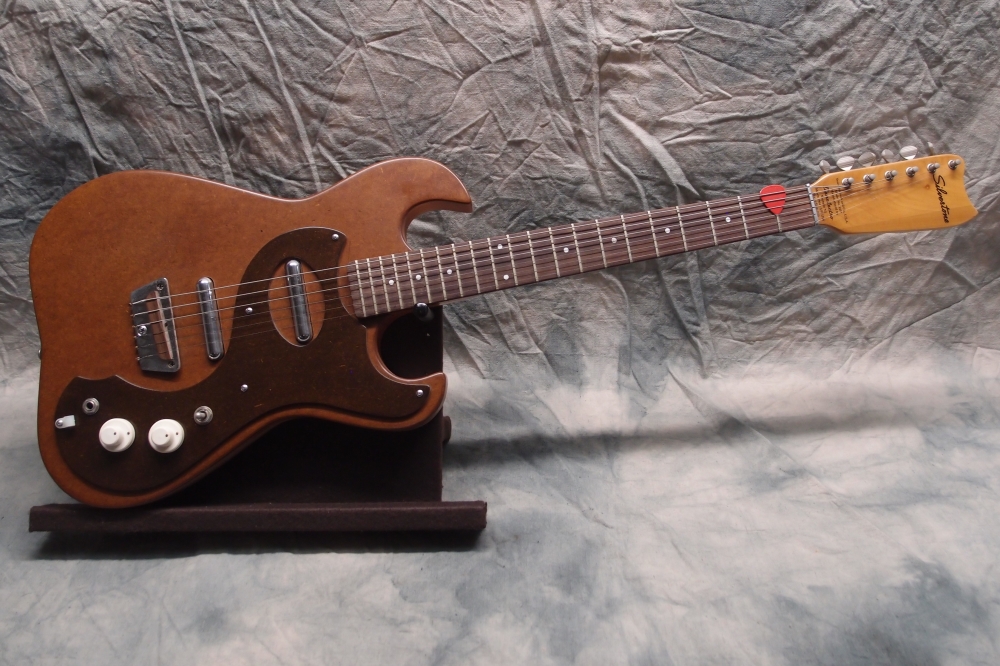
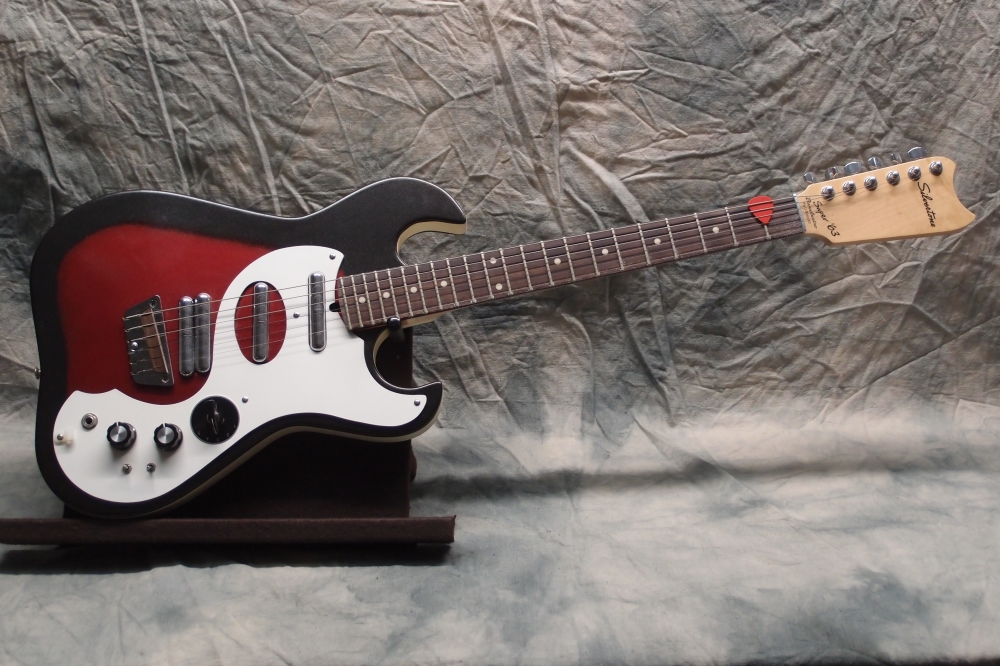
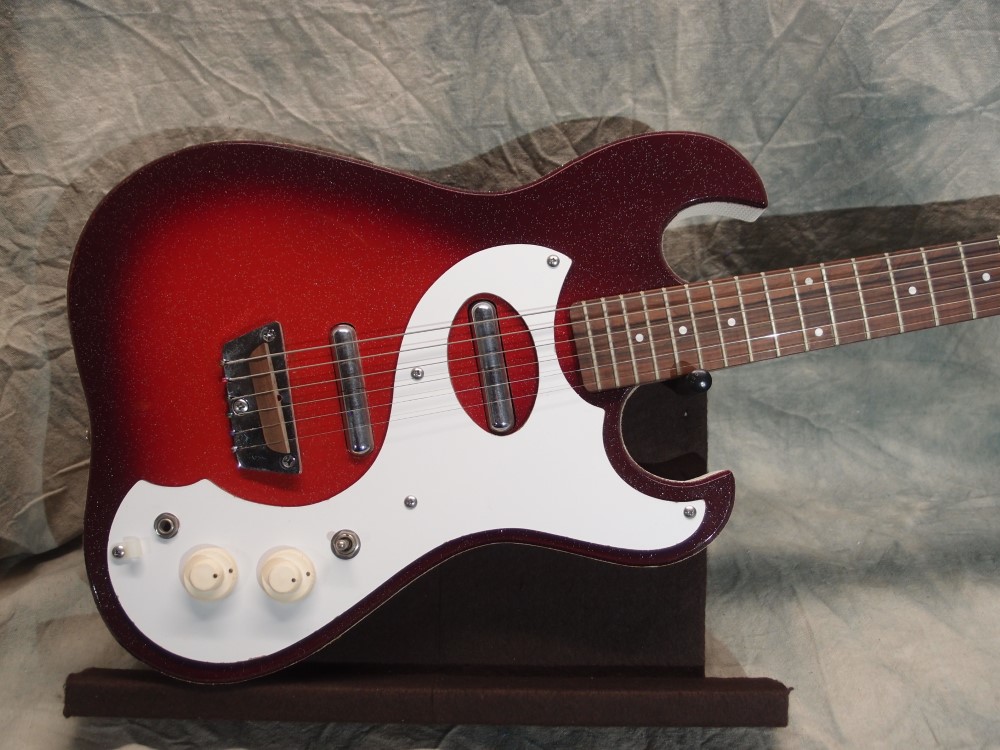
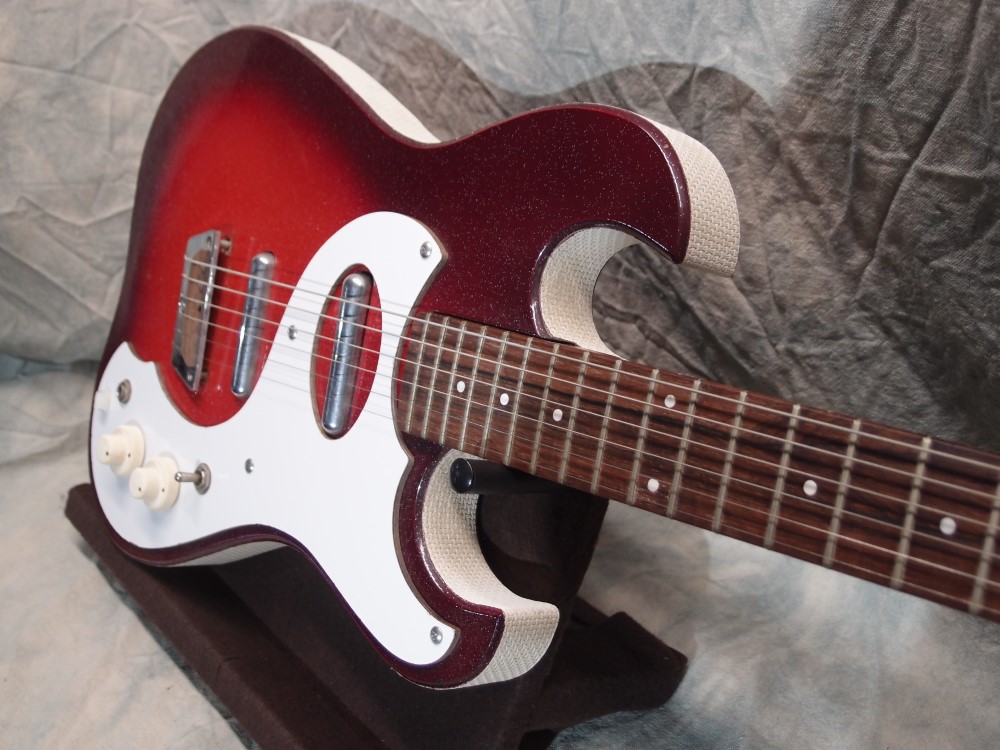
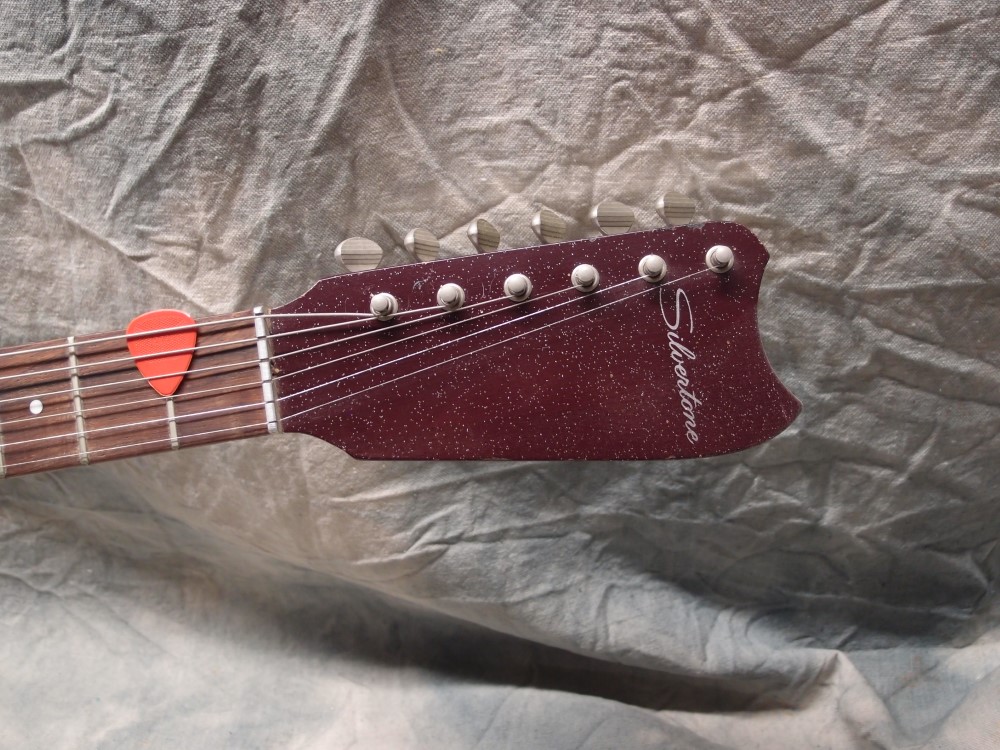
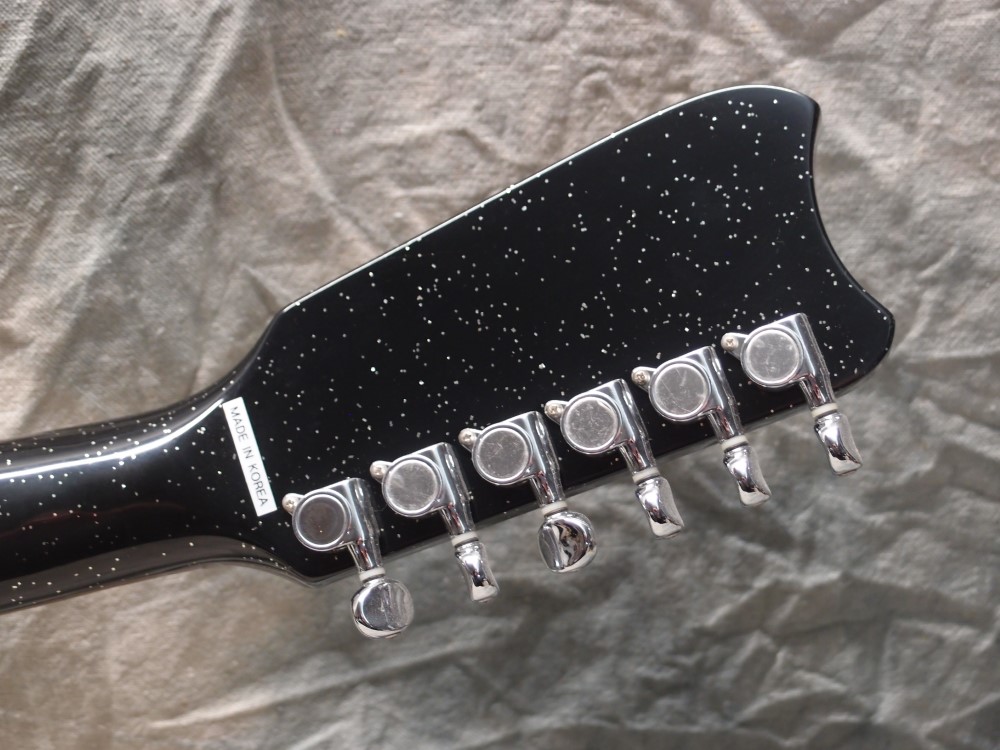
This is the very first guitar I ever built, a hot-rodded version of the old Silvertone 1457. This guitar uses every passive wiring trick in the book. Four - count 'em - four lipstick pickups, wired in series. Six-way pickup selector, and two phase switches. The neck is from AllParts, I paid way too much for it. The finish is glittery acrylic lacquer from the auto parts store. The knobs are from Radio Shack - remember them?
More: Silvertone 1457 "Super 63" Guitar ...
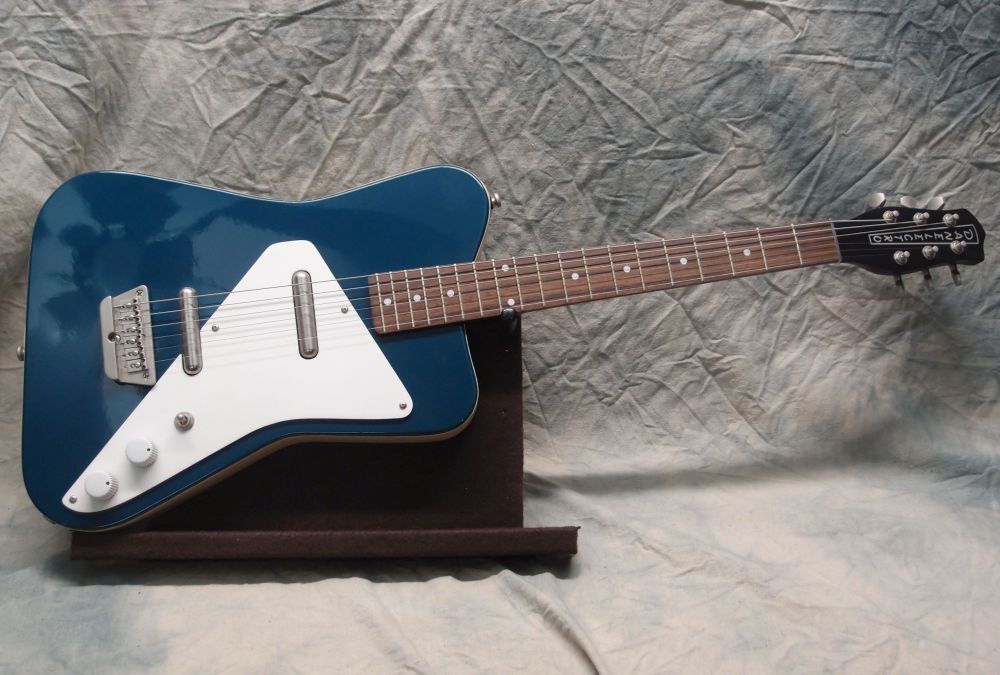
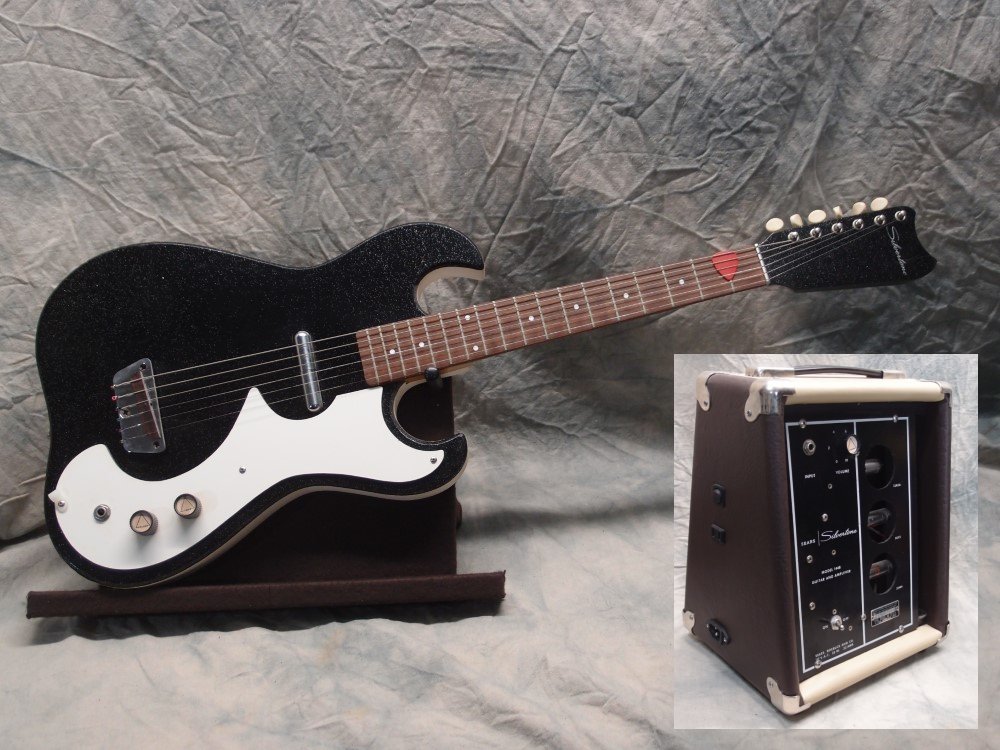
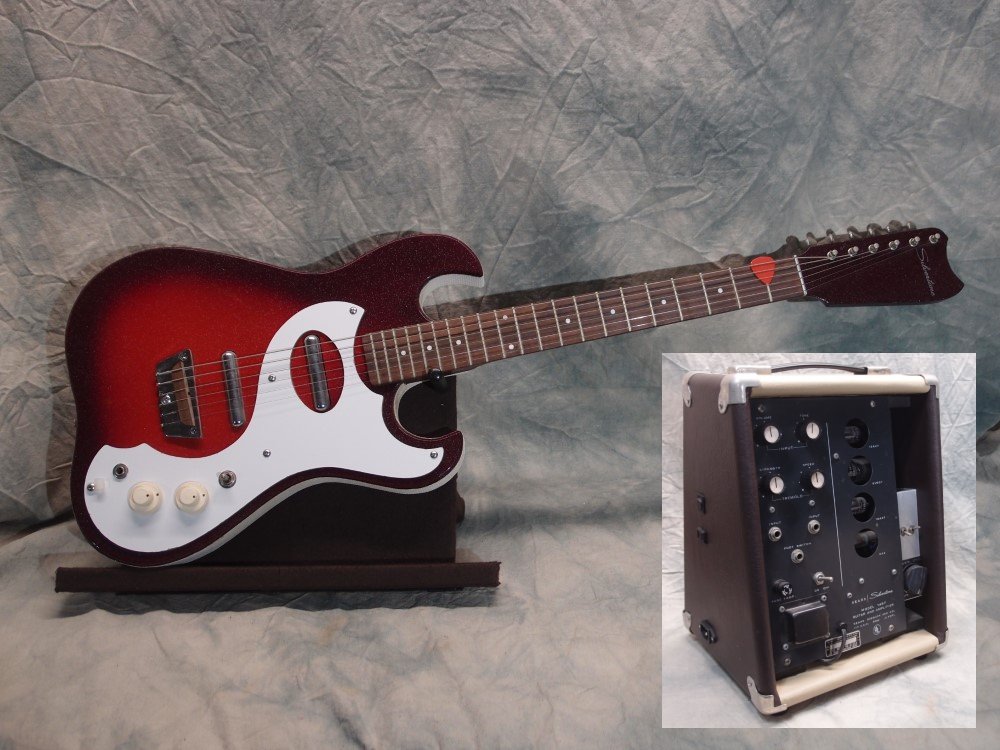
This is the big brother to the Silvertone 1448, vintage 1964-67. Construction is basically the same, but with a full-scale neck, two pickups, and a much better amp. For a lot of details, see the 1448 page. This guitar is in excellent condition for being almost sixty years old, and apart from cleaning and re-stringing, it needed nothing.
More: Silvertone 1457 Guitar & Amp ...
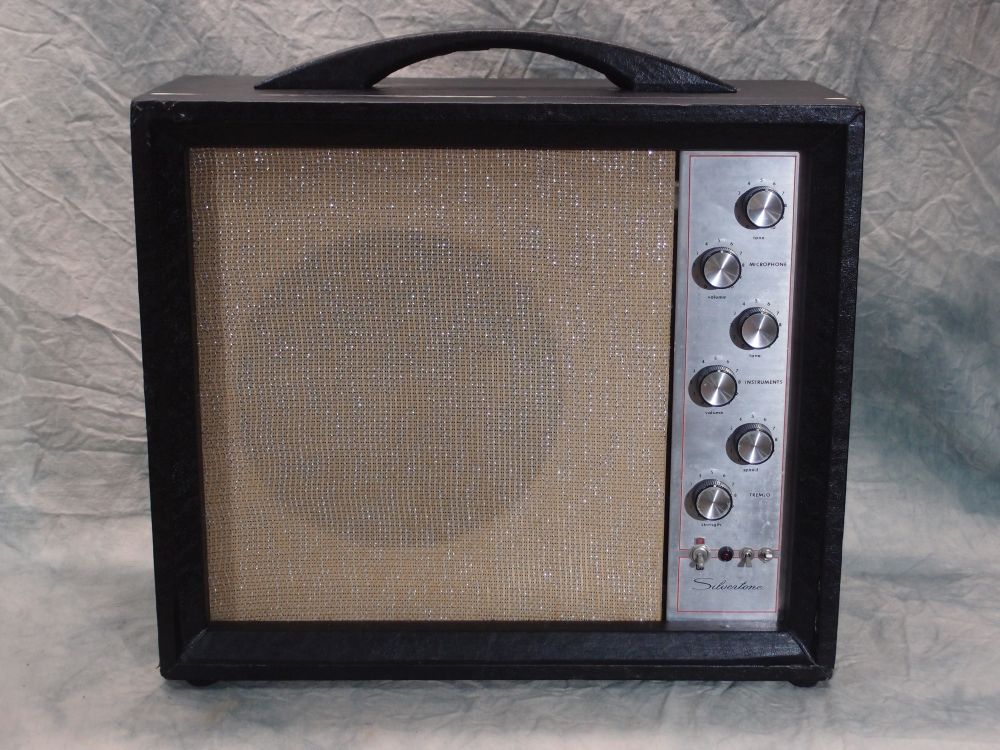
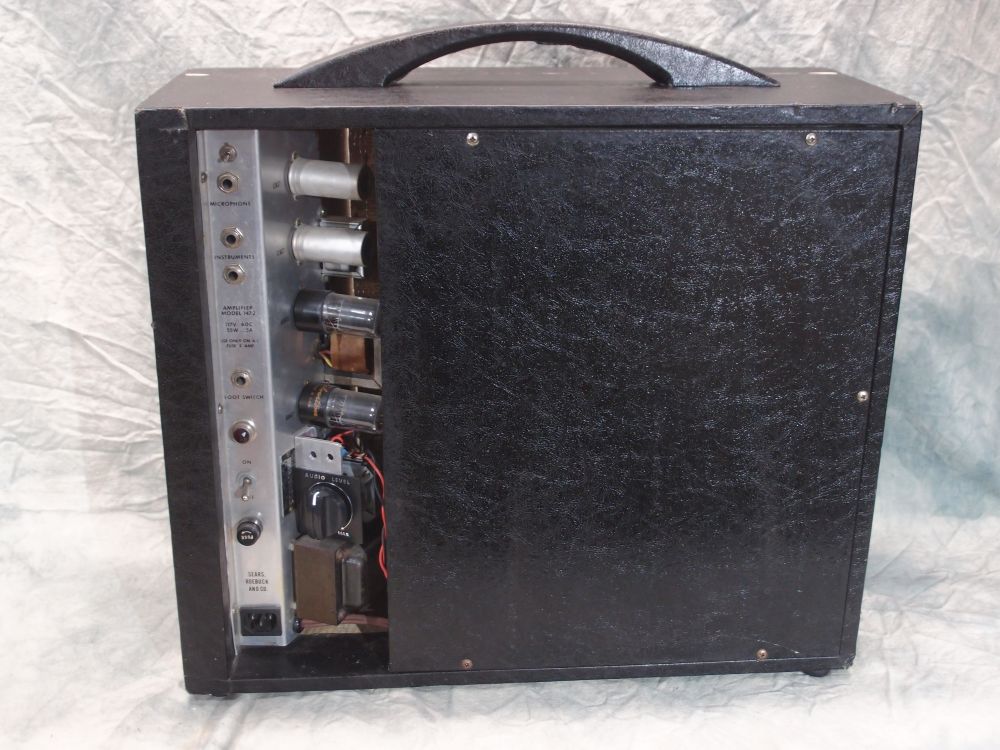
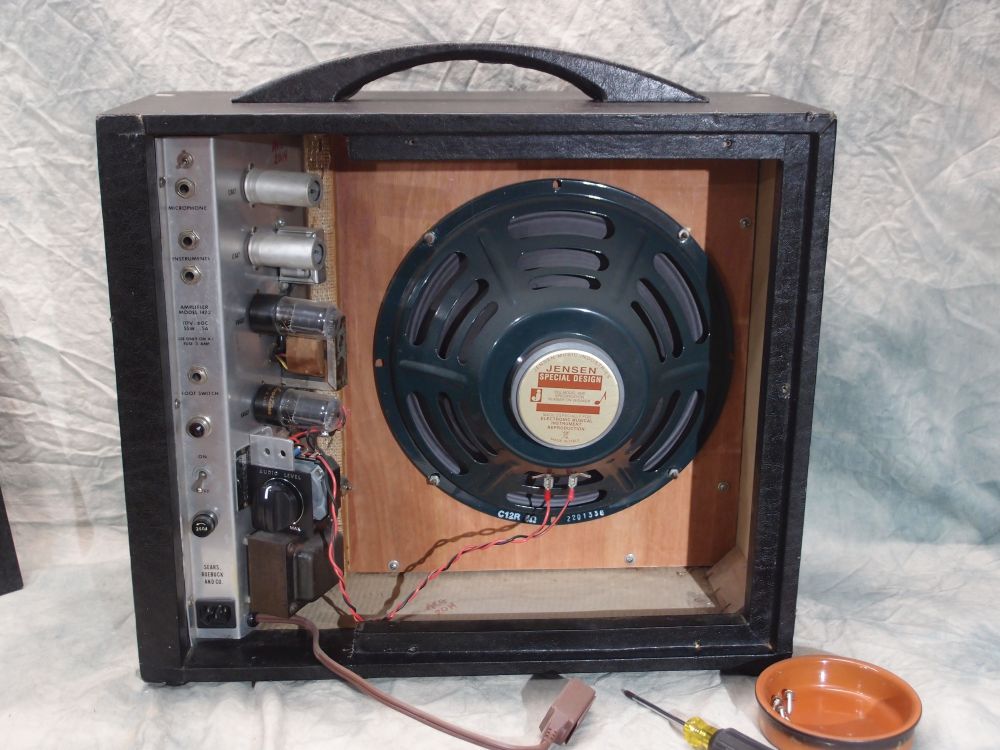
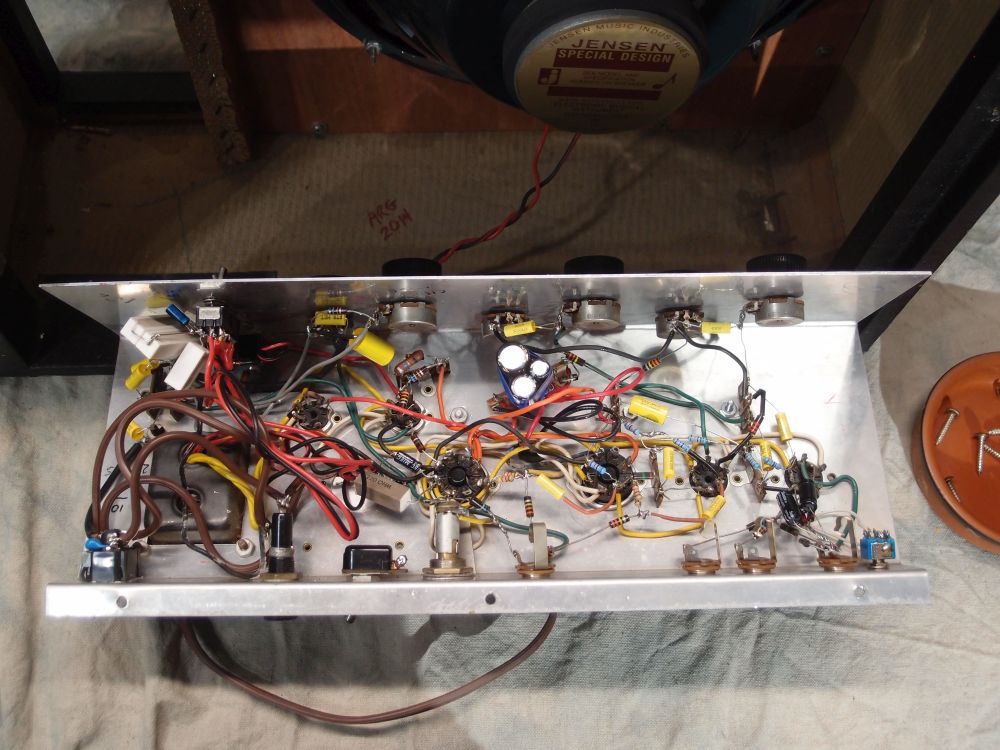
After successful and interesting experiments rebuilding 1448 and 1457 "Amp-in-Case" amplifiers, I thought I'd try something bigger. So I kept an eye on the eBays, and eventually came up with this - an early production Silvertone 1472, made by Danelectro and sold through the Sears catalog. It was fairly cheap because it wasn't working. However, the cabinet is solid, the aluminum faceplate and labeling are in good shape, all the knobs are there, and everything else can be replaced or rebuilt. The Tolex is in very good shape, and the corners of the cabinet are all pretty much intact. Much like buying an old car - a blown engine is easier to fix than a rusted-out body.
More: Silvertone 1472 Amplifier ...
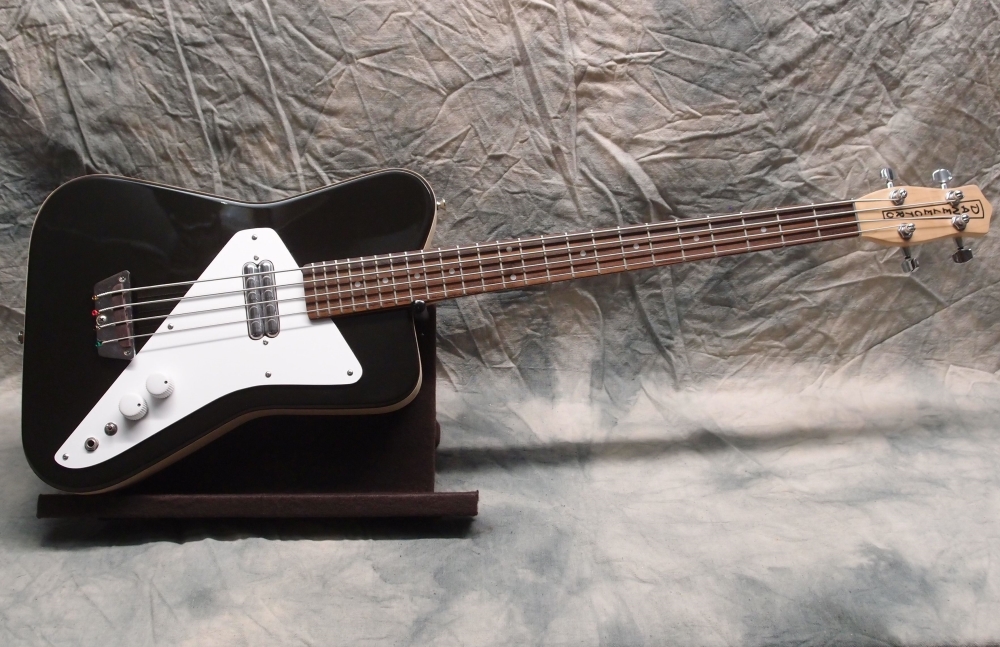
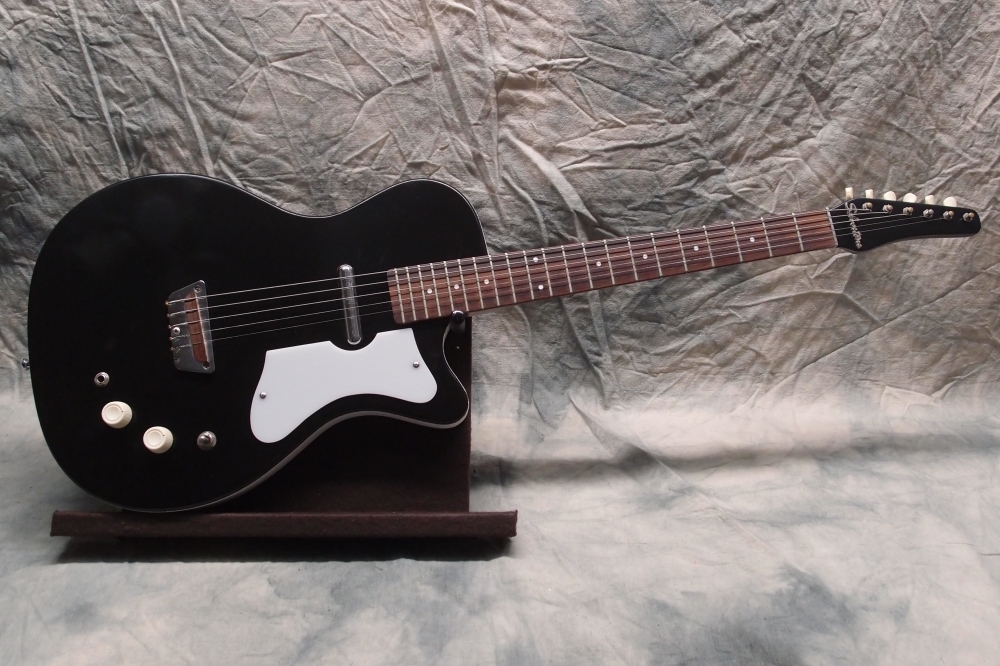
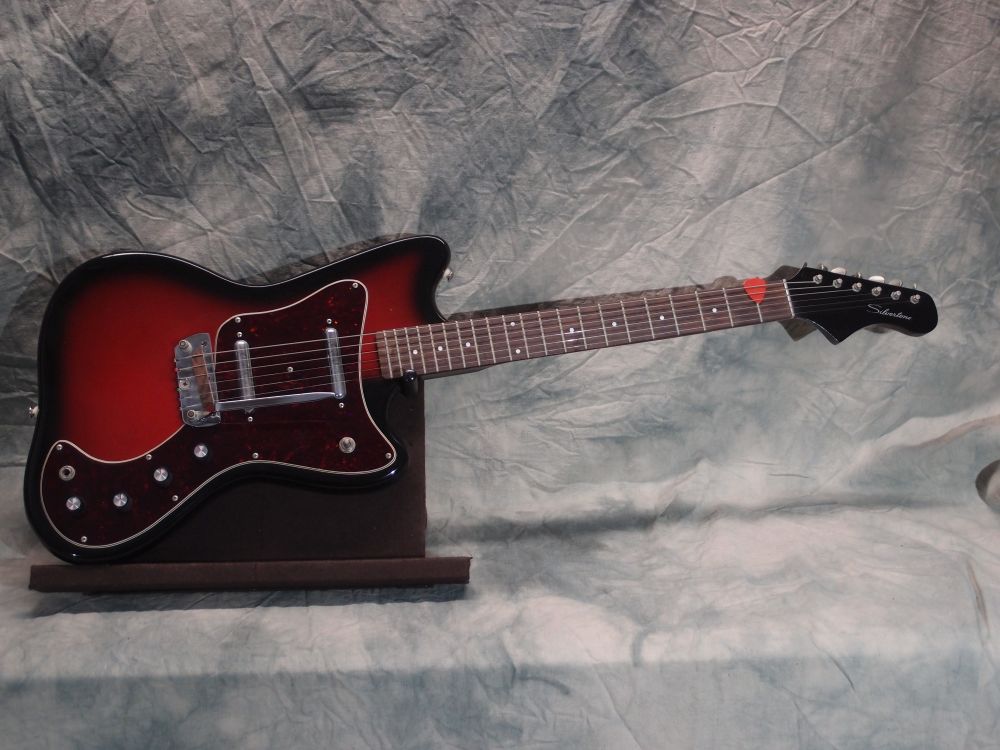
This started as a vintage neck that I got on eBay. I built a reproduction body and hunted-down old-style parts to rebuild this as authentically as possible. The finish is black nitro, which is accumulating nitro damage just from existing. Someday I should strip that garbage off and re-shoot it in polyurethane.
More: Silvertone U-1 "Dolphin" Guitar ...
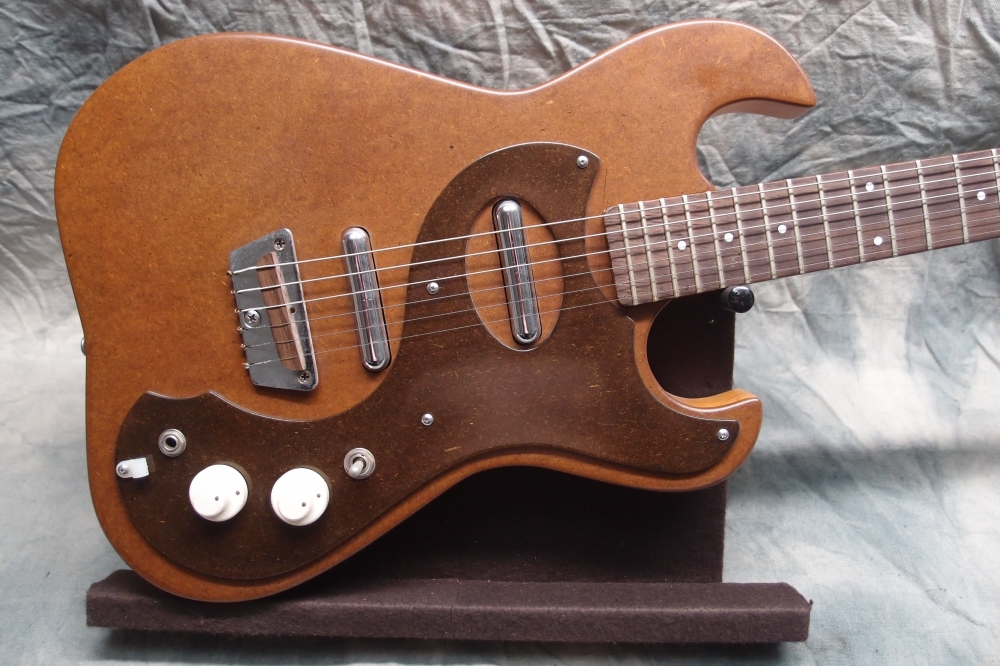
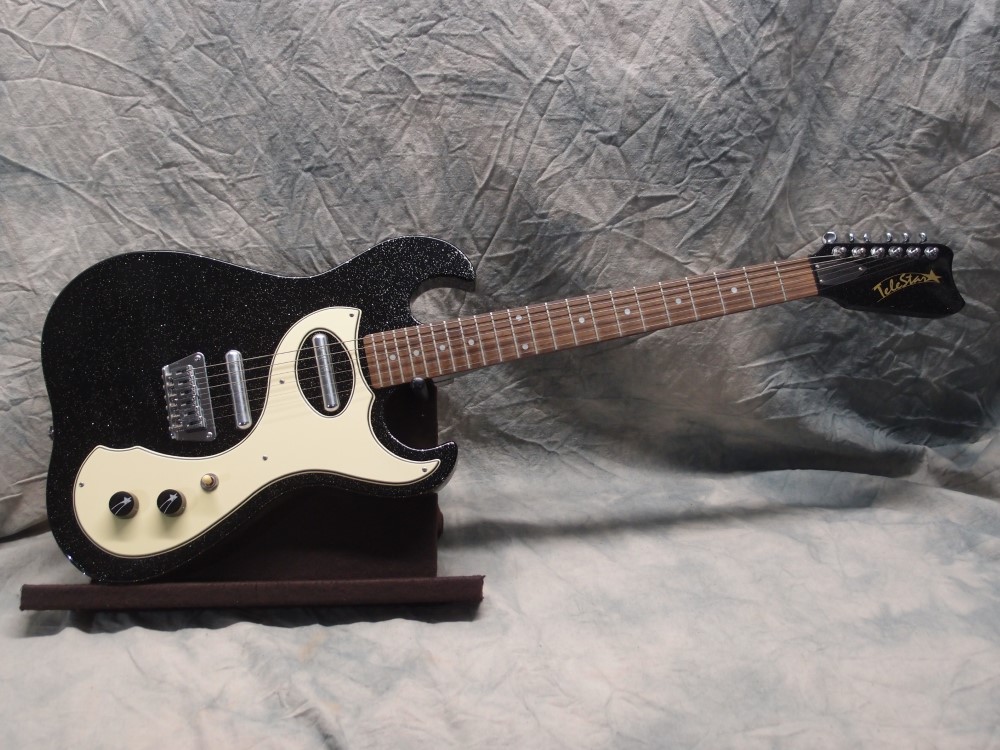
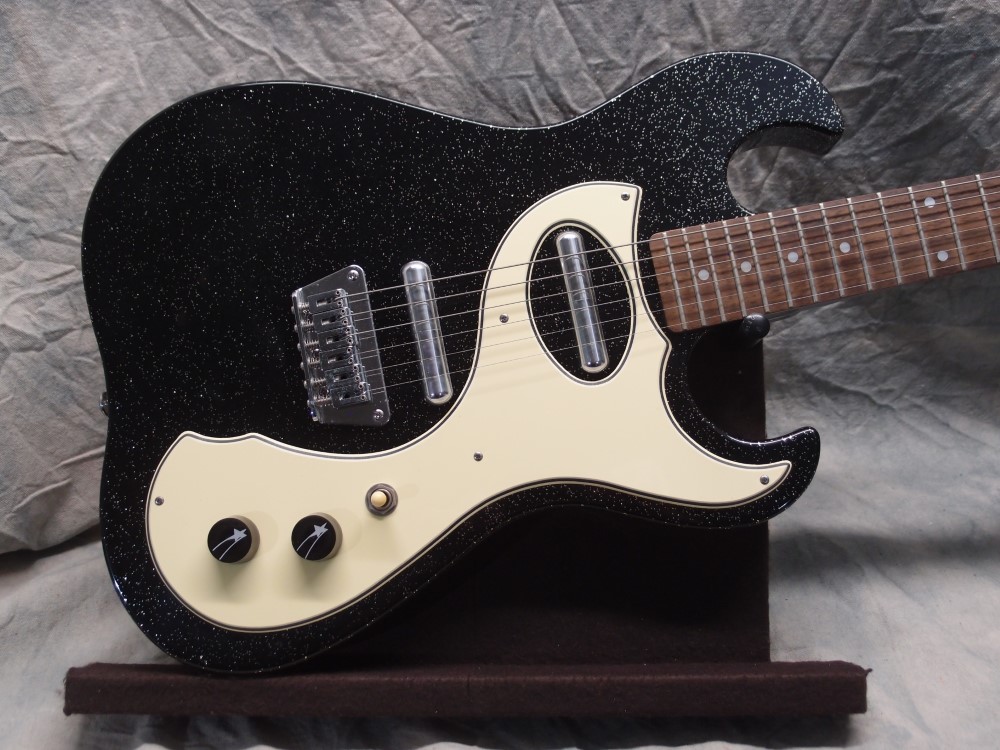
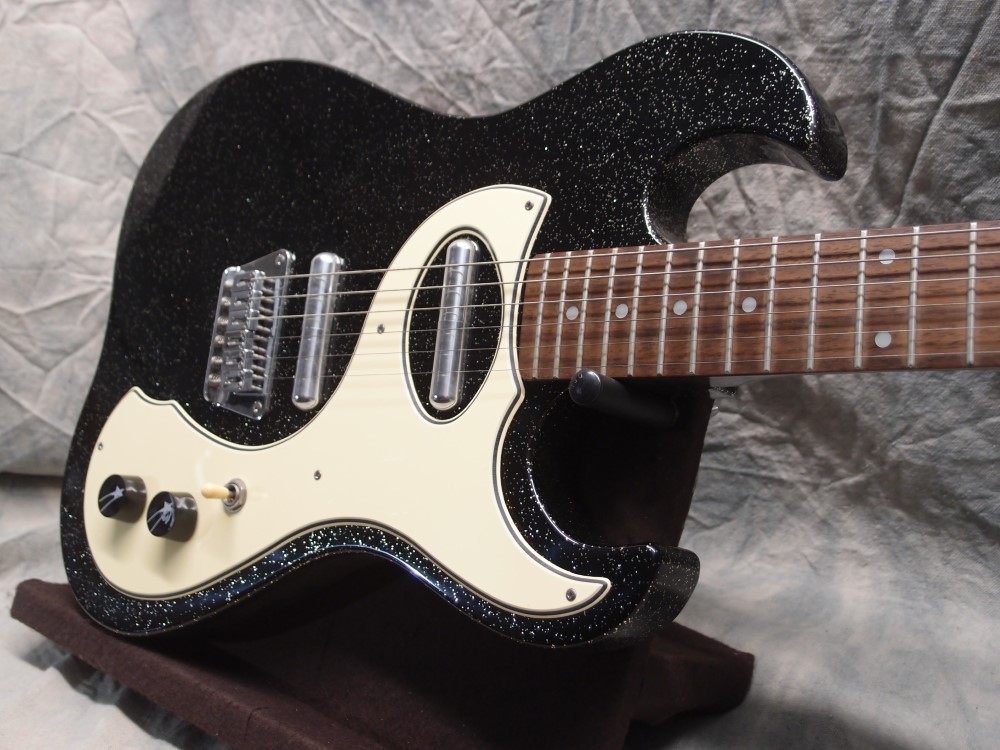
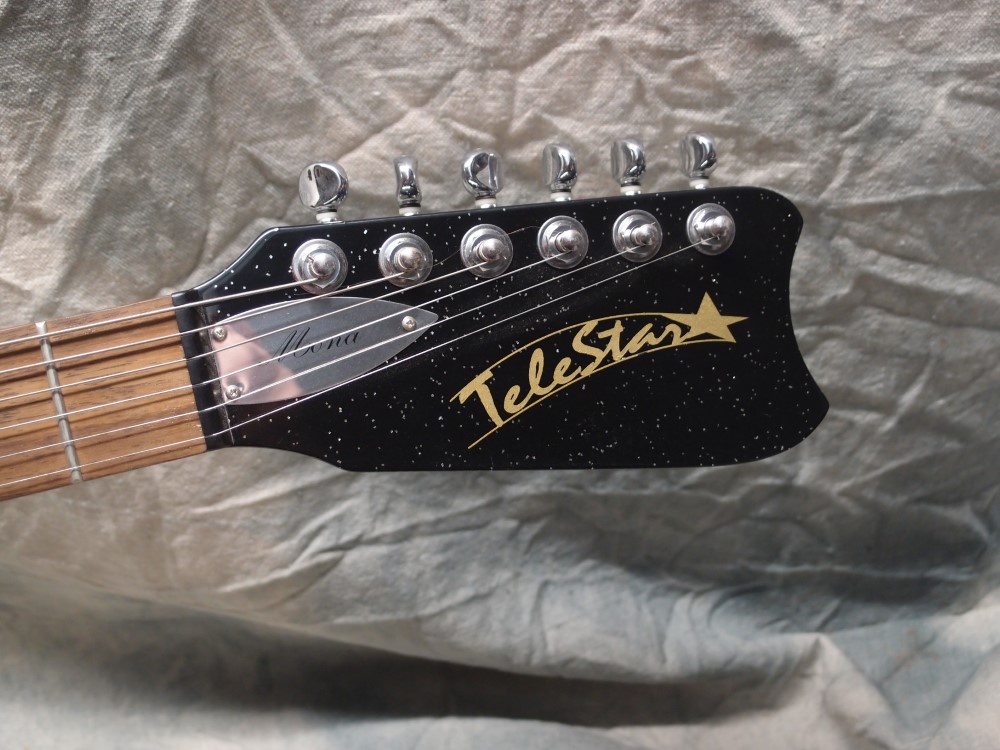
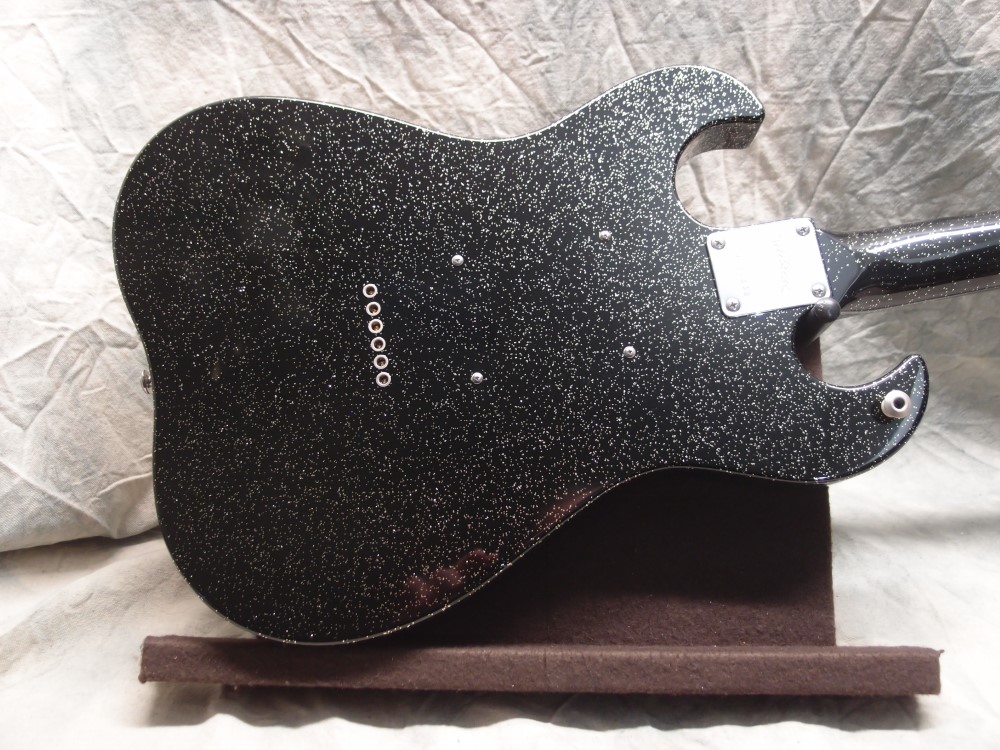
Around the time that Evets was putting out their first round of Danelectro reissues in the late '90s, several disaffected Gibson employees started their own company, and put out two models - 'Mona' and 'Lisa'. The Mona is a copy of the Danelectro 1457 from the 1960s. It is a mix of old and new. The body is classic masonite over a hollow core, but lacks the Tolex edge binding of the original. While it has the speckles of the original, the finish is modern polyurethane. The pickups are true lipsticks, wired in series, but the pickguard is bevel-edged plastic, and the bridge is basically a Fender. The headstock is the right shape, but bent down to lessen the awkward string angles.
More: Telestar Mona ...


