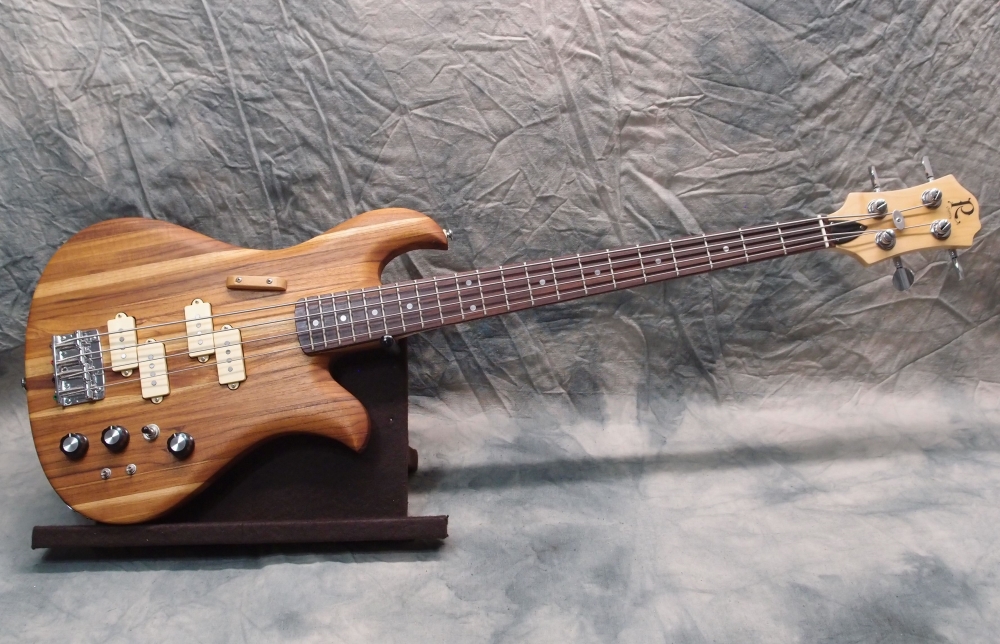
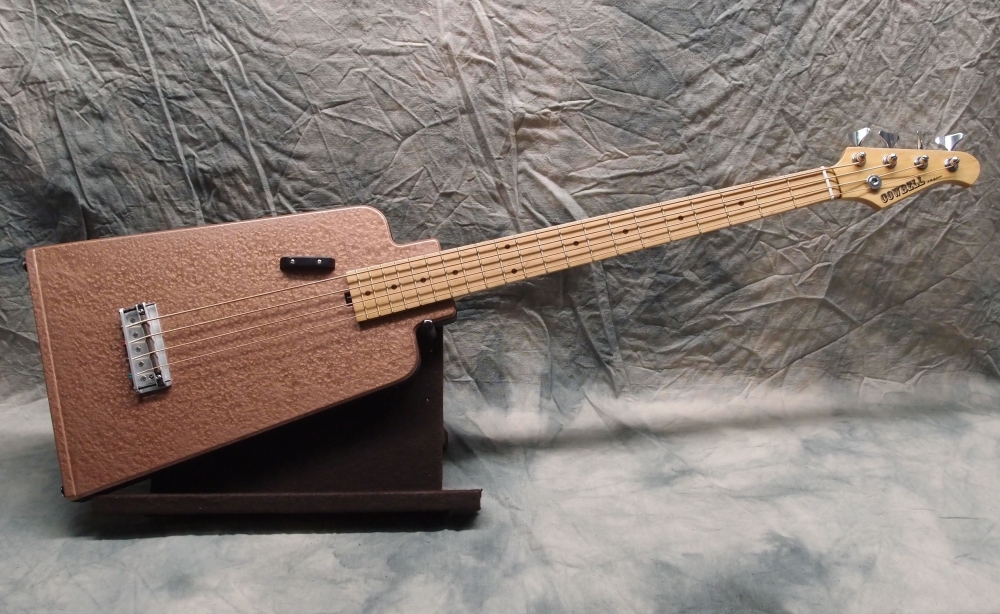
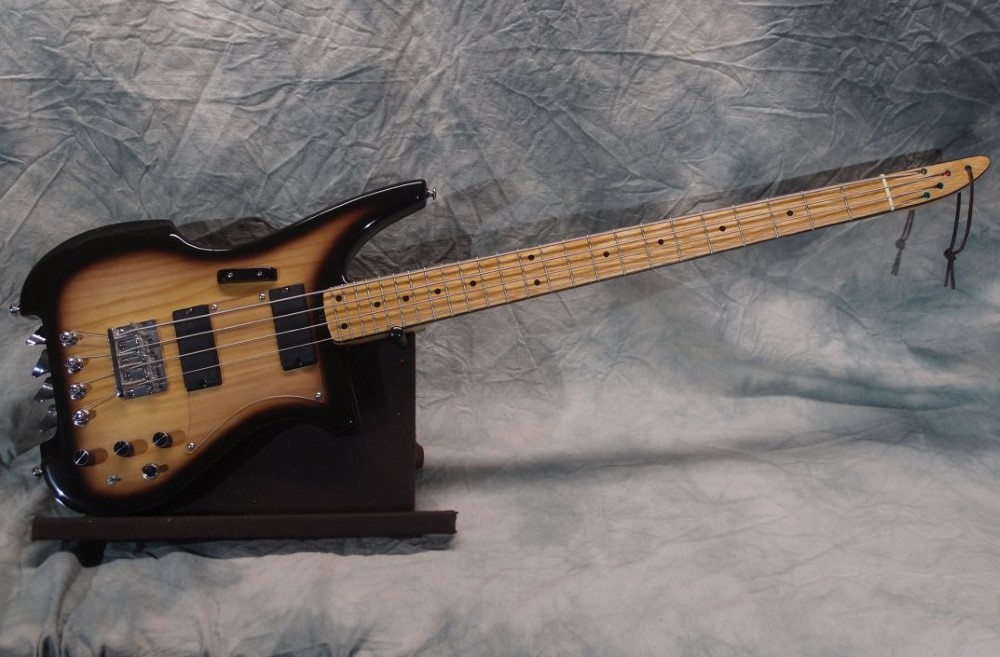
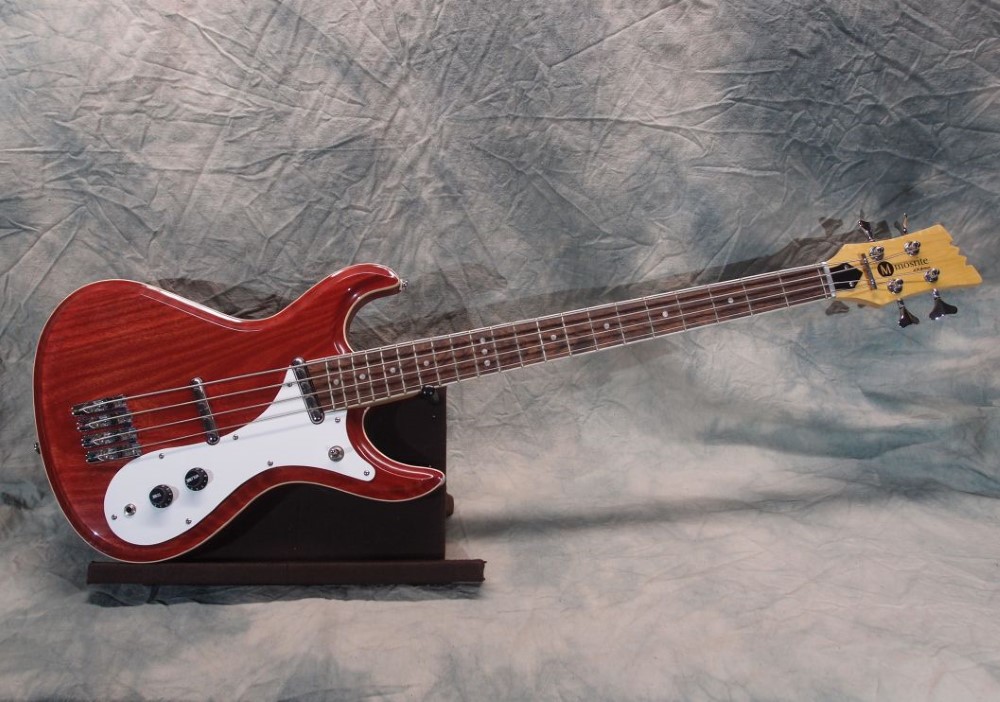
Cowbell Bass Guitar (6/8)
Dec 31, 2018
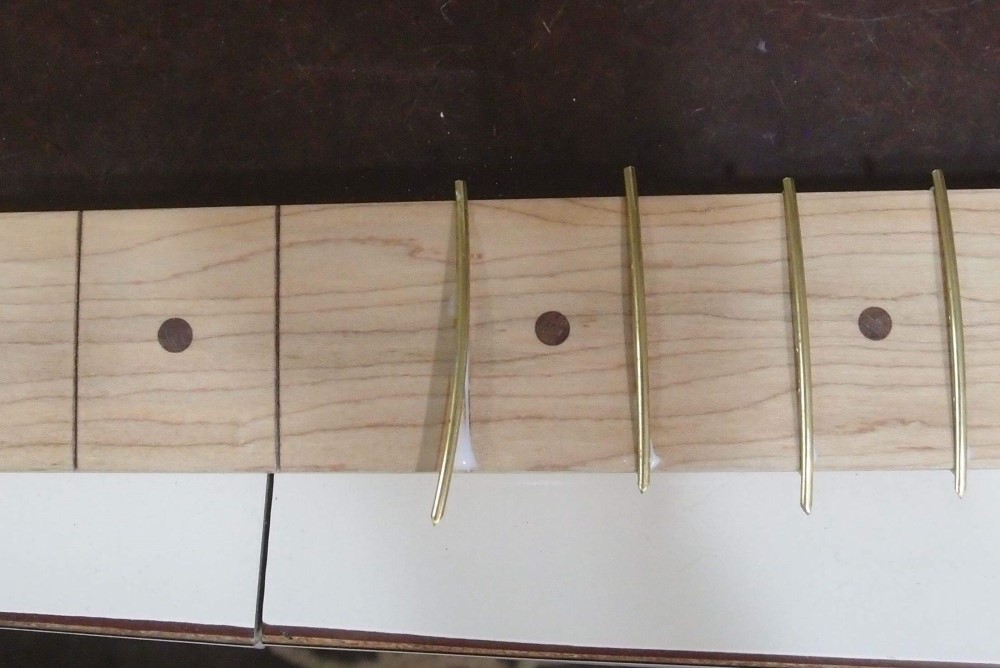
Fretting the piney neck. I always have this problem with bulk-rolled fret wire. As it is rolled, the wire bends around its weakest axis, which is about 45 degrees from the tang. This results in a slight side bend. I don't see much of a problem with that, fret wire is soft and weak, and will conform to the slot. It's just a problem to install, but that's easy too. Simply tap one end into the slot, as shown. Then bend the wire until the other end clicks in, and tap it down tight. Finally, finish the fret by whatever means you like.
For a bound neck, the fret tang nipper holds the fret just right and gives you a chance to straighten it out. I can't really think how else to do it, and I really don't think it matters. If anything, a little side force will lock the fret in even tighter.
No problem at all, the frets are dead straight. White glue wipes away with a damp rag. The guy in the StewMac video is using epoxy. Yikes, what a mess !!! When all the frets were in, I gave each one a final push with the fret press, and then gave them all a good whacking with the hammer. Do all you can to set them down tight before you resort to filing.
This neck needed a little light filing at the heel and then some stoning overall, and the fret rocker said good to go. Sometimes I lightly rub a fine file over the tops of all the frets, and let it take the high spots off. The key word is "lightly". Finally, make it all purty again with a piece of 1000 grit wrapped around your finger like a slide.
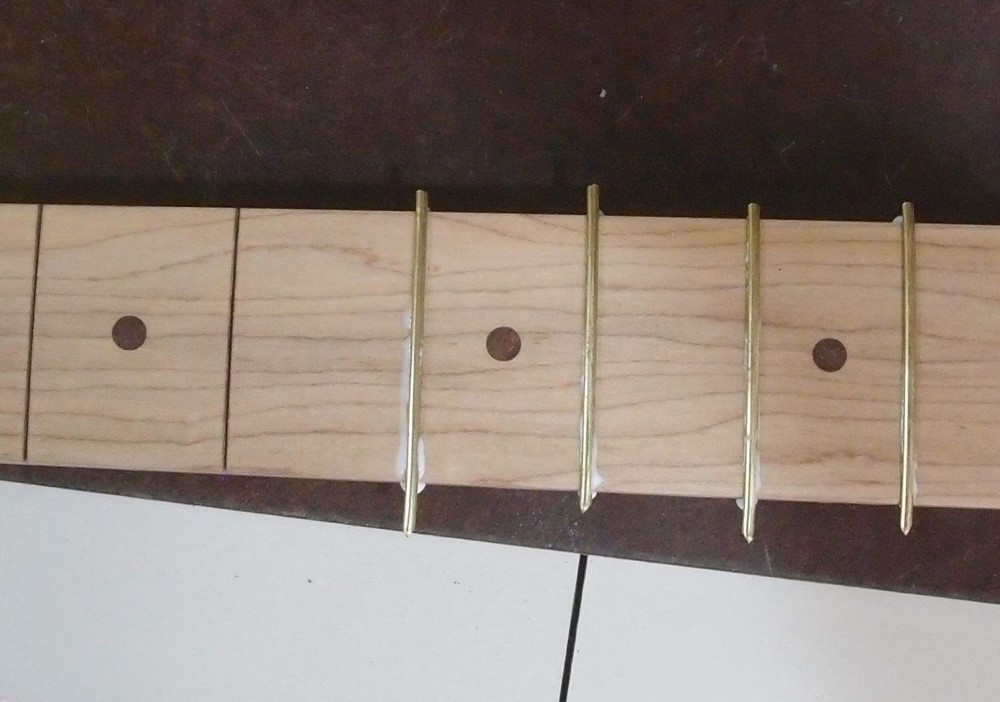
The piney neck adopted a very slight back bow after fretting, the strings will pull that right out. That's probably a good thing, as I am not sure how strong this neck will be. I've never built a pine neck before. My greatest worry fret is the headstock, which will pull forward from the strings.
That happened on my first poplar neck, and I threw it away. This one is made much stronger than that. It should be fine. In fact, if it works out, it may not be my last piney. Next time I'll try real yellow pine, which is equivalent to Radiata in every way.
I was surprised to find that the frets are actually heavier than the wood !!! This neck breaks down as 6 ounces wood, 8 ounces frets, and 6 ounces truss rod. That seems like it just can't be. I must have weighed it wrong before. But without all the metal installed, this neck really was featherweight.
The only other thing worth mentioning is that I ground a bevel into the end of the file I used to do the fret ends. That way it doesn't catch on each one, it rides over them. Makes the job a little faster, and also takes the sharp edge off the end of the file, making it less of a threat to the headstock if you slip.
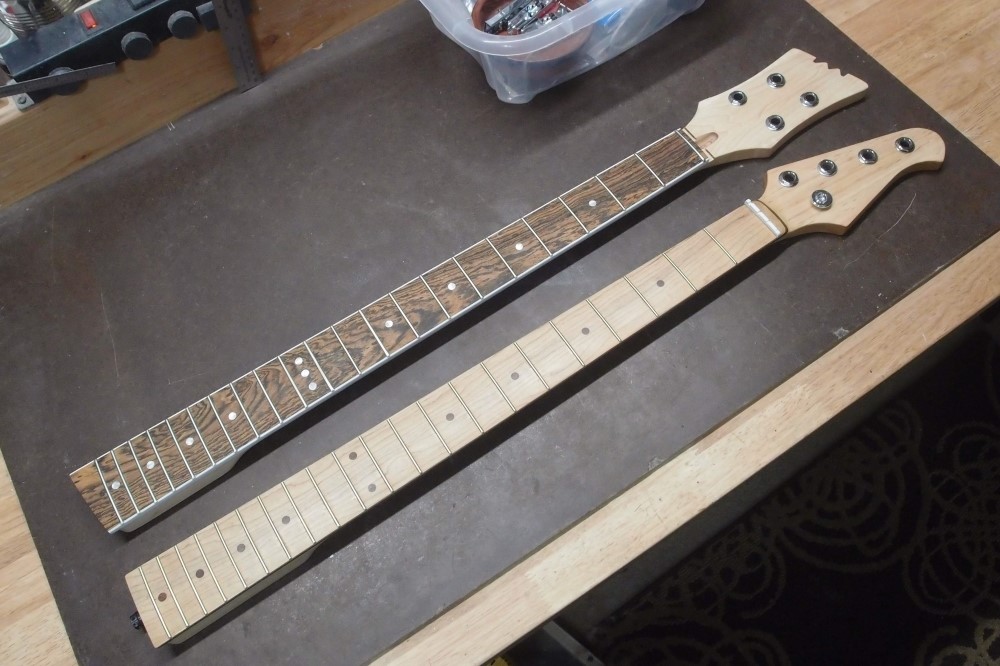
These are ready for decals and final finishing. Maybe I'll print up some stickers for the Rics too. Printing things to actual sizes is always a fussy business, and now I have to learn how to do it on Windows, with a new printer. It's going to be a pain, and a lot of scrap paper. Or should I just put "Audiovox" on both of them? I still have a few of those left, and a few Fenders.
Jan 1, 2019
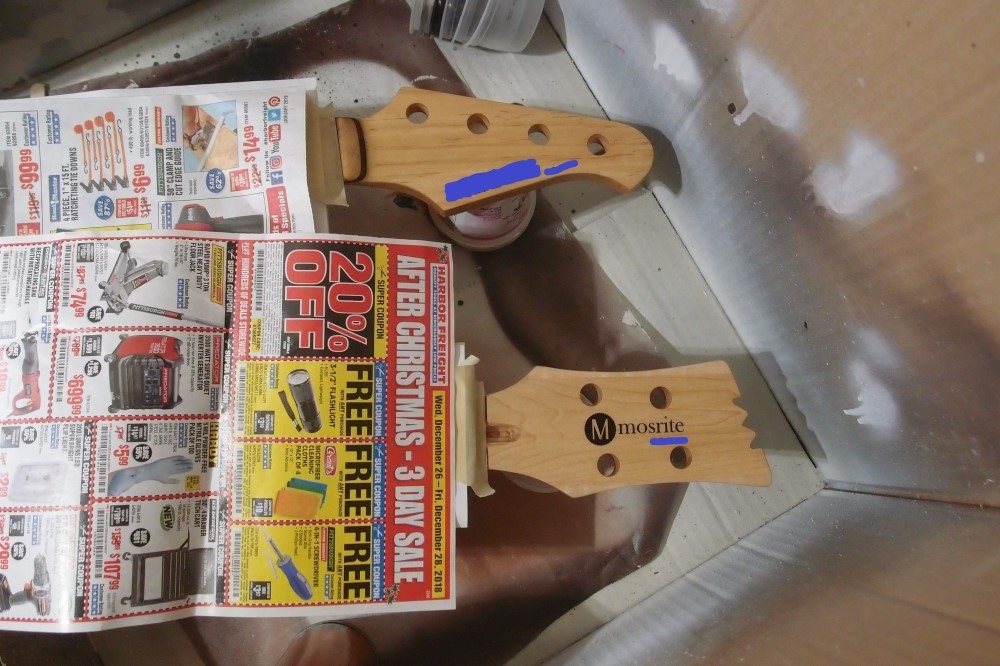
Doing the decals. I don't want to give too much away yet. The process I worked out on the Mac worked pretty much the same on the PC. A great deal of trial and error went into this. For myself, I am documenting it:
The waterslide decal material is from the Hobby Shop, you can also find it on eBay. There are two kinds, one for laser printers, and one for inkjets. The inkjet material has a visible coating; I am using the laser material, which restricts me to black and translucent shades of gray. If you have a color laser printer, good for you.
The ******** decal above is simply a font. Text prints out with razor-sharp edges. The Mosrite decal started as a jpg. Bitmaps always print out jagged, so I fed the image into a program called Inkscape ( Mac & PC, free ) and used its "trace bitmap" function to make a smooth raster of it. The finer text did not convert well, so I removed it, leaving just the 'M' and Mosrite. Rasters print out sharp like text.
The decal material is in limited supply and not exactly cheap, and it suffers from multiple trips through the printer. The trick is to cut it into pieces so that you can print one logo at a time. But the printer doesn't handle small pieces, and page layout is a problem.
A headstock logo will typically fit into 3" x 1.5", so that is the size I make the decal blanks.
In printer settings, create a paper size of 3" wide by 5" tall, with minimum margins, about 0.2". I call it "Decal".
Using masking tape, attach the decal blank to a 3" wide strip of scrap paper and feed it into the manual paper tray, making sure it is aligned.
When printing, use portrait mode, align to top, selecting "Decal" for the paper size. Also, select the highest available resolution and best quality.
For images, select "scale to fit paper". This will probably give you about the right size with no fussing. You can also play around with percent scaling, if you want to be exact.
For text, use the font size, usually in the range of 48-96. Test on 3" strips of scrap paper first.
Cut out the decal in the simplest shape you can make of it, try to minimize the amount of edge, and keep the contours smooth.
Prepare the surface for the decal with several coats of polyurethane. Let dry thoroughly, then smooth and polish the location for the decal. The surface should be perfectly smooth - no wood grain pulling through.
Apply the decal according to the instructions, and let dry overnight.
Apply several very light mist coats of polyurethane over the decal. Let each one dry before re-coating. The object is to seal the decal against the heavy coats that will follow, which would cause it to run.
Keeping the surface horizontal, apply multiple coats of poly over the decal. Apply each coat as the previous one becomes tacky, so they bond together into a single layer. Polyurethane thins considerably when it dries, so put on more than you think you need.
After a few thin coats to seal the decal, start applying heavy coats to build up the thickness, letting each one flow out. The goal is to build up a homogeneous layer of finish thicker than the decal itself. Note that with oil-based poly, this will result in noticeable ambering.
The edges of the decal should be indistinct, not sharp, and the decal itself should become a slightly raised area in the finish. Let dry thoroughly.
Polish the surface as you would normally. The edges of the decal should disappear. The decal itself may be left as a slight bulge, or the surface may be polished flat. Note that the second option requires a thicker layer of finish over the decal.
The clear edges of the decal should be invisible, and the logo will appear to be floating in the finish. Top-coat if desired.
As I write this, I have been re-coating the decals in the photo above, which now have a lovely pool of wet polyurethane over them that has flowed out to a perfectly smooth finish. Needless to say, it is critical to keep the parts horizontal and undisturbed at this point. I will continue until this can runs out, then set them in a warm place for a week to dry. The end result will look factory.
The method for stickers is similar: I use Avery Product 15516, weatherproof shipping labels. These are a very smooth paper-like plastic for laser printers. The size is 5-1/2" x 8-1/2", which is enough to print out two Rickenbacker-sized logos in landscape mode.
Printing stickers is the same as for decals, only the size is different. To apply the sticker, remove the backing and lay it face down. Press the truss rod cover onto the sticker, and cut away the excess with a razor.


