Cowbell Bass Guitar (3/8)
Dec 25, 2018
Body edge sanded. Remember, the plywood frame was already dimensioned, so I just brought the masonite in to it, and removed any dried glue drips. I filled a few small gaps in the rough plywood with sawdust and glue, only what would show. Routing the beveled edge on the masonite will come just before painting; if I ding this edge while working on things, I don't care.
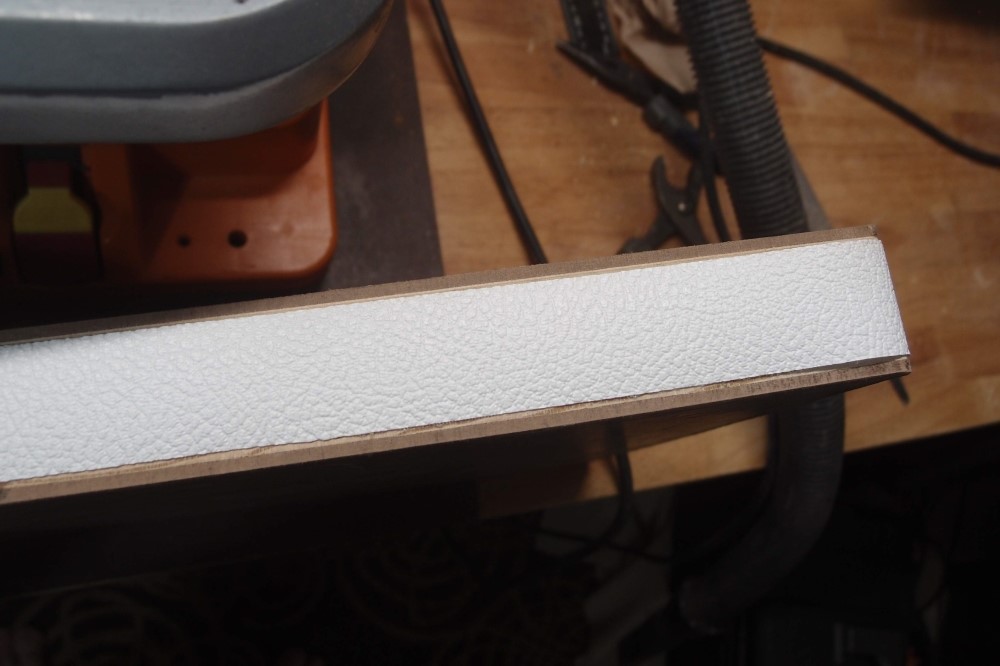
This is a perfect fit for my 1-1/4" binding. You want a little bit of wood showing. You don't want the tape to be wider than the flat edge. Once again, this is production tolerancing from Danelectro. Also, if you do it neat, it gives you an extra pair of stripes.
Double-sided tape doesn't get along well with masonite - it can rip the surface off. That's why I put down masking tape which I first stuck to my pants leg, then put the double-sided tape on the masking tape. Everything worked out perfectly. Many small pieces of double-sided tape works much better than a few big ones.
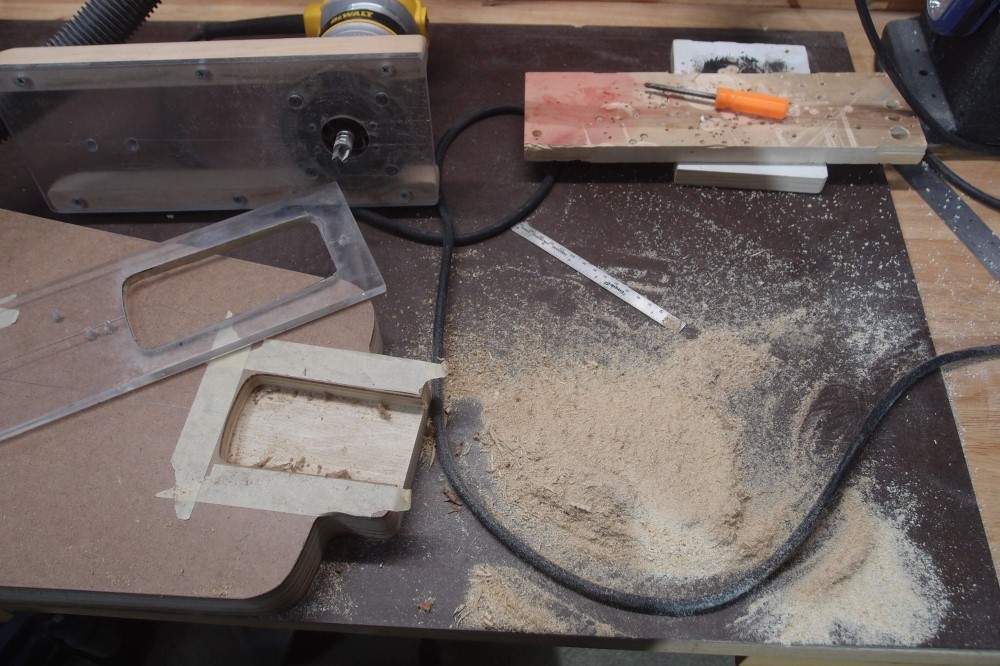
Checking the centerline after fitting the neck to the pocket -- spot on. Also, the control plate is built from dry-erase, but not yet wired. It will be a single module - controls, battery, output. The output jack is offset so I can use my headphone amp. I'm finally using up those ugly Jazz Bass knobs. This entire project is basically a throw-away.
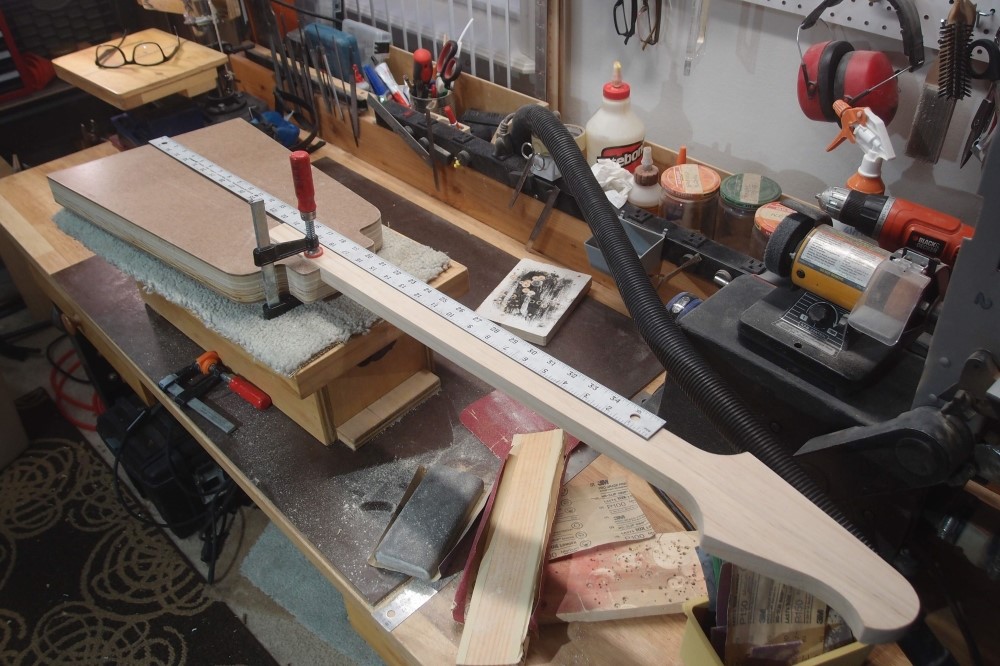
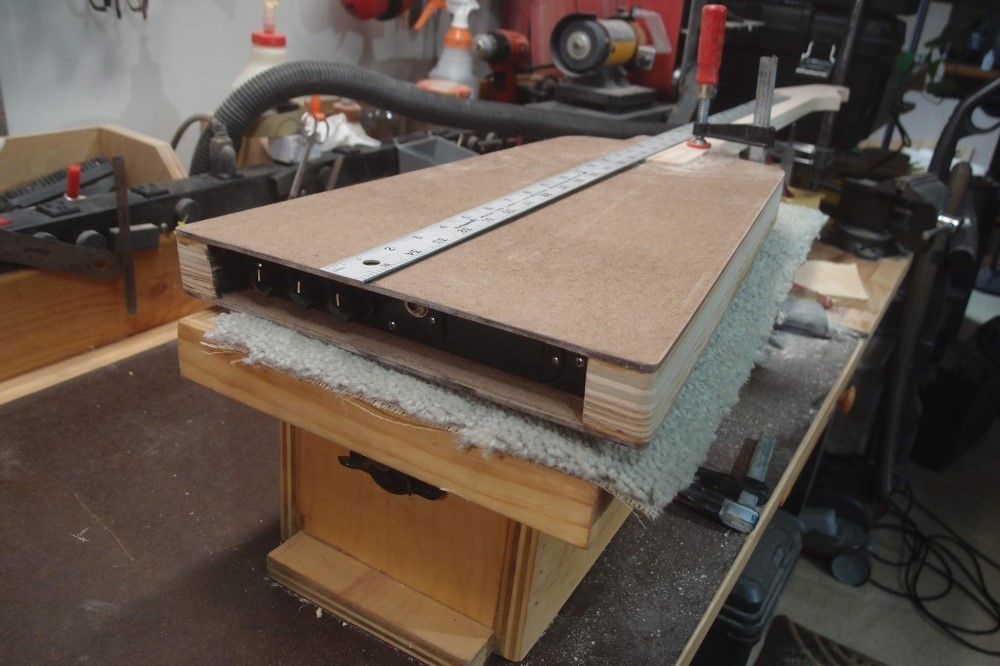
Lookin' good. The pine neck is very lightweight and stiff, and the glue lines are almost invisible. The last major step on the body was squaring the end to the centerline. After I get the neck built and installed, I will install the bridge to fit it, rather than rely on the theoretical centerline.
Dec 26, 2018
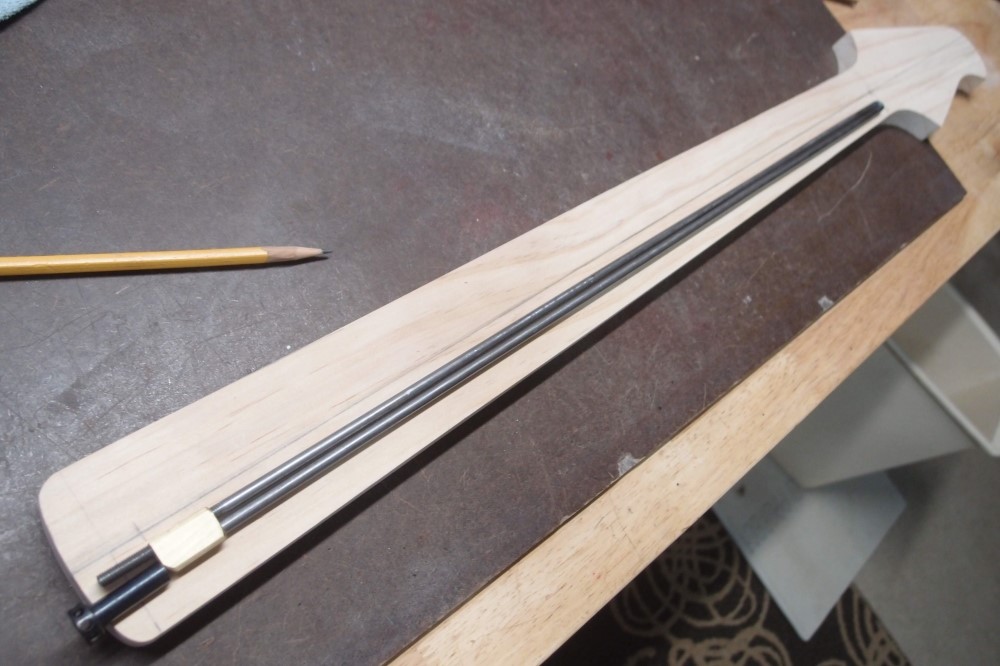
A nice new truss rod, single-acting, StewMac spoke nut. I've posted all the details of building one of these elsewhere, it is certainly something you can do. The scariest tool is a propane torch to make the bend.
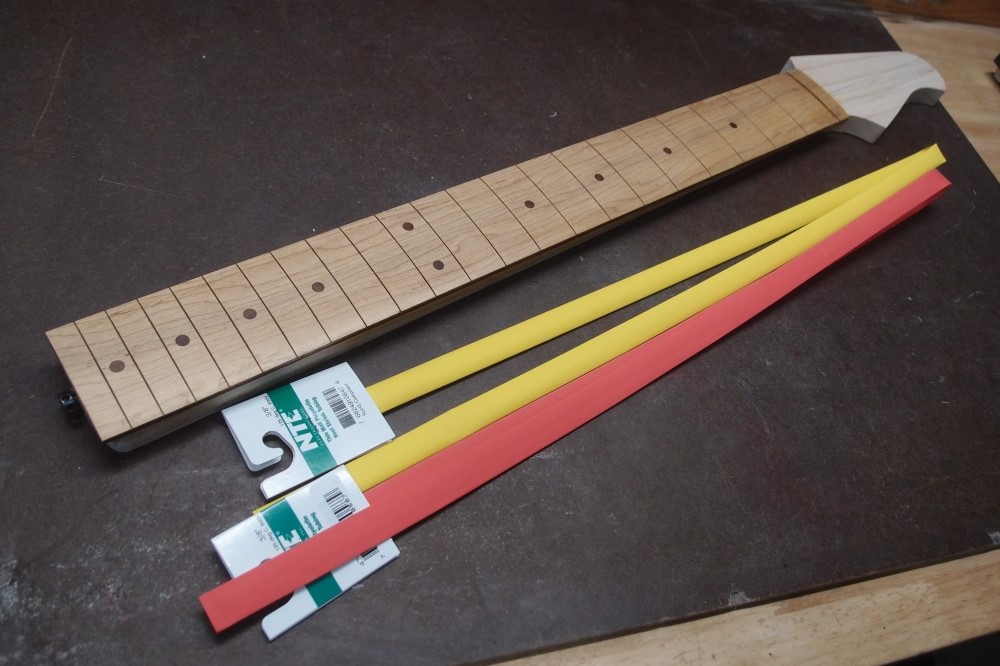
And a nice slot to put it in. Again, I've gone over all of this previously, this jig makes it so easy it's not fair. This rod is a little different in that instead of wrapping the whole thing in shrink tubing, I wrapped the rods individually because I am running low on the bigger shrink tubing and want to get rid of this green, which I ordered by mistake. The purpose of the tubing is mainly to suppress rattles, this will probably work just as well, maybe better.
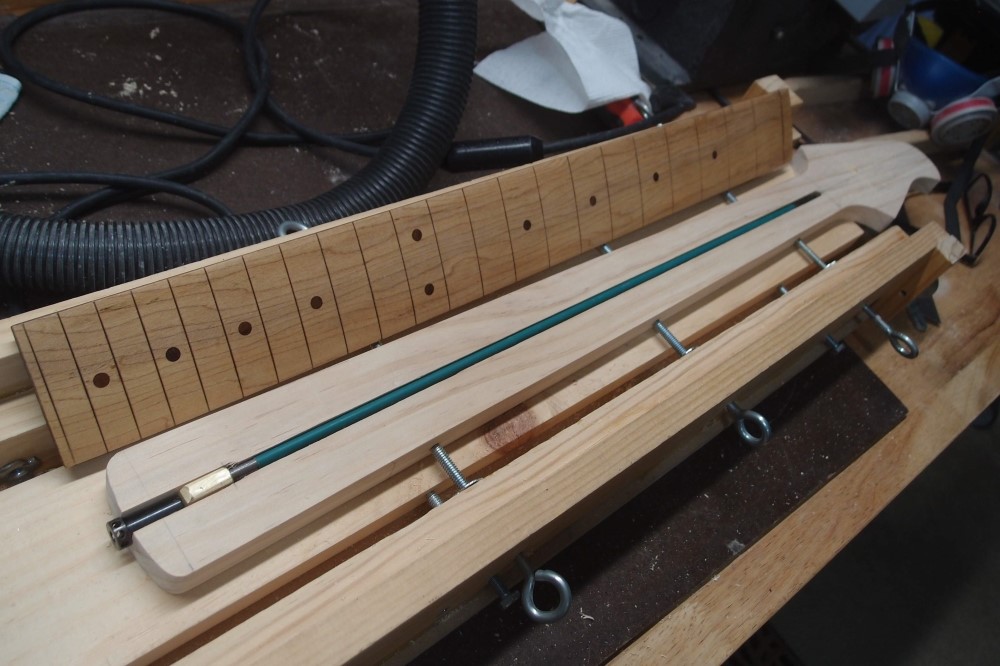
The fretboard is an old practice piece that came out too thin but too nice to throw away. So I glued a piece of walnut to the back of it to make up the thickness and set it aside. The walnut gives a nice stripe down the sides of the neck. The board is already slotted and dotted with rosewood and finished, saves a lot of work.
As I said before, this is a throwaway build, low-cost/no-cost, and a testbed for a lot of different ideas which will be revealed as it progresses. The pine neck is one of them.
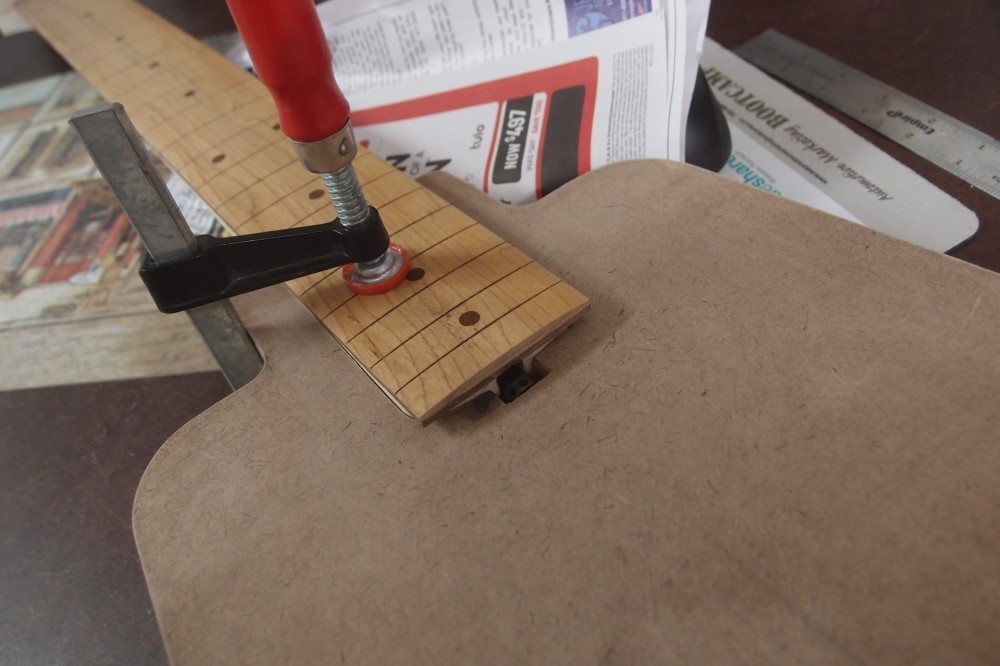
Glue. Trying to keep it out of the truss rod channel, but it's going to go in there no matter what. One way to keep the glue off the truss rod is to cover the channel with scotch tape, which is very thin and not a problem for the glue-up. Trim off the excess tape so it is as narrow as possible. But I have another way. Note the utter simplicity of the truss rod channel.
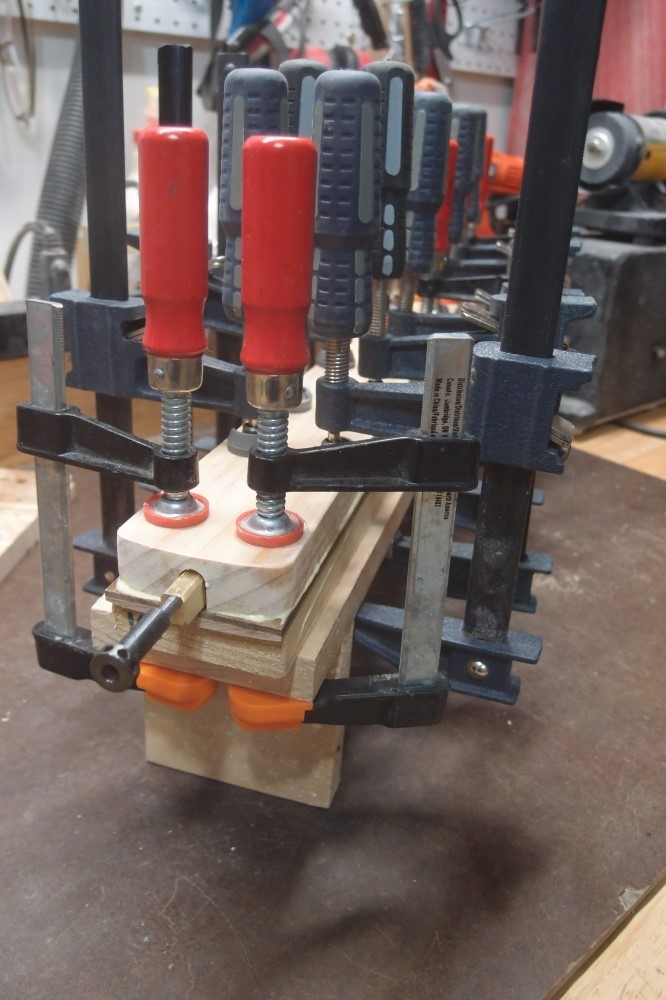
Lots of clamps. To clean the glue out of the truss rod channel, I am using the truss rod as a dipstick. Put it in, pull it out, wipe off with a damp rag, repeat until it comes out clean. I made this rod, or rather the channel for it, so the rod is easily removable. In use, it will lock itself in place. I want the rod to be removable so I can reclaim it in case this experimental pine neck doesn't work out. It's a good way to make a truss rod in any case, and will be my standard from now on.
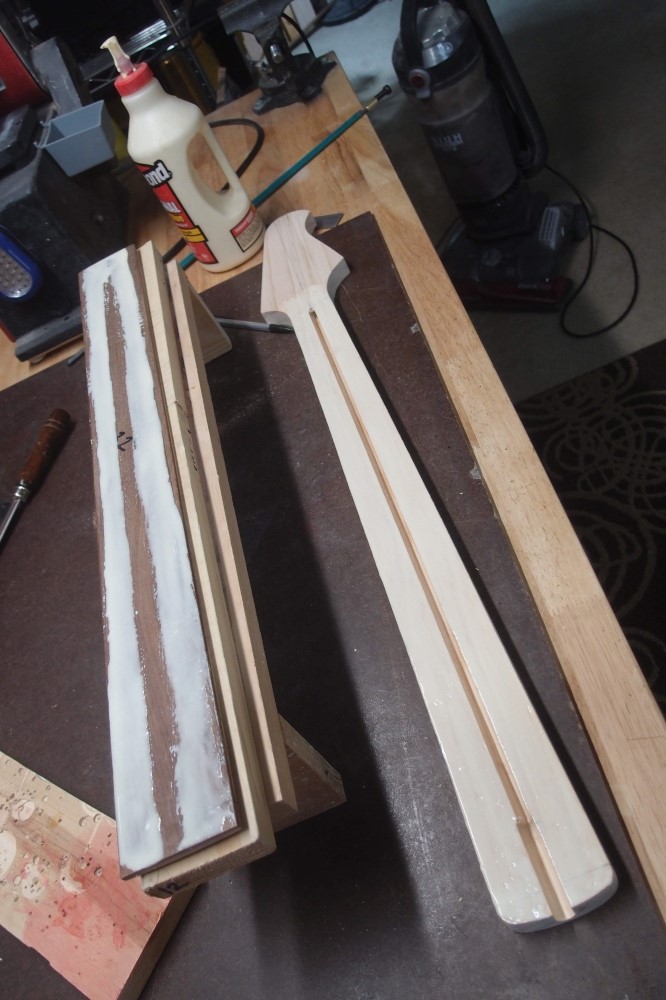
Note how the clamps are applied in pairs at the edges, rather than down the center. This is very important, it will make the side seams nice and tight, and the middle will take care of itself. You can't see it, but the radiused clamping cauls have tape along the edges to make sure they clamp tight there.
I realized that the overhanging 22nd fret wasn't going to work with the spoke nut, so I sawed it through. I can leave the corners square to cover up the heel joint and make it perfect, but it already is.
I have never had a neck fail. I have disassembled one or two, and it wasn't easy. Titebond is awesome stuff. The Ric neck is still in the torture device with a terrible bend applied to it and shows no sign of separating. I've read lab tests of wood creep that involved hundreds of hours of applied stress, so I will leave it in there for a few weeks. I'm still letting the body harden-off, as long as I can smell it, I figure it's not done.
Nice. The truss rod slides easily in and out when it is slack. This neck is very lightweight but still stiff. I got some more heat shrink tubing from a local electronics store. My next truss rods are going to be Hot Hot Hot !!!
It just occurred to me that a single-acting truss rod is double-acting if you can pull it out and flip it over !!! I'm going to dig the rod out of the too-straight Ric neck and do just that !!!
And it worked !!!

Detail of the truss rod adjuster. If I wanted, I could carve a plug for the space above the nut, but then the rod wouldn't be removable, and I think that is more important. I re-contoured the body slightly for that all-important high fret access that everyone must have but doesn't use.