Modern Danelectro construction of a classic design
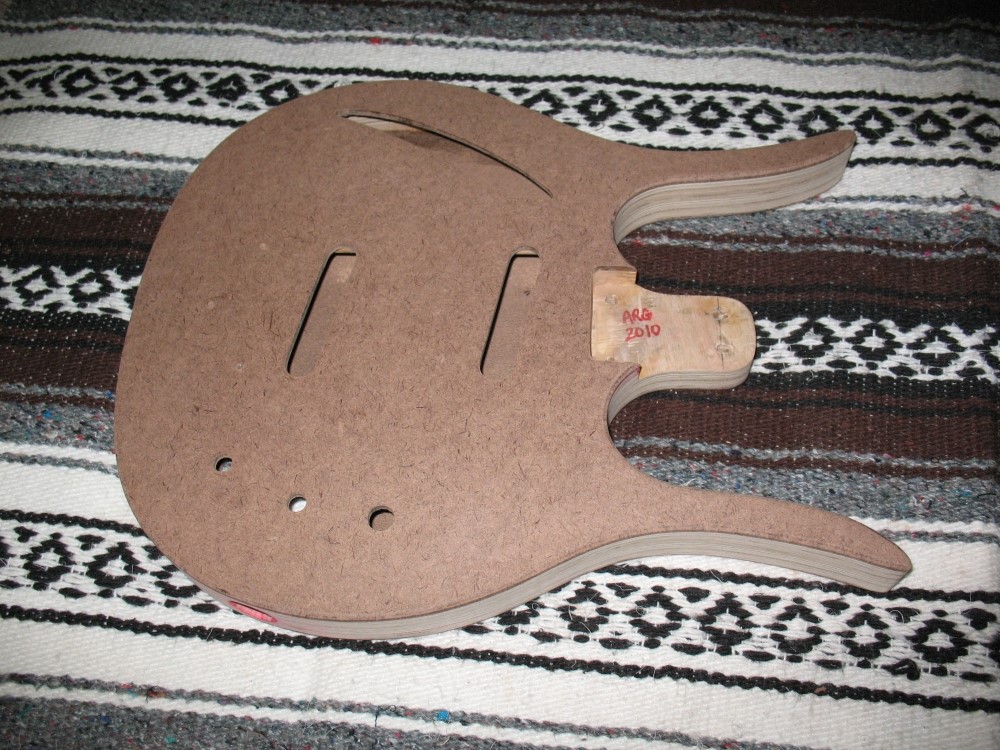
Masonite is the classic Danelectro body material. Vintage Danelectros are Masonite over a poplar core, modern ones substitute plywood for poplar, which is actually better and cheaper. Masonite is available in 1/8" and 3/16" thicknesses. For luthiery, 1/8" is preferable, but 3/16" can also be used, especially if a slightly thicker and heavier body is desired.
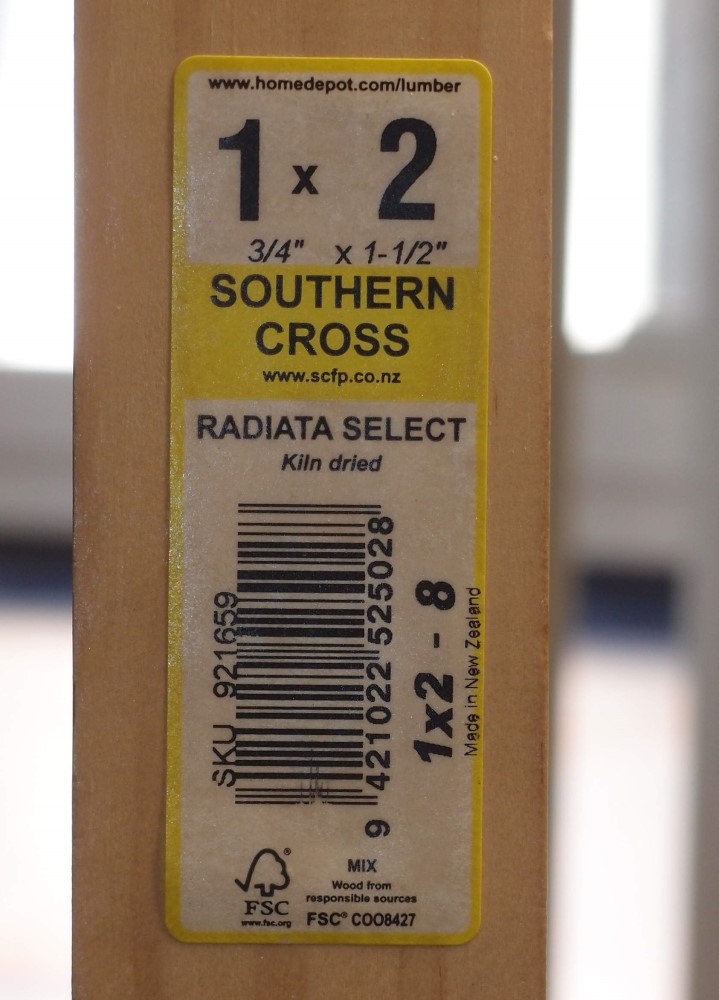
Here in the Northeast ( and probably everywhere ) Home Depot sells two grades of wood: Number 1, which they label as 'Select', and Number 2. Number 1 costs about twice as much as Number 2. Lowes is similar. Both grades are pine, not hardwood.
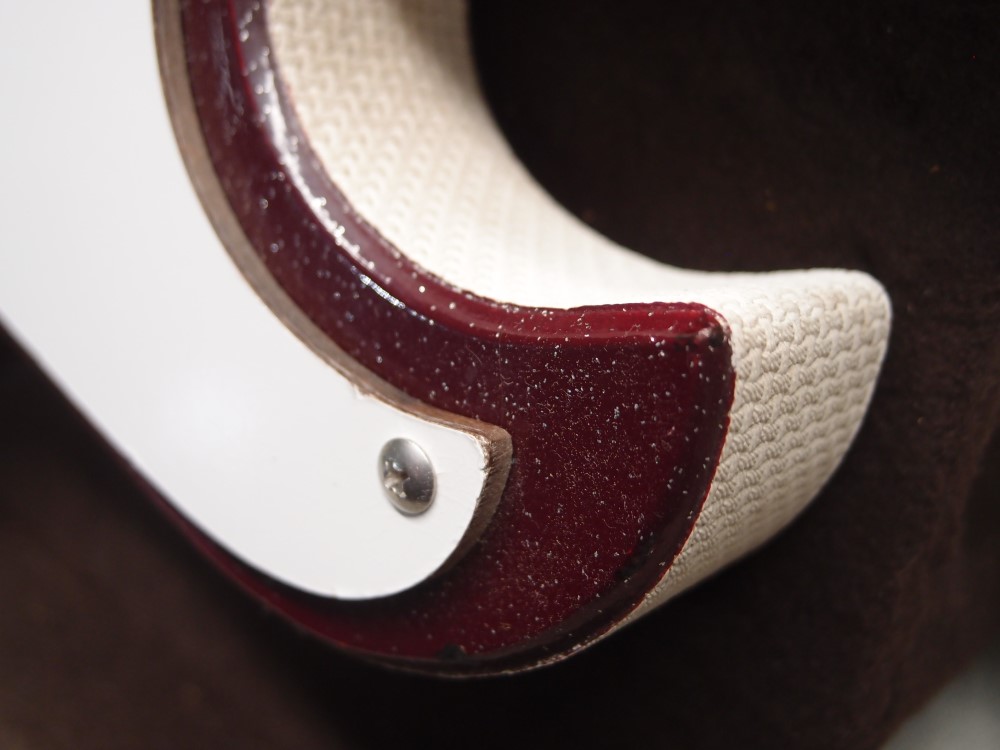
This is what the binding looks like on a vintage Danelectro. I've never been able to find a 'weave' pattern like this. Reissues use a cowhide texture; I also like pebble-grain.
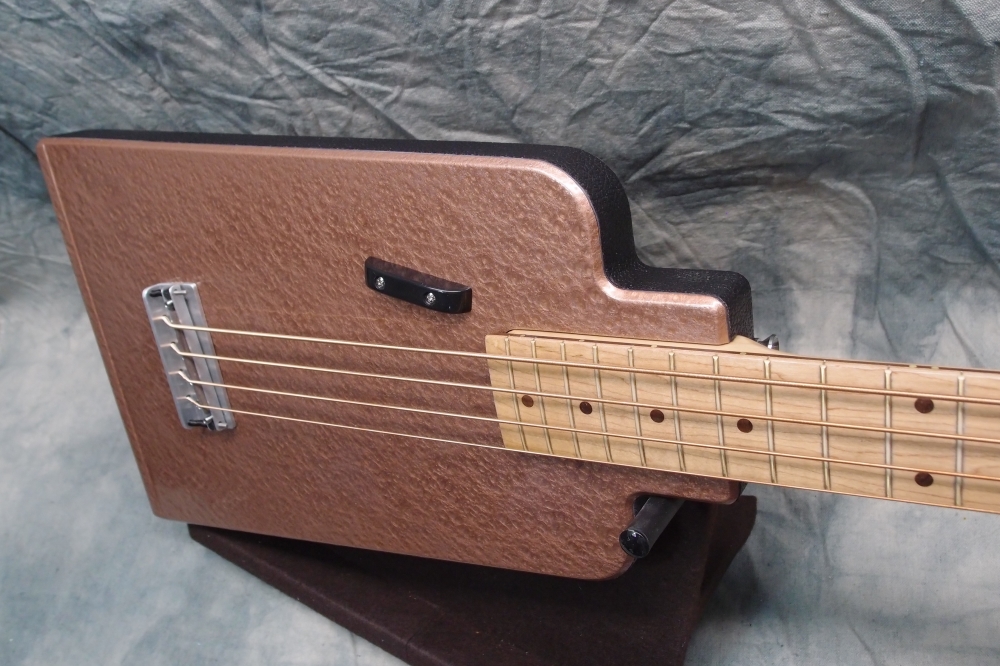
Tolex side binding is something that is particular to Danelectros. I love it. There are many good points to using Tolex side binding:
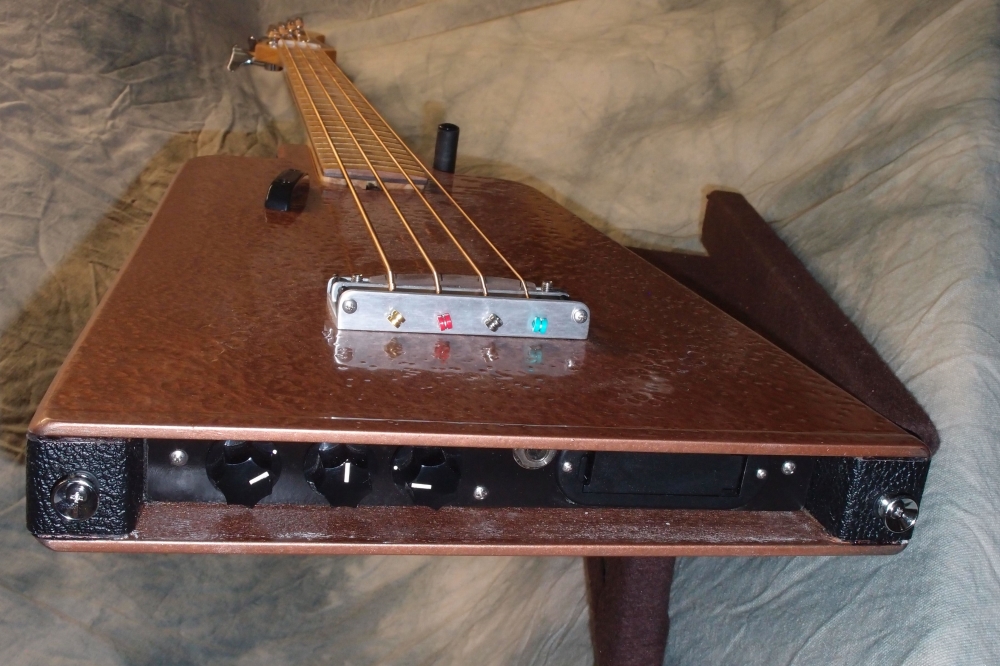
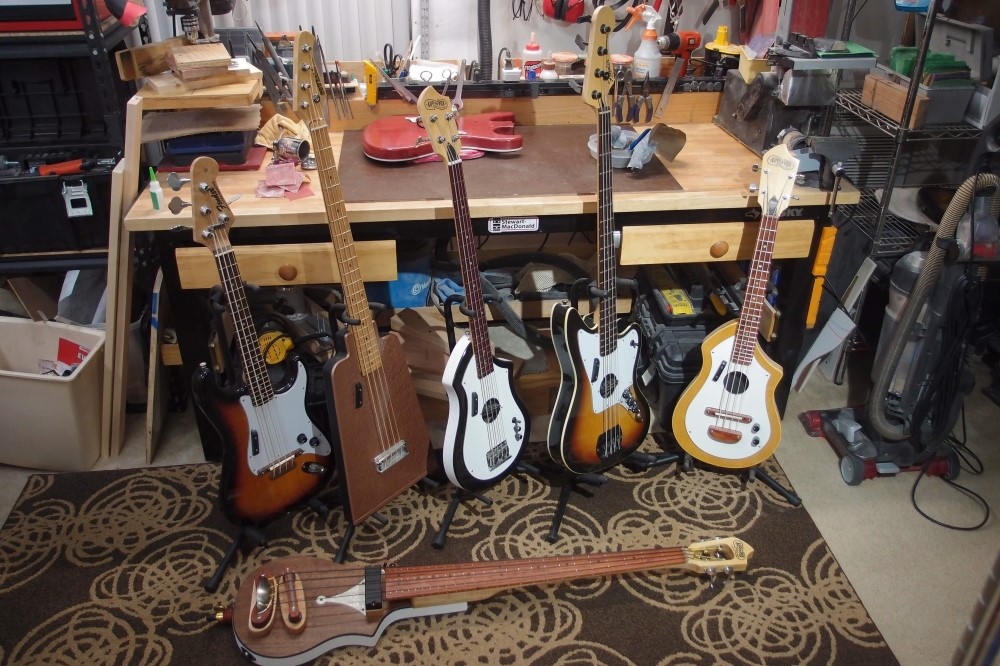
These are all of my piezo creations, so far. All of them utilize a version of the original single-transistor CafeWalter piezo buffer. He encouraged me to use his newer two-transistor version, but I never did get it to work. The simpler circuit works just fine, and I am a great fan of simple things that work.
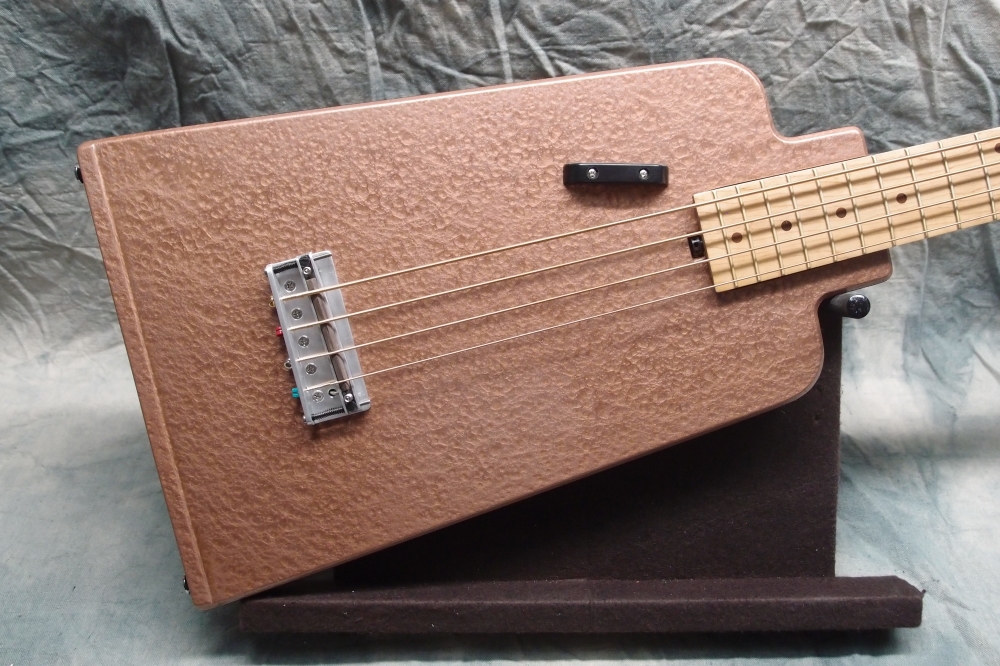
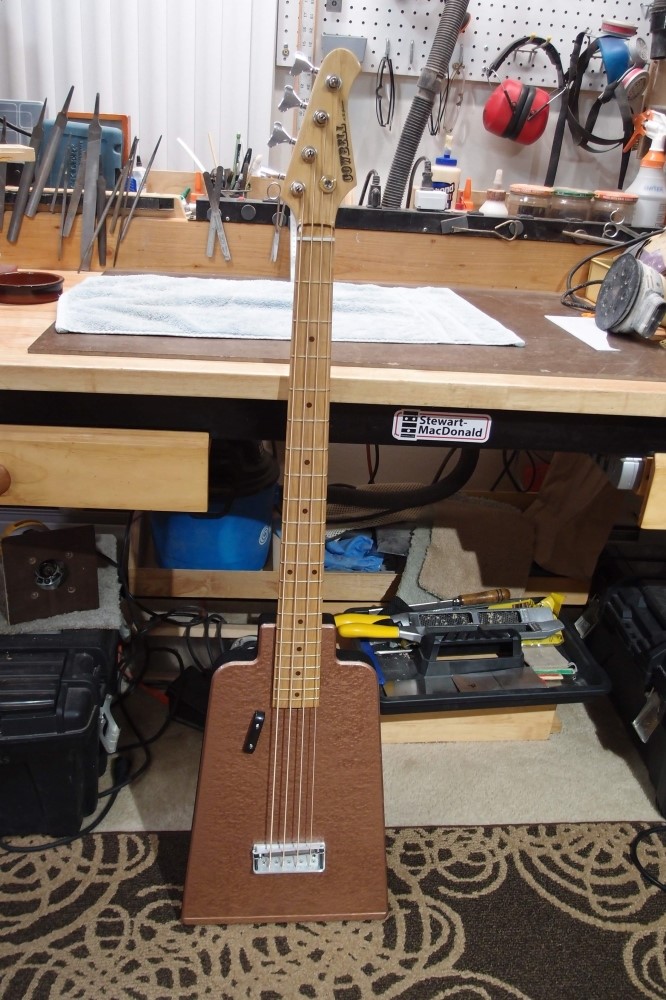
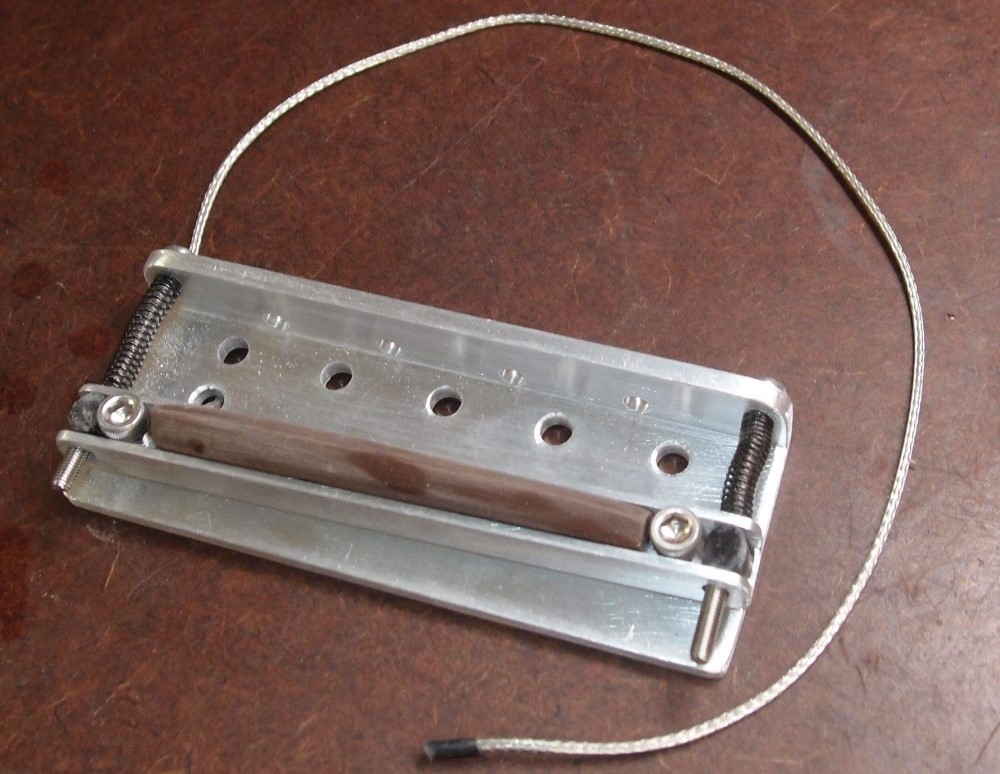
I just built this - my first bridge. The plate is 1/8" aluminum, screws from Home Depot, springs from the junk tone box. The saddle is from the truss rod I just destructed, plus a scrap of phenolic I found and shaped to a pointed 12" radius. The bushings are black plastic and were the hardest part to come up with, I finally bought some plastic chain that fit and cut them from that. They are drilled and threaded for the screws, although with plastic you can just force the screws in.
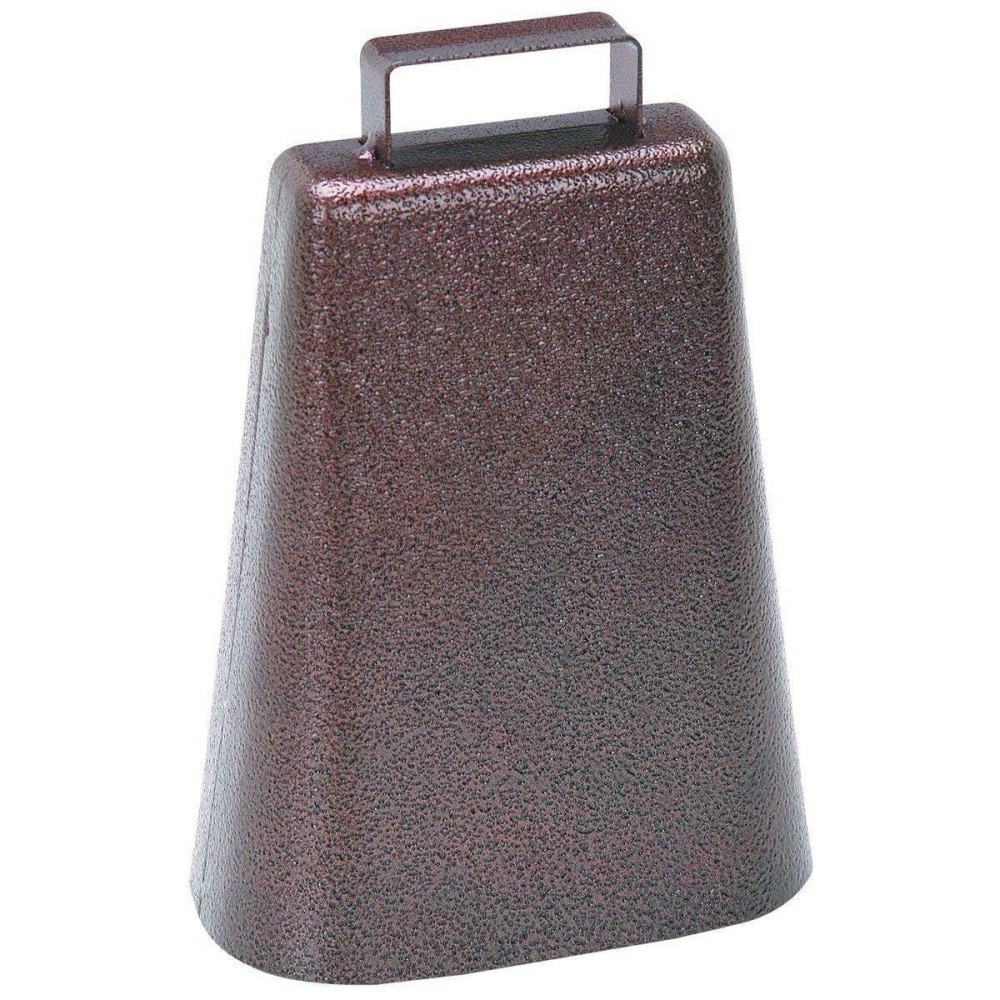
Hammered spray paint is formulated to produce a mottled two-tone finish. The surface is smooth but not perfectly even and can be anything from matte to high gloss metallic. Hammered paints are available in a range of colors at any hardware or hobby store.
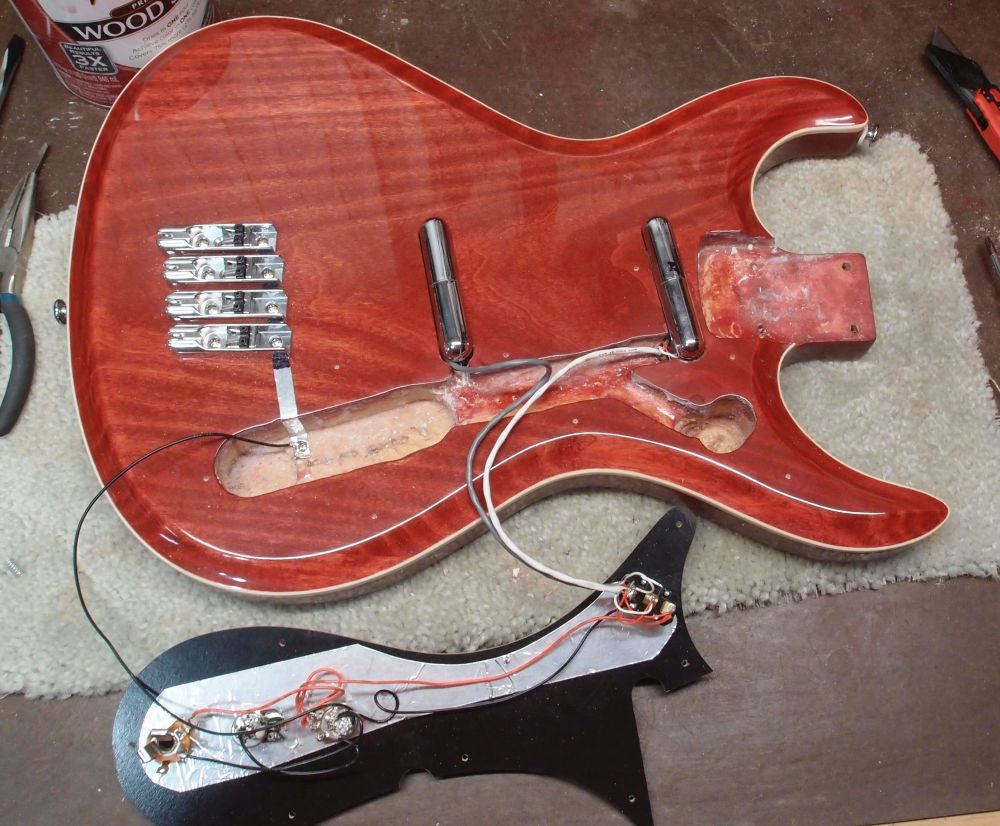
I started assembling the Mosrite, finally. The routs are all so precise that I had to spend quite a while filing polyurethane out of them to make the neck and pickups fit again. Then I had to chisel out the pit for the output jack. You can see my solution for grounding the four individual bridges - a strip of aluminum tape, the same stuff as on the back of the dry-erase pickguard.


Questions or Inquiries?
Just want to say Hello? Sign the .