Edge Binding Jig (1/2)
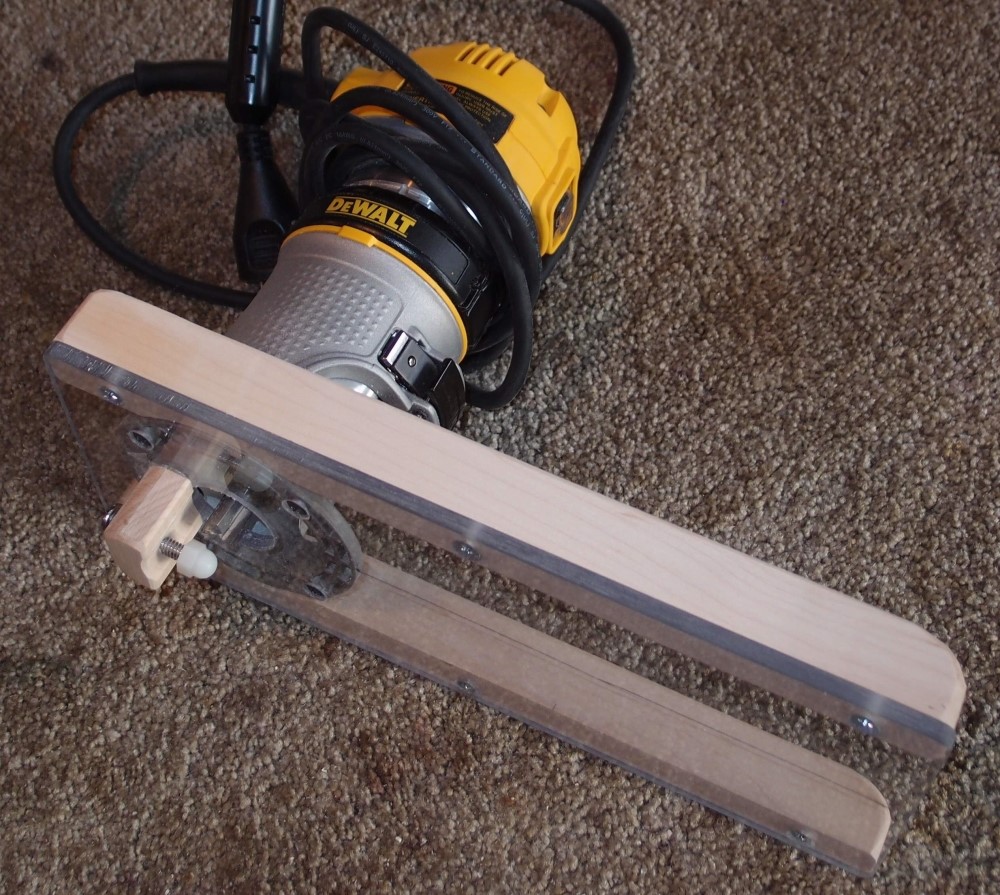
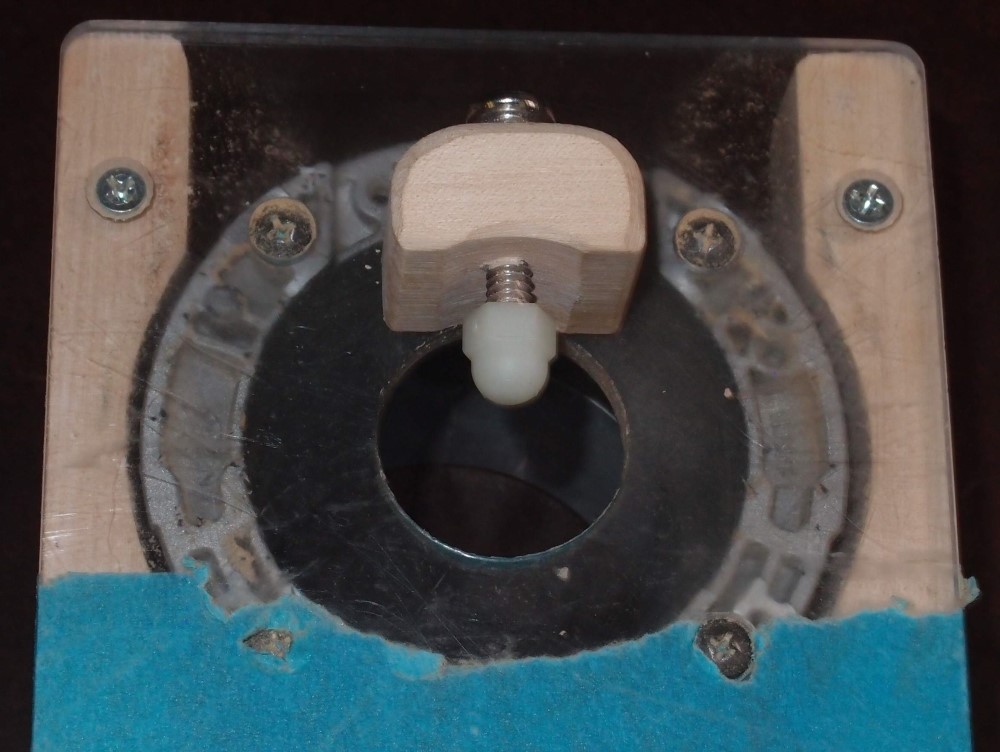
The Edge Binding Jig is inspired by StewMac's attachment for the Dremel, except that mine uses a real router, and is designed to fit into tight spaces like the inside of Fender horns, which StewMac's does not do well. The edge follower is a nylon cap nut on a 1/4-20 bolt threaded tightly through a block of maple. The jig is also useful with the follower removed for routing neck pockets, round-overs, etc. The length of the base plate, with the maple stiffeners, allows a large area of contact with the workpiece for stability, something that can be a real problem with a standard router base. The small DeWalt 611 router is easily controlled with one hand, while the other hand keeps the jig aligned on the workpiece. I sometimes even clamp the whole thing upside-down and use it as a quickie little router table.
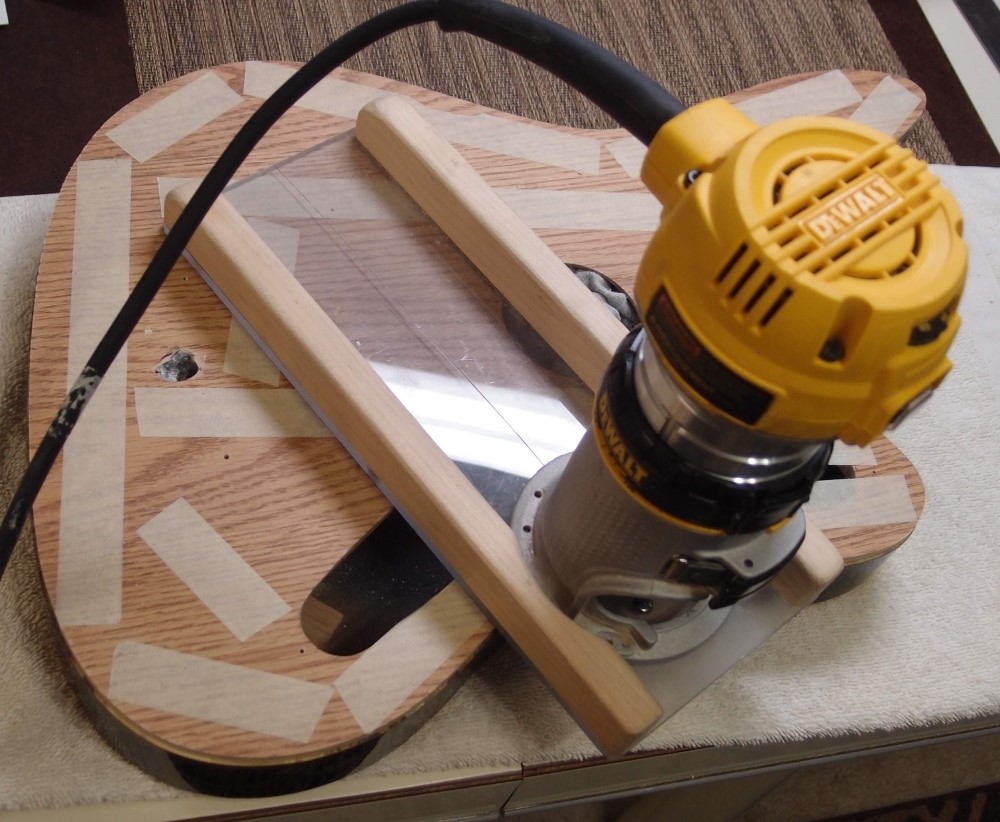
The long narrow piece of polycarbonate was positively floppy compared to the phenolic above. The maple stiffeners were an absolute necessity. Maple is great for this sort of low-volume tooling, as you can work it with wood tools but treat it like metal. But it won't wear like metal.
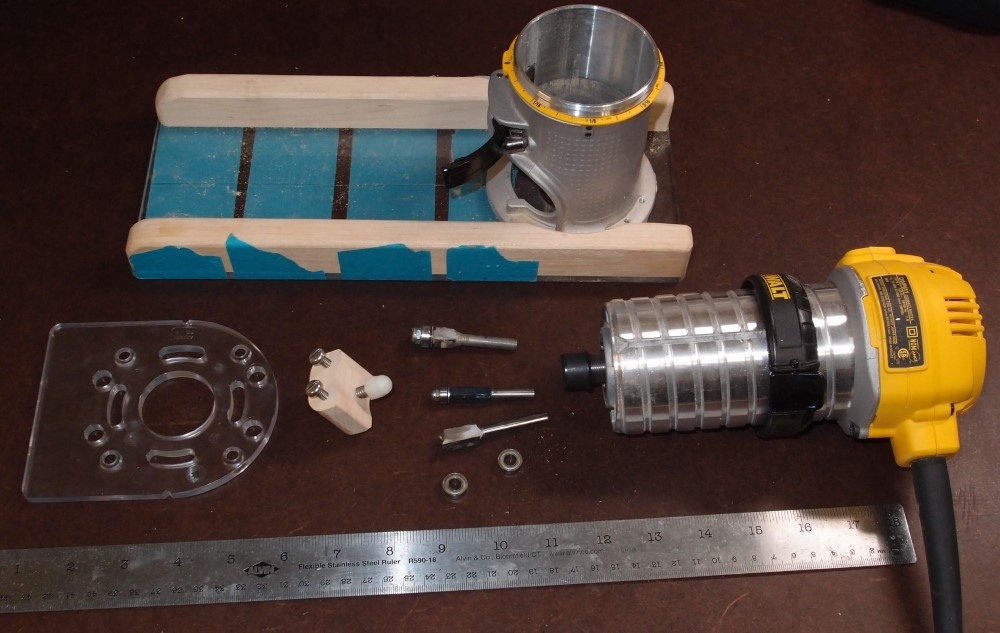
This shows the stock small base plate ( which you'll notice has not a scratch on it, ) and my own ( well-used ) base plate, built from 1/4" polycarbonate and maple scrap. The polycarbonate material is typically used for templates. A piece this size is not nearly stiff enough for this job, hence the maple braces. You could also use a piece of phenolic, masonite, or even plywood, or just about anything will do if you brace it adequately.
Of course, all the fasteners on the underside are countersunk. The countersinks for the router base bolts are flat-bottomed, drilled with a Forstner bit, and everything was drilled on a drill press. If you don't have one of those, you need one, you can't do anything this precise with a hand drill. Mine is a cheap little Skil, but more than adequate for this sort of work.
You can also see an array of bits and pieces, the edge-follower attachment, and the kick-ass little DeWalt 611 router. I go for this little router much more often than the big one now. There are other little routers ( or laminate trimmers ) that you could use, but I think this DeWalt is the best and will do 90% of what a real router will do, including everything you need to build a guitar.
Q: Why didn't you make it a little wider and not have to relieve the braces to fit the router?
A: I didn't realize how flexible the plastic was until after I cut it from the main piece.
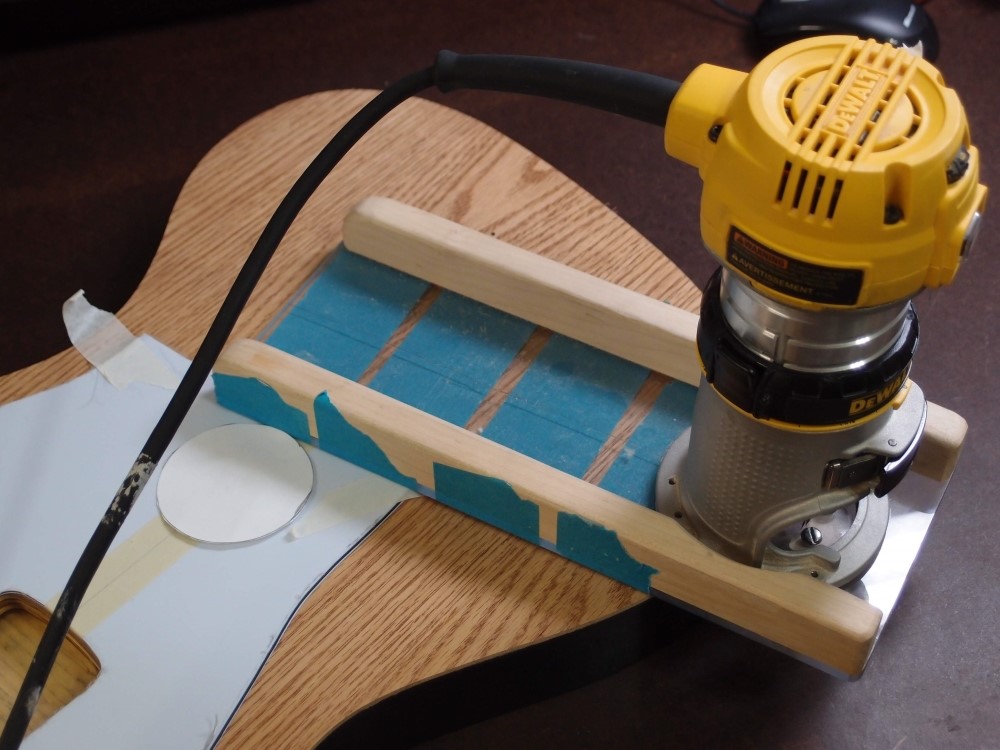
I turned the router base around. I just did all this edge routing and the neck pocket with this rig. It is the length and rigidity of the base plate that makes this setup so much more stable than a regular router. Instead of a heavy two-handed router resting on half its base plate or less, I have one hand guiding the li'l router, and the other holding almost a foot of base plate against the workpiece.
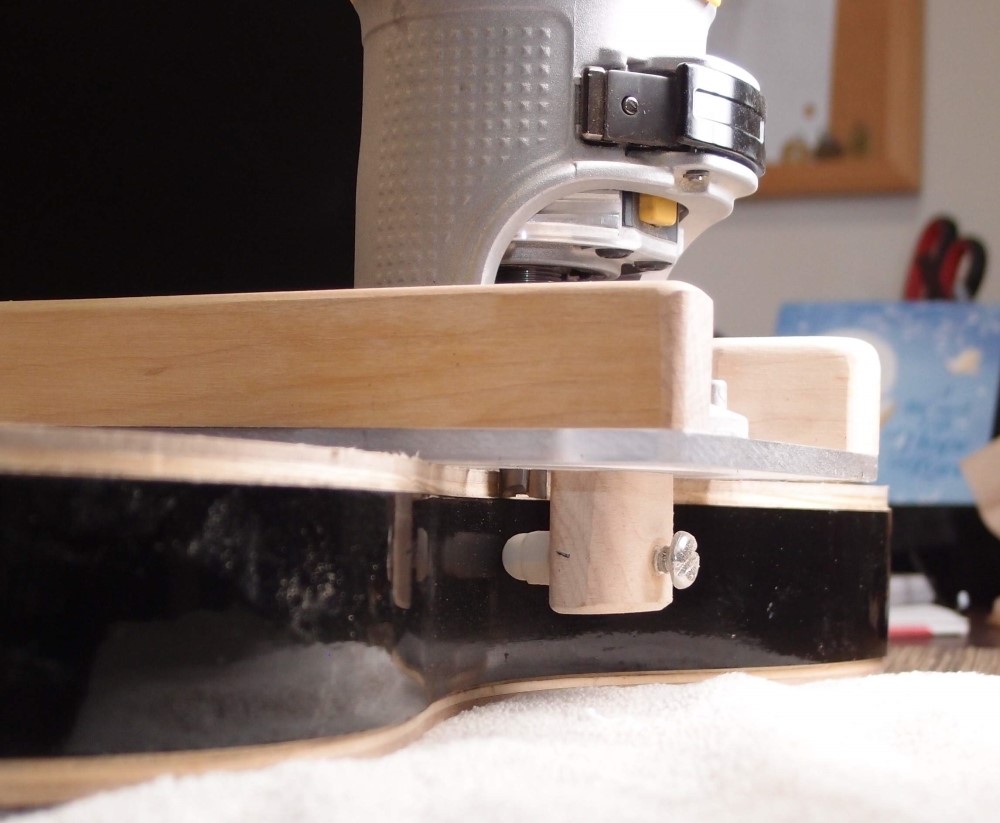
Here is the edge follower attached to the base plate, with a binding slot that was just cut. The bit is just an ordinary 1/2" straight bit. I use the highest speed and move slowly, and it seems to work fine.
Bud:
March 4, 2020 at 11:09 AM
Aha! Somebody went back to basics & thought the whole binding purfling thing thru! I like the long base that can float across the body's top (or bottom). Plus (and this is a plus for those of us who micro-shops ), I can take the fixture off the router & hang it on the wall. Love it!