Edge Binding Jig (2/2)
Finally, here is the edge-follower close up:
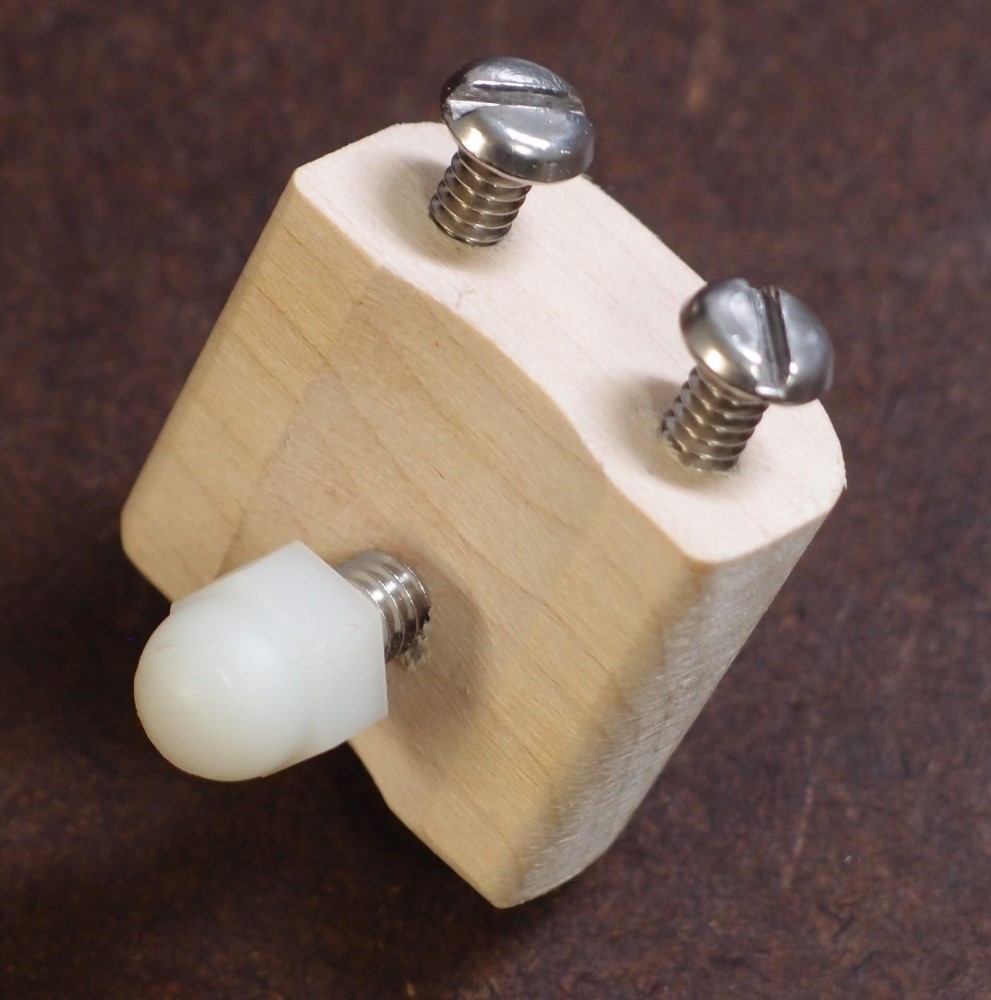
The body is 3/4" maple scrap from a neck project. I shaped it on the belt sander - be careful when doing small parts like this!
The attachment bolts are 10-32, while the follower bolt is 1/4-20 with a nylon cap nut for a non-marring bearing. All the holes were drilled and tapped as though for metal. Maple is so hard that I wouldn't think about trying to just force the threads in. The follower bolt is a very tight fit so that it doesn't move; if it loosens, I take it out, run a drop of Mr Crazy's glue into the wood threads, let it dry, and then put the bolt back. The bolts are all stainless because I like stainless.
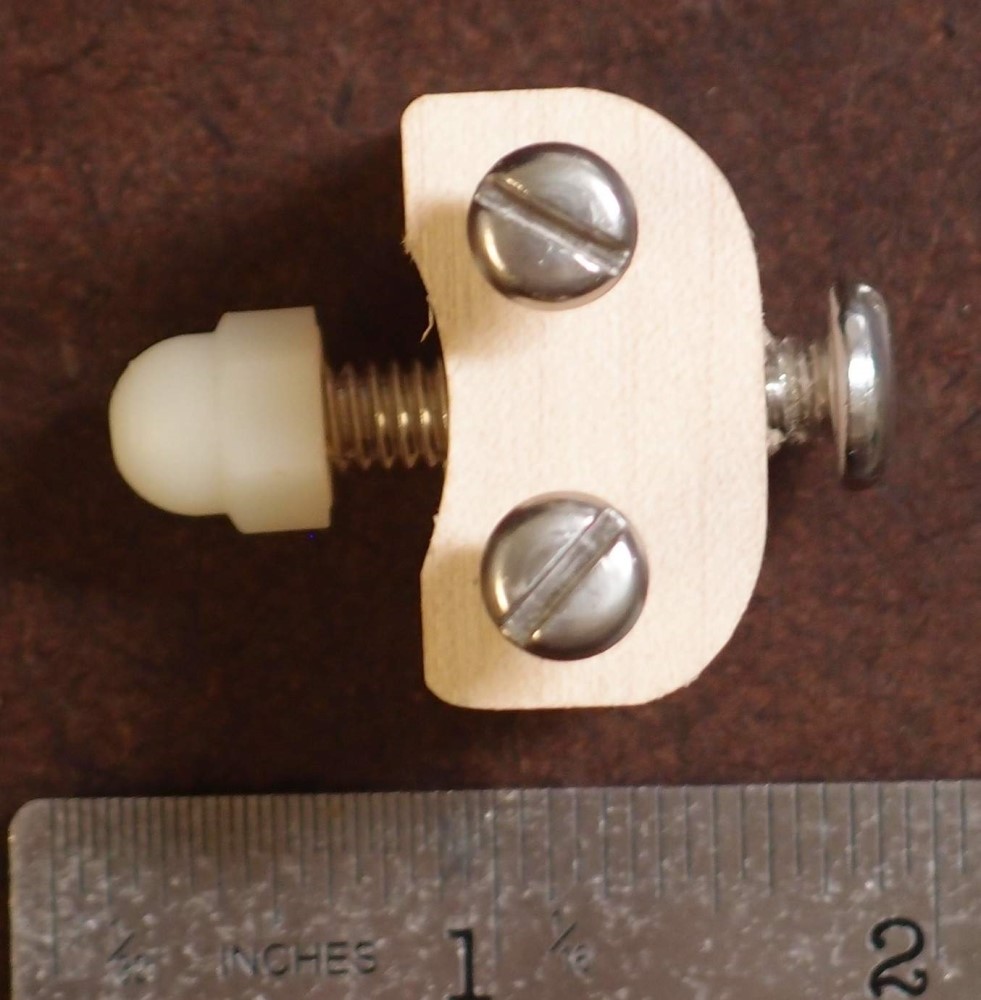
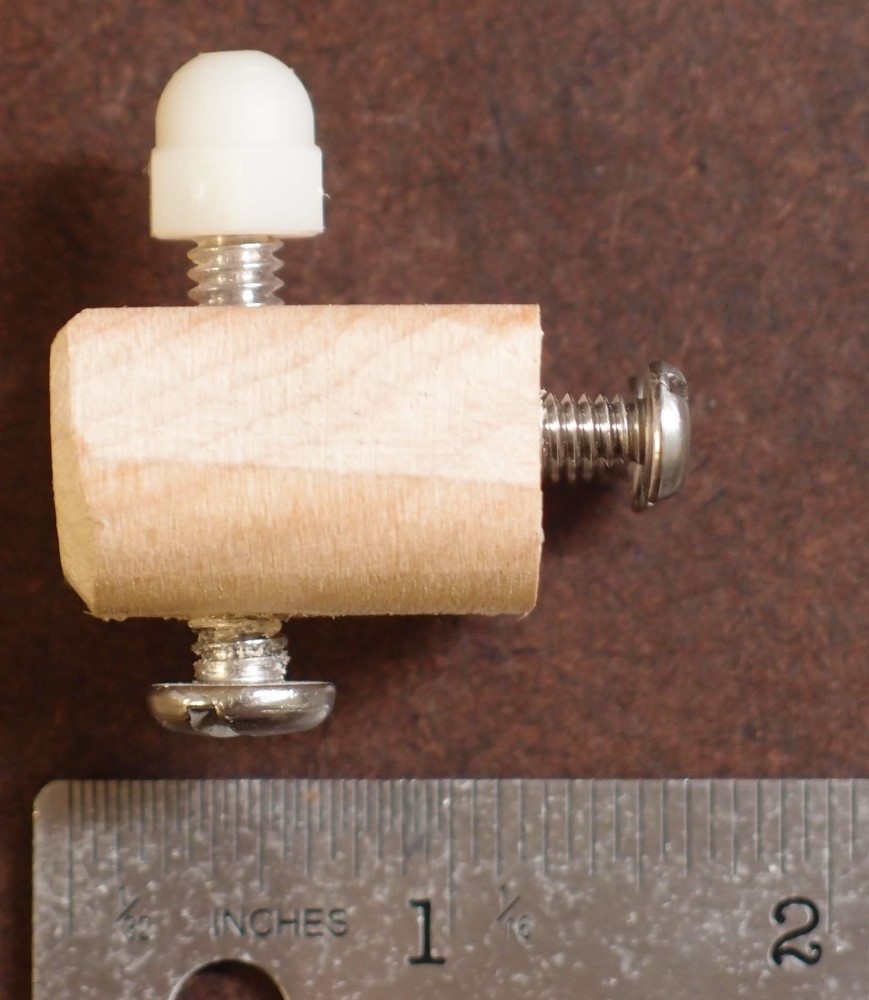
The goal in building this was to keep it as compact as possible. The problem with StewMac's is that it is too wide to fit inside a horn. I had the Telecaster there next to me as I made this, and made sure that would not be a problem, it will fit easily into any cutout. Here are a couple more pics to get the general dimensions:
When using this jig, it is important that you keep it perpendicular to the side you are cutting, otherwise, it will cut too deep, although you have to get pretty crooked for it to be noticeable. StewMac's version is functionally identical and has the same problem. You'll need some scrap wood to hack on while you adjust the router and the follower for the binding - make a short test cut, check the fit, adjust, repeat, until it is perfect.
So that's it. Anybody could build this, but you're going to need some ( more than ) basic tools first, you can't start from zero with just a hand drill. So far I've mentioned drill press, Forstner bits, belt sander, and tap & die set. You'll also need to make fairly precise cuts in polycarbonate and wood. And you'll need the router itself if you don't already have it.
Questions or Inquiries?
Just want to say Hello? Sign the .