Angled Headstock Jig (1/2)
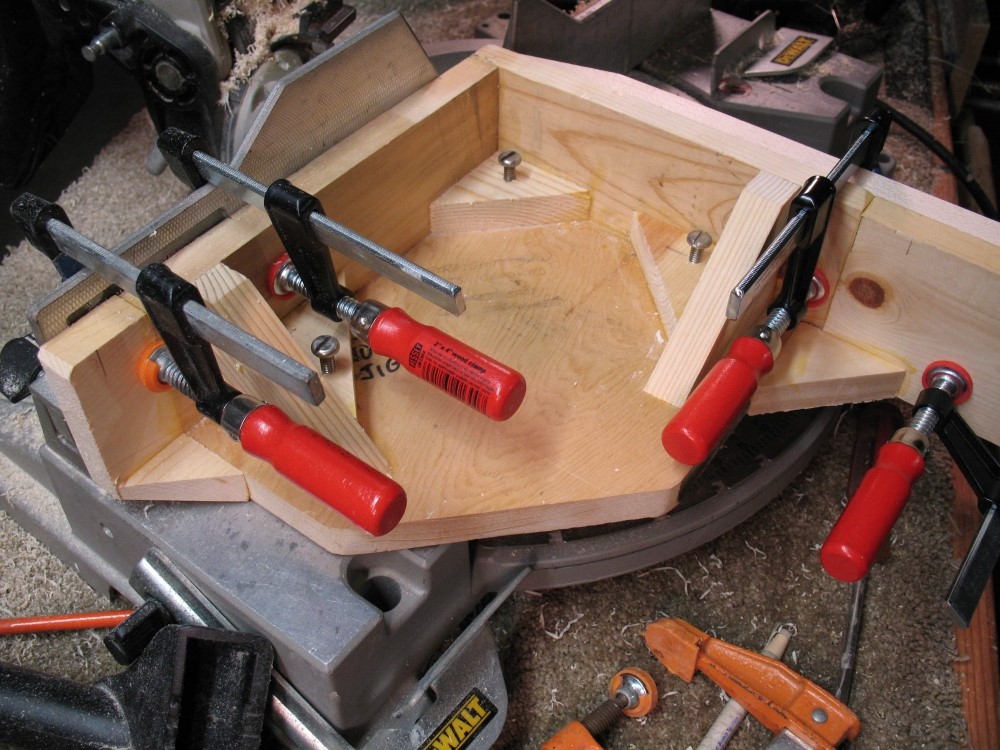
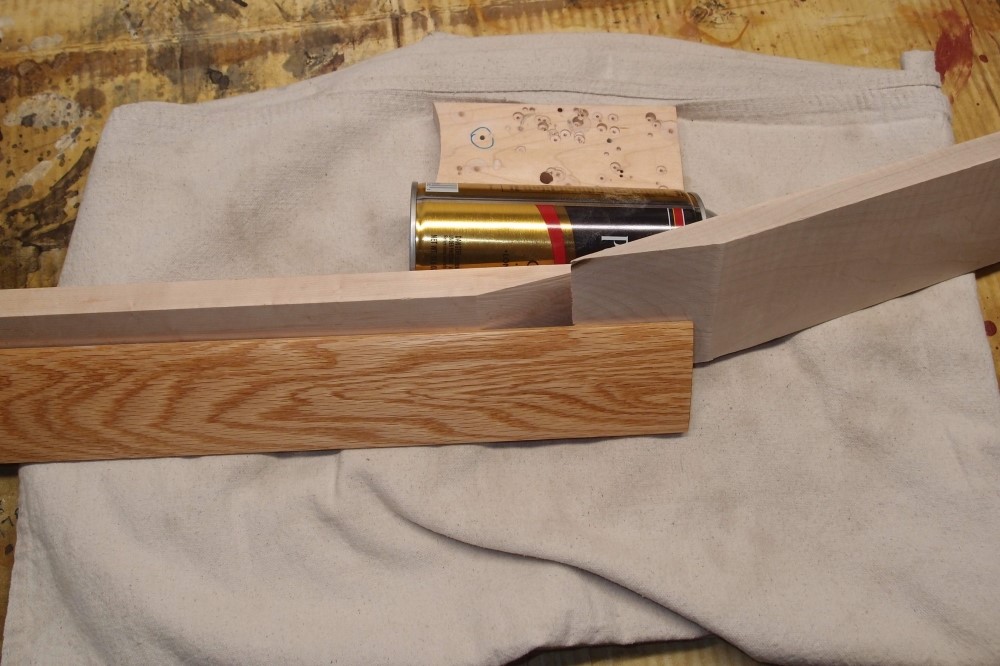
This is the angled headstock jig I built from pine scrap, with an already-cut piece of 5" Home Depot maple headstock material attached with clamps. Basically, this jig is a 90-degree square brace, as precise as I could build it. It is square in all three dimensions, the most important being the vertical direction. The final stage of construction of the jig was to smooth all the surfaces on the sander, true up the saw, and then true-up the jig face by shaving it with the saw. You can see that the angle of the headstock is easily selected on the saw. The accuracy of this angle is not critical, as long as you are in the ballpark, anything will work.
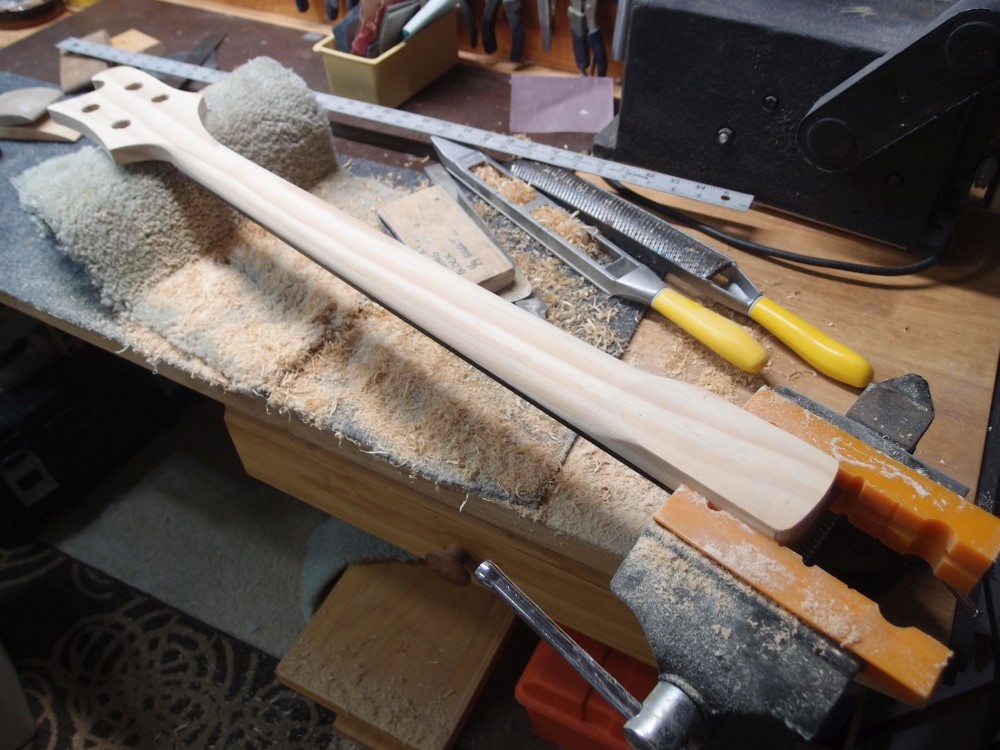
This jig builds a 'scarfed' neck joint. A scarf joint is one that uses an angled cut to mate two pieces of wood with fasteners or glue. Scarf joints have been used in shipbuilding and woodworking for thousands of years for their strength and simplicity. You can see a number of them in the picture below. When the neck is complete, the fingerboard laps the scarf join, so the headstock is actually captured between the fingerboard and the neck. This is an incredibly strong joint and preserves the grain direction in both pieces. I have heard of them failing, but that is rare and always a result of a bad glue job.
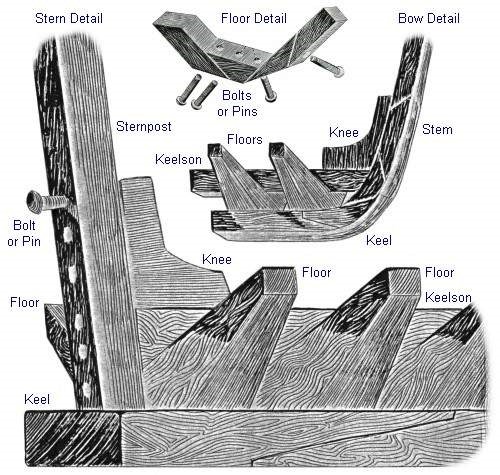
A scarf joint is the right way to make an angled wood joint, nothing like a Gibson angled headstock, which is simply carved from the same piece of wood as the neck. This makes a poor transition from neck to headstock ( especially since Gibson refuses to use a volute to reinforce it ) and misaligns the grain in the headstock, which is both unsightly and weak. The end result of that is Gibson's famous self-destructing headstocks. Gibson veneers and paints their headstocks to cover up the ugliness that results. It is ironic that Fender necks never break, but are easy to replace, while Gibson's necks are famously fragile, and impossible to replace.
The scarf joint is also more economical than a one-piece neck, allowing the use of a narrow neck piece with a wide headstock piece for less wasted wood than a one-piece Fender-style neck. Rickenbacker economizes a flat headstock by gluing walnut wings to a maple core, which turns an ugly glue line into a decorative feature that they can charge extra for. The scarf joint does make a curving line on the back of the neck if clear-coated. Of course, a solid paint job will cover up anything.
Oddly, the cut comes out slightly crooked when everything is perfectly aligned. My guess is that the saw is just not made to rip hard maple at such an angle, and the blade flexes slightly. Initially, I corrected it by adjusting the saw, but later modified the jig to be adjustable, which works much better, and is also repeatable, an important feature for any tooling. Here is another shot showing the adjusters, which are simply 1/4-20 machine bolts threaded into the wood. You can also see where I added extensions to the jig which allow for better clamping to the saw, and also allow the workpiece to be secured with clamps rather than double-sided tape, which is much more accurate, and also saves on tape. I re-cut a number of pieces with the modified jig, and they came out much better.
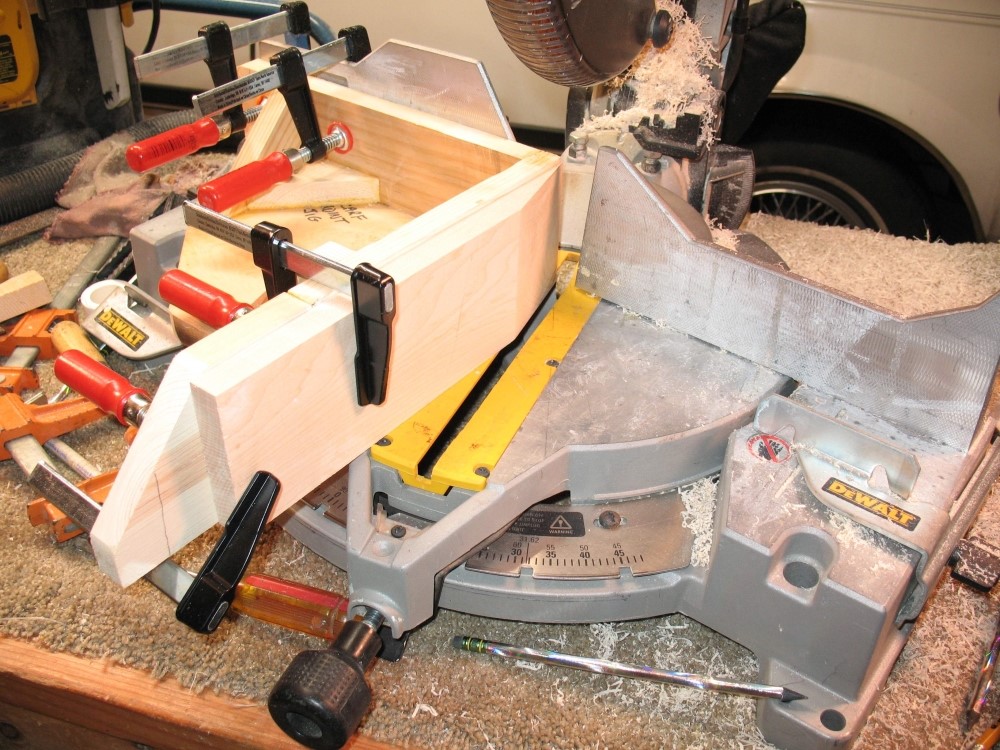
The saw is a DeWalt 12" mitre saw that has seen a lot of use doing crown mouldings, flooring, etc. I get this tool out for just about anything it might do, but this is one use for it that I never expected. The saw was also used to build the jig. The nice thing about this model is that it is not so heavy, so it is easy to lug around, unlike a 100-pound slide-mitre. For mouldings and other long pieces, I made a cutting table from an old door, with end supports that match the height of the saw bed. The table has some extra bracing so it does not flex at all, and when set up on a pair of sawhorses, provides a nice lightweight portable work surface on which the saw can be slid from side to side as needed.
They say "If you have a hammer, then everything looks like a nail." Well, if you have a mitre saw, then everything looks like a mitre. Ha !
Questions or Inquiries?
Just want to say Hello? Sign the .