Truss Rods (1/2)
I have come up with a number of my own specifications for a good truss rod design:
- An adjustable rod must be double-acting for guitar or short-scale bass. A long-scale bass or 12-string guitar can be single-acting, as the tension is so great that back-bow is all but impossible. A guitar can also dispense with adjustability and use a fixed straight steel rod or rods. For a 12-string, a combination of fixed and adjustable rods is probably best.
- The proper way to adjust neck angle is by shimming the neck joint, not with the truss rod. The truss rod is there to counteract the natural tendency of a wood neck to bow forward under tension. A bass requires a slight amount of bow, a guitar does not, but can be set up that way, owner's preference.
- An adjustable truss rod should be accessible without removing the neck. Unstringing, pulling the neck, guessing at the adjustment, re-assembling, repeat ad nauseum, is completely unacceptable. A truss rod should be adjustable with simple tools that can be kept with the guitar.
- An adjustable truss rod should be removable / replaceable without disassembling the neck. A broken truss rod should not be the end of anything. Non-adjustable truss rods should be solidly glued in place for the life of the instrument, and can be expected to last 50 years or more.
- A truss rod should be easy to install, using a simple straight slot in the neck, and not require elaborate fixturing to cut curved slots etc.
- A truss rod should not unduly weaken the neck. Bulky adjusting mechanisms should reside in the heel where the wood is thickest, not at the headstock, where the wood is thinnest.
- A truss rod should not place undue stress on the neck, especially in the longitudinal direction, ie, placing the neck wood in compression to counteract the tension of the rod. All lengthwise stresses in the rod should be completely internal to the rod, not applied to the wood, which is already under stress from the strings.
- A trussrod should not interact with the neck in undesired ways. The greatest example of this is the horrible 'skunk-stripe' rod, which requires perpetual adjustments as temperature and humidity affect the wood. A truss rod should be basically set-and-forget.
The funny thing is, eBay is awash with cheap truss rods from China that fulfill all of these requirements, and any import guitar you pick up is likely to have one already installed. It is the expensive American-made guitars from, Fender, Gibson, et al, that persist in using defective designs from the 1950s. This is really a crime.
The best truss rod for a guitar is one, or better yet two, steel bars glued tightly into the wood. A neck like this will never warp or need adjusting. Just look at any Martin or Danelectro from 50 years ago - they are as straight and true as the day they were made. How many Gibsons can you say that for?
All a guitar neck really needs to be is straight, dead straight. A truss rod should never be used to adjust action, action adjustments are at the bridge, or by shimming the neck. Of course, on a non-bolt-on neck, there is no way to adjust a bad neck set, so they put a truss rod in as a kludge, but it doesn't really work for that. That is where 'dead spots' come from, as the truss rod subtly twists the neck out of shape.
The 1/2" x 1/8" mild steel bars available at any hardware store work fine as truss rods. Degrease them well, and scratch them up good with coarse sandpaper. Route a tight slot, and put some wood glue in, then push the bar in so the glue overflows and fills the entire space. Then glue on the fingerboard. When the glue dries, it will grab the scratches and hold the bar like iron, no pun intended. No need for bothersome epoxy. Since the steel is completely encapsulated away from the oxygen in the air, it won't rust either.
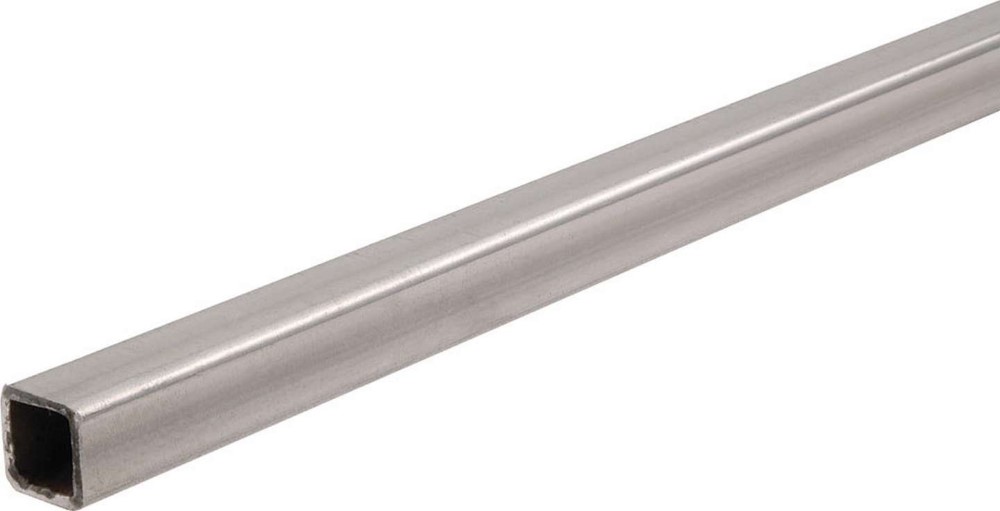
I use 2 bars in angled channels that form sort of an A-frame from the heel to the nut, like a Danelectro. Channels like this are easy to cut on my jig described above by mounting the workpiece suitably offset and crooked. I've also used 1/2" square steel tube down the center like an old Martin, but this is rather more bulky and heavy.
Oh, and btw, steel is much stronger than graphite. Graphite is only stronger than steel on a weight basis, which is irrelevant here - we're not building airplanes. ( I used to ... ) On a volume basis, nothing beats steel, unless you have some titanium handy. And there is definitely limited volume inside a guitar neck. Aluminum is crap best suited for beer cans. Steel is also cheap and easy to work with.
Some manufacturers use carbon fiber rods alongside an adjustable truss rod. It's almost like they know it's wrong, but they can't bring themselves to admit it.
Trust me: guitar = steel bar, it will play great forever. Unfortunately, the same is not true for a bass.

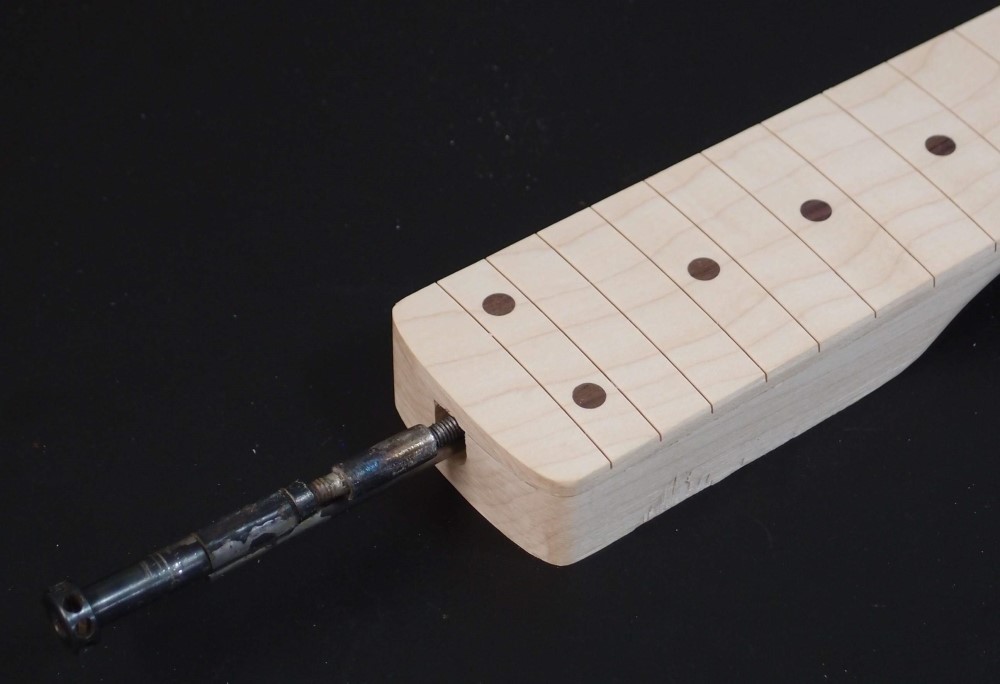
This is a design for a double-acting spoke-nut truss rod. It is quite complicated to build, with some tricky brazing involved, and although it works very well, I have given it up in favor of much simpler solder-less single-acting rods and inexpensive double-acting rods from eBay and now even StewMac ( yes, I said inexpensive and StewMac in the same sentence !!! )
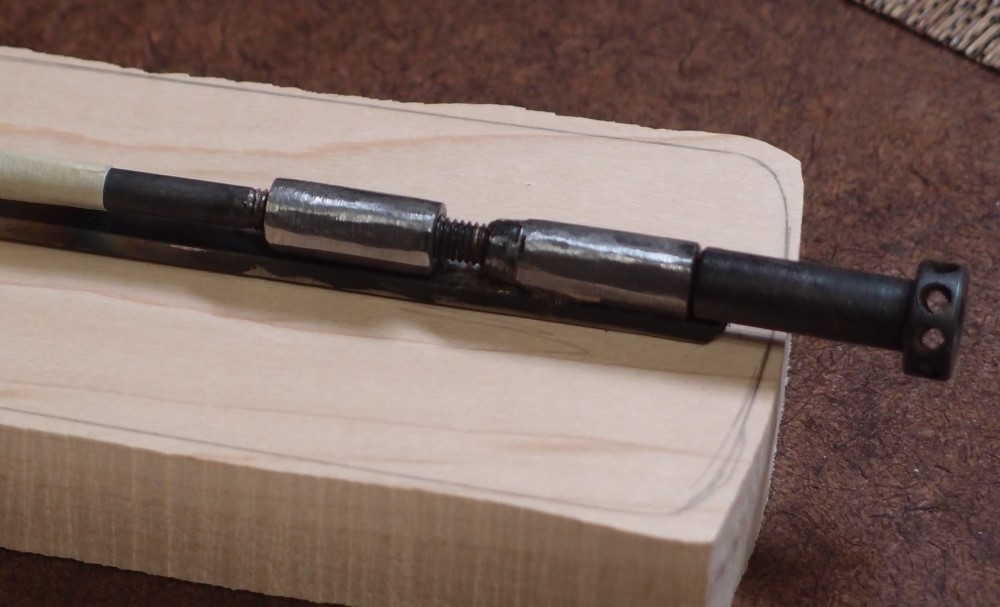
For a much faster and easier route to a custom-length truss rod, buy a standard-length cheap double-acting rod from China on eBay, cut to length, and braze or weld the two ends back together. I've done it that way too. The rod in the pictures is actually made from parts I reclaimed from a prototype that I torched apart, so it looks kind of messy, and is a bit different from the written description, but it is perfectly sound. This is the third truss rod design I have built, and it will be the last, I don't think I will come up with a better one.
Krzysztof Cybulski:
February 24, 2020 at 10:54 AM
Hello,
I love your projects, the site, and your general approach to instrument building. Keep on!