Sharp Fret Ends
I took this 'Bird down from it's usual place up on the wall to take some measurements, and I noticed that it had grown fangs along the ( otherwise excellent Mighty-Mite ) neck that were not there before. Sharp fret ends is something I see people piss and moan about all the time. It is going to happen. It's not that the frets weren't dressed properly at the factory, the problem is that most guitars are made in warm humid places like China, Mexico, Indonesia, and Tennessee in the summer. Wood swells with moisture. When they are brought to the USA and placed in a dry heated winter house, the wood dries and shrinks a tiny bit, and the fret ends protrude. Everything about fretwork is a matter of thousandths of an inch, even the tiniest discrepancies are obvious. So this is not a defect, it is something that is simply going to happen, and it is easy to fix.
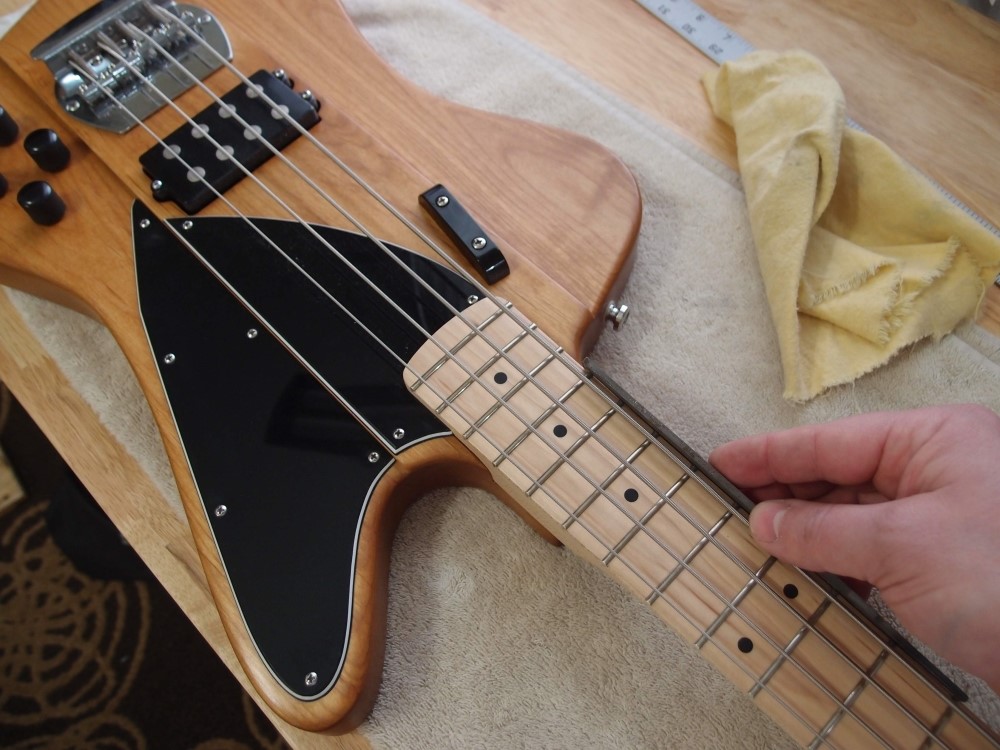
In the picture, you can see I am holding a six-inch fine file lengthwise against the frets. I am actually holding it at a slight angle towards the strings, it is not contacting the wood at all, just the fret ends. Simply slide the file along the frets to remove the protruding ends. Slide the file only in the direction it is supposed to cut, then lift off and re-position - don't hack back and forth. Always cover several frets at once, never just one. GO SLOW - make a few swipes, and see how it feels. Except for stainless steel, frets are fairly soft and file down quickly. If you can just barely feel the ends sticking out, that means you haven't touched the wood yet. That's where I stop. This is especially important on a painted neck - you don't want to cut the finish. On a maple board like this, I don't like to go through the finish either, but on an oily rosewood board, it makes little difference if you nip the edge a bit. So a rosewood neck is a good one to practice on first.
This really is easy, it practically guides itself. Watch the angle that you hold the file. If you are careful, you can do this without even un-stringing the instrument, as I am doing here. Of course, it is easiest when the neck is not yet installed, but the problem probably hasn't even arisen at that point. I don't bother with any further dressing, although you could smooth over the fret ends individually if you are anal enough. Just remember, the more you mess with it, the more likely you are to mess it up. If you must, 1000 grit sandpaper wrapped around a finger will smooth things further, but also results in a black mess that may work itself into the wood grain. With this maple neck, I am not going to make my life difficult. Good enough is good enough; going for perfect can result in ruin.
You will only need to do this once, probably in the dead of winter when the neck has dried out and contracted the most. Come summer, the fret ends will likely become slightly recessed, you probably won't even notice. While you are at it, you can also tap down any proud fret ends with a small mallet. For fret work, I use a plastic-faced one I found at Sears - it is good enough. A little Elmer's Glue can also help. Elmer's is good because it dries clear and cleans up perfectly with warm water, unlike most wood glues.
A very important note:
These files usually/always have a nasty burr on the end of the handle. You need to grind that off before using it, or it will scratch up everything. I do that automatically whenever I get a new file.
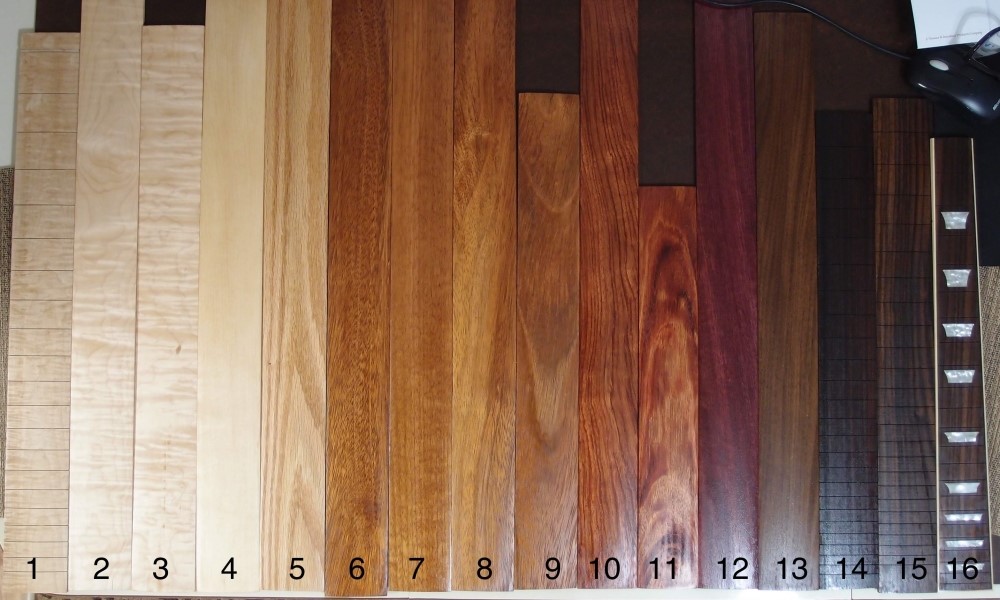
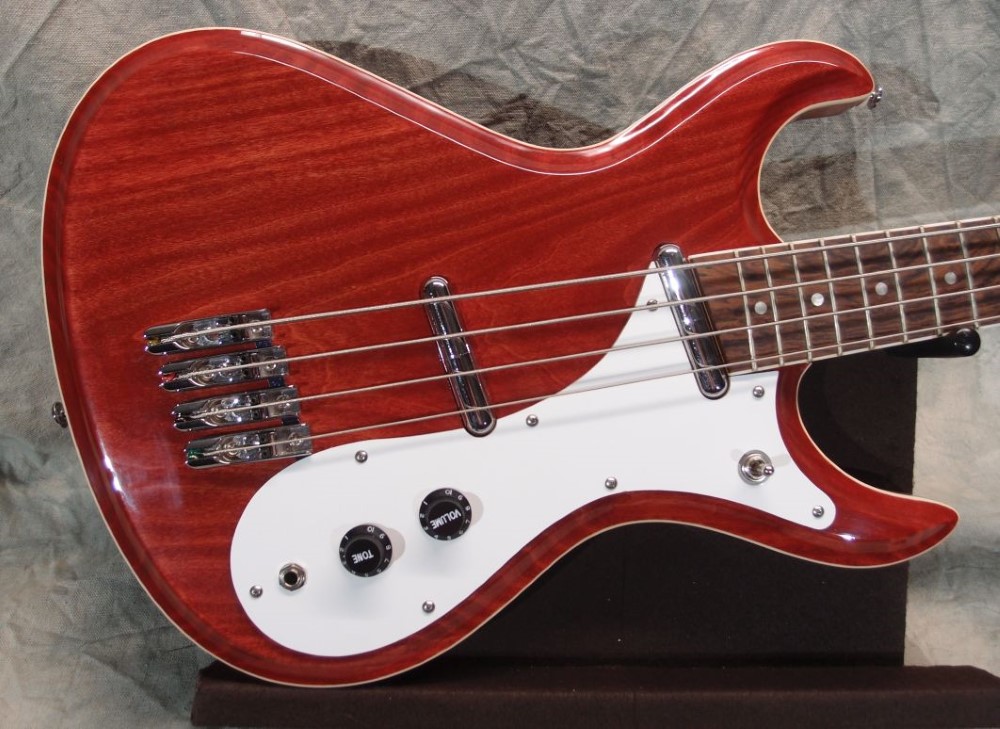
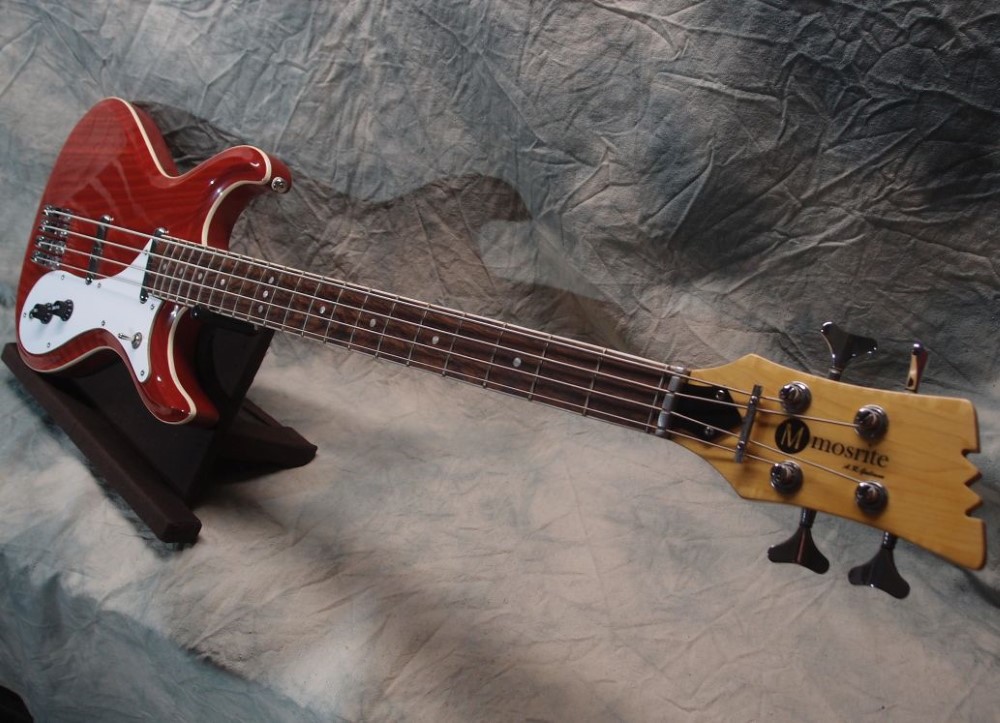
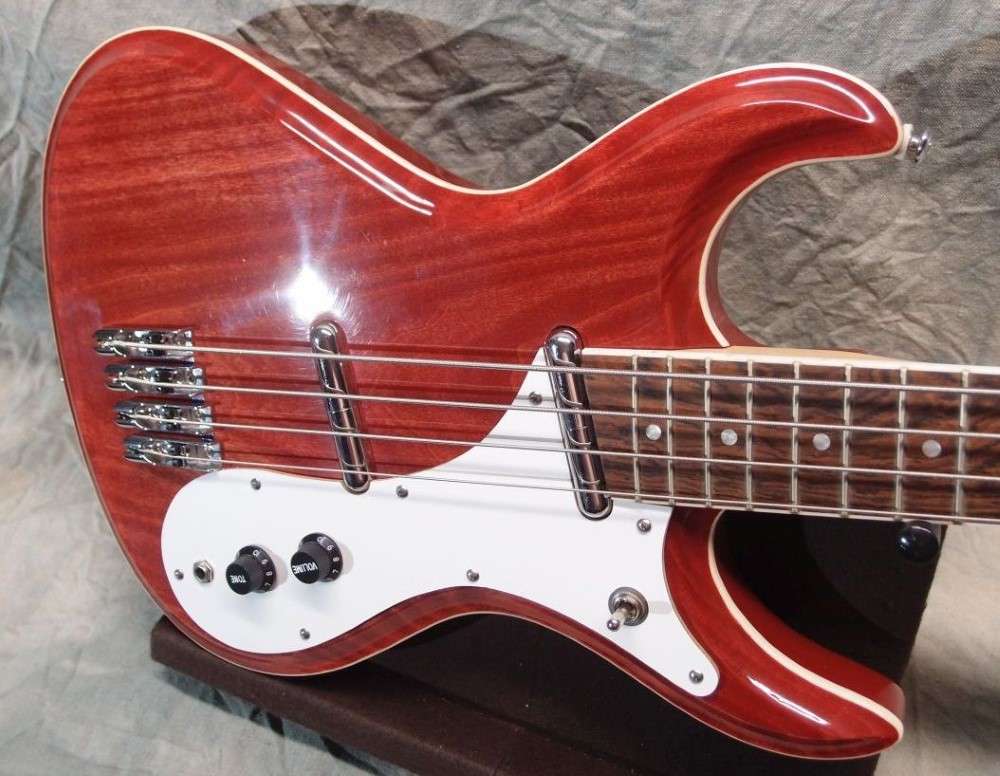
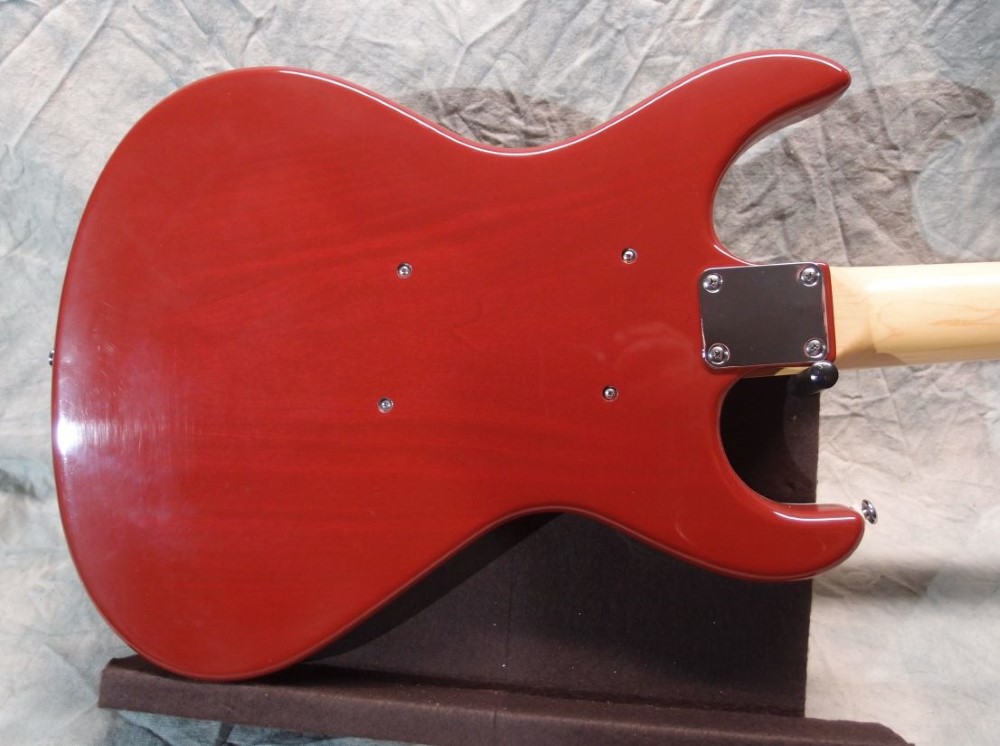
This guitar is about as odd as it could be. A 34" Jazz neck on an oiled cherry body, with MusicMan pickup and bridge. Active electronics and three-way mode switching for the pickup, with Telecaster knobs, arranged like a Rickenbacker. The two-piece pickguard is my own invention, to keep from chewing up the wood under the strings. It plays and sounds great, although I don't know if The Ox would approve. The oiled finish is the same as the racks above, just applied much more finely. Here too it can be periodically refreshed by simply wiping on a new coat. However, an oiled finish like this provides much less protection for the wood than a polyurethane; for an item that is going to be handled a lot, it is not the best choice.
The method of fret dressing described here is probably the origin of Fender's "C-shaped" neck. If you overdo this and file away wood, that is exactly what you end up with. Their marketing department simply seized on this manufacturing flaw as a feature. It is worth noting that overdoing the fret dressing this way at the factory - until the ends are flush with the wood - is exactly what results in protruding ends when the neck shrinks. "Luthiery" is so ridiculous. Thank god automobiles and airliners aren't made by luthiers.
So learn how to fix this yourself, and you can fix it right, the way that will never happen at the factory.
End rant.

Questions or Inquiries?
Just want to say Hello? Sign the .