August 2, 2020
Some Quick Inlaying Experiments
August 2, 2020
July 27, 2020
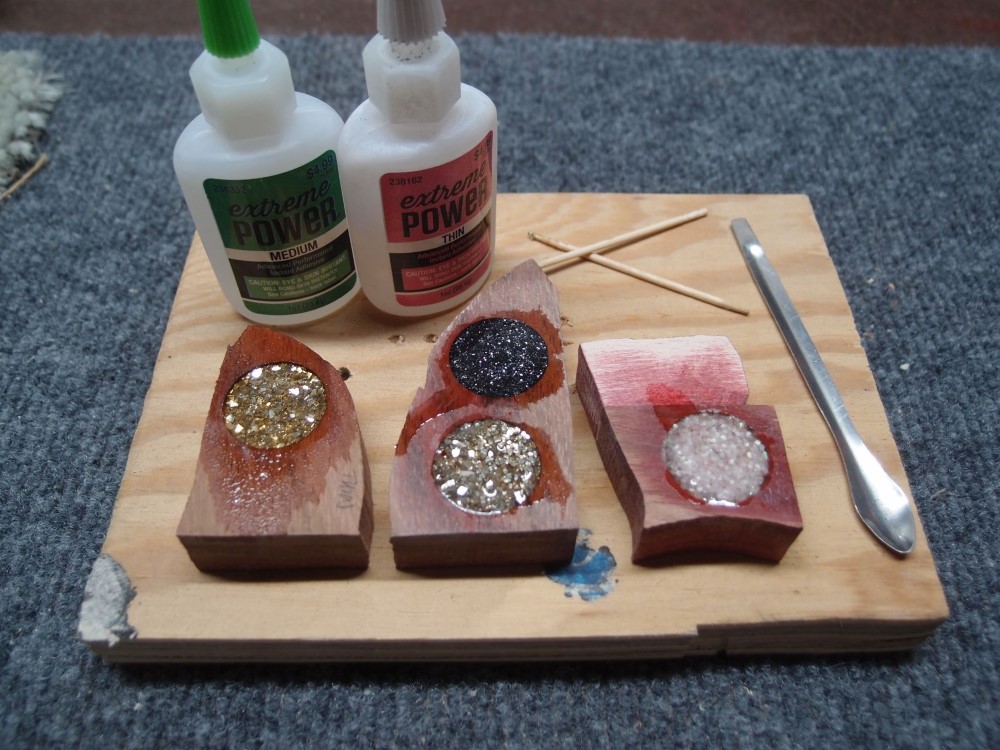
Been doing some quick experiments with CA and glitter for the last few days. At left is gold crushed glass. Center-top is very fine gunmetal plastic glitter. Center-bottom is silver crushed glass glitter. At right is standard plastic glitter. The green tube is medium CA, the pink one is thin, the standard formulation. Thick CA is quite rubbery when it dries, I would not use it for this.
The wood is Brazilian Cherry, rather open-grained. The thin CA wicks into the wood badly, the medium does not. Best to seal the grain with the medium glue before doing anything else. Once it is sealed, you can do the rest of the fill with either one. I did the initial big fill with medium, and successive fills with thin. Medium CA is a little bit rubbery when it dries, thin is hard.
The glass does not float in the glue, it stays put. The plastic floats up in the glue. I made the "inlays" about 1/8" deep and filled them flush with the glitter, then dropped the medium CA on top until it was full. You don't want to cut the inlays deep, cut them as shallow as you can get away with. Just deep enough for the fill material, For a fretboard, also remember you will be dealing with a curved surface.
I gave it over a day to dry, with no accelerant. Except for the very fine glitter, they all dried nicely. In the case of the very fine glitter, it heaved up into a frozen wave. The medium glitter dried very porous and required further filling. After the second day, when everything was quite hard, I sanded them all flush and capped with a layer of thin CA, which is still wet in the picture.
The very fine glitter came out the best. It fills the cavity completely from edge to edge with no gaps. The glass glitters are also nice and very sparkly, but they are much coarser and do not fill the edge of the inlay as well. The white glitter has nothing to recommend it, although I have some colored ones that come out very pretty. The glass glitter is the easiest to work with, but I like the very fine gunmetal the best.
 |
 |
 |
 |
 |
 |
 |
 |
 |
 |
 |
 |
 |
 |
 |
 |
 |
 |
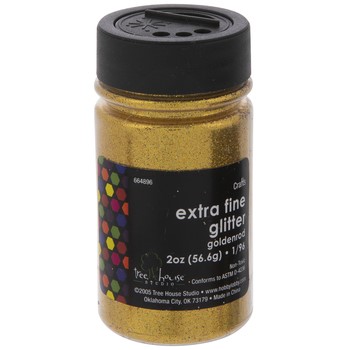
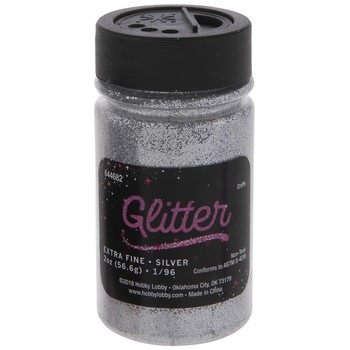
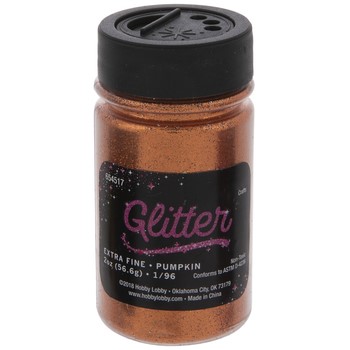
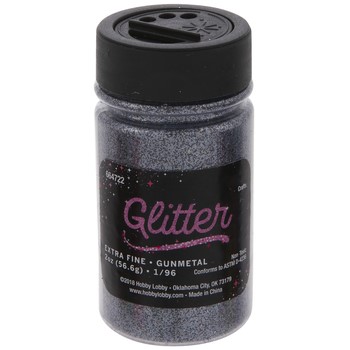
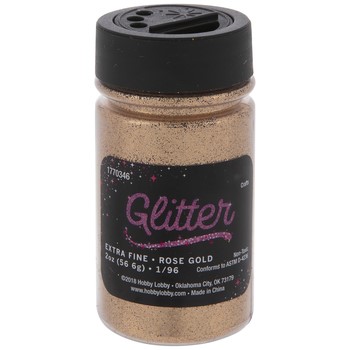
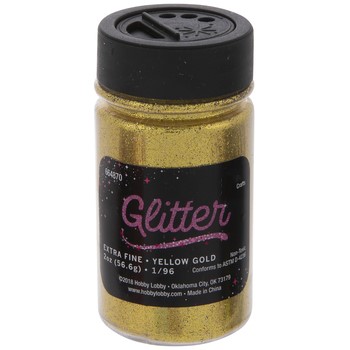
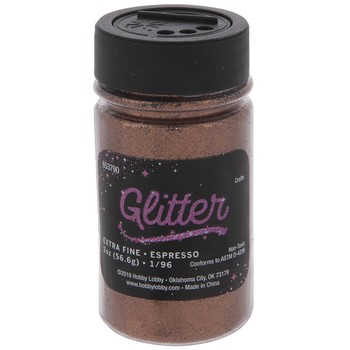
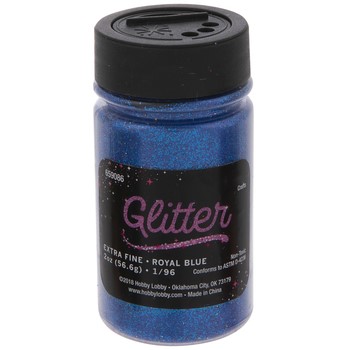
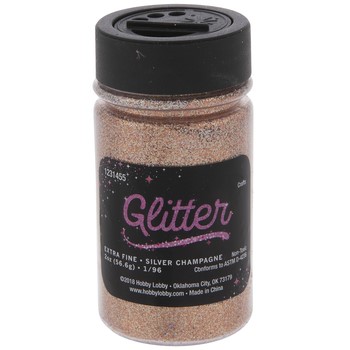
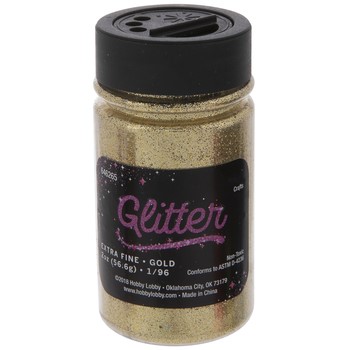
You can get the very fine glitters at Hobby Lobby. These are all the colors that might be useful in loothery. One is even glow in the dark. There are many others that would probably appeal to twelve-year-olds or metal-heads. All of these bottles run around three dollars. The CA is also from Hobby Lobby, in the model section. You can get black CA from Starbond. The glass glitters came from Michael's. The question now is, what color do I want to use on the next project?
One more fill material I've been meaning to try is nice clean beach sand. I would need to wash the salt out of it and then dry it thoroughly, but I think that it would work about the same as the glass glitter, and it's free.
So there - more science done for you !!! I'm like NASA or something.
Update:

I added one more test case: very fine black glitter. The picture above does not do it justice. It is very black with midnight blue sparks. In the photo there is a layer of wet CA on top of the main dried layer, which is about 1/16" thick. Unlike the previous test, this one did not heave up, it dried flat. For a dead black inlay, use black CA with no glitter.
8/2/2020 Update:
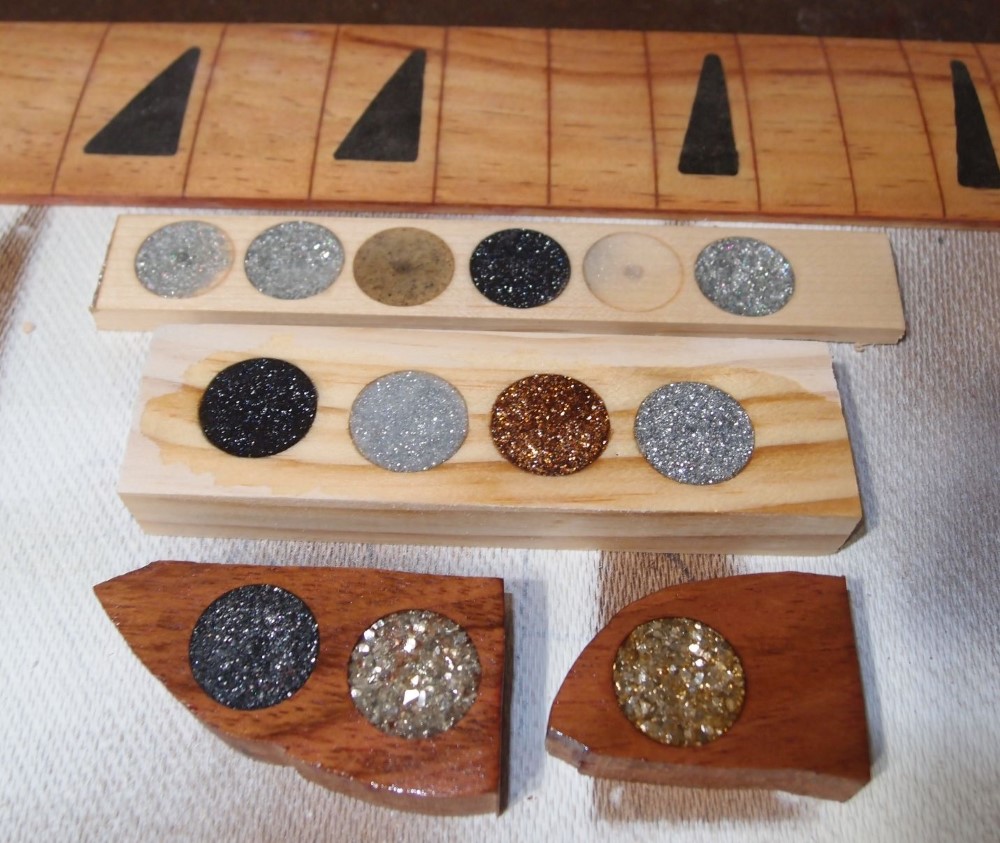
In between doing other things, I keep messing with this - sanding, re-filling, over-coating with poly, etc.
At the top is an old piece of radiata that is cut and radiused as a fretboard. It was a test piece for a lot of things. The fill is black CA, no glitter. It has a rough finish of UV-cure poly, I think. If I clean out the slots and polish it, I could use it for something.
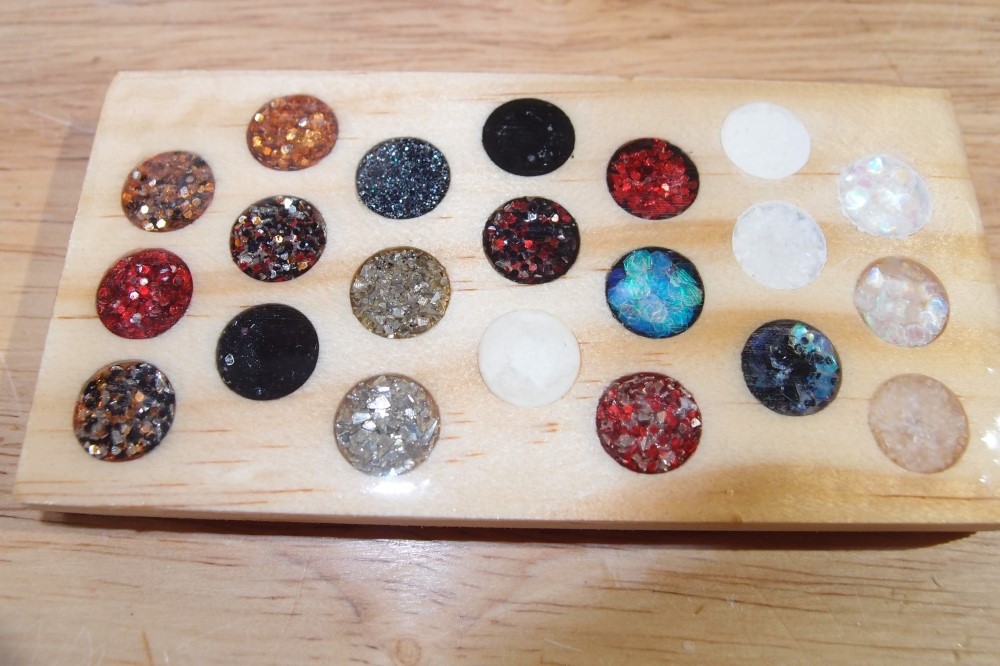
Next is a row of failed experiments. Left-most is too shallow. The tan one is beach sand, which turns translucent in the glue, revealing the bottom of the route, or in this case, the drill pit. So I threw the rest of the sand in the flowers. Next to the sand is black glitter, not a failure, and then "Diamond" glitter, which is almost transparent. The other two are a coarser glitter that is just garish.
The row of four dots are all very fine glitter. Left to right: black, 50/50 diamond & silver, copper, and silver, all under wet CA. The 50/50 mix is whiter and less sparkly that straight silver, but still opaque. The bottom row are gunmetal glitter, silver glass, and gold glass, under poly now. I like a lot of these, the hard part will be choosing one.
