Cowbell Bass Guitar (7/8)
Jan 6, 2019
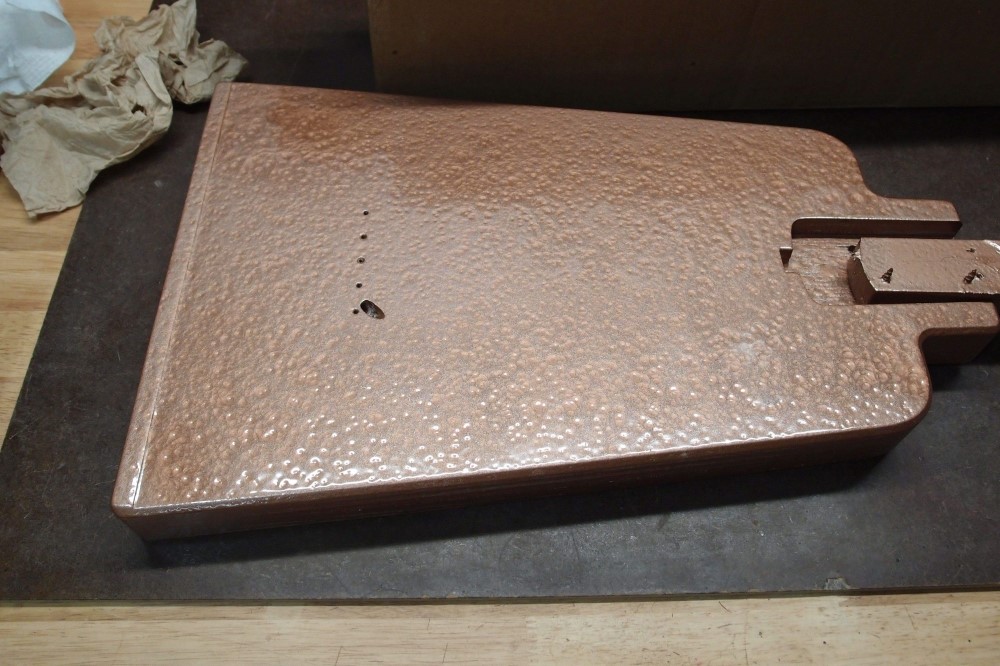
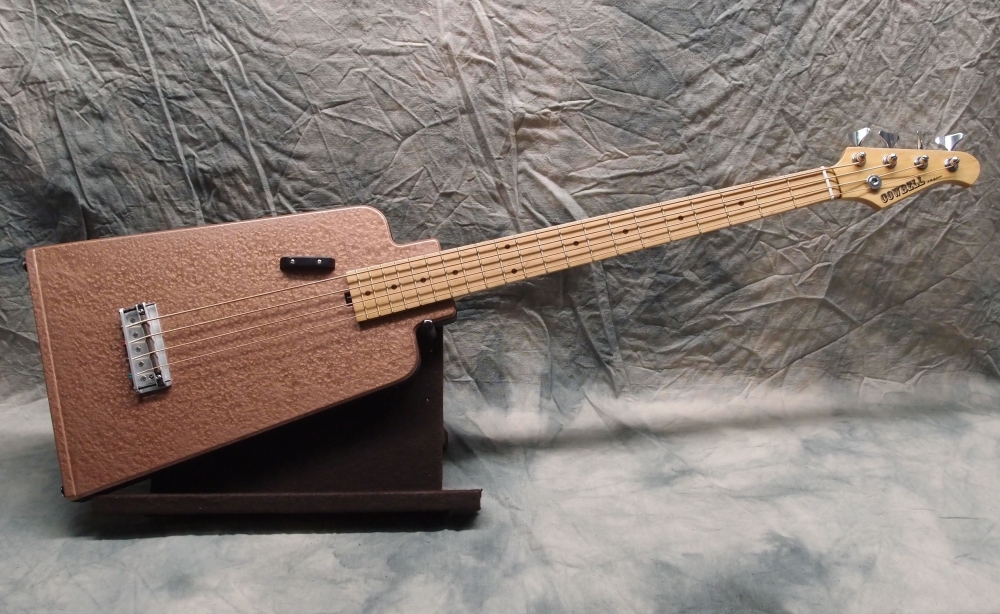
Always wanting to try new things, this is a "Hammered" paint finish, supposedly copper. I laid it on a little thick to get good coverage, next time I would use a sealer on the bare wood/masonite, and use a thinner coat. But it is what it is, it seems hard and durable, and should do a pretty good job of hiding wear and damage. Not a bad result for the first time, and super-easy and economical - just one can of spray paint, and you can't hardly screw it up. Could save a lot of work doing a fancy front and a black hammered back that needs no attention at all.
Incidentally, this is exactly the finish I wanted on this build, the reason will be apparent when it is complete. This build is entirely experimental - neck, finish, hardware, electronics, strings, everything. It's almost ready for assembly. This is a Danelectro-style build - masonite over plywood, very inexpensive. The sides will get sanded off and tape-bound. This reduces finishing to a two-dimensional job, you actually don't want to get any on the sides, you'll have to remove it later. I'm going to do a lot more of these; not exactly this though.
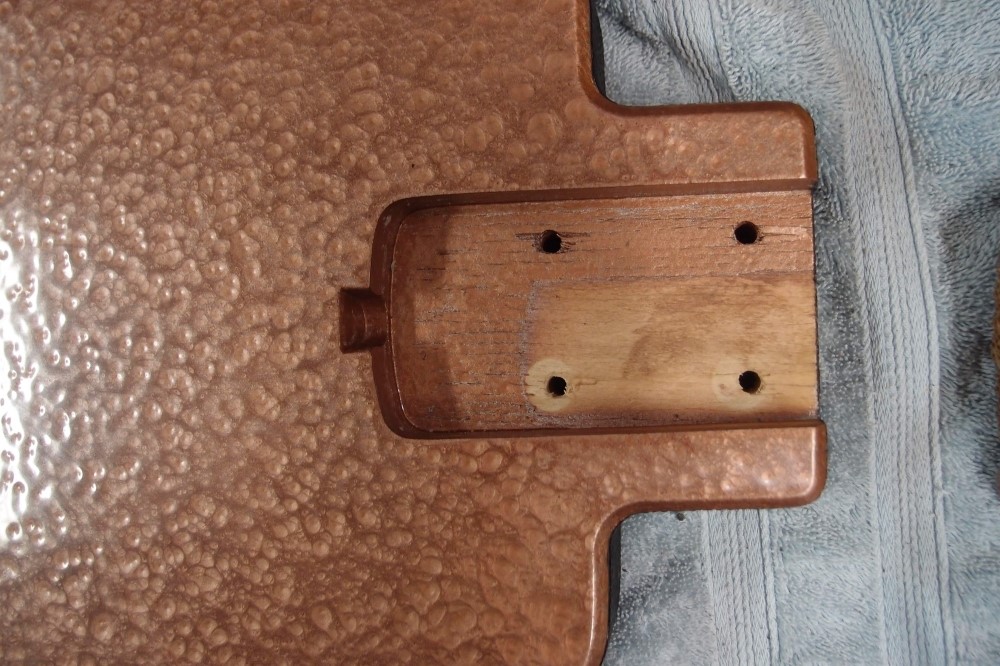
With 30% less finish in the neck pocket !!!
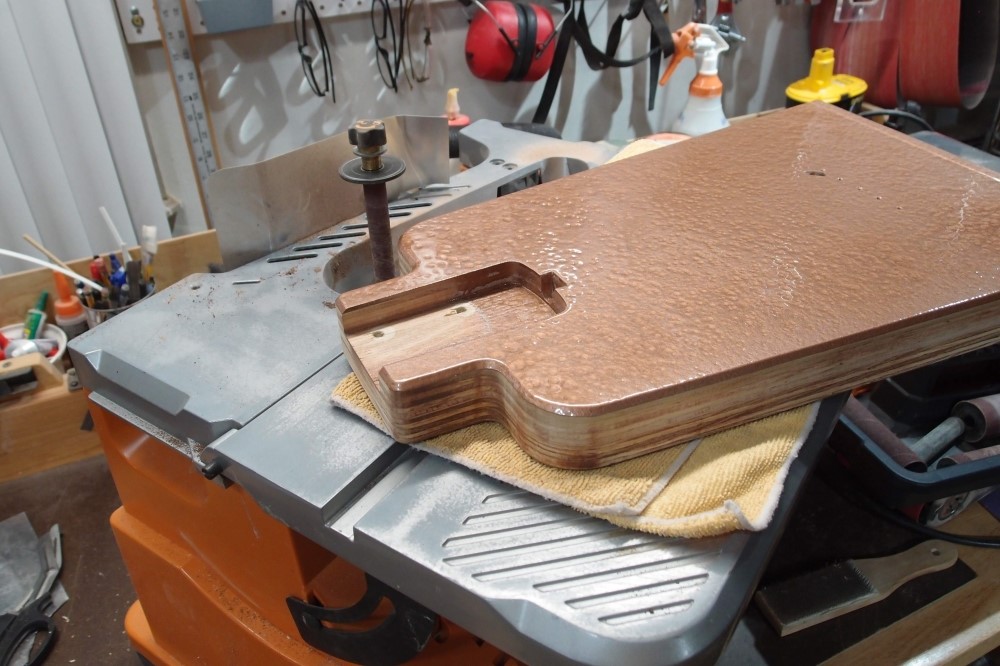
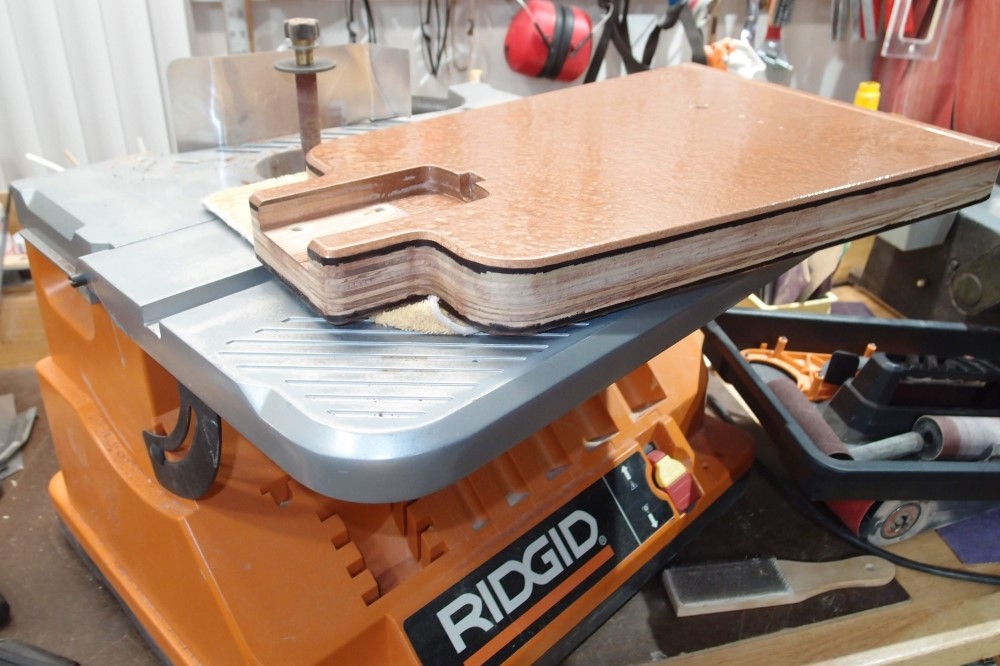
Sanding the paint off the sides and blacking in the edges with a Sharpie in preparation for binding.
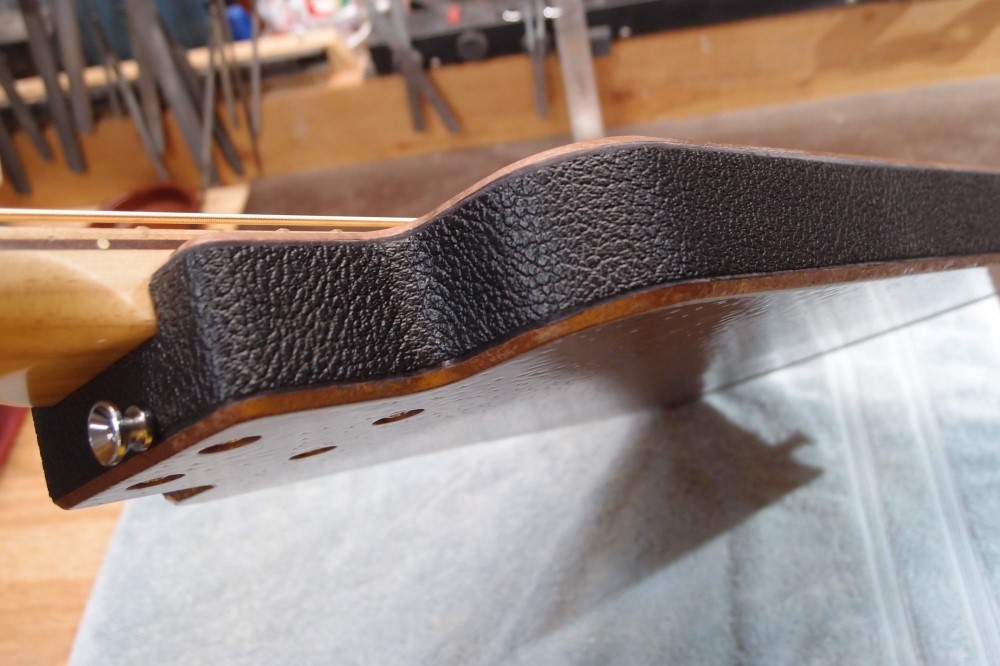
Binding installed with water-based wood glue - the only thing I have found that actually holds in the long run. I can hardly imagine what a nightmare this would be with epoxy. Note how sanding made a nice crisp edge on the bevel.
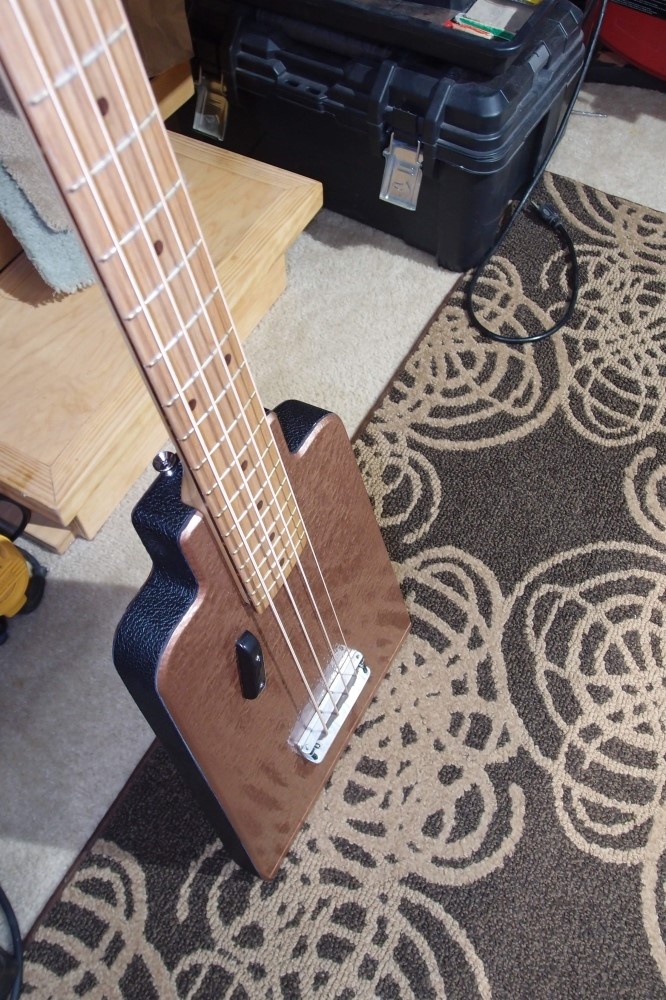
Note strap button on the handle behind the neck, near the 14th fret, hidden and out of the way. Balance and high fret access are not bad at all.
Jan 9, 2019
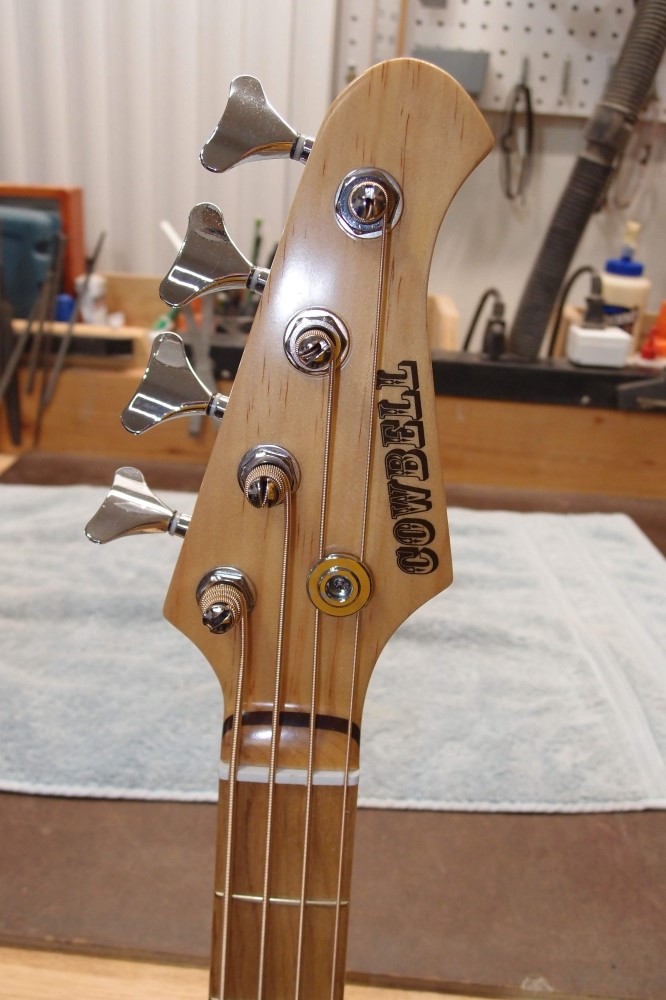
After many weeks of hard labor ( well, at least two ) I have finally completed The Ultimate Winter Mash-Up Build-Off. Allow me to respectfully present the world's first and only combination of a Bass Guitar and a Cowbell. ( Yes, I know, Ned Steinberger tried, but it came out more like a fiberglass broom than a cowbell. )
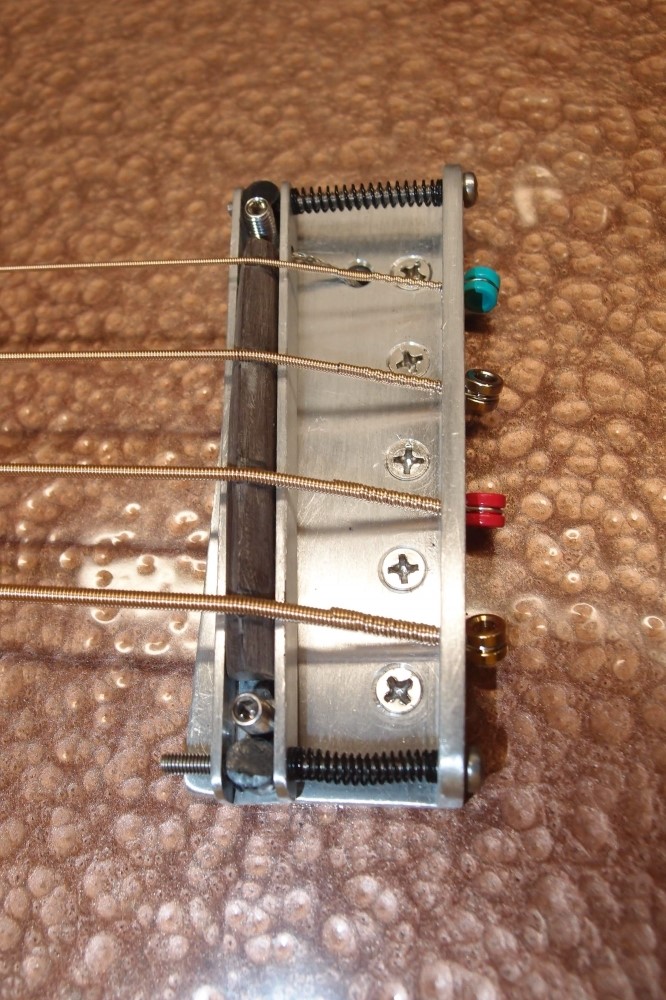
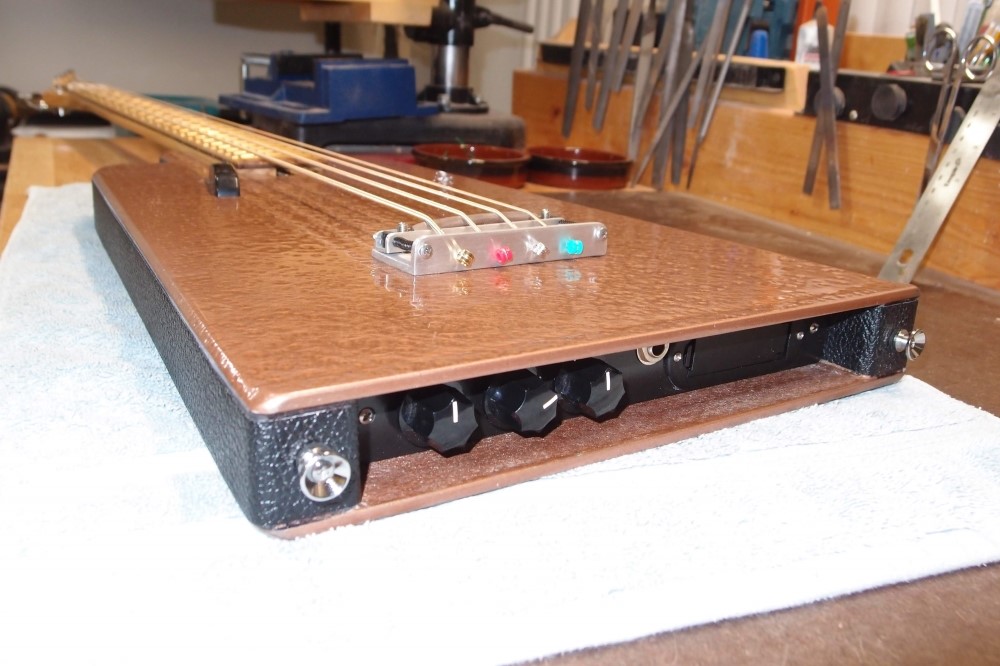
The bridge and the electronics. The bridge is fully adjustable for height and intonation. The saddle is 1/4" hard phenolic, notched. Under the saddle is a guitar-type rod piezo. The trick here is squeezing everything into a regulation Fender bridge height. I came pretty close. I shimmed the neck a bit to get a little more room to drop the saddle if I need to.
The controls are hidden in the end to keep the cowbell aesthetic. Not the most convenient location, but I was unwilling to compromise my vision. Sometimes, sacrifices must be made.
Dual strap buttons allow it to stand on its own. The end of the body has a reinforced edge, for tone.
The controls are, top to bottom:
- active bass boost (More)
- passive tone - treble cut (Explore)
- volume (Fever)
In addition, internally there is a hand-built active impedance buffer for the pickup. Without that, the piezo would have no low frequency response. This piezo installation has very high output, I used both the low-gain setting and the output trim of the buffer.
The active bass boost is left over from a Squier project. I was never impressed with this circuit, but it actually sounds pretty good here. One might hope that this circuit could have been used as an impedance buffer, but no, it is a low impedance input and requires a buffer in front of it to work with a piezo. I don't understand why Fender doesn't do things better - one more transistor, that's all it would have taken.
The tone control gave me some problems. First, I found it only works upstream of the bass boost, so it is actually wired at the junction between the buffer and the booster. After I figured that out, I started playing with different values, and finally settled on a 50k pot with a .047 Apple Drop capacitor. The difference between an Apple Drop and an Orange Drop is that Apple Drops are green, and Orange Drops are orange. That, and about five dollars.
A 50k pot is like a 250k or 500k backed off most of the way. This trims off a good deal of high-end, but still stays sensitive to your inputs over its range. The reason for this is the piezo pickup. Piezos pick up everything and excel at high frequencies. Together with the bright phosphor bronze round-wound acoustic strings, the finger noise was tremendous. At its minimum setting, this tone control automatically blocks most of that without sounding muffled. You can back it off to mush; all pots are the same at zero.
The Cowbell's tone is, of course, ringing. Kidding aside, the two tone controls give it a surprising range. Despite the piezo's tendency to be trebly, this guitar can actually be very deep-voiced. Sometimes it sounds a lot like a Precision. Doesn't sound like an acoustic. With the worst of the screech permanently dialed out, it also doesn't sound much like a piezo.
Unplugged, the small body chamber does resonate a bit, not much, but more than if it was solid. The chamber is mainly to shift the weight towards the rear for balance.
The volume control has a pull switch that shunts the piezo directly out. That's when you can hear just how awful an unbuffered piezo sounds. The output jack is offset to fit a headphone amp, and mine has a high-impedance input, which means the raw piezo signal doesn't sound too bad, and you can noodle without a battery. You lose the tone control on the guitar, but you can dial back the shrill with the control on the amp.
This is the first time I've built a thing that really doesn't function without a battery. All of my previous active builds and even piezos had a perfectly usable passive backup mode, but this does not. One more coat of paint, and it would tip the scales at seven pounds.
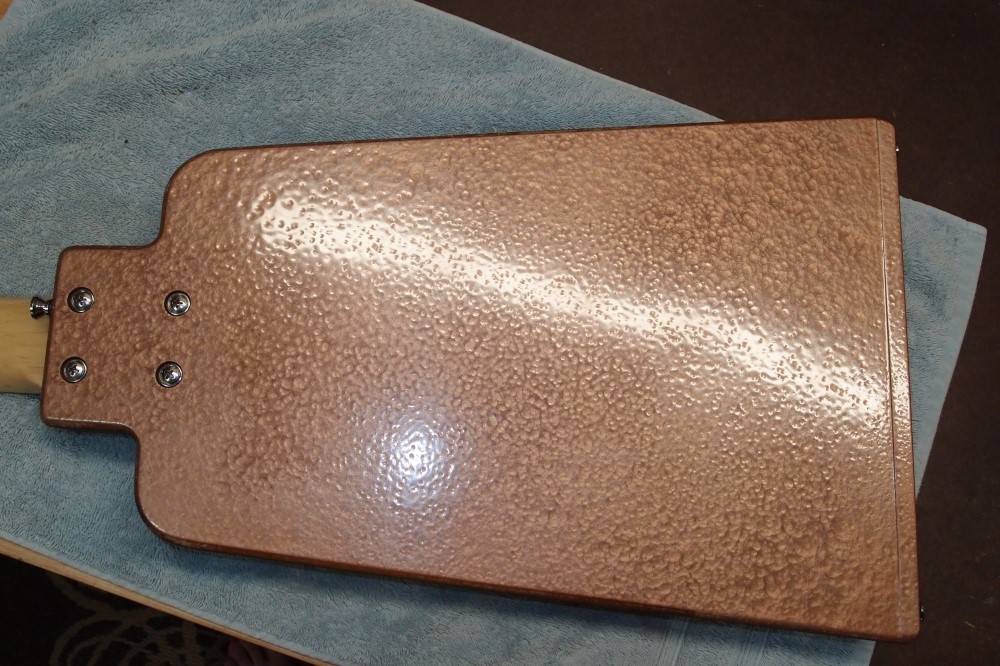
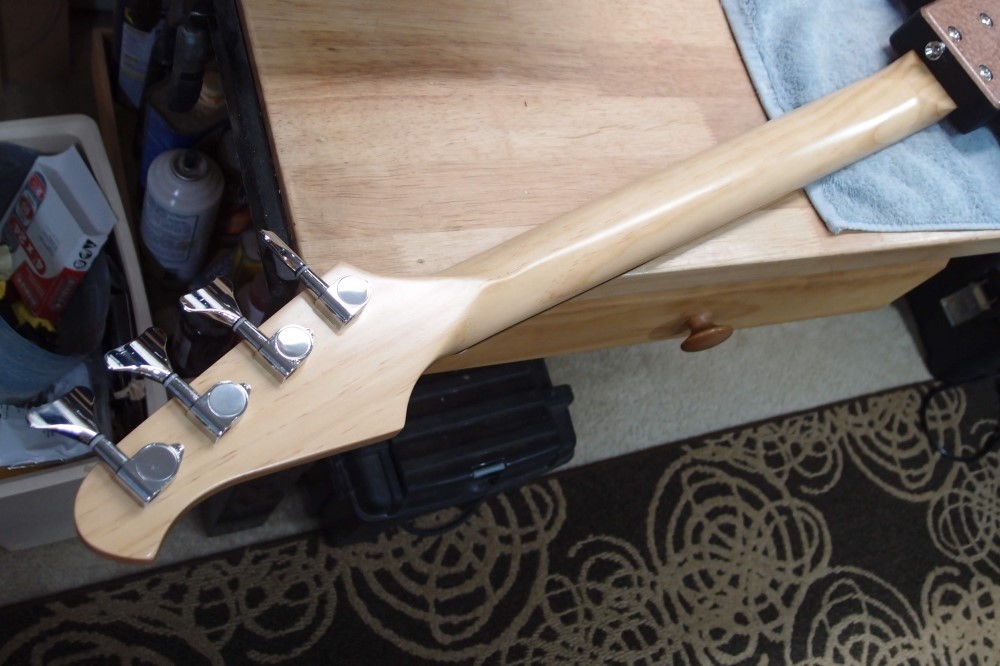
Some shots of the back. I like this hammered paint, especially for an easy and damage-resistant back. This is "copper", in keeping with the cowbell motif. This is also my first foray into the 'steampunk' genre. I call it "cow-punk".
It is too soon to say if the pine neck will be stable in the long run, but it plays quite well as of now. I don't foresee any problems. The neck is finished on both sides with Minwax rattle-can polyurethane.
Apart from being the mash-up to end all mash-ups, this build-off was also intended to be a low-cost testbed for a number of things that are new to me. These include:
- custom piezo bridge with phenolic saddle
- phosphor bronze strings
- Radiata pine neck
- neck cut along edge of blank, not center
- yellow brass frets & side markers
- hammered paint
- active bass booster
- hidden controls
Some other notable features include:
- body laminated from rare exotic plywoods and masonite
- cowbell cutaways for high fret access
- strap button 'feet'
- rosewood marker dots
- removable reversible spoke nut truss rod
- walnut neck stripe
- cowbell logo waterslide decal
Of course, I knew that the cowbell body would work, there was never any doubt about that. Cows have been testing and refining this shape for centuries, and it is pretty much honed to perfection.
So much of this was test articles, scrap, supplies, and parts leftover from other projects, it's hard to estimate a cost. Things that I went out-of-pocket specifically for this build include:
- strings - $11
- tuners - $10 import cheapies
- neck - $7 pine
- spraypaint - $9
- polyurethane - $5
The truss rod cost about $12 to build, including the spoke nut. Part of the wood was free, the rest is small pieces of large sheets. Nothing else would be more than a dollar or two, so this build is well under $100.
There was a good deal of fussing and fitting and re-wiring that went into this build, as so much of it is experimental. Next time I want to do a mash-up, I think I'll just stick Fender horns on a Gibson body. Or maybe cow horns !!!


