Cowbell Bass Guitar (5/8)
Dec 29, 2018

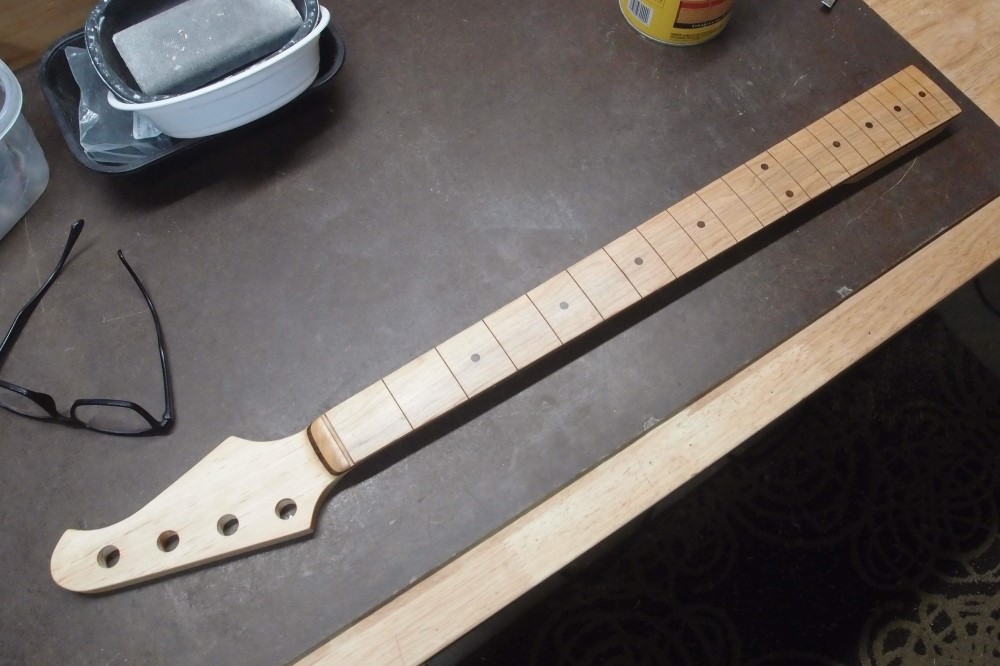
A little more work before bedtime: I'm going to use the cheap yellow fretwire, so I put in matching yellow brass side markers. Then I sanded down the fretboard and applied a coat of natural stain overall, to see how it will look. I really like the walnut stripe and the way it wraps around the end of the fretboard. This is the last of my old practice boards that I fixed this way. I may have to make some new "mistakes".
I did some final contouring on the headstock as well. I really like this shape - it is nicely compact, Fender-y, but not. At this point it is an original; I think I'll make a template of it.
The walnut stripe gives a bound look and makes it super easy to get the side markers aligned. To make one of these deliberately, start out with two pieces 1/8" thick, or 3/16" and 1/16". Clamp them tightly between two thick pieces when gluing. You could even use a piece of veneer under a 1/4" fretboard for a super-thin stripe. Binding without all the hassle of binding.
That is my philosophy - simple, easy, and economical, but good.
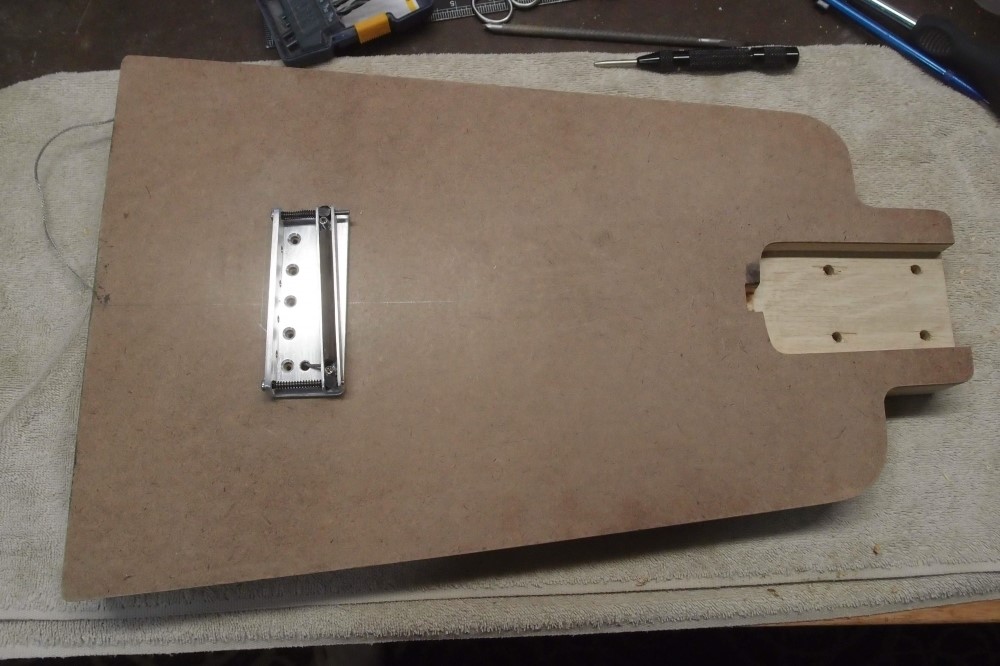
I finished the neck mounting, which let me lay out the bridge. For the neck screws, I laid a plate inside the neck pocket and traced the holes. Then I used a small bit in the drill press to go through to the other side, where I made wells for bushings. Today I clamped the neck into the pocket, lined it up, and drilled through from the other side with a small bit. Finally, I enlarged all the holes and deepened the bushing wells so that everything is flush.
The bridge is drilled for a standard Fender 5-hole mounting so that I could swap it onto another guitar to test it. I never did that, instead, I am building this. The hole for the wires is drilled at a 45-degree angle between the screws. You can see plenty of wire hanging out the end of the body.
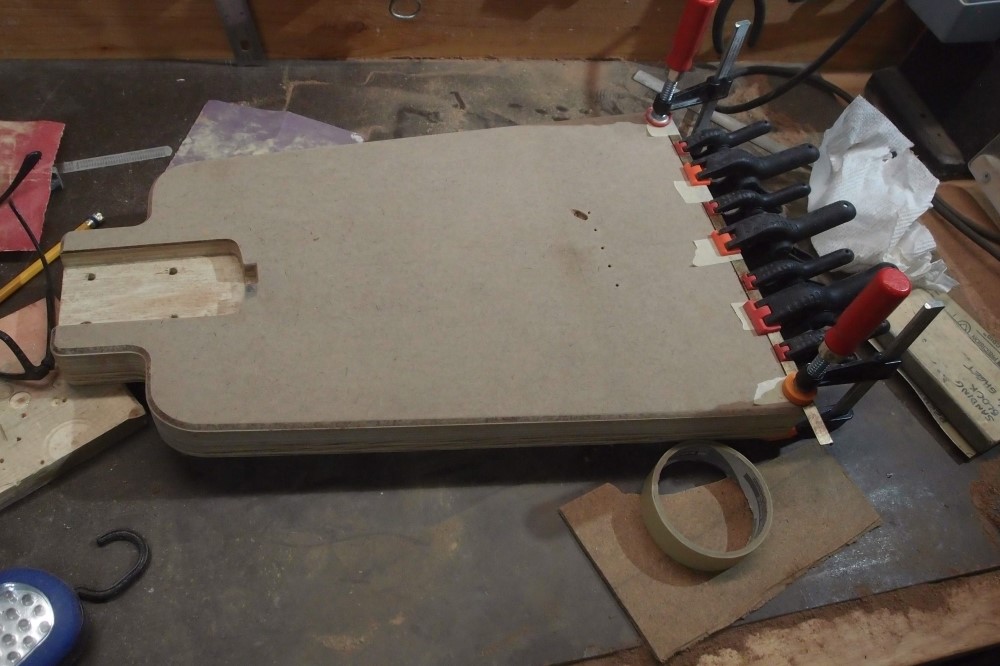
Gotta love that book matched curly masonite.
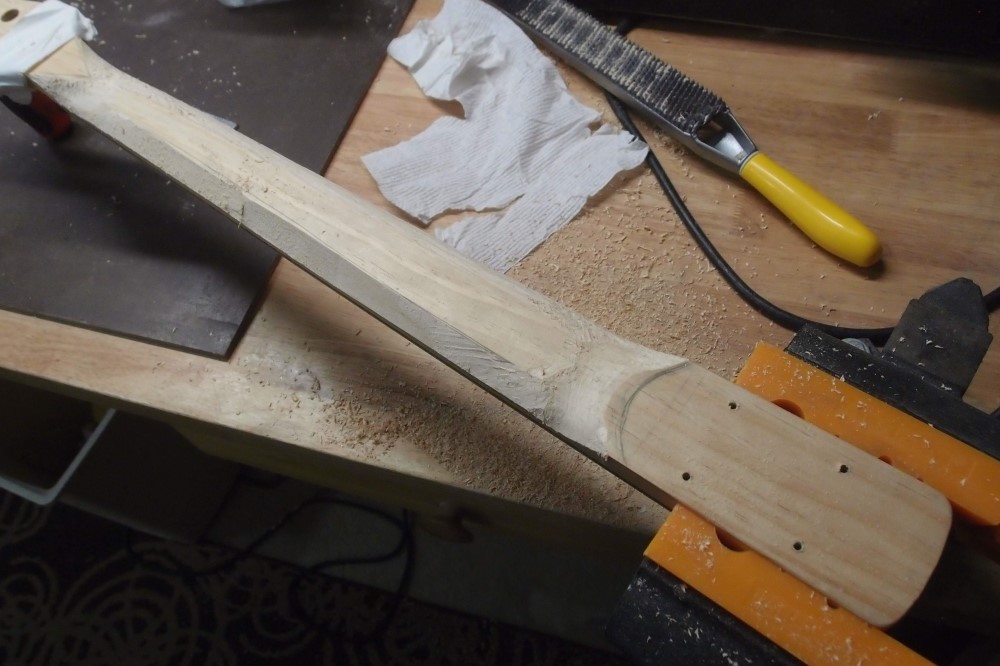
Surforming the neck. The pine works nicely. I filed the entire right side here and got tired, so I sawed off the corner on the left side. The same routine as before, I did the transitions first with the round blade, then cut between them with the straight one. What I said before about Japanese files goes double. They do as much harm as good. A good old American half-round is nearly as fast and doesn't accidentally make deep cuts and gouges.
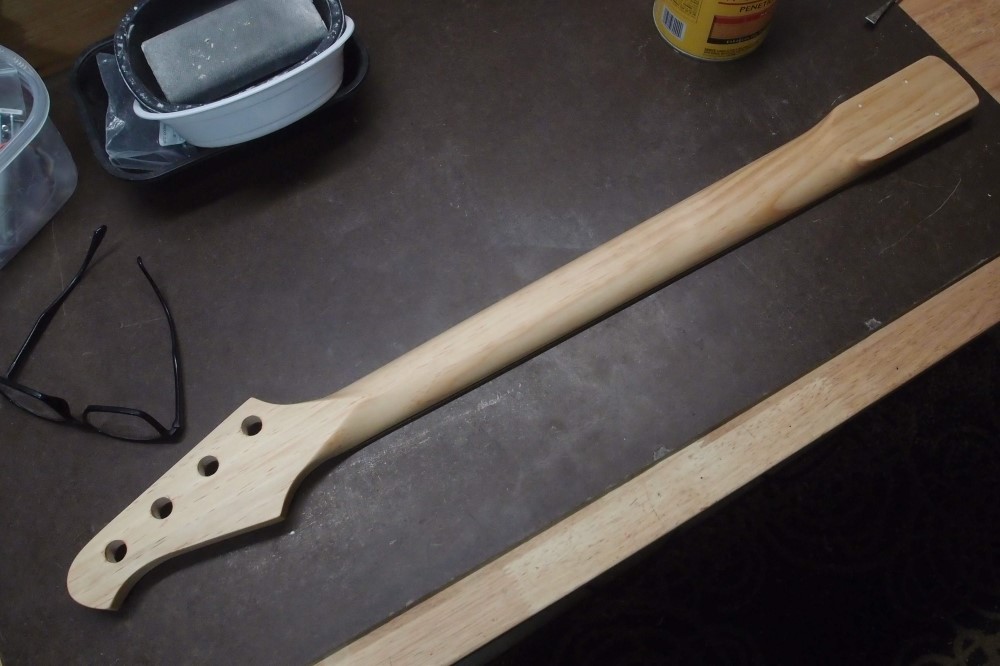
Not a bad bit of whittling. All sanded down and re-stained.
I did a bit more contouring around the nut, so the strings will clear the wood on their way to the tuners. Right now, this piece weighs an incredible 6.3 ounces!
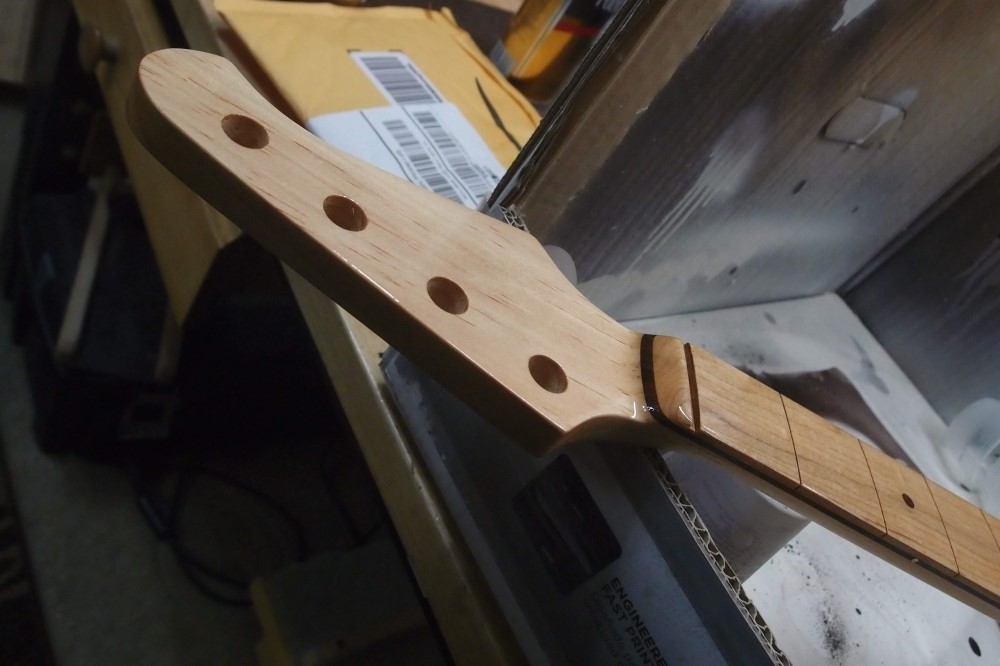
A quick coat of poly before I go to bed, so it can dry overnight. This is a base coat for both the fretboard and the headstock, which will get a decal once I decide what to call this thing. I also shot the Mosrite headstock for a decal. This is a good detail shot of the transition from the nut down to the tuners, which I think came out very nice. Together with what is becoming my trademark pointy volute on the back, this should be plenty strong.
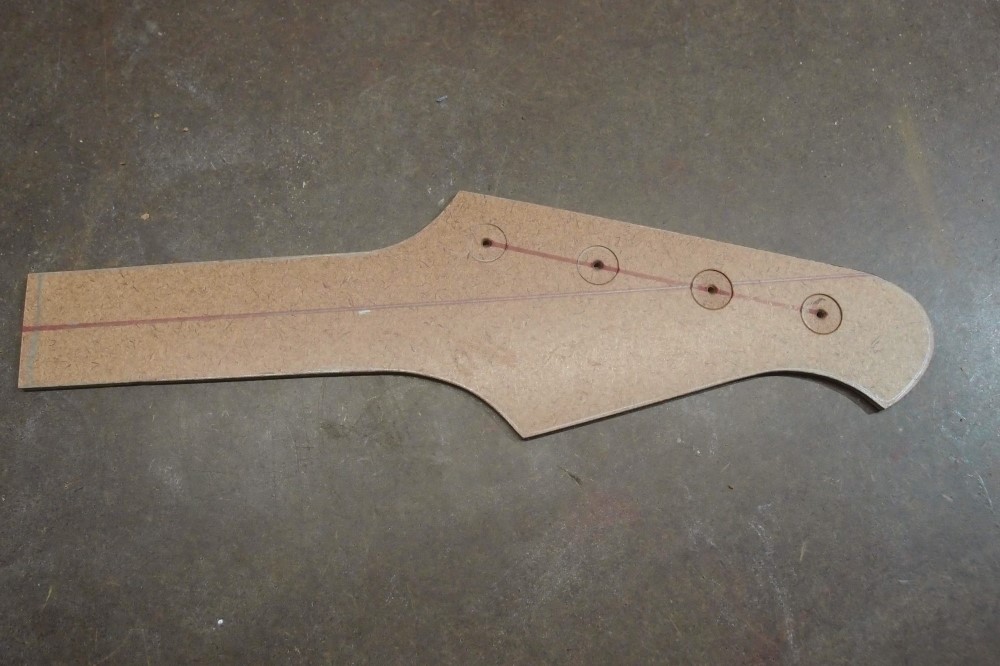
Before I forget, a few minutes work to save this useful shape for future lootherizations.
Dec 30, 2018
Ughh !!! Cough, Cough !!! Got a nice bevel routed all around the edge, but what a mess !!! I need a shower, it's all over me. That's why I much prefer the sander to the router - the sander has reasonably effective dust collection, the router blows it all over the place. The sander also won't pull chunks out of your workpiece, the router loves to do that, usually as you are turning the corner on the grain.
I cut the bevel a little bit into the wood. When I sand the overspray off the edges to glue the binding on, it should come out perfect. I'm also applying some "binding" to the lower edge, to reinforce it. Now I need to figure out how to adapt this thing to my painting stand.
Psycho-Billy Bass

One day I devised myself a plan
That should be the envy of most any man ...
Now, up to now my plan went all right
'Til we tried to put it all together one night
And that's when we noticed that something was definitely wrong ...
... when we tried to put in the bolts all the holes were gone.
So we drilled it out so that it would fit
And with a little bit of help with an A-dapter kit ...
I'd get it one piece at a time
And it wouldn't cost me a dime
You'll know it's me when I come through your town
I'm gonna ride around in style
I'm gonna drive everybody wild
'Cause I'll have the only one there is around.


