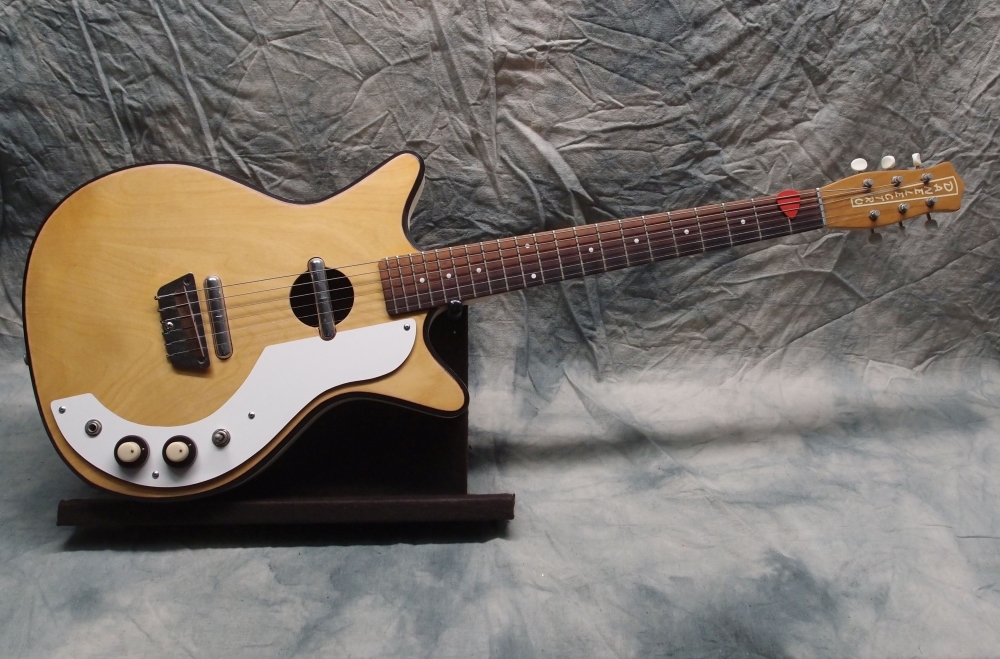
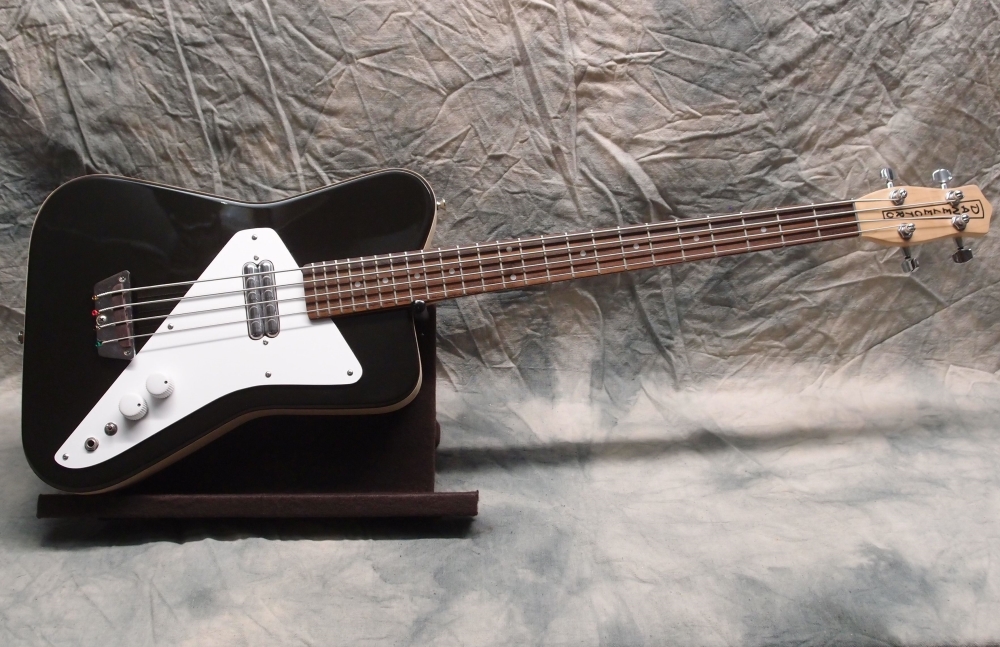
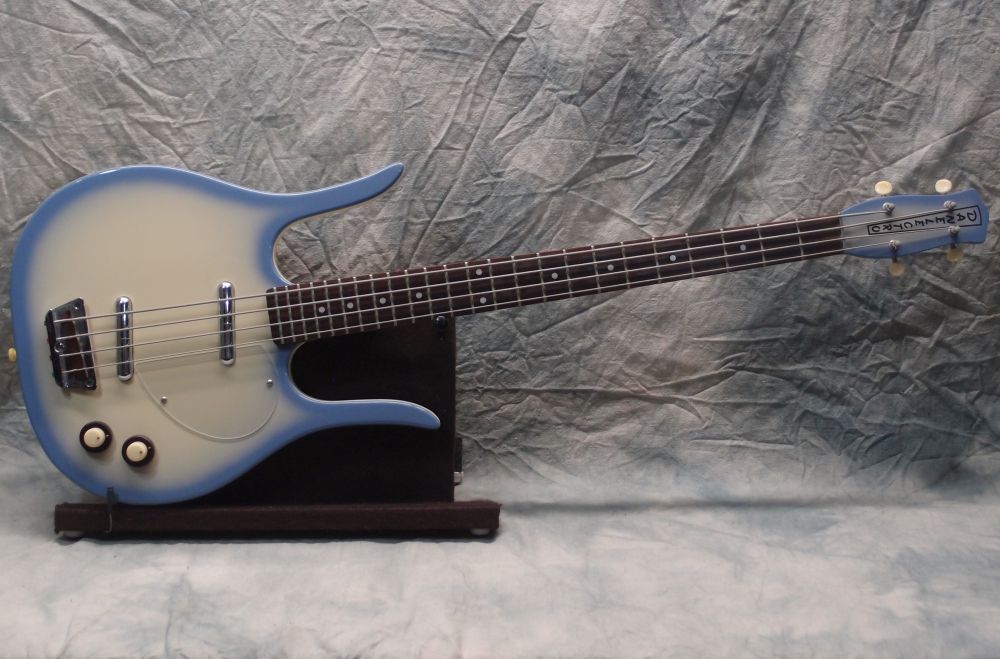
Cowbell Bass Guitar (2/8)
Dec 24, 2018
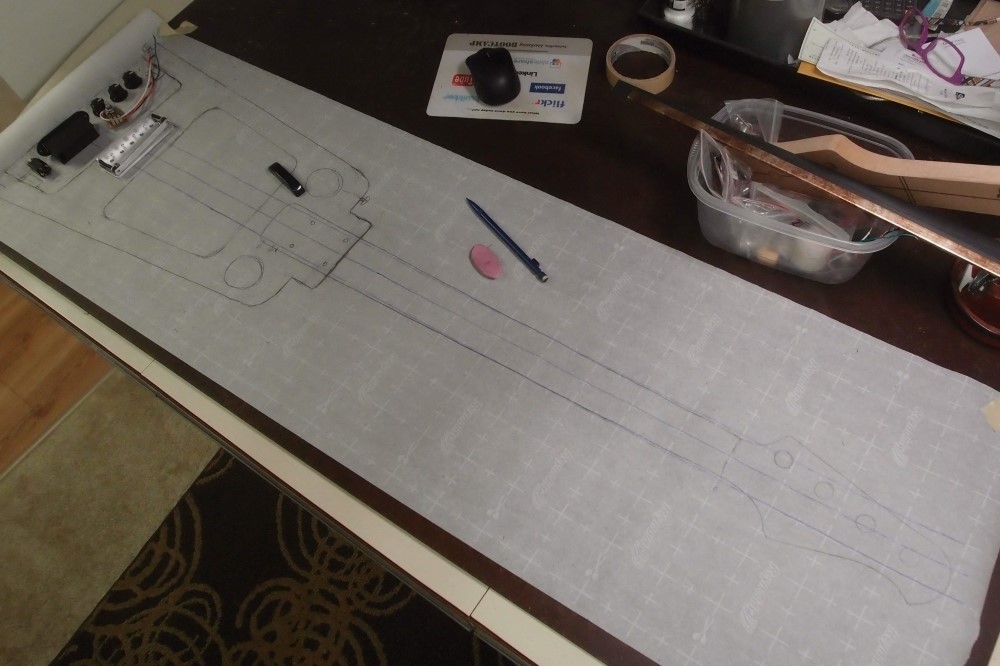
Drawing last night, cutting wood today. Using whatever tool gets the job done fastest - drill press, jig saw, band saw, scroll saw, hand saw.
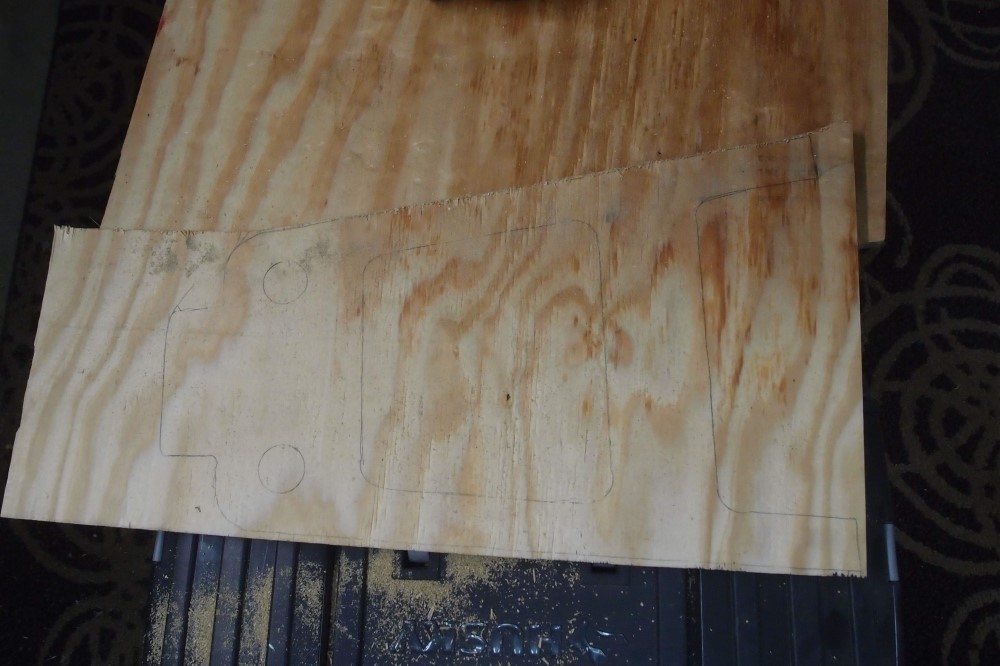
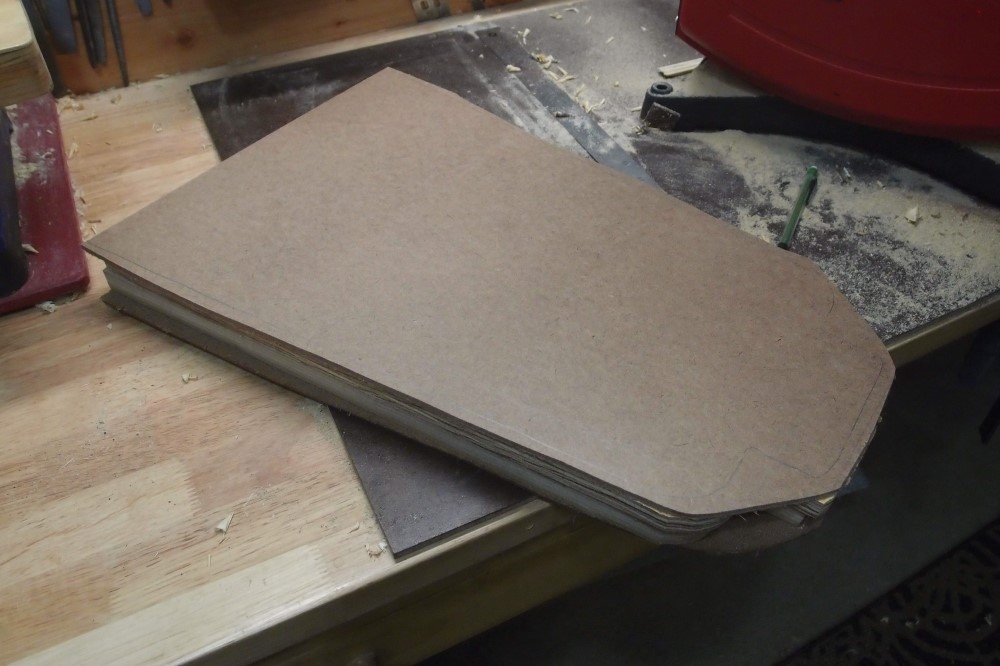
Body stack: 1/8" masonite - 19/32" plywood - 3/4" plywood - 1/8" masonite.
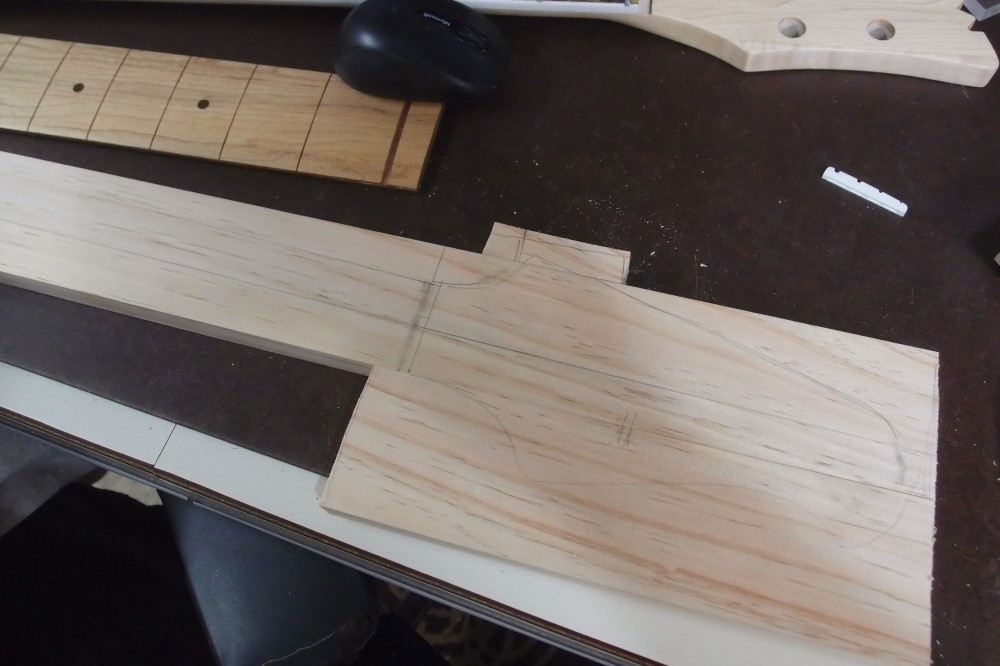
Laying out the headstock. Pine sure is pretty.
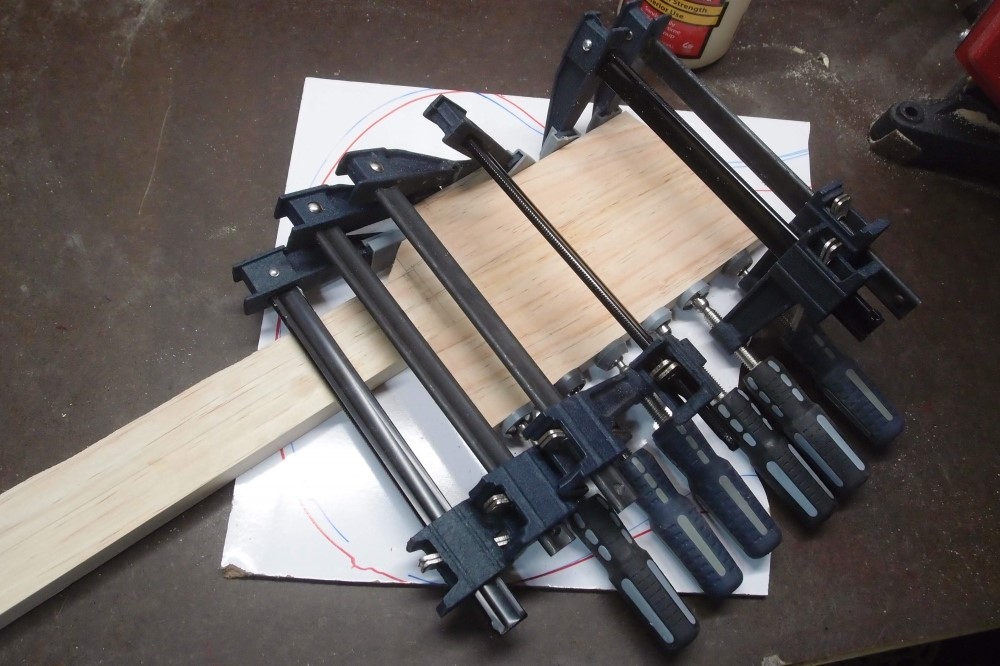
Using my last piece of too-thick Home Depot Dry erase board for a gluing surface. Nothing sticks to it - what could be better? Stuck waiting for glue to dry now, so break time and some clean up.
Trying something different - laid out the neck along one side of the board, so I only have to cut the other side. That makes the grain crooked, you say? I think I probably straightened it. I looked at the board beforehand and decided which way it should lie, which is probably a whole lot more attention than the lumber mill ever gave it. They cut to maximize yield.
I was hoping I'd get the little tab at the top of the headstock for free this way, but I ended up having to glue a small piece on there. I used up pretty much an entire 48" piece of wood. The fretboard is going to be one of my earliest prototypes - maple over walnut, 32", 22 frets. As much as possible, this build is going to be old parts and bulk materials, cheap and fast. But it's going to be very cool when it's done, if everything works.
Gluing the body frames together and set it aside.
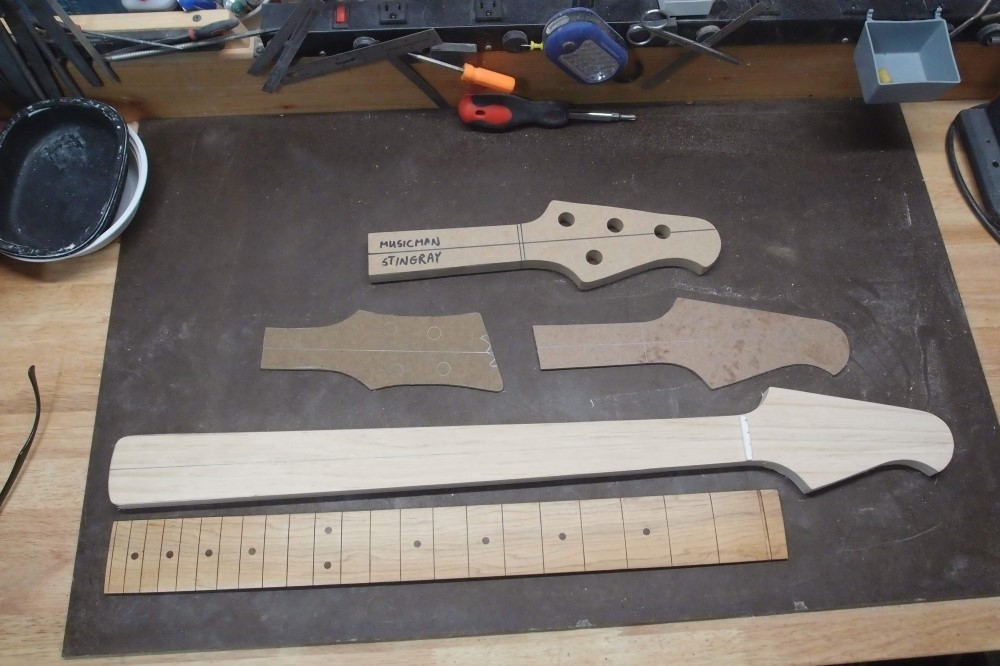
The neck is looking good; banged out a couple of tracing templates while I was at it.
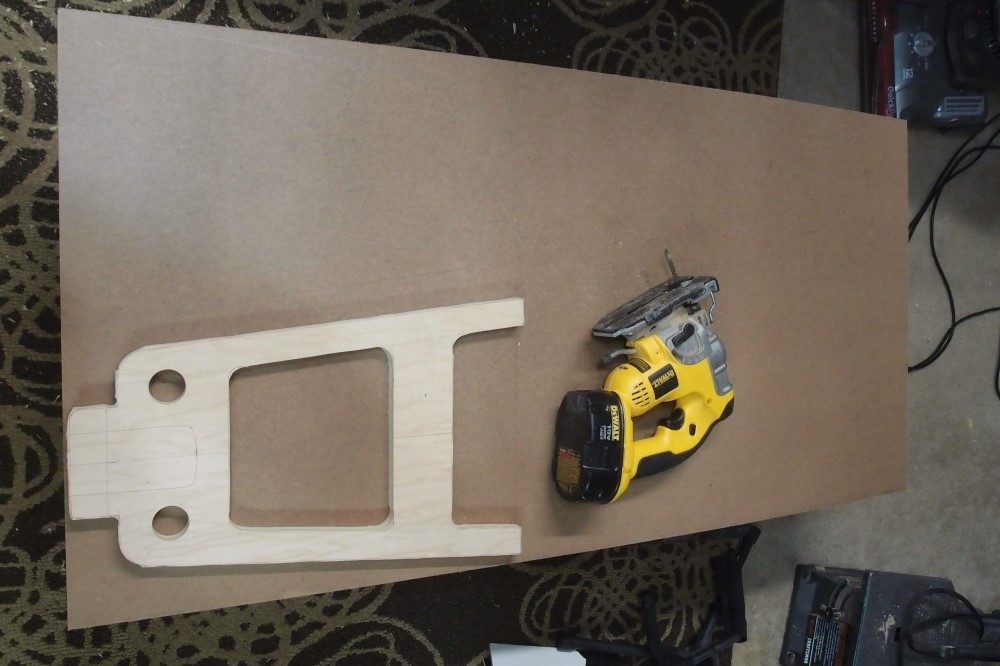
Then I hit a snag. Tried sanding down the frame on the bench sander, and it pulled some pieces out of the 5/8" plywood. This is just construction-grade stuff, needed for its thickness. I just glued them back in, but now I have to wait. I could work on the neck some more, but I figure this is Jatoba's way of telling me to take a break. The bench sander is not the right tool for this anyway, the spindle sander is the way to go.
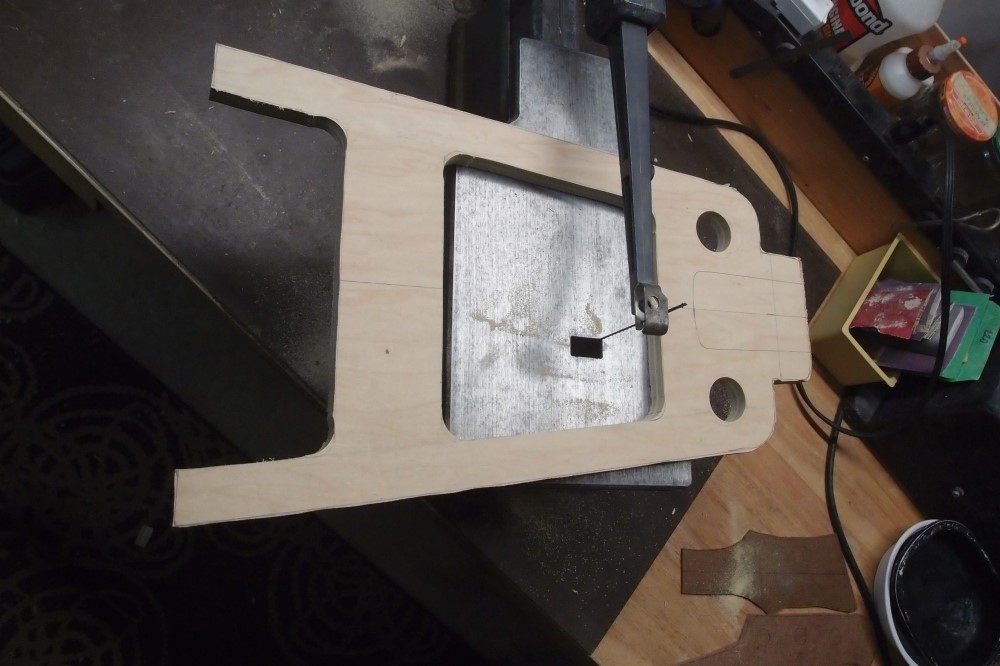
Got some more done. Here is the body frame sanded in to the lines. I did this mostly on the belt/spindle sander. The tight inside corners were drilled with a 1/2" forstner bit, then the shoulders were sanded in to the corners on the bench sander. Don't go tighter than a 1/2" diameter or 1/4" radius. Otherwise, you'll have too tight a corner for the router to follow.
Don't bother sanding the interior contours, they will never see the light of day again.
The steps to get to this point are:
Cut the first frame piece fairly tight to the lines. Trace the second frame piece off the first one, but cut looser, so that it will easily cover the first piece all around. Sloppy work is actually better at this point.
Glue and clamp the two frame pieces, making sure the first one is entirely inside the second one. A thin coat of glue on both surfaces is better than a thick coat on just one. I use an acid brush to paint the glue on. Since the plywood is fairly stiff, you don't need that many clamps at this stage. Don't cover up your guide lines !!!
When the glue is set, sand the frame in to the final shape, which you marked on the first piece. This will be the final body outline and serve as the template for the faces. No sander is perfectly perpendicular. When you get close to done sanding, start flipping the piece and sanding from both sides, to even out any crookedness.
Loothier tip: adjust the belt to the edge of the platen on the bench sander, and you can sand a lot of inside curves and tight corners.
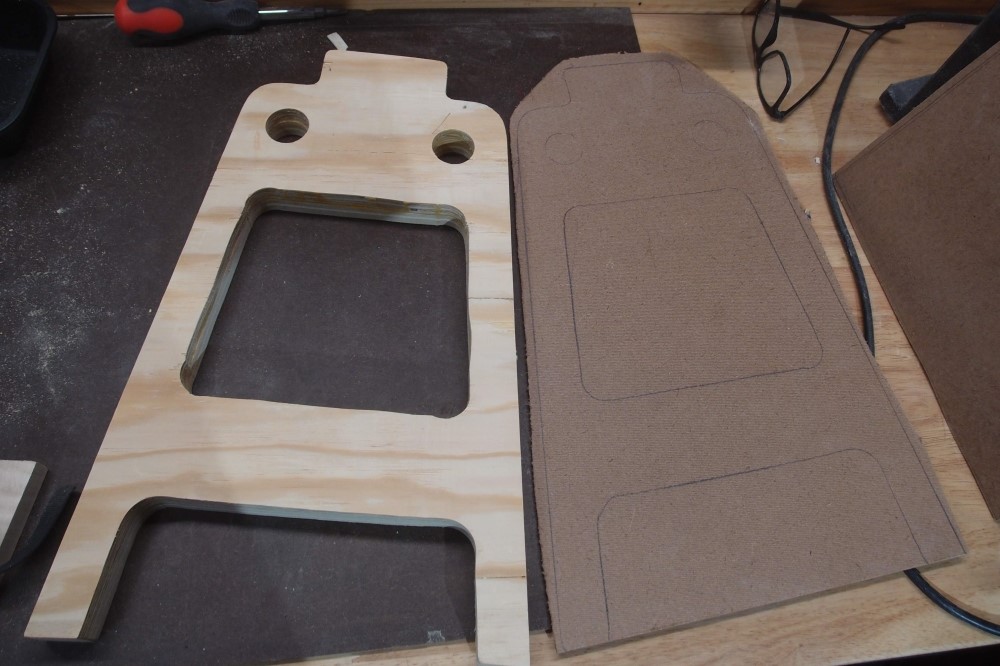
Trace the frame onto the masonite and cut that very loosely around the lines. As before, you want the masonite to cover the frame all around. Remember to make a front and a back, not two fronts. Don't laugh. Fortunately, masonite is cheap and mistakes are easily recovered. ( I didn't make two fronts. Not this time. )
Paint both the frame and the face with glue. The rough masonite side will take a lot of glue. I like to press the pieces together by hand, squish them around, then pull them apart and add more glue wherever it looks dry.
In this case, I am going to glue both faces on at once. Sometimes, you'll want to glue the front or the back on first, do some operations, and then glue the second face on, for example, if you are using an island bridge block.
When designing one of these bodies, don't go for overly lightweight. A body like this is never going to be very heavy. As you have plenty of latitude with the interior, try to bias the weight towards the rear. That is why the bridge support is much bigger than it needs to be. You can even see where I drilled out the shoulders.
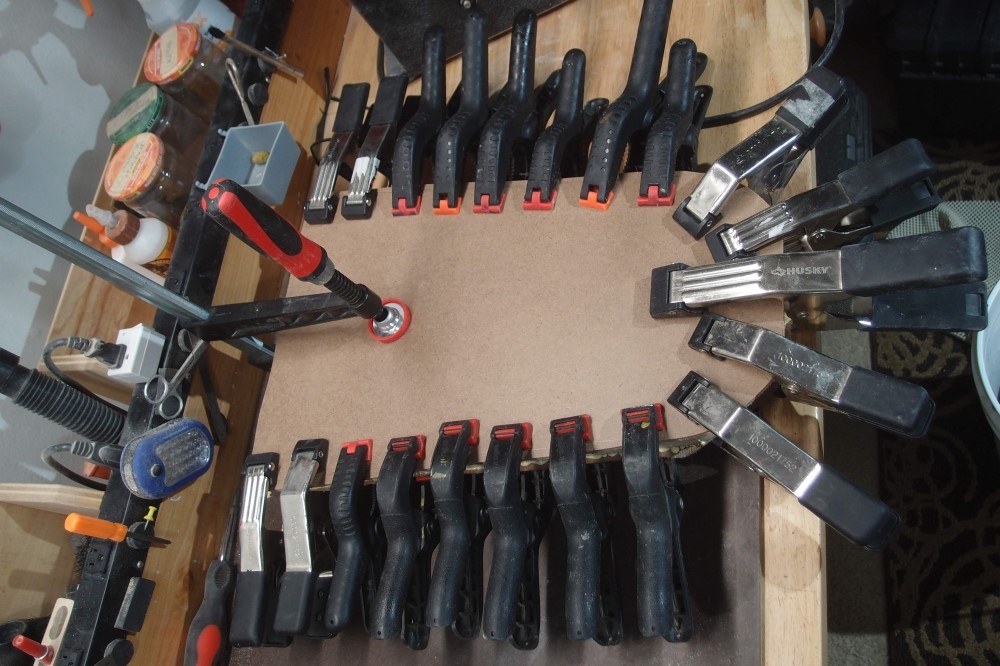
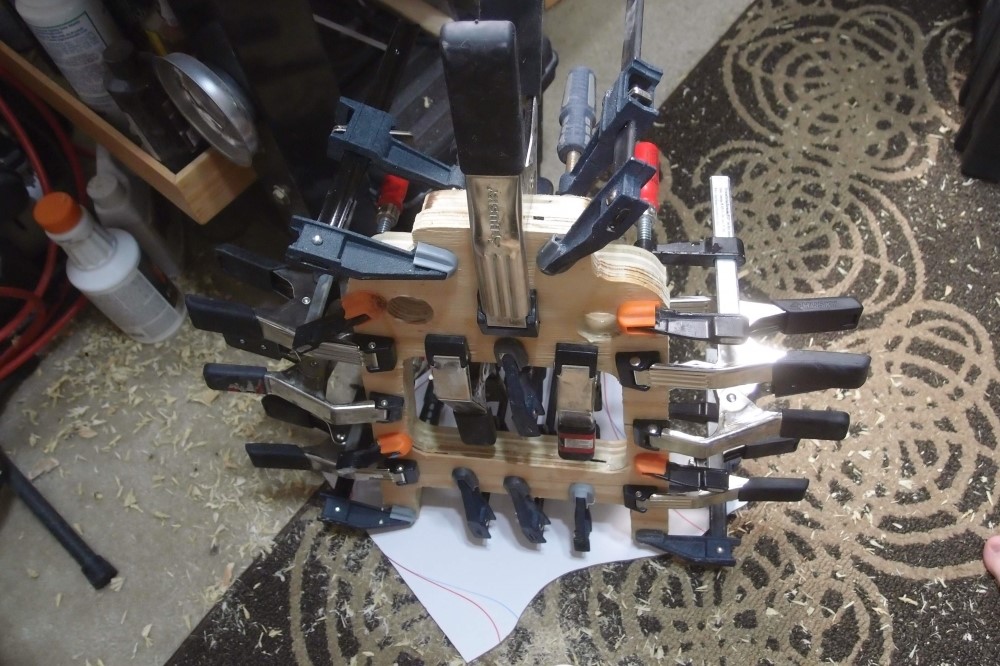
For this stage, you cannot use too many clamps. Thin masonite is flexible, and you need to clamp the entire perimeter to get a good tight joint. The two big clamps are on the bridge and neck locations, you want those to be tight. You could also use fewer clamps and stiff cauls over the masonite, but you'll be juggling even more pieces then.
Plastic clamps are cheap and do the job, but they tend to break as they get old, especially in the cold. Unless you like shrapnel whizzing past your face, the metal clamps are a good investment. All of these clamps have soft flat hinged pads which will not make impressions on the wood like the cheap rubber-coated ones. I like spring clamps for this stage, they're easier to put on and off, and you can't over-tighten them.
This is the best and easiest way I have found to build one of these bodies. Every time I add another piece to the construction, I avoid having to make it or glue it with any great precision. If you cut each piece exactly, you'll have a lot of fun trying to line everything up when you glue everything together. You'll probably have to sand inside your lines and end up with an undersized final product.
I'll let this dry overnight.