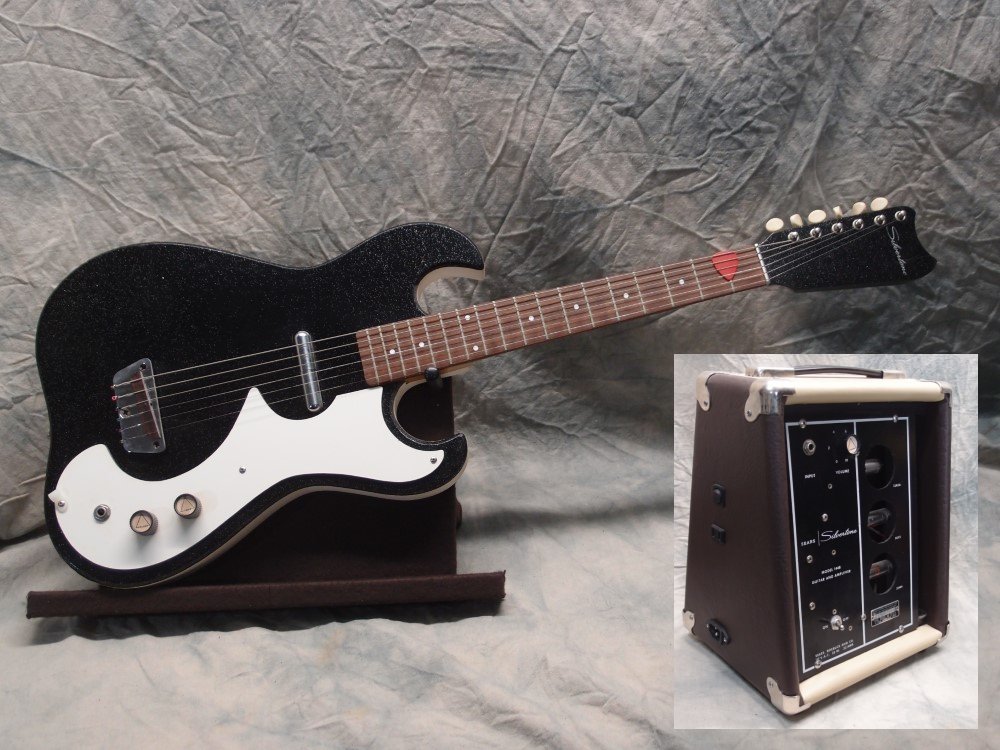
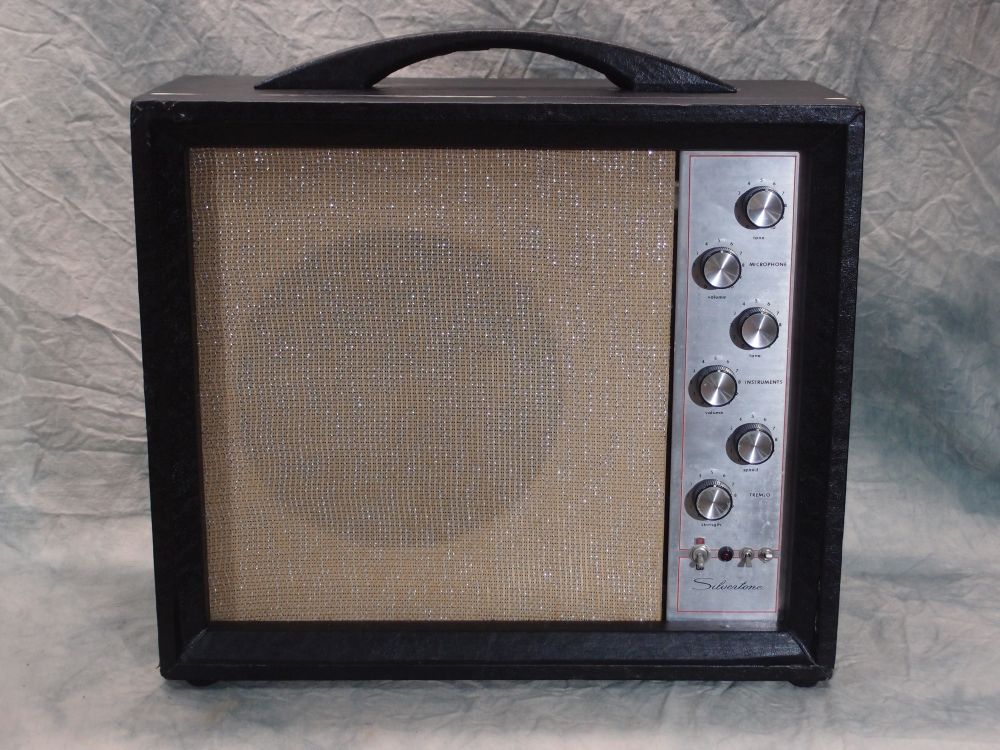
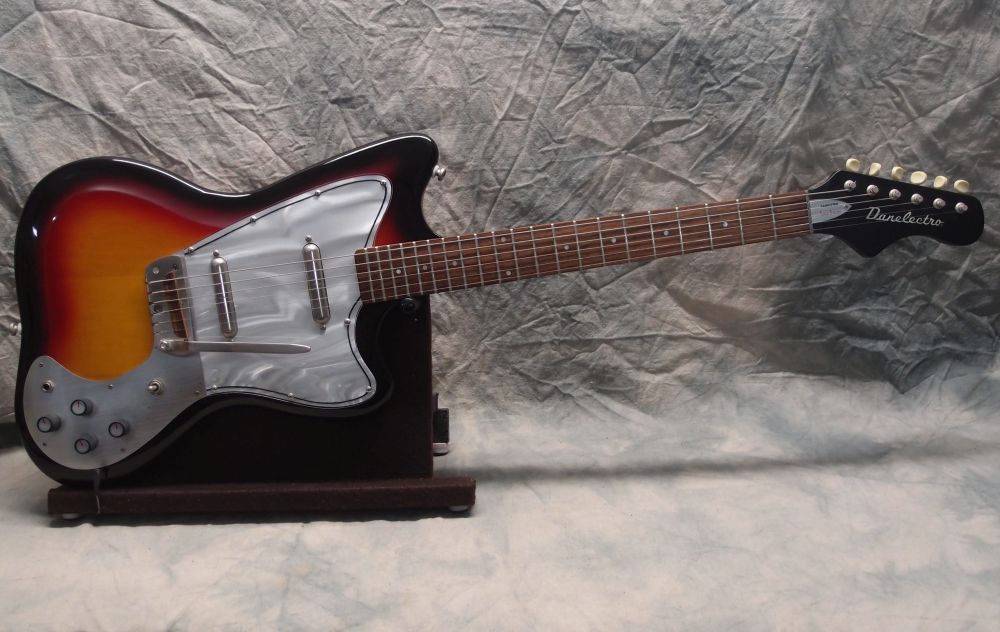
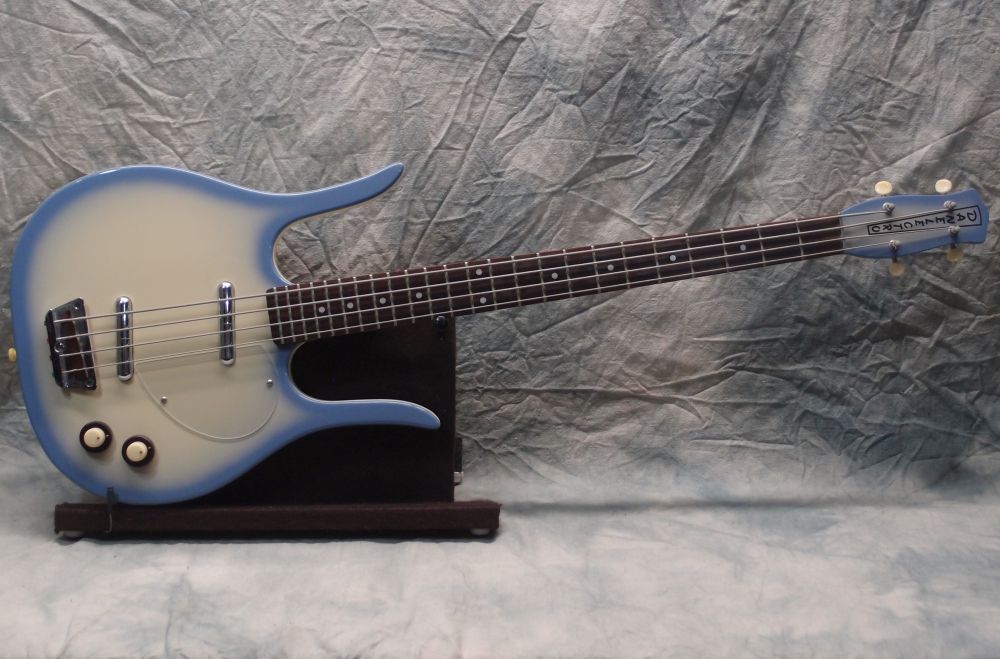
Silvertone 1448 Guitar & Amp (2/3)
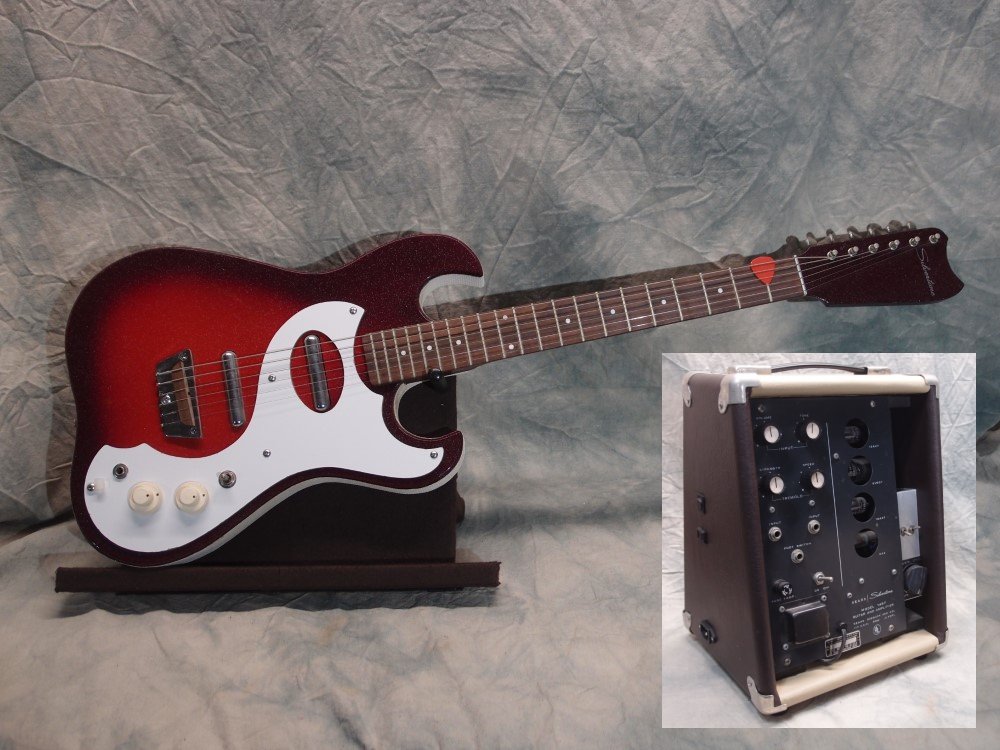
While this guitar is in rather good condition for its age, the same could not be said for the case. So I removed the amplifier and built a new enclosure for it.
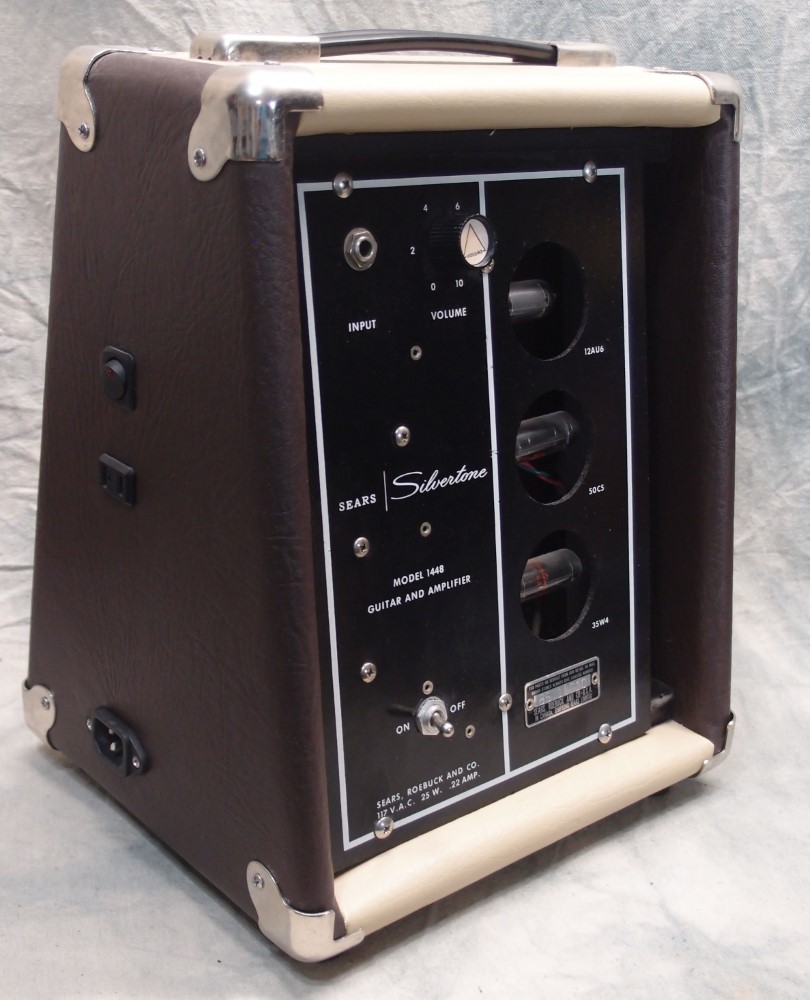
This is an interesting little amplifier. The circuit is basically a 1930s table radio. A peculiarity of the design is that it is a "floating ground", or rather, that it really has no proper ground. Instead, the user is protected from harm by an insulated case and plastic knobs. The front panel of this amp is, appropriately enough, masonite, for insulation. All well and good - for a table radio. Not so good for a guitar amp. If anything goes wrong in the amp, you could get high voltage on the guitar cord, and not just wall voltage (120v), parts of a tube amp can be at 300-400 volts. Those funny stories from the sixties about guitarists getting shocked - not so funny.
Tubes generate a lot of heat, and need ventilation for cooling. That is why I left a big gap at the right side of the enclosure. This amplifier is in amazingly good condition for its age, I don't think it was used much. It puts out about 3 watts. The standalone version of this amp was the 1430, which included a tone control.
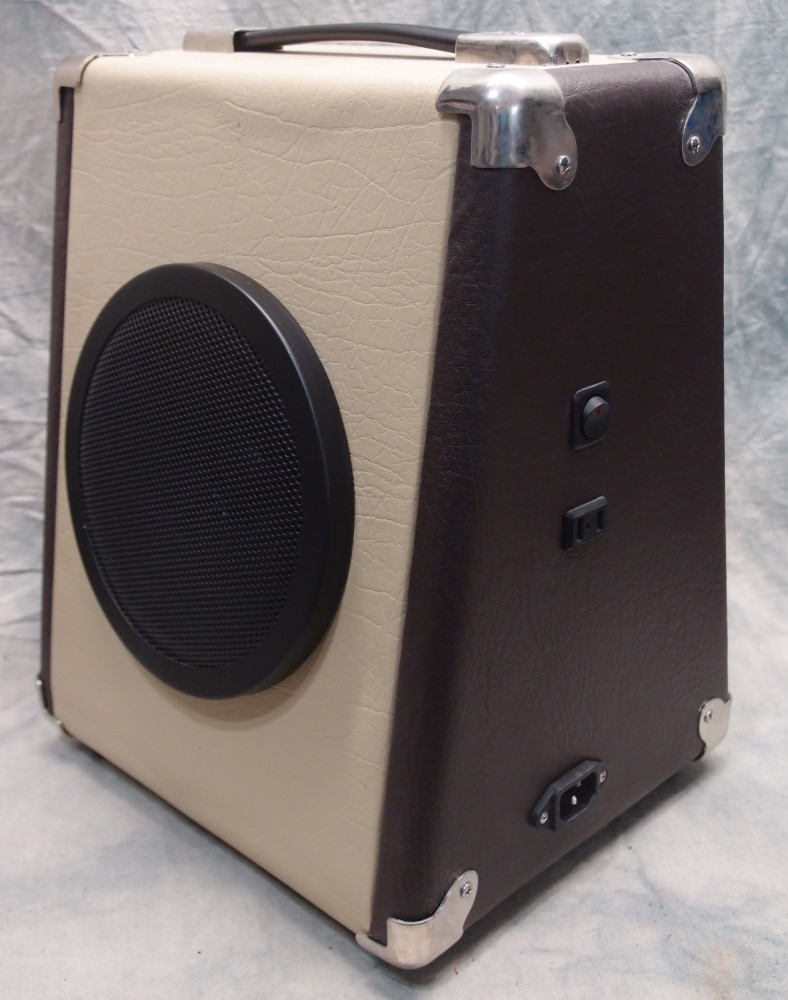
You'll notice that my cabinet has a modern three-prong power jack. There's nothing you can connect the third prong to, but it does assure that the hot and neutral are connected properly, assuming your building is wired right. I tested my whole house, and found one outlet that was backwards - electricians make mistakes too! At one point I actually tried to ground the chassis of this amp, and just ended up blowing it instead. Fortunately, it was an easy repair. The repair was easy because I had just done a complete "re-cap" on the amp, and had extra parts on hand, and the burned-out ones were pretty obvious.
An old amp like this is 'point-to-point' wired, with discrete components soldered to metal posts. I replaced all of the 50-year-old capacitors, which were shot. Capacitors don't last forever. I also replaced some of the resistors, which can 'drift' over time. Back in the sixties, power supplies used special parts that had three capacitors in a metal can. You can't get such a thing any more, so I rebuilt the power supply with equivalent discrete capacitors. Finally, I replaced the dry-rotted speaker with a similar model. The little amp sounds great, and looks pretty cool too.
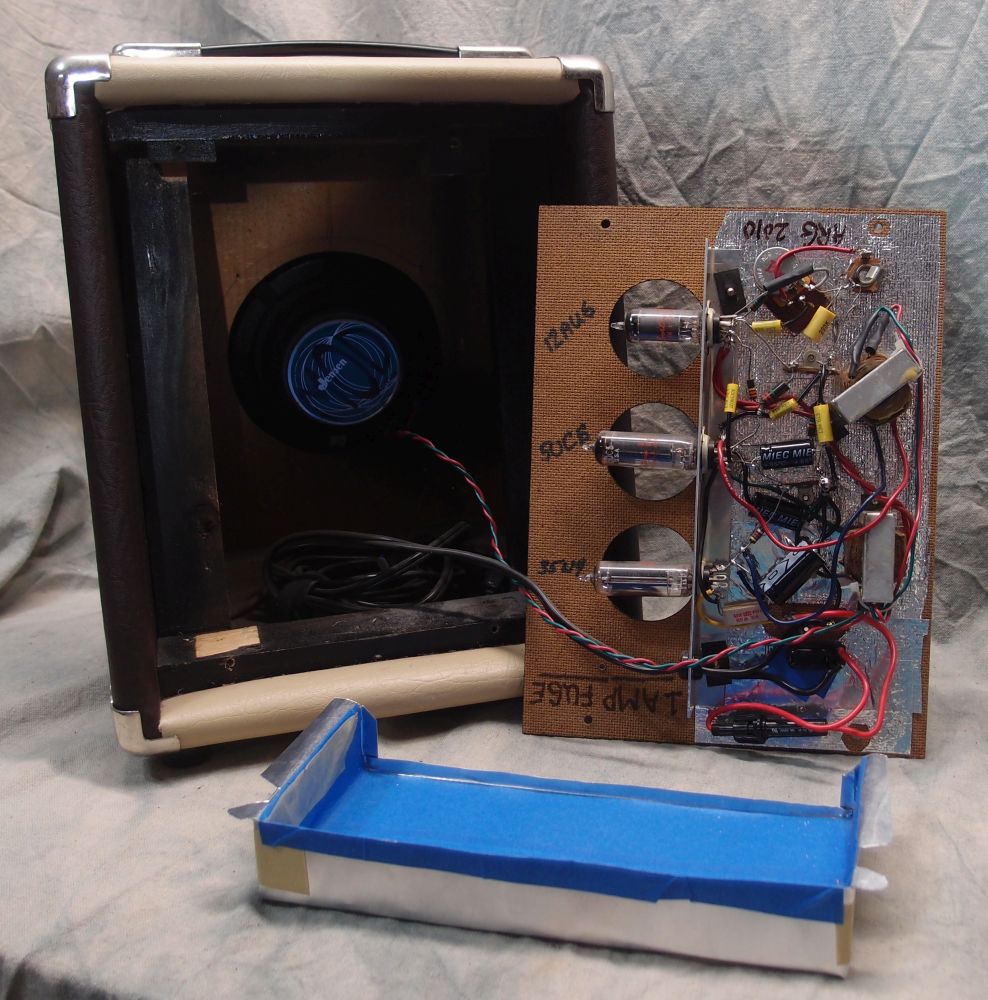
Don't critique my soldering. The yellow cylinders are paper-in-oil capacitors, the same type as the old ones. The power supply uses modern electrolytic capacitors. The white block near the power switch is a large resistor that I replaced, and I added a modern fuse holder in place of the hardwired fuse, which I blew up, as I mentioned above. The rest is original, and the speaker is the closest thing I could find to the original Jensen, and it's pretty close. I didn't even cut the old power cord. You can get all this stuff online, specialty houses even make the antique capacitors.
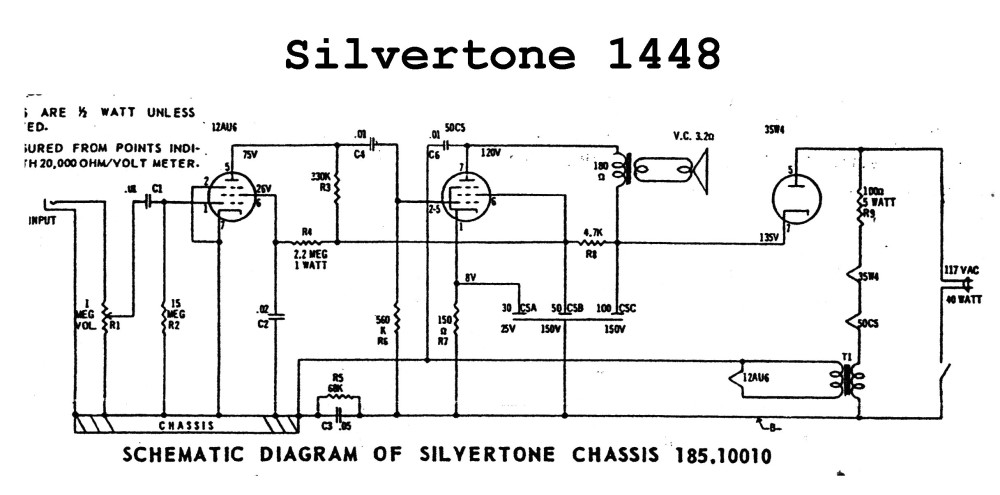
The power supply in this little amplifier is a single tube acting as a half-wave rectifier, producing intermittent DC for the other components. There is going to be noise. Better amps have noise filtering.
I think it is comical how some people go on about the sound of vintage equipment. Unless it has been completely rebuilt like this, it is shot and sounds nothing like it did decades ago. That's true for electronics, and it's even more true for speakers: cones dry-rot and magnets fade away. It is also true for old pickups with non-permanent magnets - they don't sound like they did when they left the factory. And given the quality of old recordings, do we really know what this equipment sounded like in the 1950s and 60s anyway? I'd say no. The whole 'vintage tone' thing is a scam. They should call it 'worn-out tone', but it would be hard to charge extra for that.


