Truss Rod Channel Jig
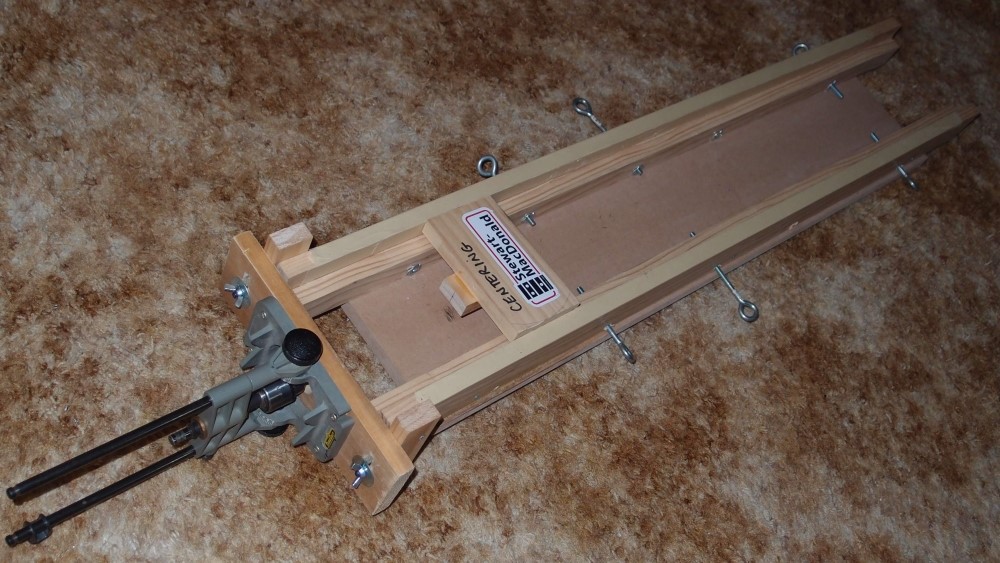
This is the jig as I first built it, with a drill guide attached to the end. That doesn't work very well. The jig is made from 1x2s, 1x3s, and MDF for the base, mostly scrap. The eye bolts are used to secure the workpiece. The new router plate makes the centering block obsolete. Yesterday I sank a dozen screws into the jig itself to stiffen it, re-glued the rails, and semi-permanently mounted the pine spacer under the neck.
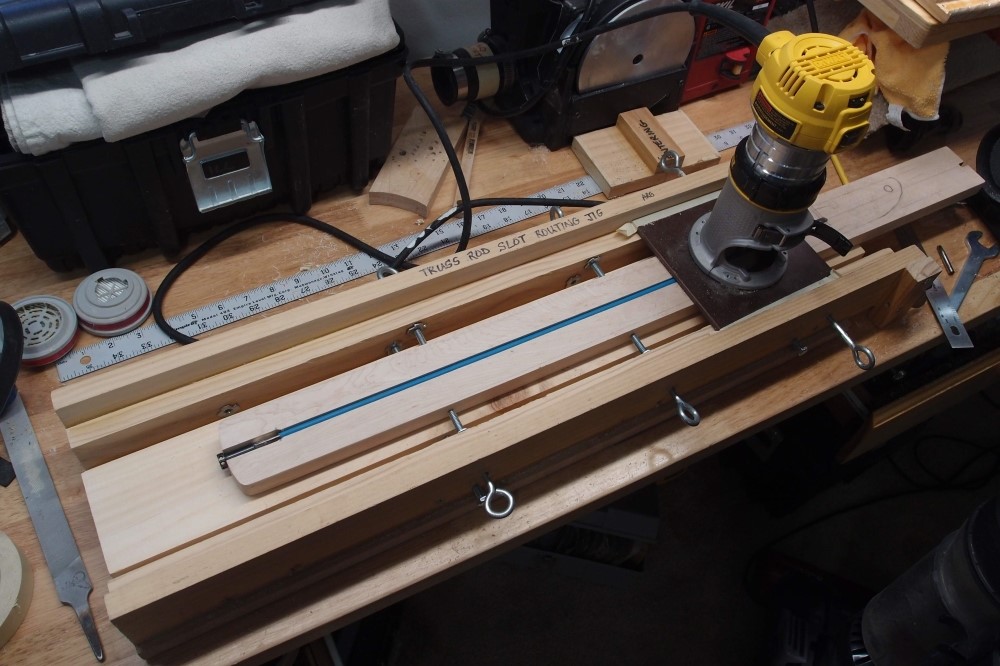
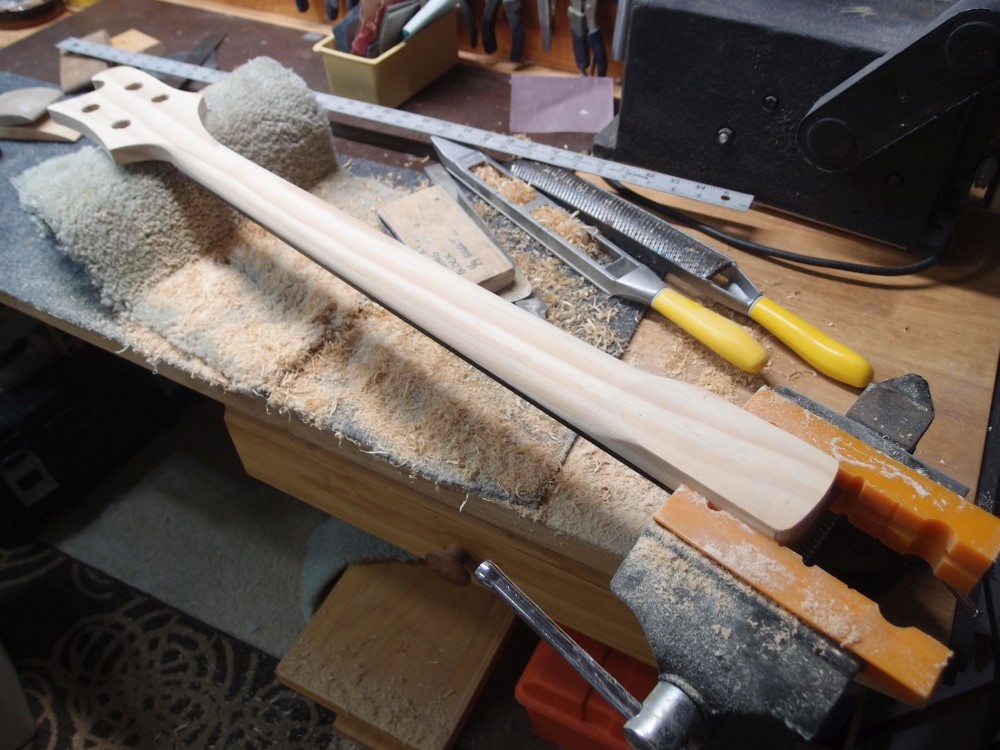
The neck blank is mounted in my truss rod slot routing jig. This jig fixes the blank in place and constrains the router to move in a straight line. Just mark your endpoints, and dig out the channel to the necessary depth in several passes. This jig has evolved since I first made it. The router now rides on the face of the workpiece, rather than the rails. This is easier and more accurate.
You can see the phenolic adapter plate I made for the little router. Before I routed this neck, I opened up all the screw holes in the router plate so I could adjust it to dead center, and scribed center lines on all four sides. There is just a bit of play between the rails and the router plate, which is actually useful if you need to widen the channel just a hair. If you want to be perfectly accurate, hold the router against one rail; but that kind of accuracy is not needed.
This jig will only route a straight channel, it will not do a curved 'skunk stripe', but as I've already said, that is a horrible design, so why would you want to? This channel was routed with a 1/4" round-bottomed bit, with the end widened out with a 3/8" bit. You could also do that part with the 1/4" bit by adjusting the workpiece side-to-side. The result is a nice snug fit for the truss rod, which is a 3/16" rod covered with heat-shrink tubing. This channel will also work for many bought truss rods. If it comes out a little loose, wrap the rod in tape.
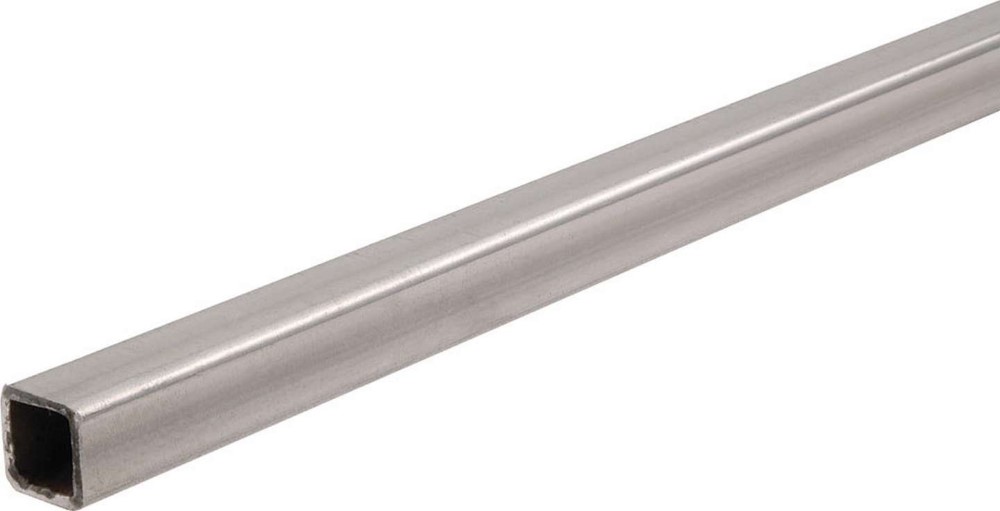
These straight channels are also good for fixed rods. There is enough room in the jig to angle the neck for a Danelectro-style A-frame of two 1/8"x1/2" steel bars. However, my favorite fixed rod is simply a 1/2" square steel tube down the center. All are readily available at Home Depot.
BTW, the idea that carbon fiber is stronger than steel is false. Carbon fiber is stronger on a weight basis, which makes it useful for airplanes. But on a volume basis, steel is stronger. So for two equal-sized reinforcing bars, one steel, one carbon, the steel bar will be about twice as stiff. Carbon fiber does beat aluminum both by weight and volume. However, on a cost basis, carbon fiber loses to both. The moral of the story is don't get sold a bill of goods, carbon fiber is not magic, a piece of steel from the hardware store might actually be better.
To install a fixed rod, degrease it and roughen it up with coarse sandpaper. Fill the channel with wood glue and push the rod in. Clamp the neck strongly side-to-side along its entire length, as the moisture in the glue will swell the wood and distort it. You could avoid the moisture issues by using CA or epoxy, but wood glue is strong enough and at hand, so I use it.
The nice thing about a fixed rod is that neck is never ever going to warp. It will be as straight 50 years from now as the day it was made, I have old Danelectros to prove it. That's a claim Gibson could never make. Fixed rods are fine for guitars, where the neck relief is near nothing, but I would not use one on a bass, you need the adjustability. Use a double-acting rod for a short-scale, single-acting is good enough for a long scale.




Questions or Inquiries?
Just want to say Hello? Sign the .