Templates (1/2)
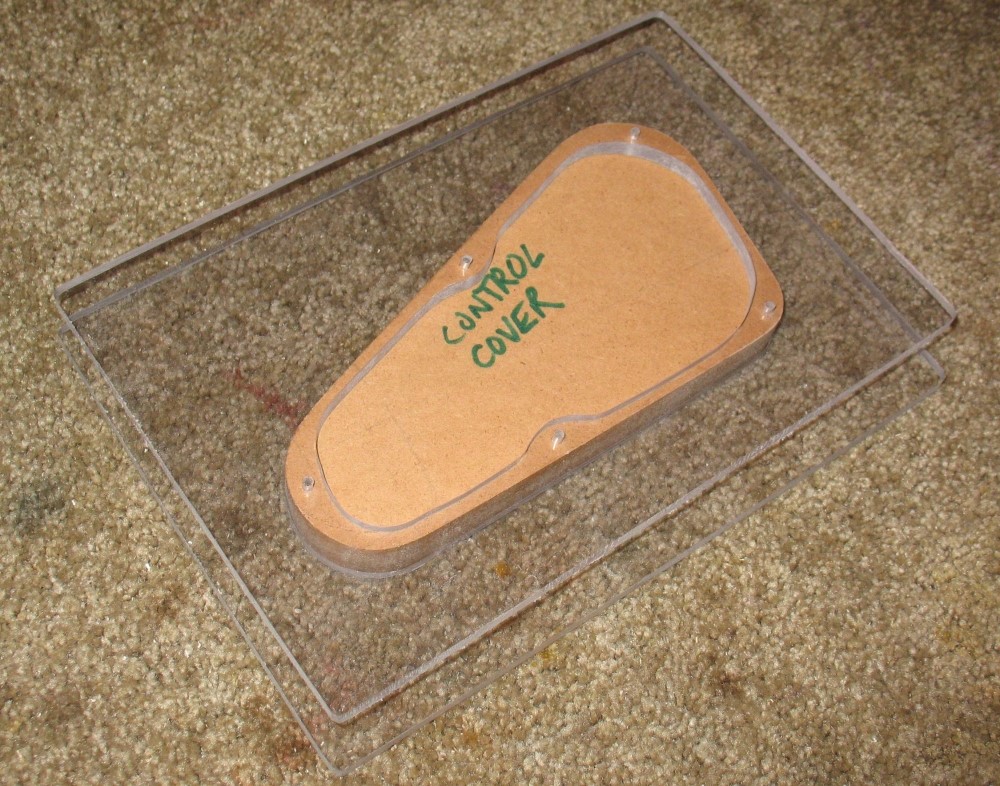
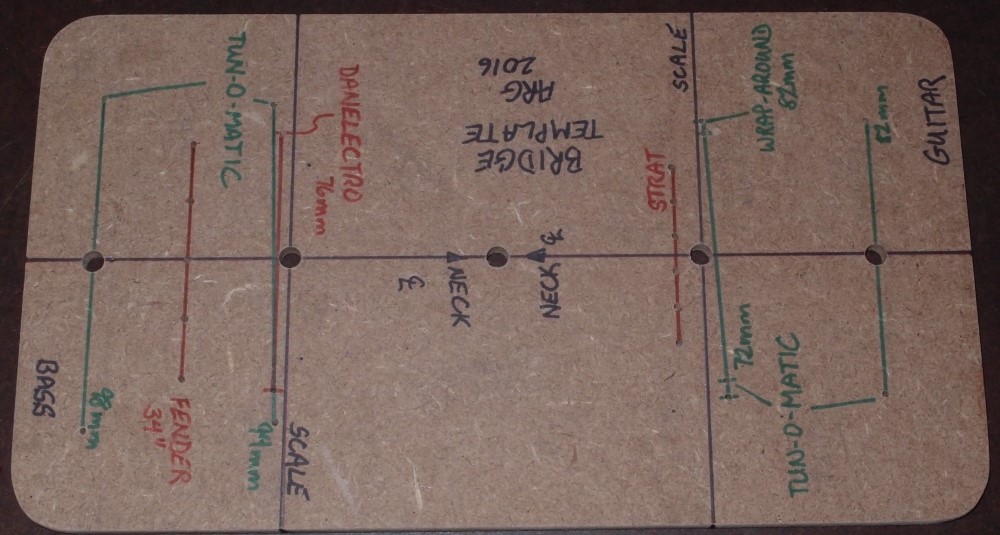
The control cavity templates were reverse-engineered from a Gibson-style guitar. They are cut from 1/4" polycarbonate, while the matching cover template is MDF. Again, inspired by StewMac's design. StewMac does not include the cover template, they expect you to buy their cover.
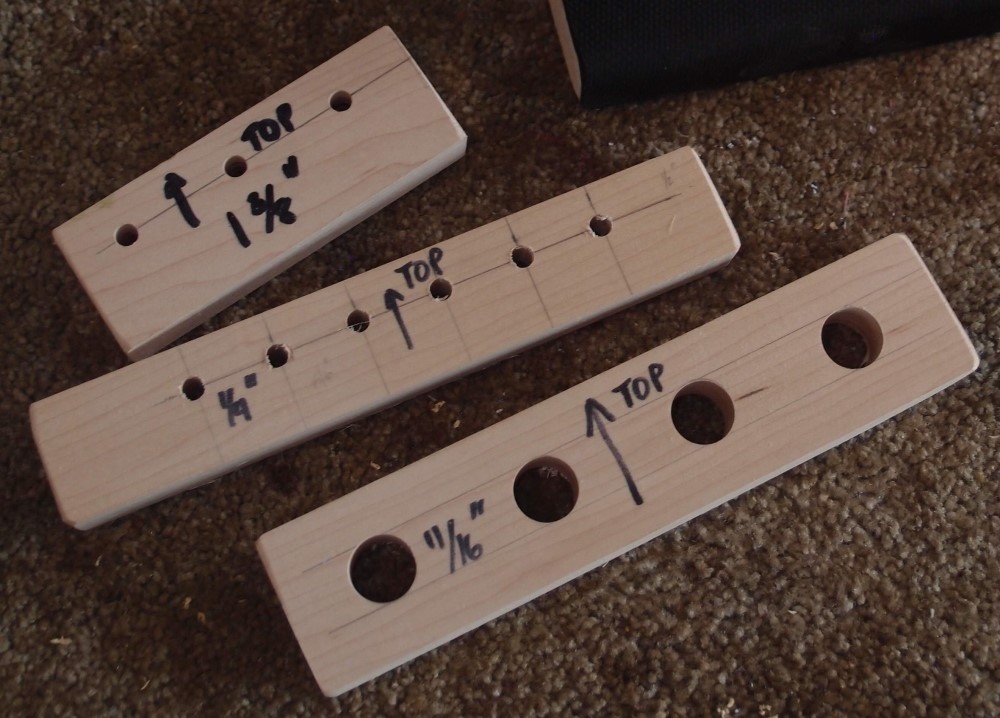
The real reason for making these simple templates is that if you screw up one of these, you just ruined a piece of scrap, no big deal. You didn't ruin a real neck. But once you get one of these right, you can use it to assure that you don't ruin a real neck.
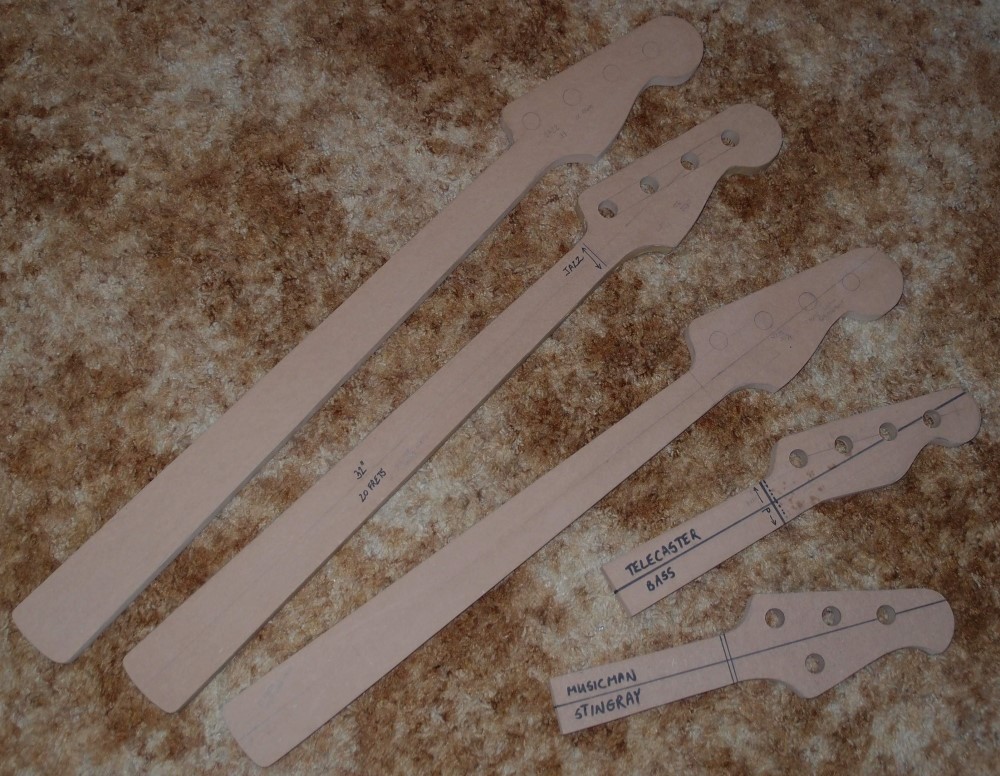
Here in the Northeast USA, Home Depot, Lowes, and others sell 3/4" hard maple that is entirely suitable for guitar and bass necks. Pick through the pile and select the best piece. I have found nice flames and birds-eyes at times - you never know. Home Depot will even cut you a custom length. Cap that with a 1/4" thick fingerboard to make a Fender-style bolt-on straight neck, or see below for angled headstock.
I also have an assortment of body, pickup, pickguard, and neck pocket templates from various sources. StewMac's neck pocket template is highly recommended; their pickup templates are also very good except for the precision bass, which is completely wrong.
One way to make a body template:
Find a good high-quality image of your favorite guitar on the interwebs. The image has to be straight-on, not angled in any way. Project it onto a piece of MDF or tracing paper, again, straight-on. Move the projector in or out until the projected scale length is correct, and trace the outline. You will have both the shape and the size right. Don't forget to trace pickguards & other details.
Another thing I've done is to suspend a small flashlight from the ceiling, and drop a plumb line from it. Place the piece you want to duplicate on a piece of paper or other material directly below the light, and trace the shadow. This can save having to do a lot of disassembly on a headstock, for example.
For solid body blanks, poplar is often available in suitable sizes at very reasonable prices from your local lumberyard. Poplar is a nice, close-grained, not too heavy wood that is easy to work and requires little or no filling. Best for painting, it can be stained successfully as well if you semi-seal it first with several coats of 'natural' or clear stain before applying color. Unplugged, it has a very lively bright tone, although that matters little on an electric.
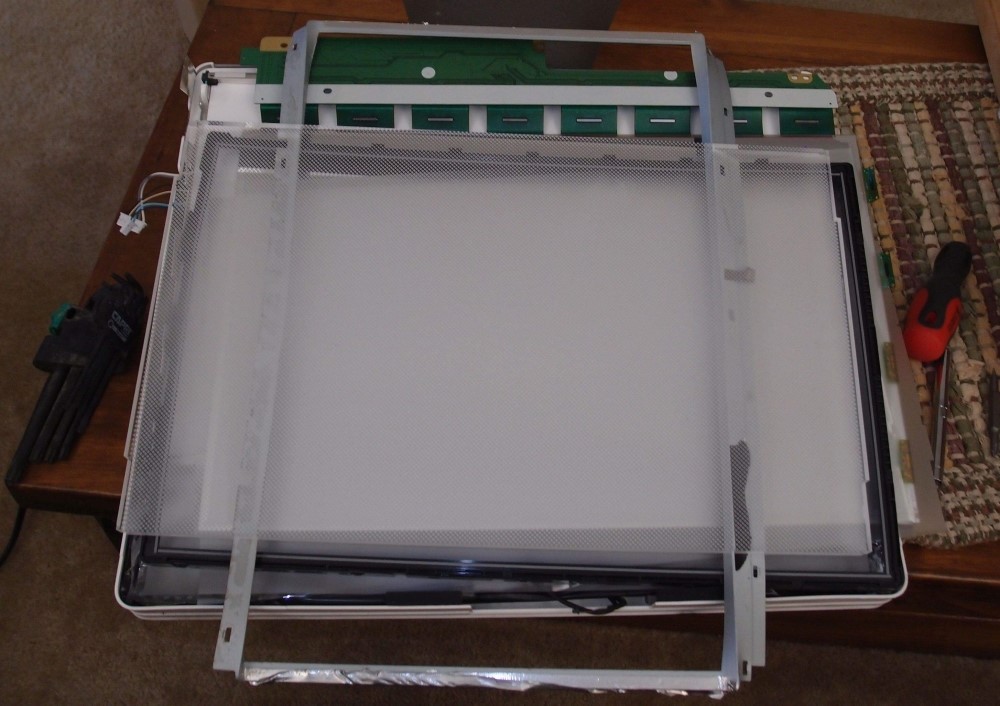
I went back to the recycling center, and this time I got what I was looking for, and more. If you ask permission to look over the pile, they will say no, so don't ask, just do it. It's unlikely anyone will stop you.
Above is the remains of a 20" iMac. On top is a 14"x17" 10mm thick piece of acrylic from the backlight. That will keep me in the template business for a while. This is enough for six of my smaller-sized templates, or four of the bigger ones. Maybe I should have made my box bigger.
If you want a piece like this, you're looking for an older machine that is fairly thick and weighs a ton. Older monitors are edge-lit with fluorescent lights and have the thick piece, newer monitors and TVs are backlit with LEDs and do not.
I also opened up the hard drive and took the super-strong magnet out and stuck it inside the lid of my steel toolbox. Since I was a little kid, I've always enjoyed destructively disassembling things. It's much more fun when you're not worried about putting it back together.
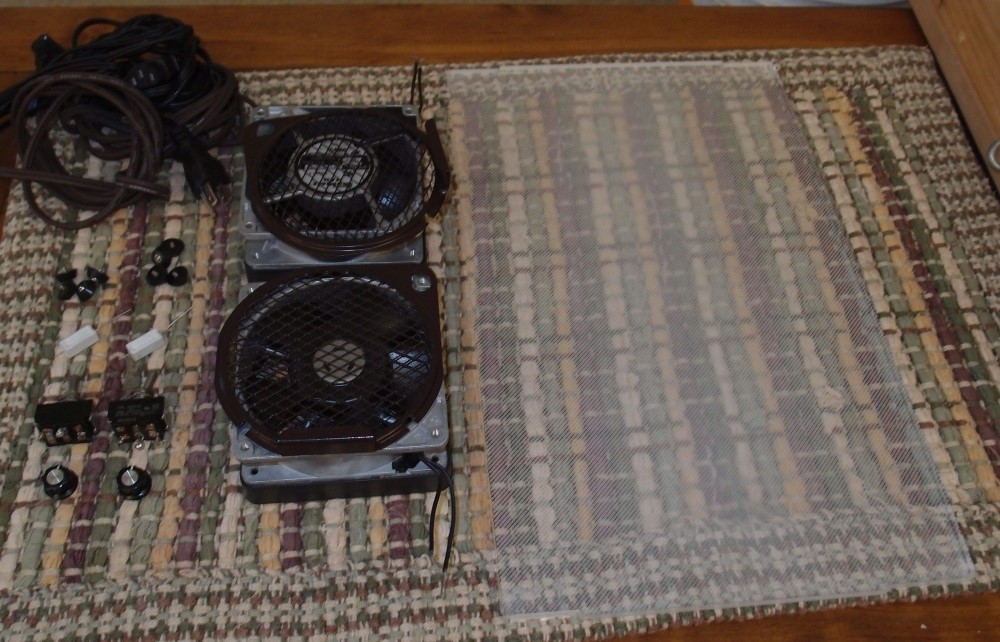
Here's the plastic again, along with some useful parts from a pair of space heaters. Initially, it was just the knobs that caught my eye, but then I took the on-off-on switches, feet, working 15w 120v fans, and the rest. I also got a useful vacuum hose and some parts that fit my vacuum. It pays not to be too proud.
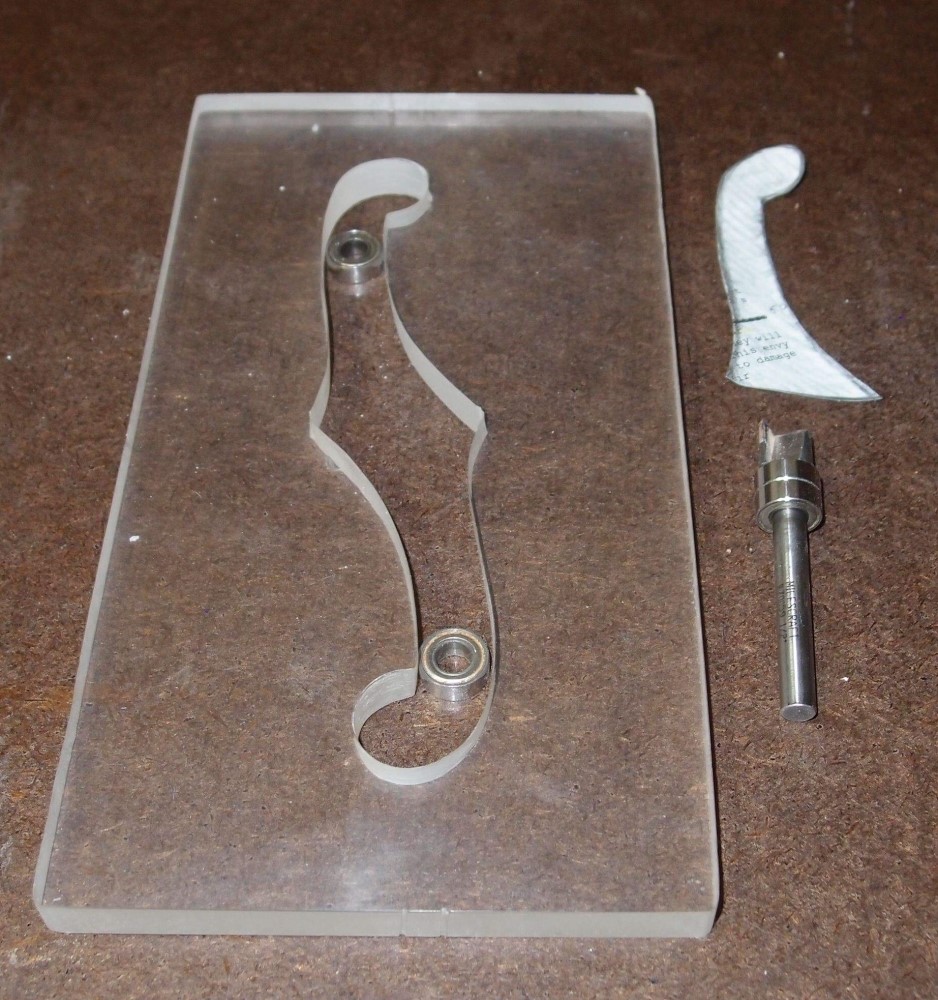
This should come in handy someday. You can see I made it wide enough to fit a 1/2" bearing throughout. There's no real standard for these, so why not make it easy? It also leaves room for binding.
This is my last old piece of 10mm monitor material. That is thick enough to get the router bit started, 5mm material is not good for shallow surface routs. I'm so glad I found some more of the good stuff.
I've gotten a lot better at working with this material. I Forstnered out the ends, then drilled small close-spaced holes all around the perimeter. Finally, I scroll-sawed from hole to hole. This kept the blade from getting too hot and gave me plenty of stopping places. It still took several passes to clear the melted plastic, but it was much faster and the blade never got stuck. Finally, I clamped the plate vertically in the bench vise and attacked it with bastard files to get the final shape. The whole process went very fast.
Routing will leave the sharp corners blunt, with a 1/4" radius, so the final step will be to file them out nice.
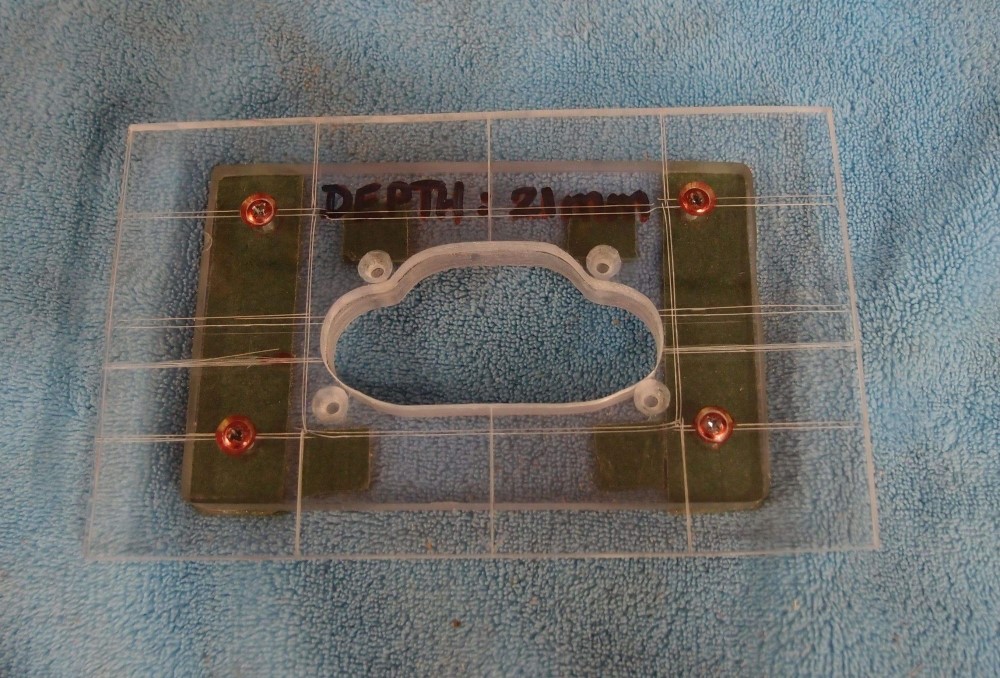
This is a template for a shallow cavity. For a shallow cavity, you need some extra height to fit the bearing. The common way to do this is to stack two or more templates. This one has an upper plate from a piece of the new material, and a smaller lower plate from the last scrap of boat window, attached with some unlucky pickguard screws.
I made the upper plate first, not quite to the final dimensions. Then I roughed-out the lower plate and attached it, and ground both to a same contour. BTW, all of the work on the actual routing outline was done on the drill press, with Forstner bits and sanding drums. It’s a little off-center on the plate, and probably a little crooked, but it is the scribed lines that matter, not the edges of the plastic.
There is also some non-marring felt on the bottom, as this template is screwed down into holes you’ll want later anyway. You can see it is scribed top and bottom and every which way, so I can flip it over and use it for laying-out. I even noted the depth to route on the lower plate between the layers, where it will be not get smudged off. I made three practice cuts, fine-tuning the outline and the depth each time, and I don’t want to forget it!
This represents several hours of work, including the planning and testing, and a huge mess, but it is all worth it because once you have a good template, everything else is easy. In this case, this is a pretty small cavity, and if you tried to do it by hand, you’d be working blind. As it is, I just set the router to the final depth and whack it out in one pass, I don’t even have to look.

Questions or Inquiries?
Just want to say Hello? Sign the .