Fret Slotting Jig (2/3)

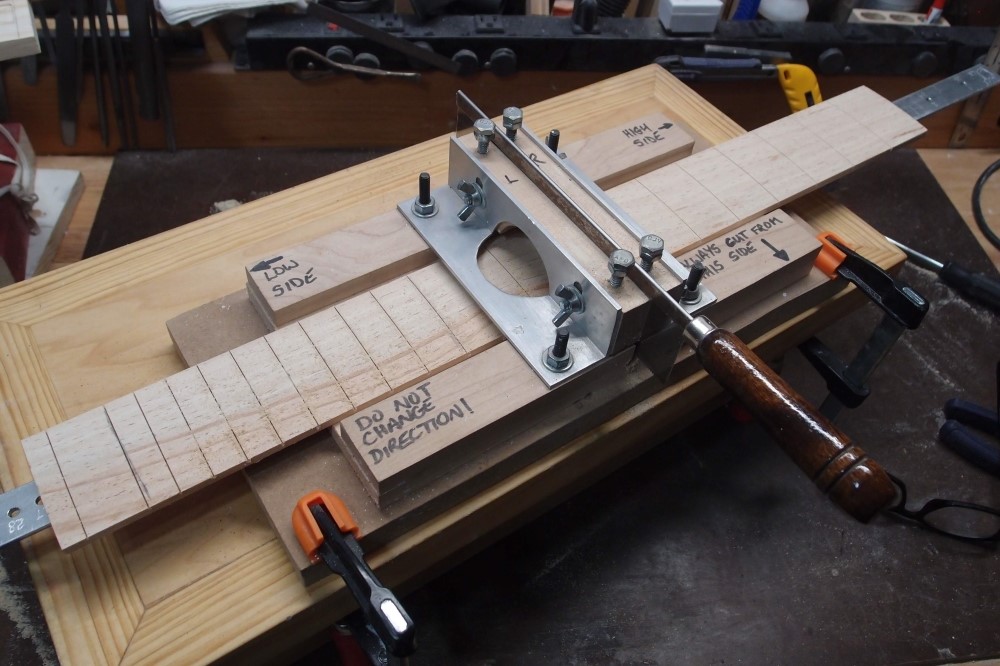
The slot in the side rails is oversized and the side rails are bored out for dust clearance. This is essential, as dust accumulating under the workpiece will raise it up and cause the slots to be cut too deep. There is only about 1/2" clearance under the saw guides, so this jig is limited to cutting fretboards of 1/2" to 3/8" thickness, not whole necks.

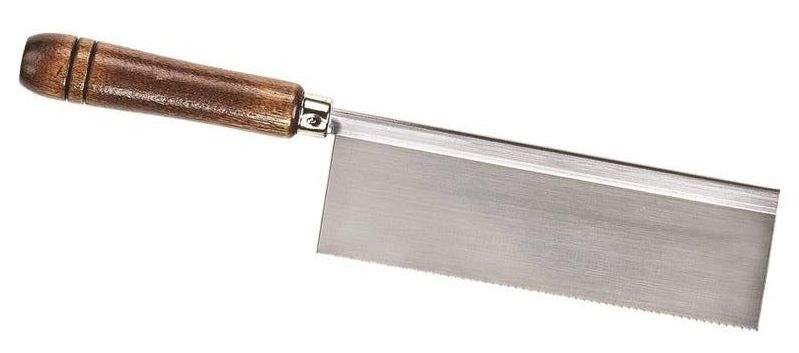
The saw is a Zona 35-350 or 35-380 hobby saw with a .022" kerf, which is perfect for fret slots. The jig will adjust for either saw. These saws are available on eBay and Amazoon, and not terribly expensive. Saws wear out fast when cutting tropical hardwoods, so order several at a time. You'll know when it is time for a new saw. Interestingly, the saws wear out from side to side, ie the sides of the teeth wear down, not the tips. This narrows the kerf, and eventually, the saw starts to bind in the cut and is no longer useful on tropical hardwood, although it is still good for general tasks.
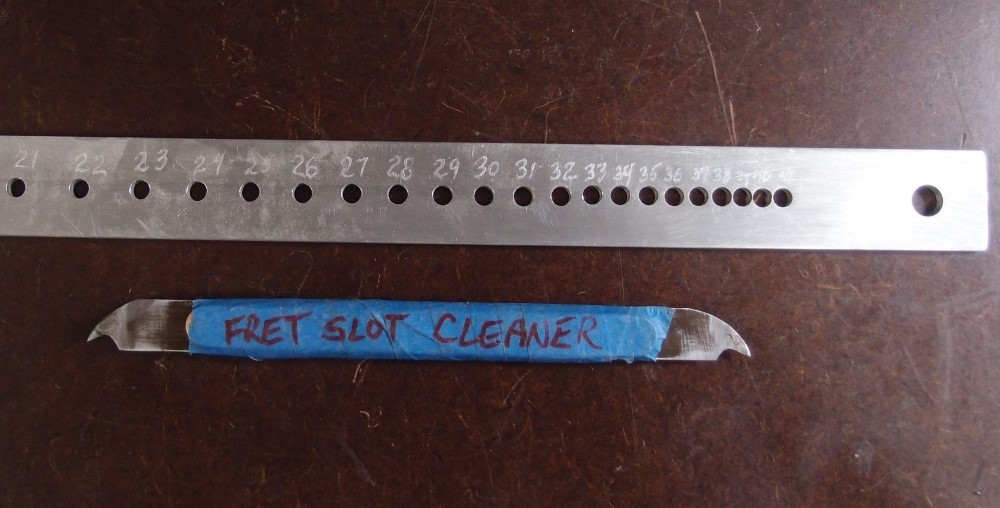
If in doubt, cut your slots too shallow. It is a simple matter to deepen an existing slot by simply running the saw through it, even after it has been assembled onto the neck. This also allows you to angle the cut to match the radius of the fretboard, rather than cutting extra deep in the center to be deep enough at the edges. The saw is also the best tool to clean out the fret slots prior to installing the frets. The exception to this is if you have installed binding, in which case you'll need a special tool to clean out the slots. This can be easily made from a thin piece of steel.

My design lets you pick into the corners and then roll the tool on the back edge to get the binding glue out.
StewMac's equivalent setup would cost around $300, more if you add in all the separate guide bars that I made into one. Their design looks very over-engineered. I have never actually used the StewMac jig or one of its clones, but I think my design is better.
StewMac's fret press is a different matter. I really like this tool, which lets you install frets using your drill press. Much quieter than whack-whack-whacking them in with a hammer. They offer a range of radius inserts, but I have never used anything but 12" for any fretboard radius. The press does not obviate the need for a hammer, but any little plastic or brass-faced hammer will work, I got mine at Sears. ( Better hurry, they're going down fast. )
StewMac also sells a fret 'setter' that is very useful, but you can make your own cheaper. Their Japanese fret saws are hideously overpriced, especially considering such an item is essentially disposable after a few jobs.
For pulling frets, get a small end-cutter from Harbor Freight and grind it flush. For cutting fret ends, do the same with a large end-cutter. Fret ends can be filed with an ordinary file, just de-burr the handle first. For leveling, a fret rocker is very handy, but an aluminum one will do for a fraction of the price of stainless steel. You can make a fret tang nipper by grinding a slot in the anvil of a sheet metal nibbler.
When leveling frets, first try to hammer in the high ones, before filing. You can use a regular file rubbed gently over everything to take down the high spots. For finer adjustments, use a large sharpening stone instead of a file. To re-round any frets that have been flattened on top, wrap a piece of 1000 grit sandpaper around a finger and run it up and down the neck ( although this will make a mess of light-colored woods. ) I actually got that tip from the 'tech' at Guitar Center. Go figure.

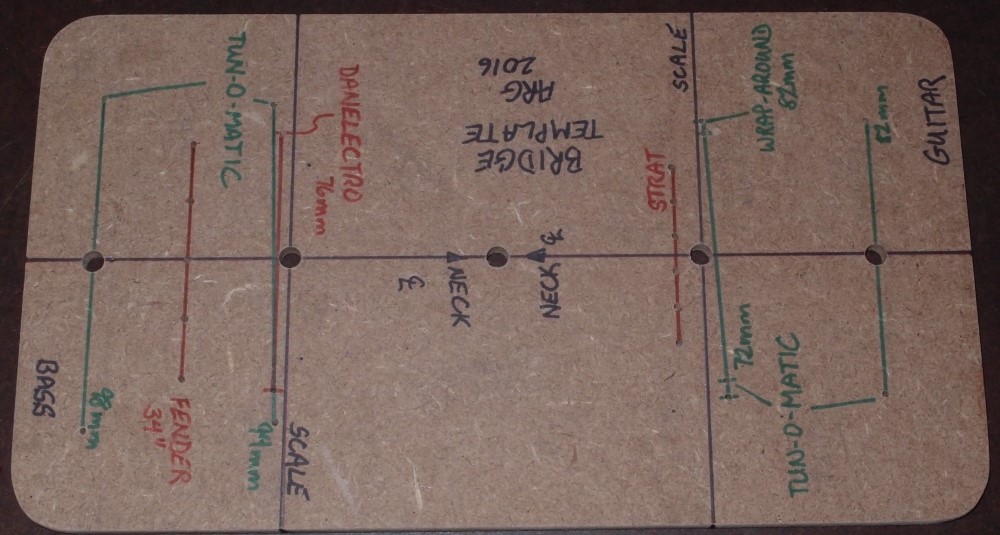
Note: While my guide is based on Fender scales, in particular the 25.5" guitar and 34" bass, it would be possible to build guides for any scales you want. Gibson guitars are based on a 24.75" scale, more-or-less. Gibson basses are the same as Fender though, as far as I know. Danelectro and PRS guitars are 25", while Rickenbacker basses are 33.25". Danelectro basses are scaled off the guitar, so they are a little bit shorter than Fender standard. You can use any of these, or anything you like, as a basis and derive longer and shorter scales for other instruments. However, I don't see the point, and I am perfectly happy with the Fender guide I have and the variety of instruments it can make.
For guitars, I find little difference in feel between 25" and 25.5", although 24.75" feels maybe a bit sloppy, or maybe I just don't like Gibson. Rickenbacker's 33.25" bass scale is slightly more comfortable than Fender's 34", which is just a little too long for human hands. The 32" bass scale that derives from the Fender math is my favorite. It fits the hand much better, without the sloppy feel of a 30" short-scale.
