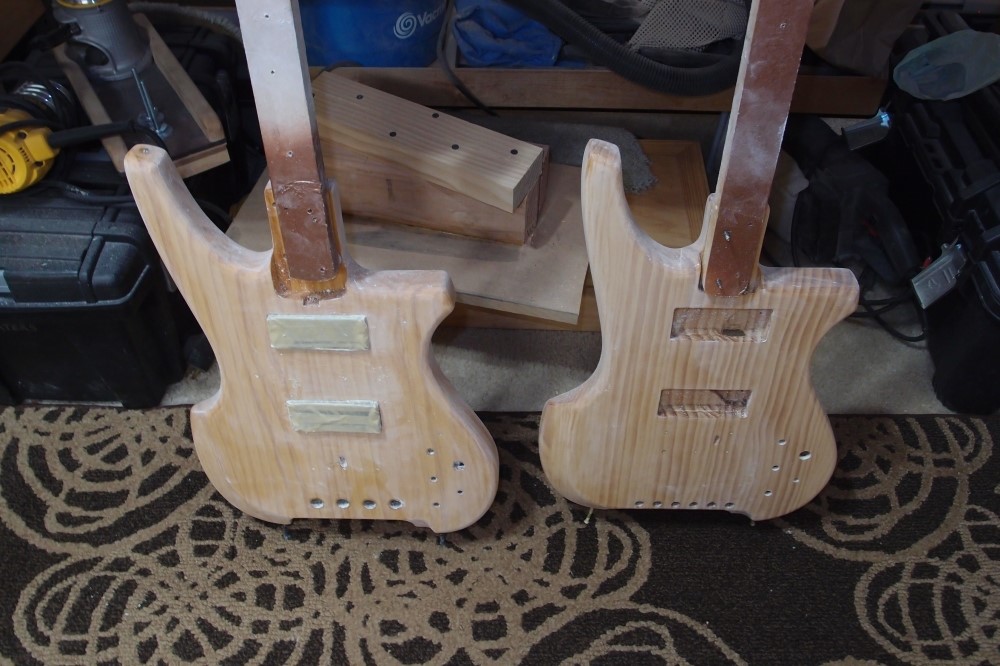
These are coming along very well. The base layer of Krylon satin polyurethane is sanded down. Each one got a full can. I am waiting for another warm day to apply the final coats.
More: Kubicki Refins ...

These are coming along very well. The base layer of Krylon satin polyurethane is sanded down. Each one got a full can. I am waiting for another warm day to apply the final coats.
More: Kubicki Refins ...

I had the Cowbell out the other day, and the action was awfully high with the bridge bottomed-out. I studied it for a bit, and the custom bridge I built is considerably taller than a standard Fender, and it throws off the Fender geometry. ( Normally: neck pocket 5/8" deep, neck about 1" thick at heel, and everything falls into place. )
More: More Cowbell ...


These all share the same 'melted' body style pioneered by the Fender Jazzmaster in 1958.
More: More Variations on a Theme ...
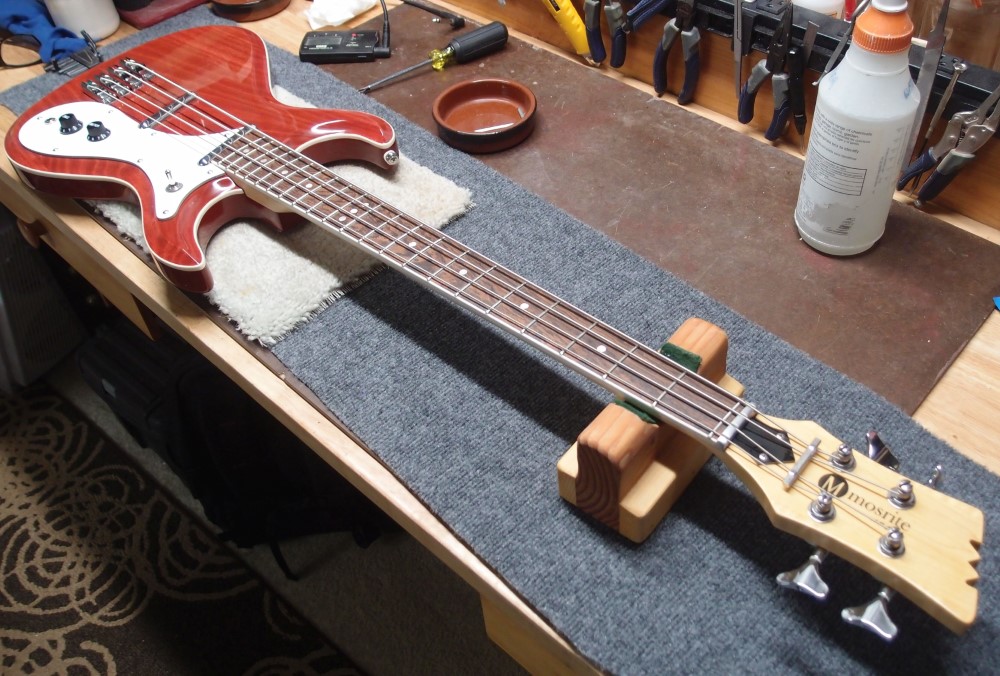
The Mosrite is back together and looking good. It plays well enough, but as usual, I will let it settle for a month before fine-tuning the setup.
More: Mosrite Re-assembled ...
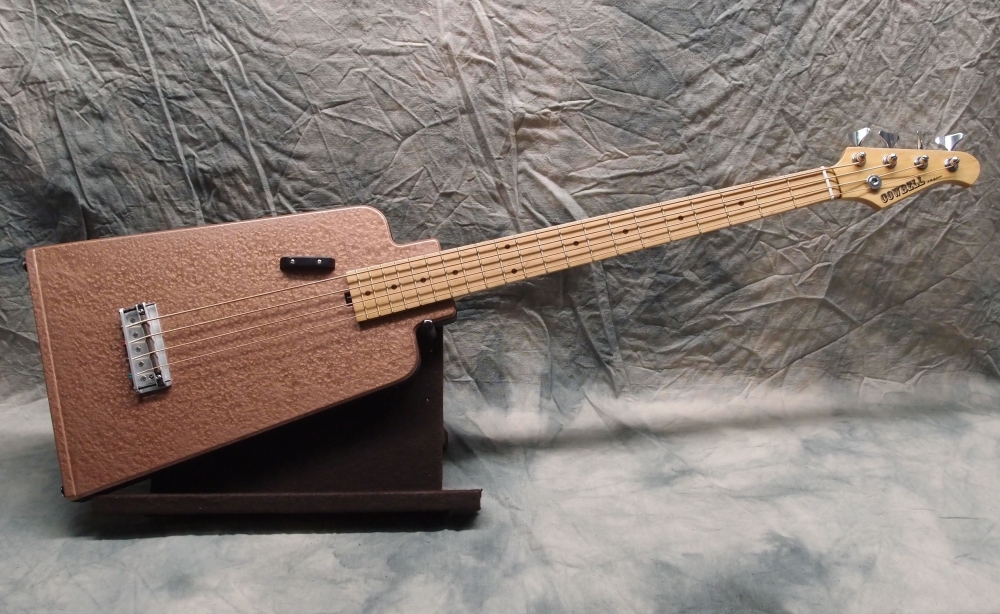
I originally conceived the "Cowbell" above for an online "Build-off". Then I realized how ridiculous these online "build-offs" really are, and dropped the idea entirely.
More: Online "Build-offs" ...
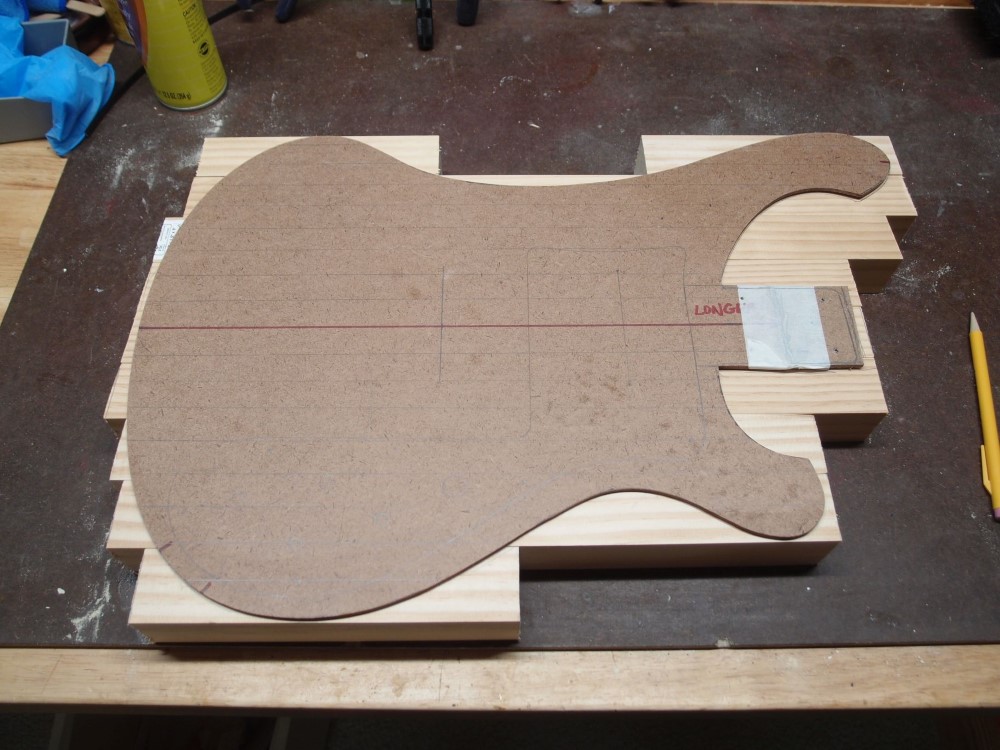
This is the Ric body template I made earlier. What's the point of making a template if you only use it once? Underneath are the sections for the new body. I used about 13 feet of 2x2" lumber, under $20 at Home Depot. I arranged the pieces so the stripier faces show. I'm also extending the tongue on the template. I had a brain fart and cut it too short when I made it.
More: Radiatabacker Part I ...
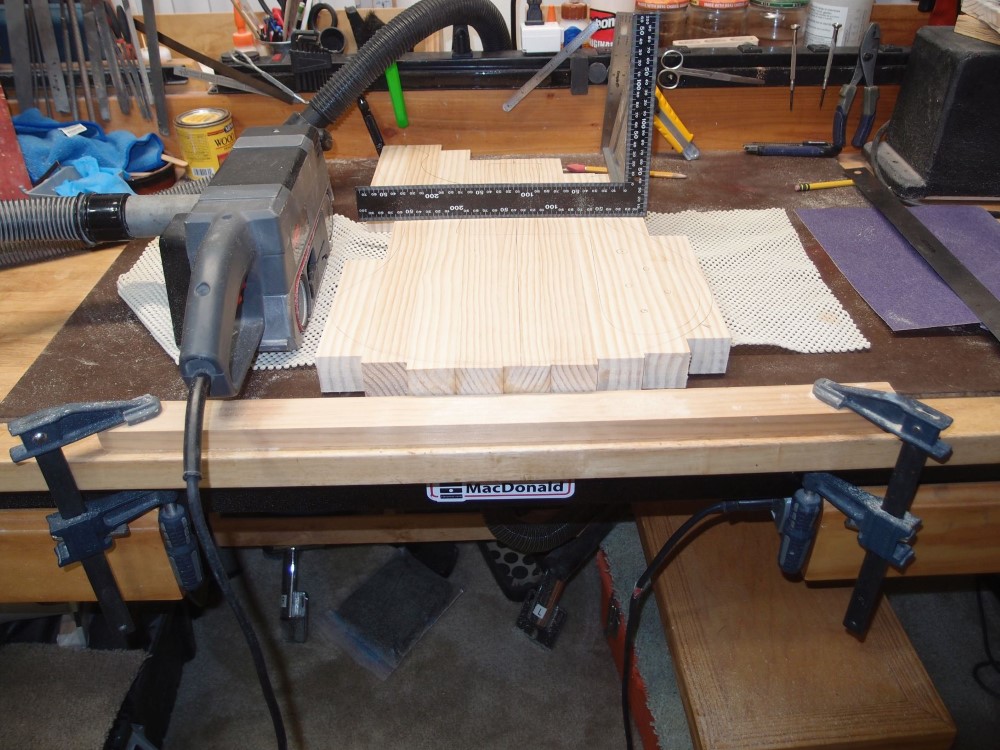
The glue is all dry, time to flatten out the blank. I clamped a piece of scrap wood at the edge of the bench for a stop, and laid the blank up to it on some padding. This will stop it from shooting off when the belt sander hits it. I sorted through all the vacuum cleaner parts I have collected over the years, and finally made an adapter to hook the sander to the little shopvac under the bench. Then I put on a new 80-grit belt, and went at it.
More: Radiatabacker Part II ...
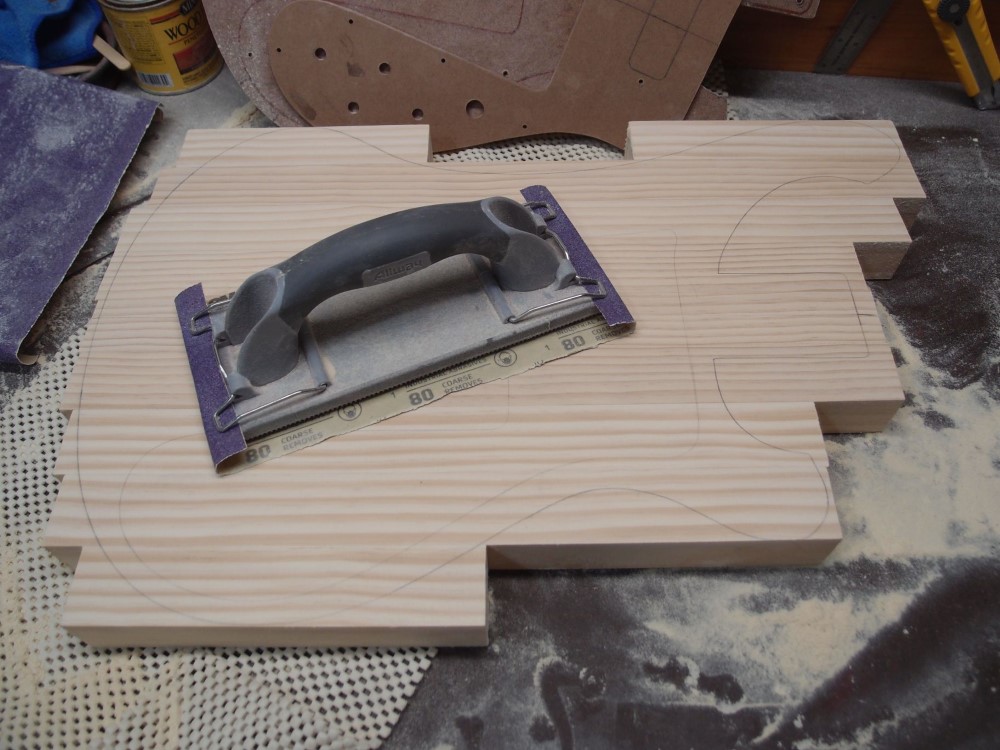
I made some small adjustments to the outline, and finished the neck mounting. And a lot of sanding. The drywall sander is a godsend, it works much better than a block, and really saves your hands. But my arms feel like lead.
More: Radiatabacker Part IIa ...
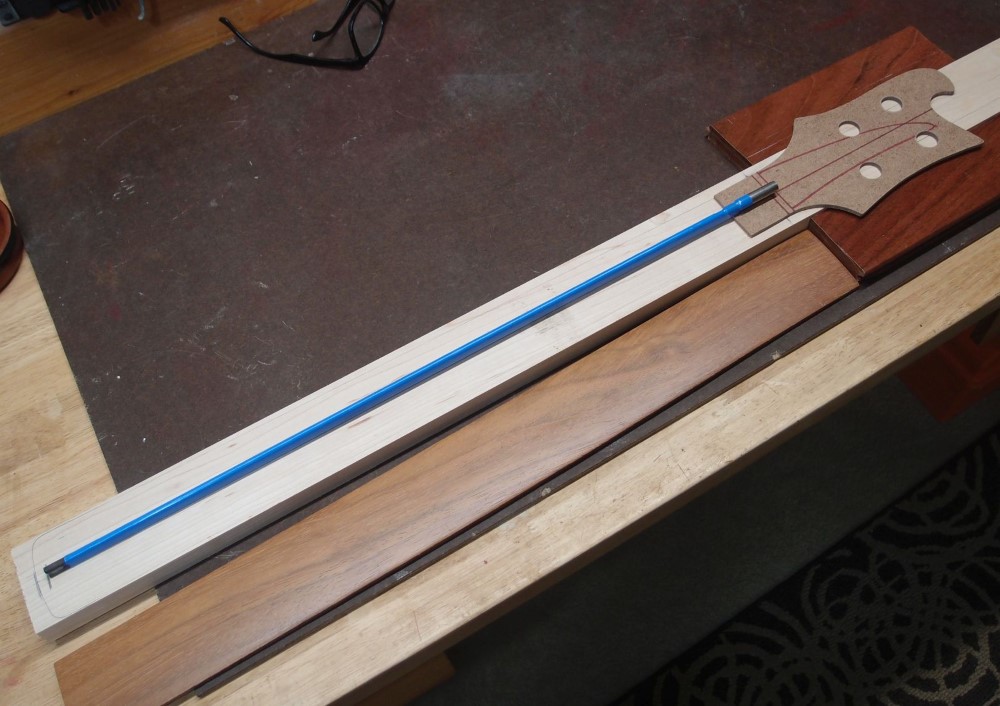
This is what I've settled on for the neck. The main part is plain maple from Home Depot. The headstock wings are leftover floorboard from the upright project, Brazilian Cherry. The fretboard is also Brazilian Cherry. The truss rod is 540mm, which will require a 21 fret neck. Or I could cut it down a bit and weld the ends back together, but that's more work.
More: Radiatabacker Part IIb ...
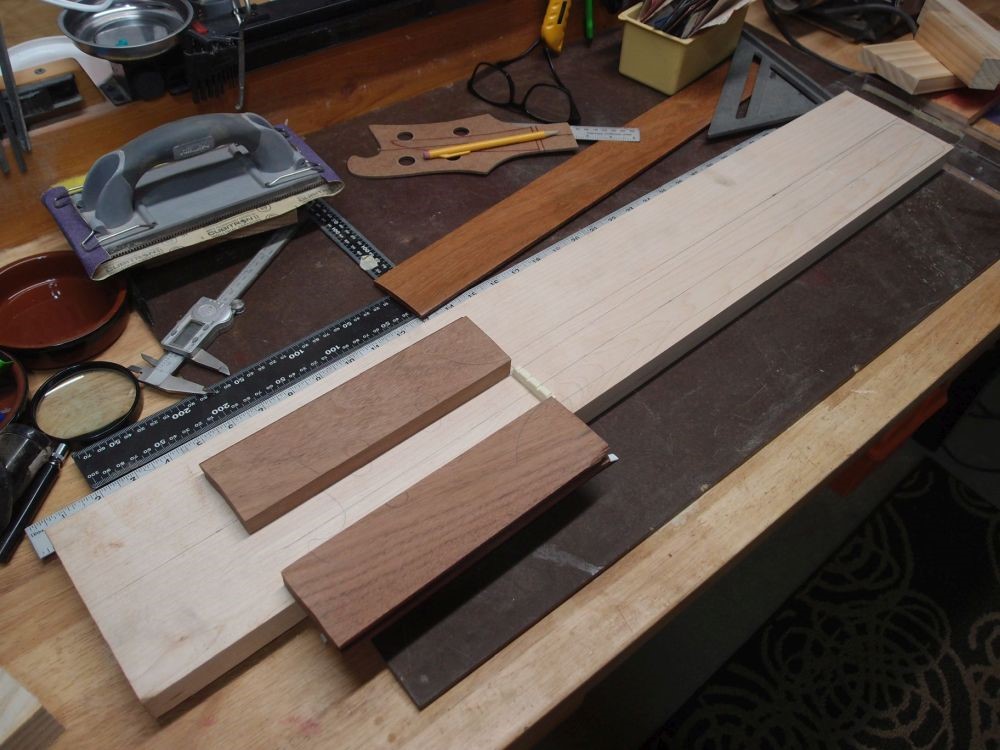
Yesterday I hunted around for stuff. The trusty local hobby shop is all out of everything but balsa, and it didn't sound like they were getting anything else in, ever ! So I went down the road a piece to the high-end builder's supply / lumberyard (Dykes) to see what they had. And I turned up this nice piece of 5/4" x 6" maple. 5/4" is actually 1", the same way 1" is actually 3/4", and 6" is actually 5-1/2". I looked at a couple of pieces, and took three feet off the nicest one for about $18.
More: Radiatabacker Part IIc ...