July 18, 2020
Radiatabacker Part II
July 18, 2020
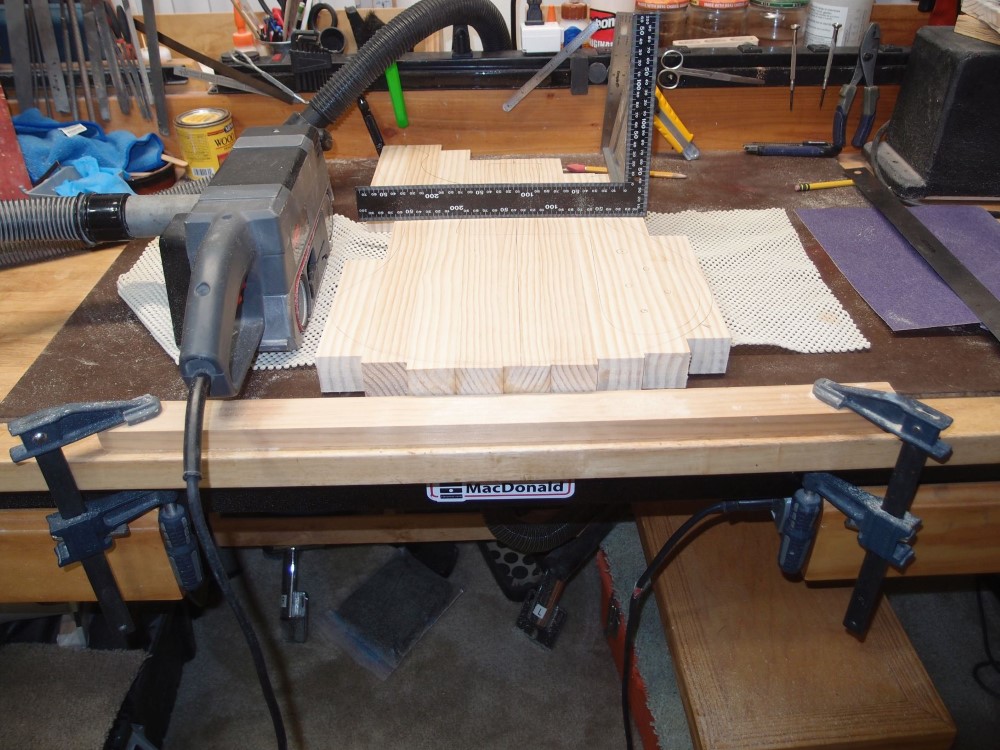
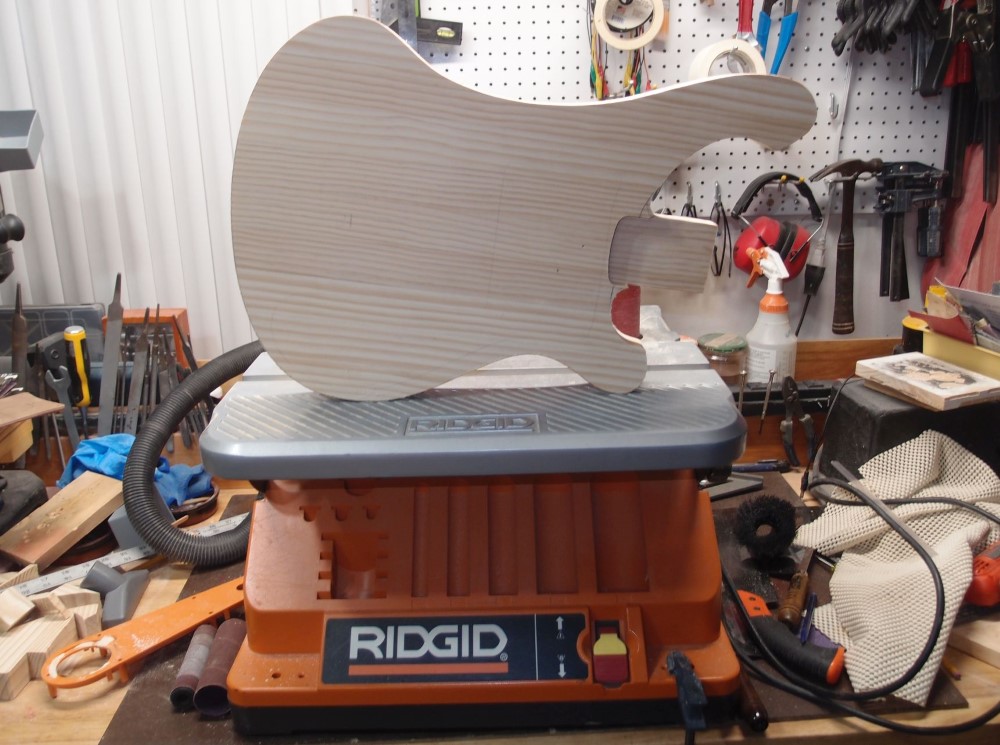
The glue is all dry, time to flatten out the blank. I clamped a piece of scrap wood at the edge of the bench for a stop, and laid the blank up to it on some padding. This will stop it from shooting off when the belt sander hits it. I sorted through all the vacuum cleaner parts I have collected over the years, and finally made an adapter to hook the sander to the little shopvac under the bench. Then I put on a new 80-grit belt, and went at it.
Happy to report that the dust collector works great, it got 99% of the dust. Normally this is a very messy job, but not any more, just a little spillage to vacuum off the bench, and almost nothing went flying. The blank is now as flat as I can get it with the belt sander, time to switch to a block sander and go at it by hand. Time: about an hour.
So if you think you need a surface planer to make a guitar blank, think again. Very few surface planers are big enough to do a piece this size, and the ones that are are very expensive and take up a lot of storage space. The belt sander lives in a box.
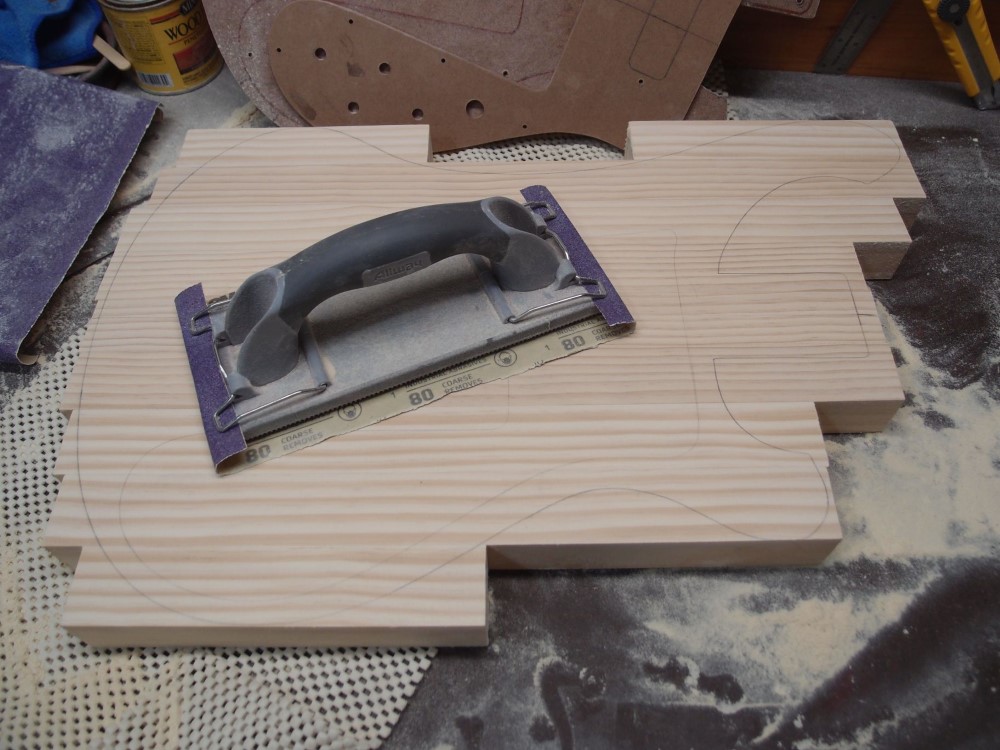
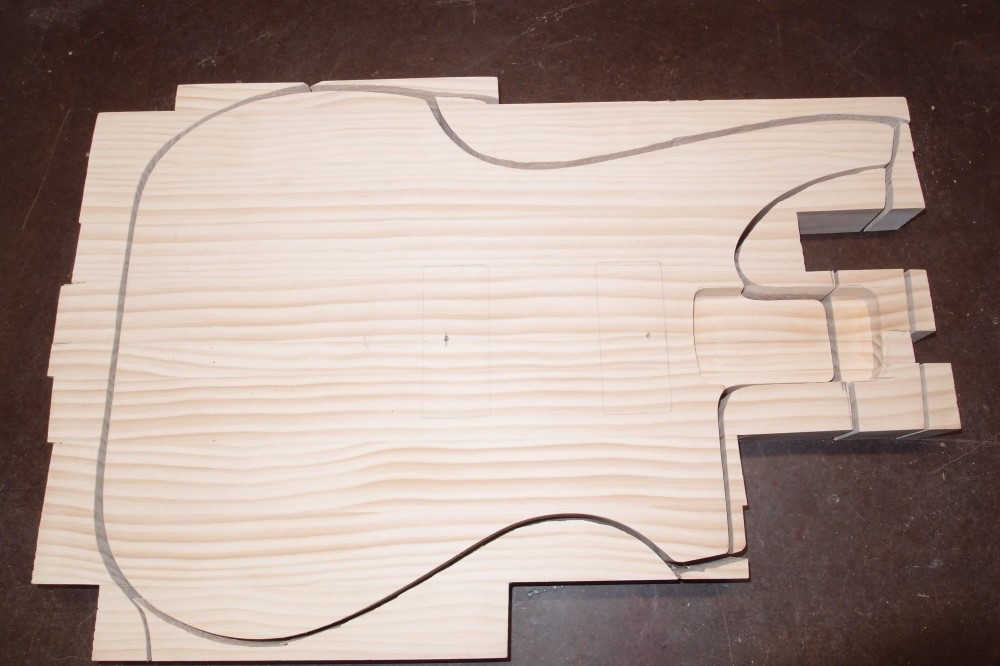
There's the front all sanded down, with a new outline traced on. The tool is a drywall sander, but it works fine for this, and is much easier on your hands than wrapping a piece of sandpaper around a block of wood, especially 80-grit. Despite the fact that I'm using the same grit as the belt sander, the result is coming out much smoother. I can't feel, see, or measure anything on the front now, it is as flat as I can make it. This is a bigger mess than the belt sander made! My arm is tired, have to do the back later.
I am doing all the rough sanding before I cut the outline. This way I can't accidentally over-sand the edges. I'll do the finish sanding after I shape the outline, that way if I mark-up the faces while doing the edges, I'll automatically fix them later.
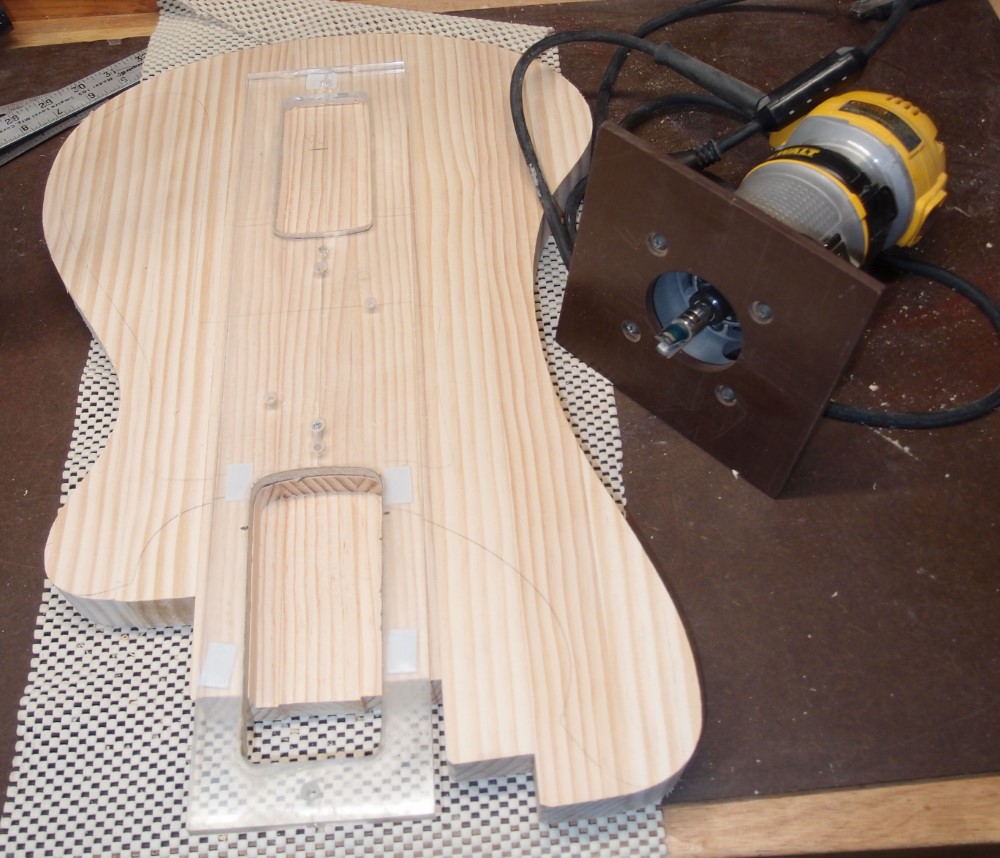
I've cut and sanded the outside edges, but left inside the horns to support the router. I just finished a regulation Fender neck rout. The router was already set up for just this job - the joy of having two routers. Alas, I still haven't gotten them to mate and have a litter of dremels.
From the chaos, a familiar shape emerges. I still have to work out the details around the neck mount. Mostly bandsaw work, except inside the upper horn where it just wouldn't reach, I cut a little by hand with a coping saw.
The thickness is about 1-3/8" and very consistent all around. That's down from the original 1-1/2", or about 1/16" off each side, which is what I originally estimated the cup to be. Still thicker than a real Ric.
And my favorite - the jigsaw puzzle shot. How's that for no-waste luthiery? That's it for today, I'm tired and I don't feel like doing the neck mount and screwing it up. I need to work out the width and alignment, and those tight corners.
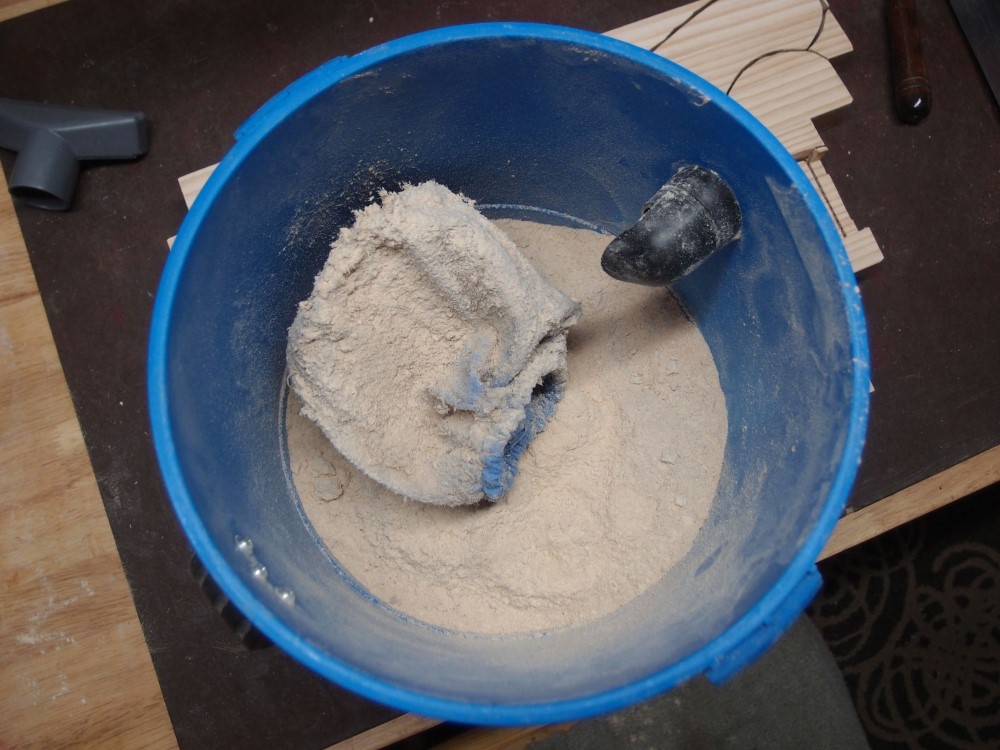
About two inches of sawdust in my little shopvac. It was barely sucking any more, filter completely choked. I'll just take it outside and beat it clean against a fence post. Almost all of that is from this project. Dust collection is very important, but it doesn't need to be expensive. In fact, any vacuum with a hose will do in a pinch.
I'm thinking of putting a Fender headstock on this - make it a "Rickenbird", or would that be a "Fenderbacker"?