I'm not averse to using a bought neck for a project. Generally, I will not build a neck that I could buy instead and modify to suit my project. There are many good sources for necks online.
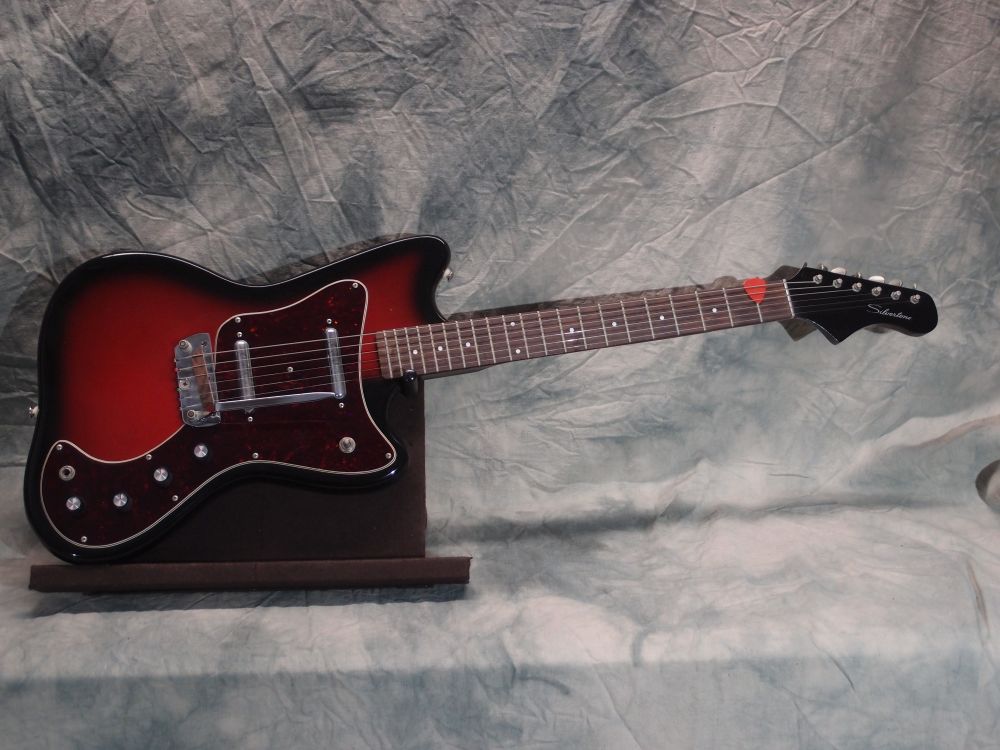
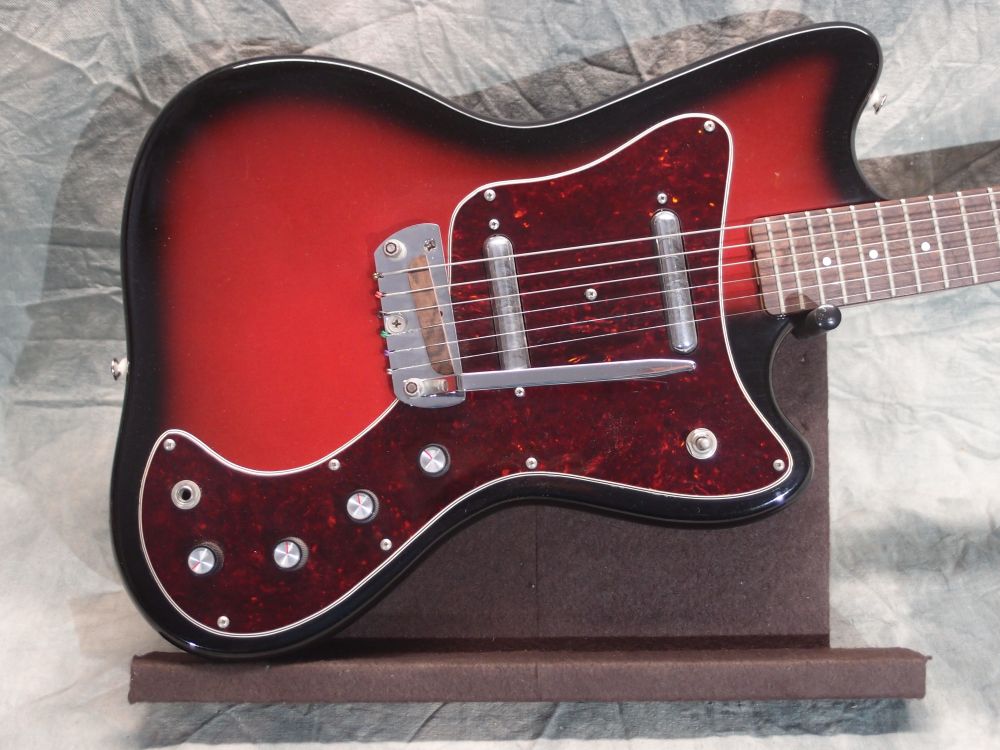
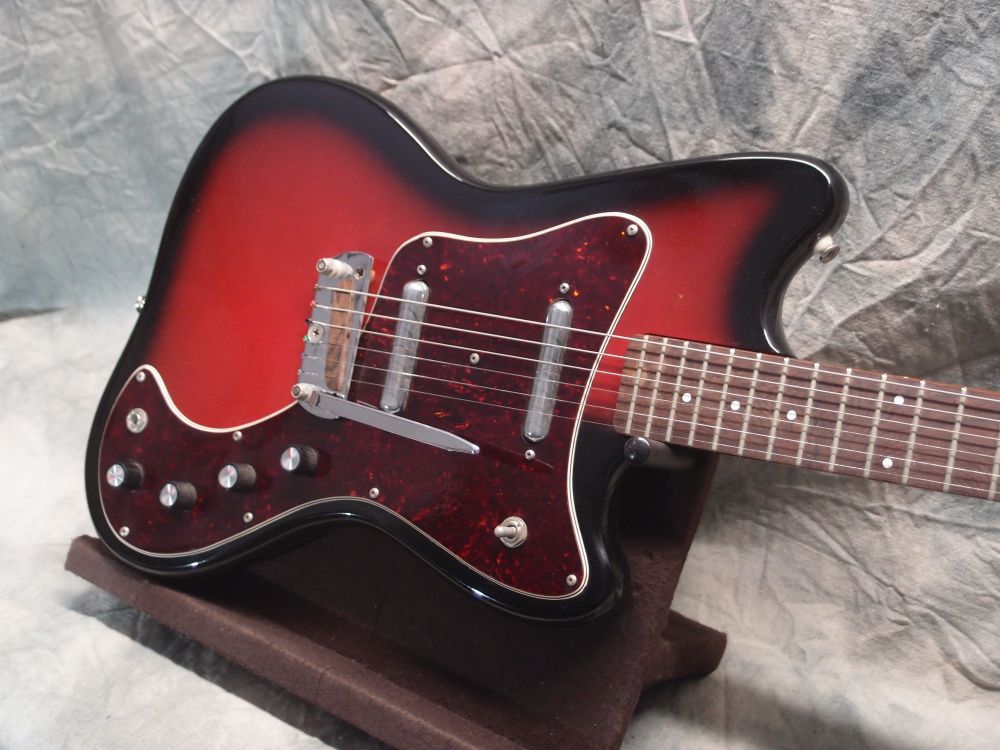
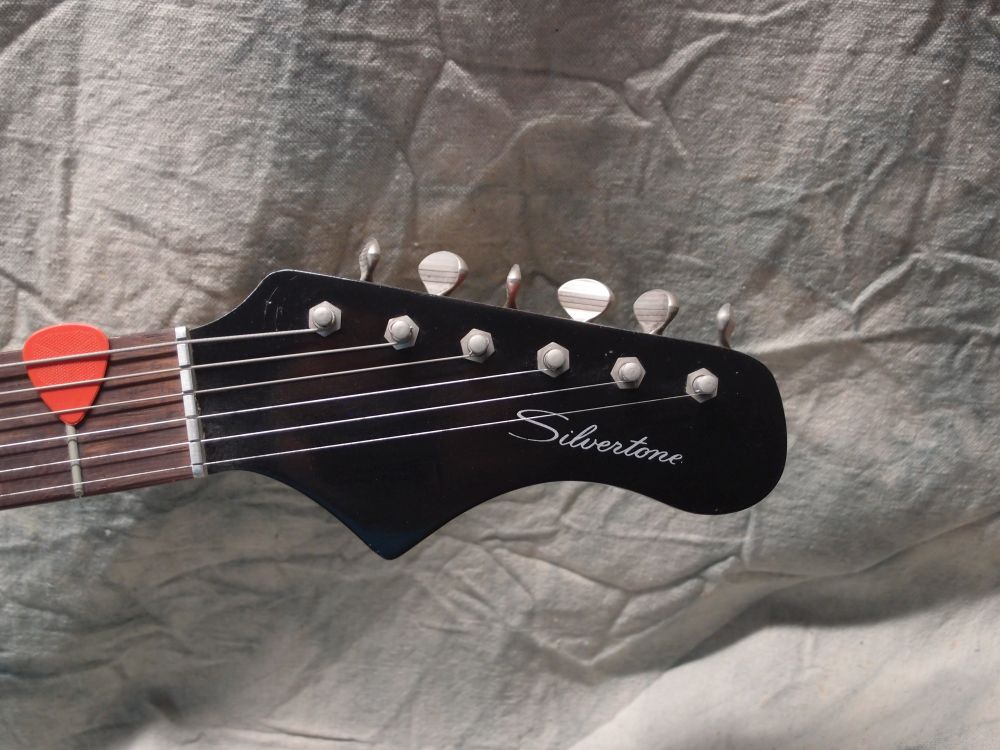
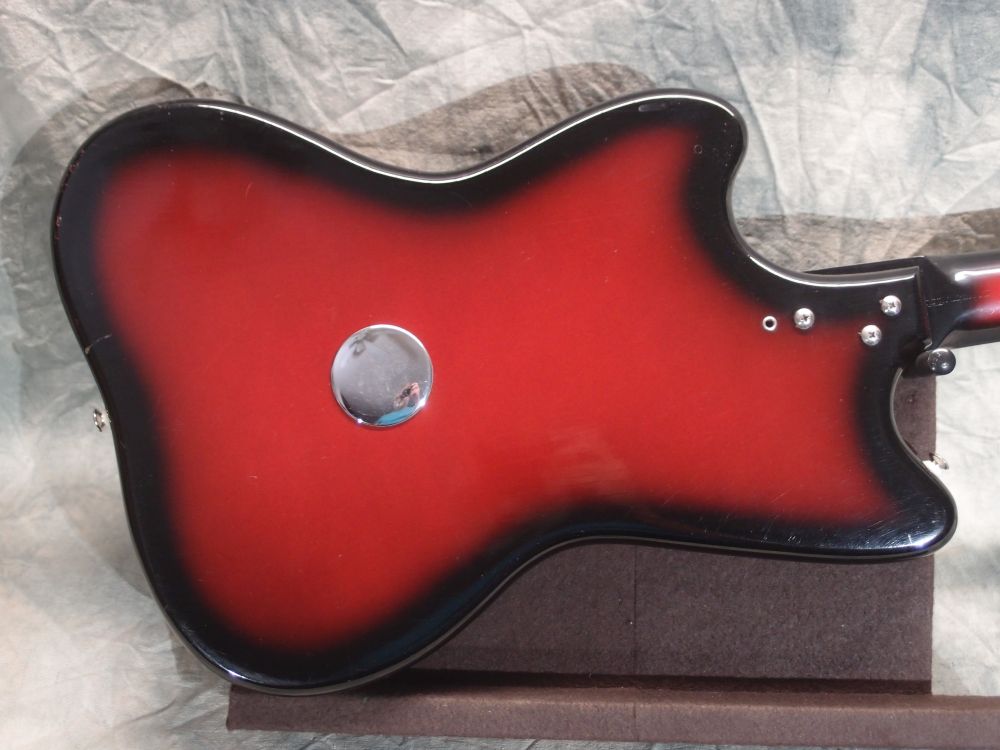
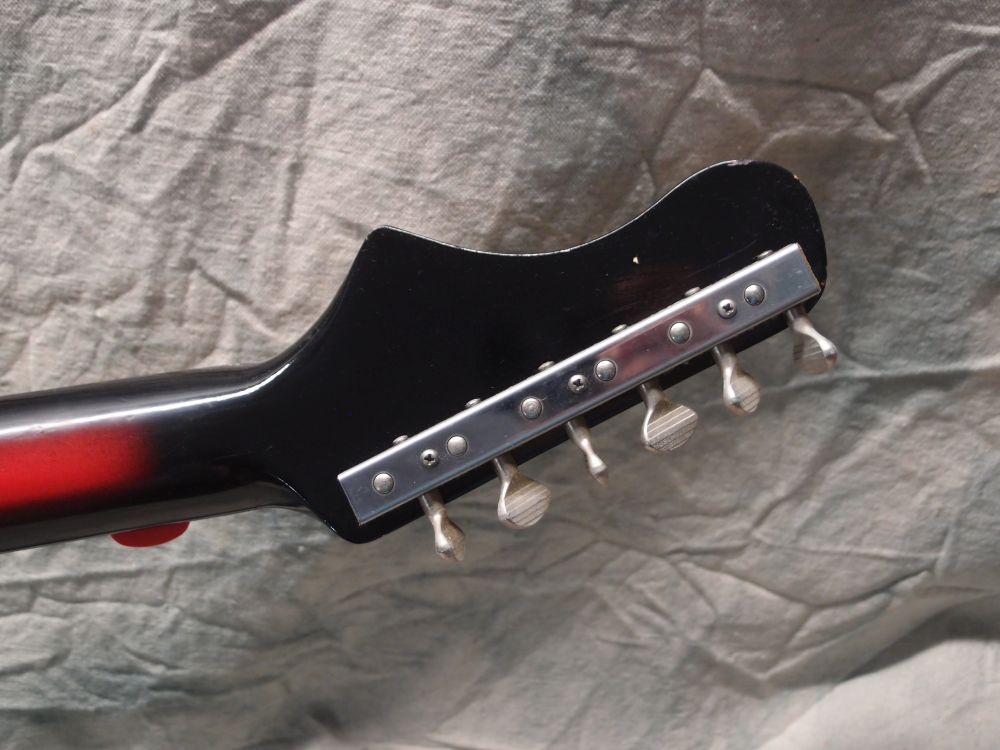
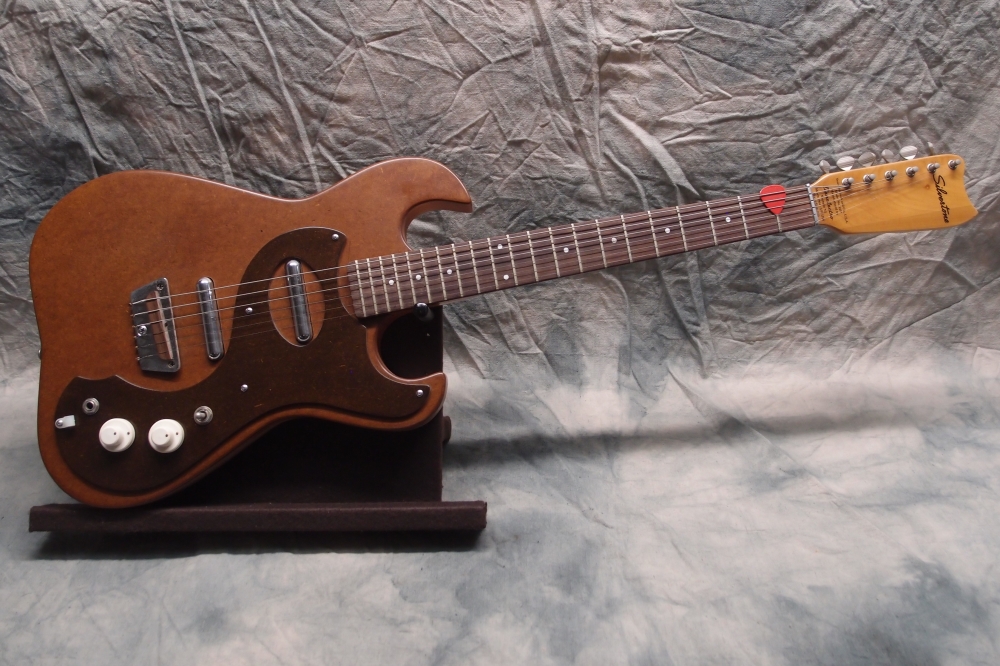
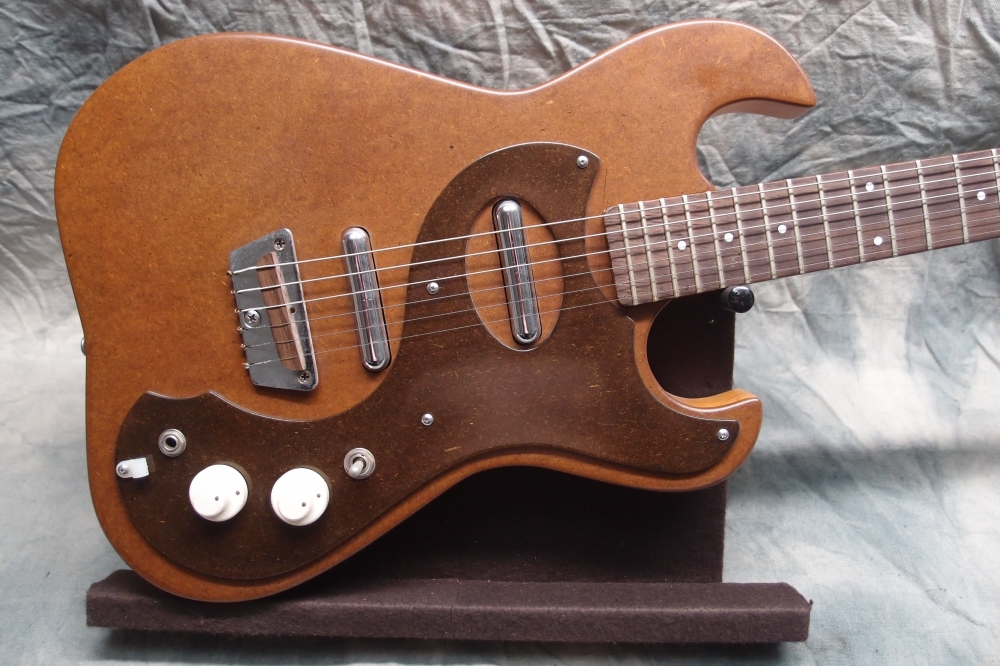
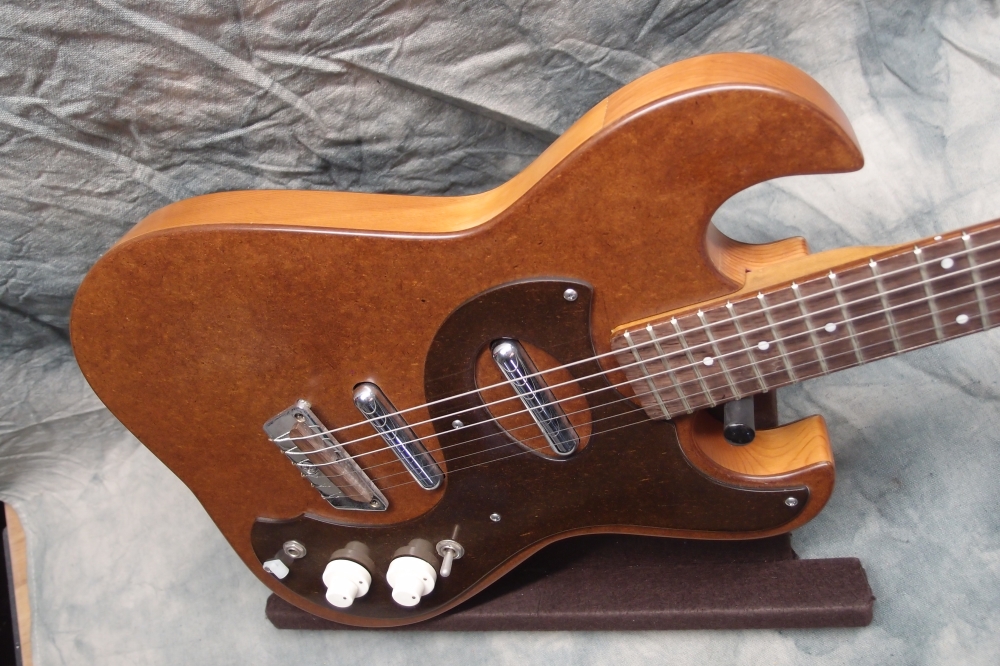
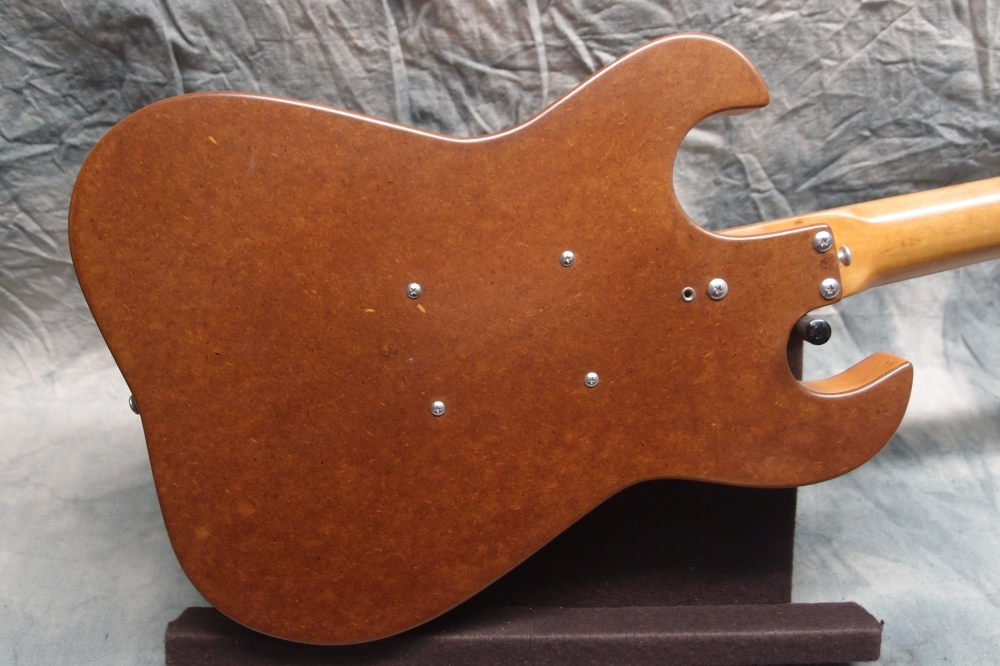
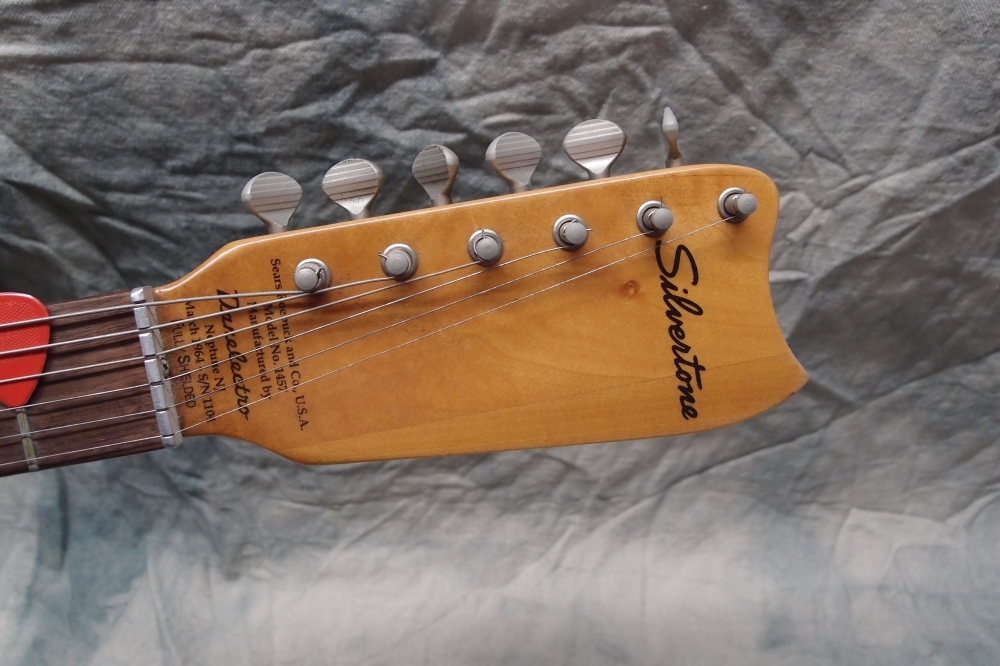
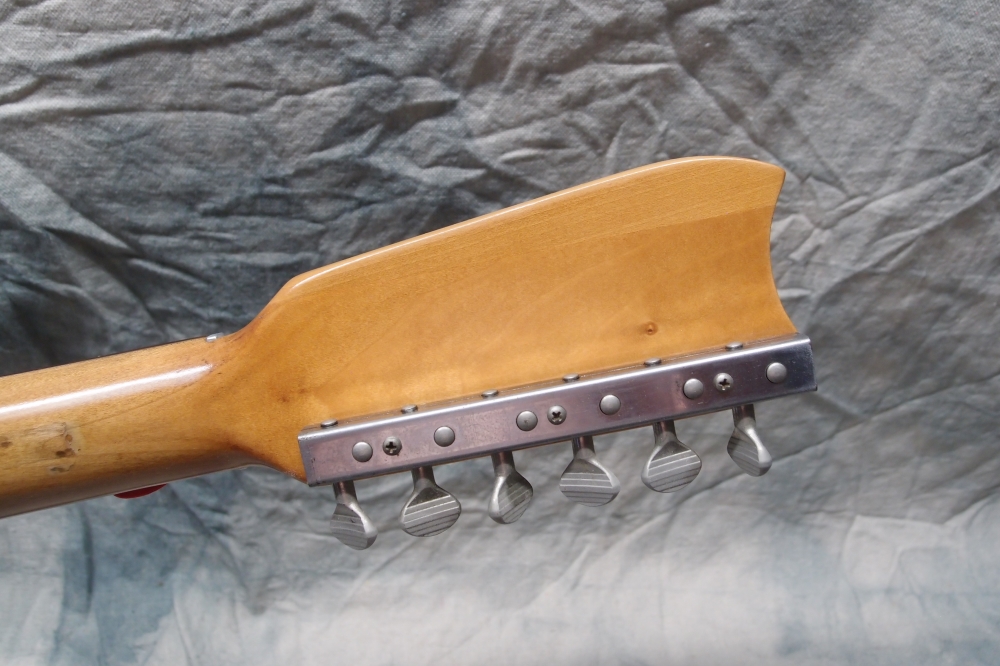
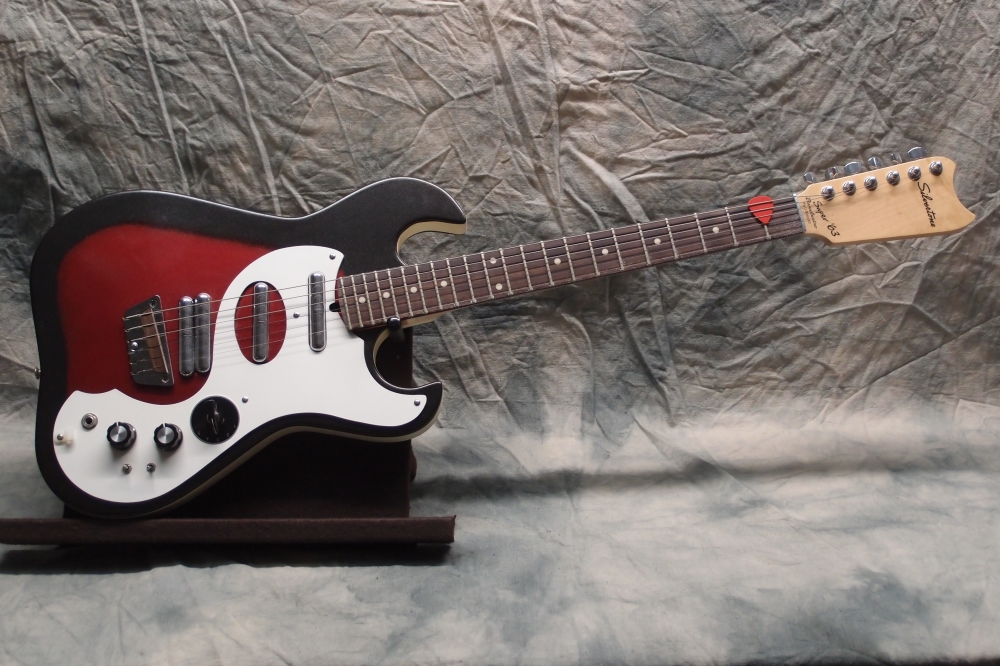
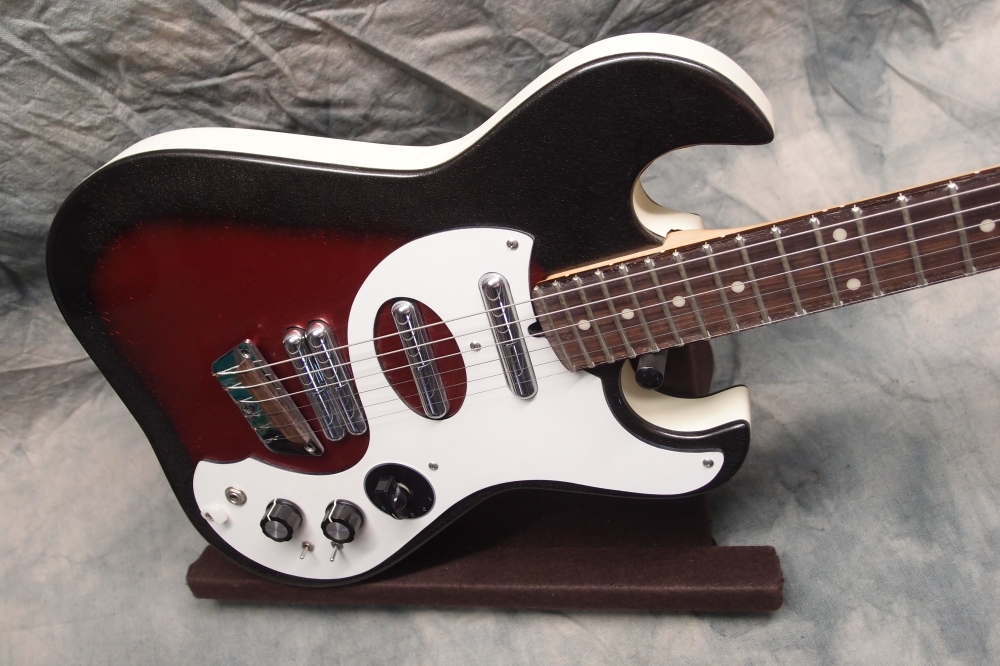
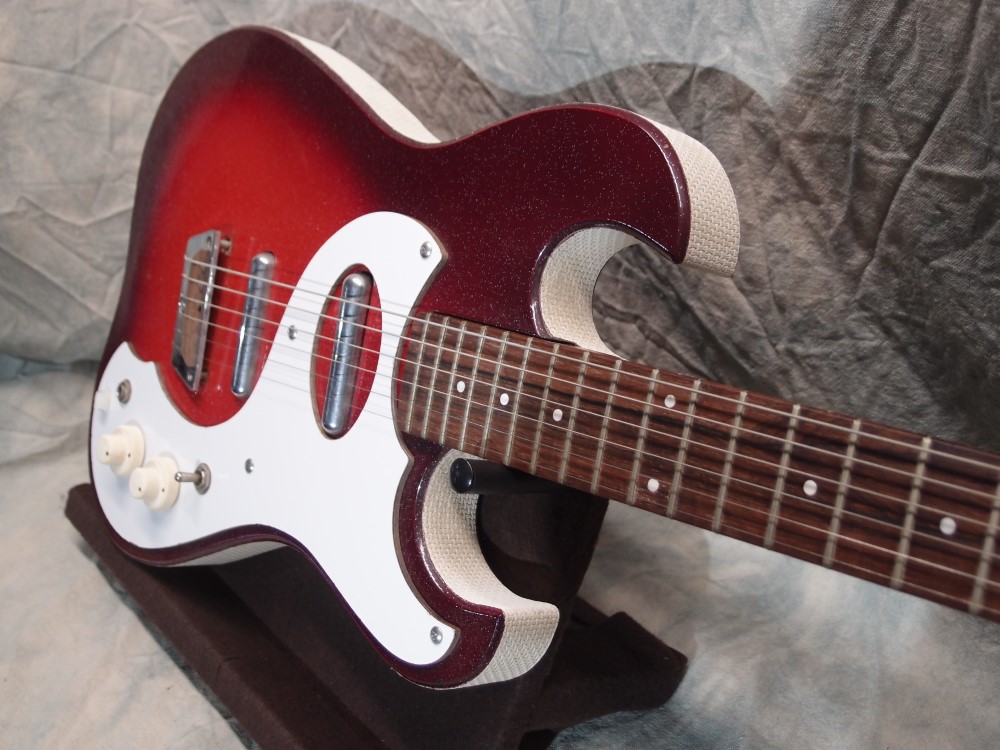
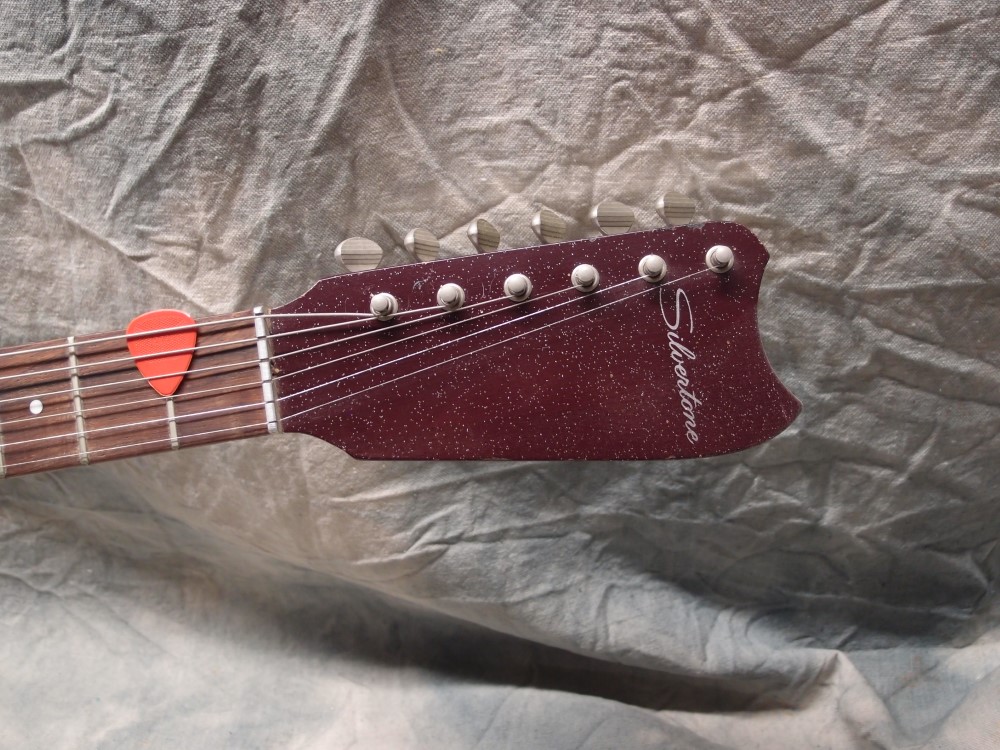
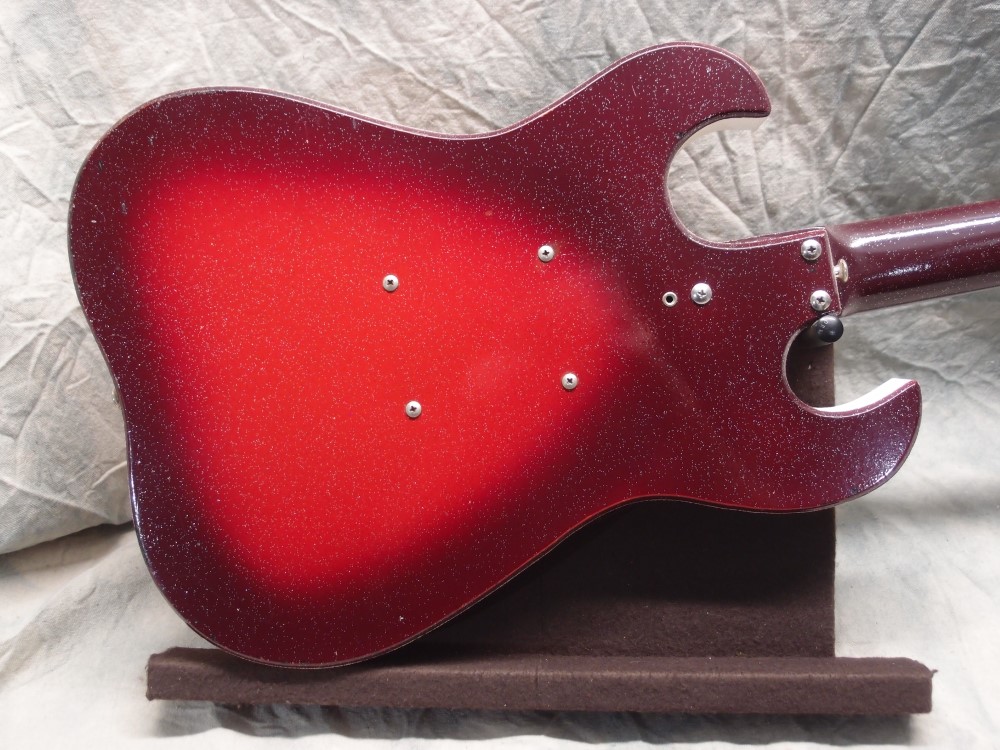
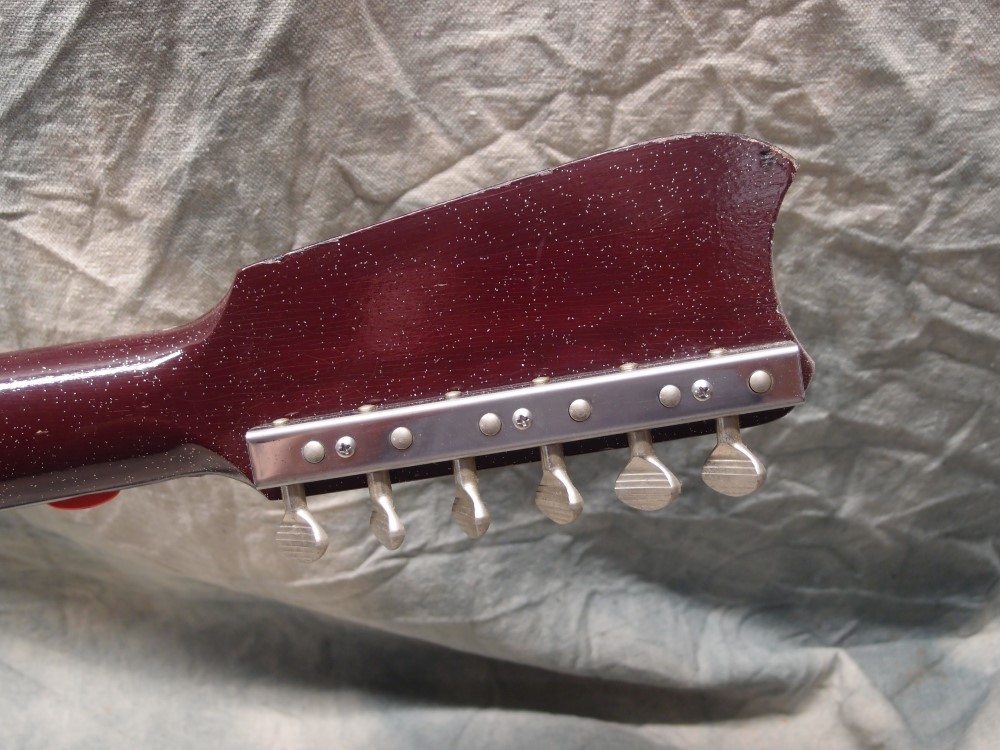
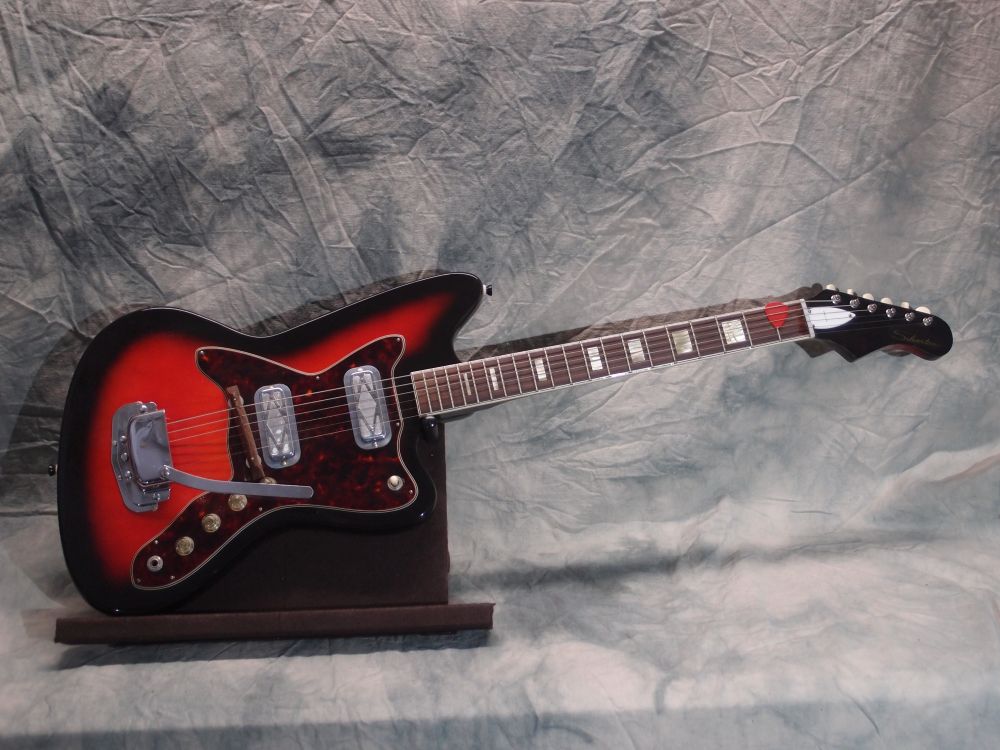
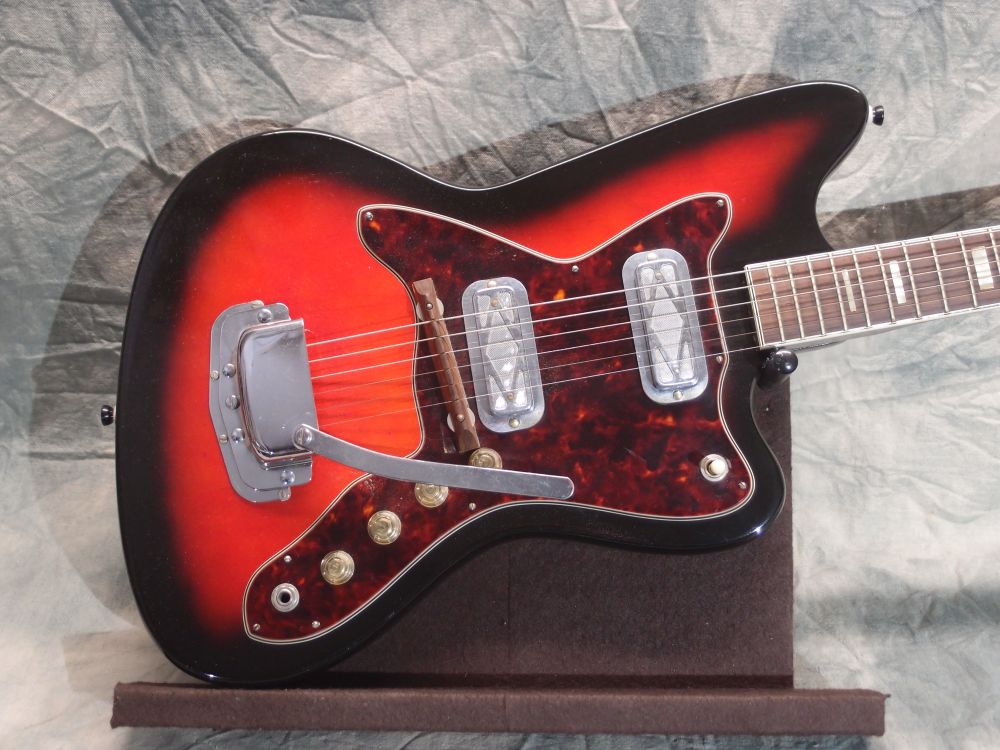
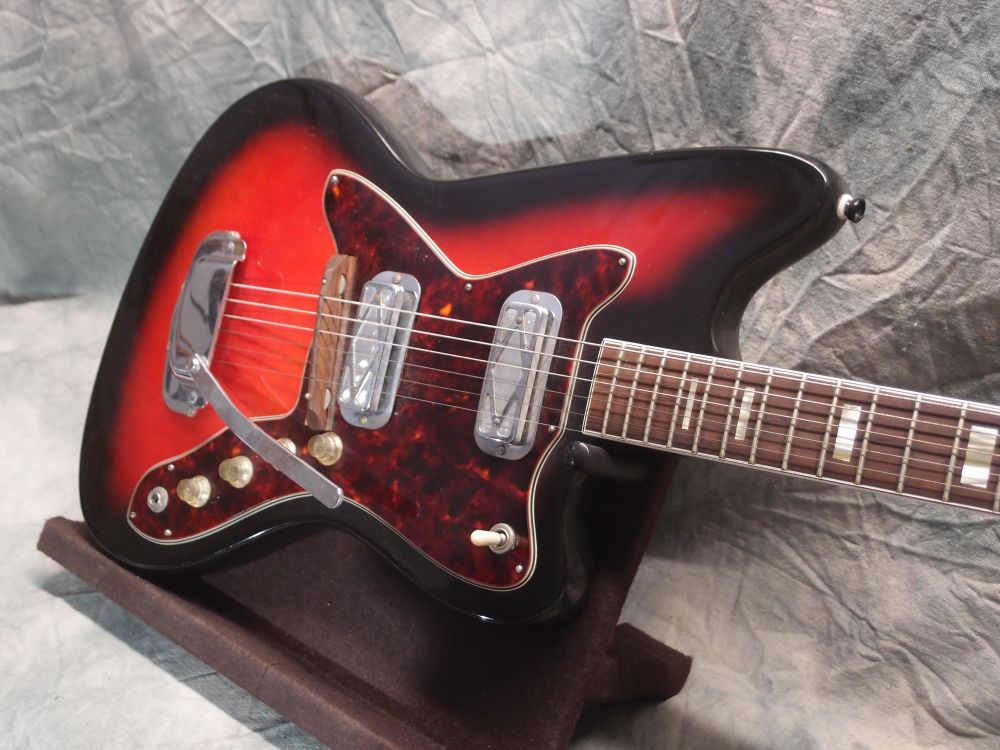
The Silvertone 1450 is a relatively rare model from 1965 to 1967. It is identical to the much more common 1452 "Amp-in-Case" model, except that the 1450 has a three-ply tortoiseshell pickguard in place of 1452's white masonite, and the 1450 did not come with an amp. The three-bolt neck attachment indicates that this is a fairly early example. There should be a date stamp inside the neck pocket, but I don't want to take it apart. For a long time I thought this was a 1452, I was quite pleased to discover while writing this that it is actually the more deluxe 1450.
More: Silvertone 1450 Guitar ...
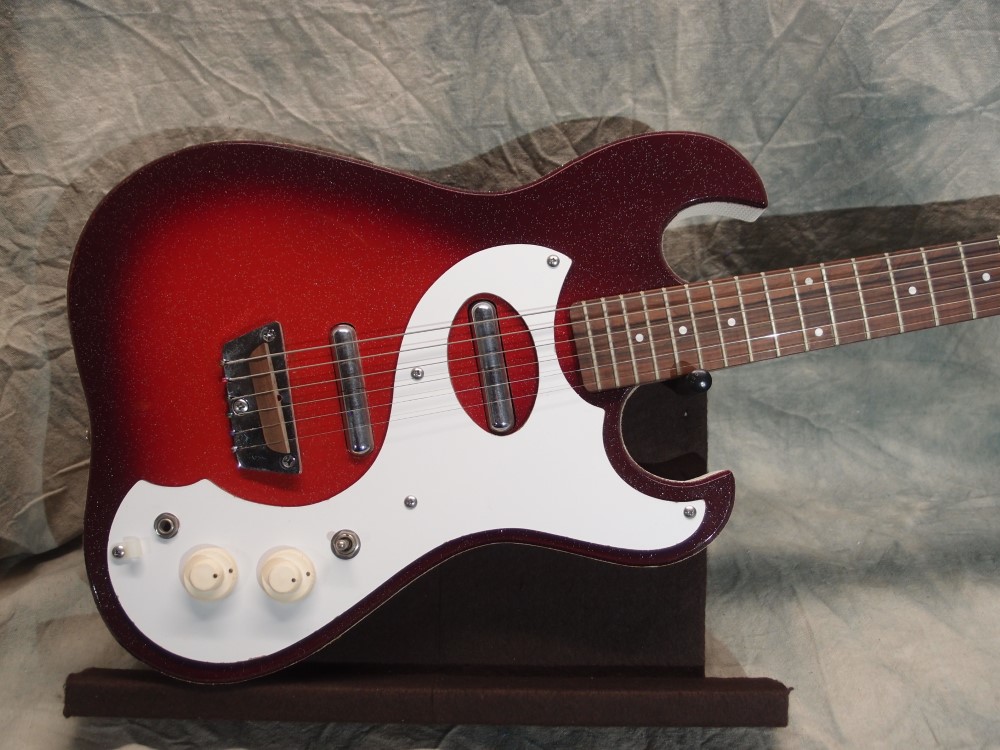
This is a real Danelectro Silvertone 1452 from the 1960s. When I got it, it was a sad box of parts. Some hillbilly had stripped it, by rubbing it on the sidewalk, I think. The fretboard had delaminated, and the old repair had simply made the problem permanent. I repaired the neck and fixed all the other issues, replaced the lipstick tubes, which had split, and clear-coated the whole thing in modern poly. I was not able to fully repair the neck, there's just not enough wood left, so I don't keep it under tension. The pickguard is stained dark for contrast. I cleaned tarnish off the old metal bits with oven cleaner, and replaced all the corroded fasteners with shiny new stainless ones.
More: Silvertone 1457 "Rescue" Guitar ...
This is the very first guitar I ever built, a hot-rodded version of the old Silvertone 1457. This guitar uses every passive wiring trick in the book. Four - count 'em - four lipstick pickups, wired in series. Six-way pickup selector, and two phase switches. The neck is from AllParts, I paid way too much for it. The finish is glittery acrylic lacquer from the auto parts store. The knobs are from Radio Shack - remember them?
More: Silvertone 1457 "Super 63" Guitar ...
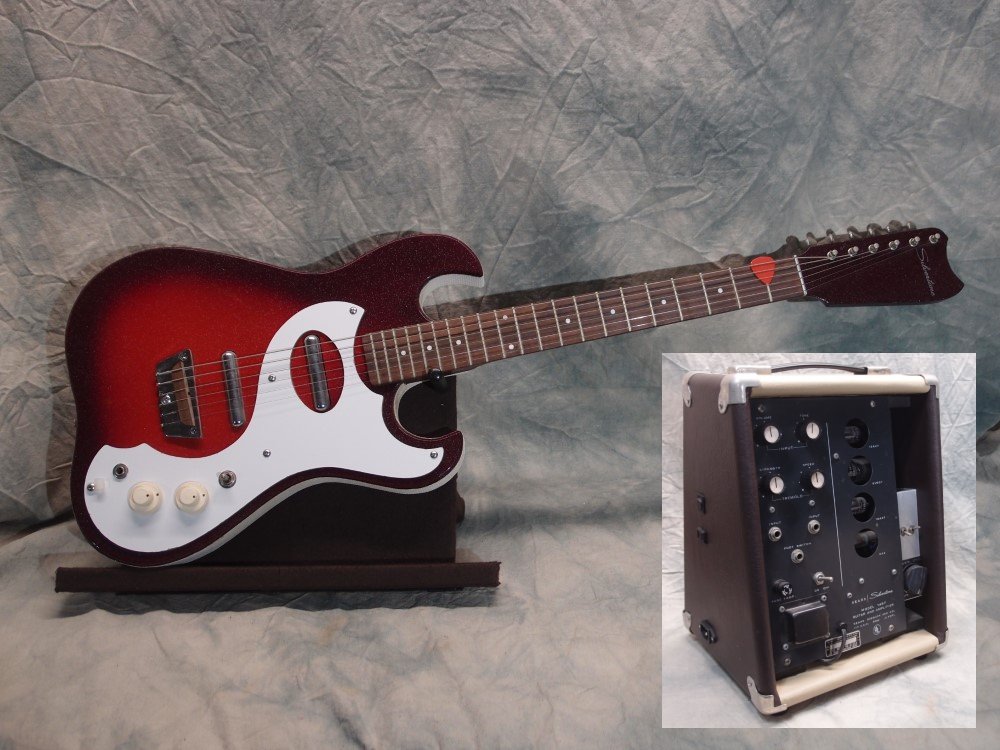
This is the big brother to the Silvertone 1448, vintage 1964-67. Construction is basically the same, but with a full-scale neck, two pickups, and a much better amp. For a lot of details, see the 1448 page. This guitar is in excellent condition for being almost sixty years old, and apart from cleaning and re-stringing, it needed nothing.
More: Silvertone 1457 Guitar & Amp ...
This is a Harmony-made Sears Silvertone 1478. This body style was originally called the "Silhouette", and Harmony sold similar models under their own name. Later it became known as the "Bobkat". I can't find a serial number anywhere, and I'm not taking it apart to look for one, so I don't know the exact age of this guitar.
More: Silvertone 1478 Guitar ...
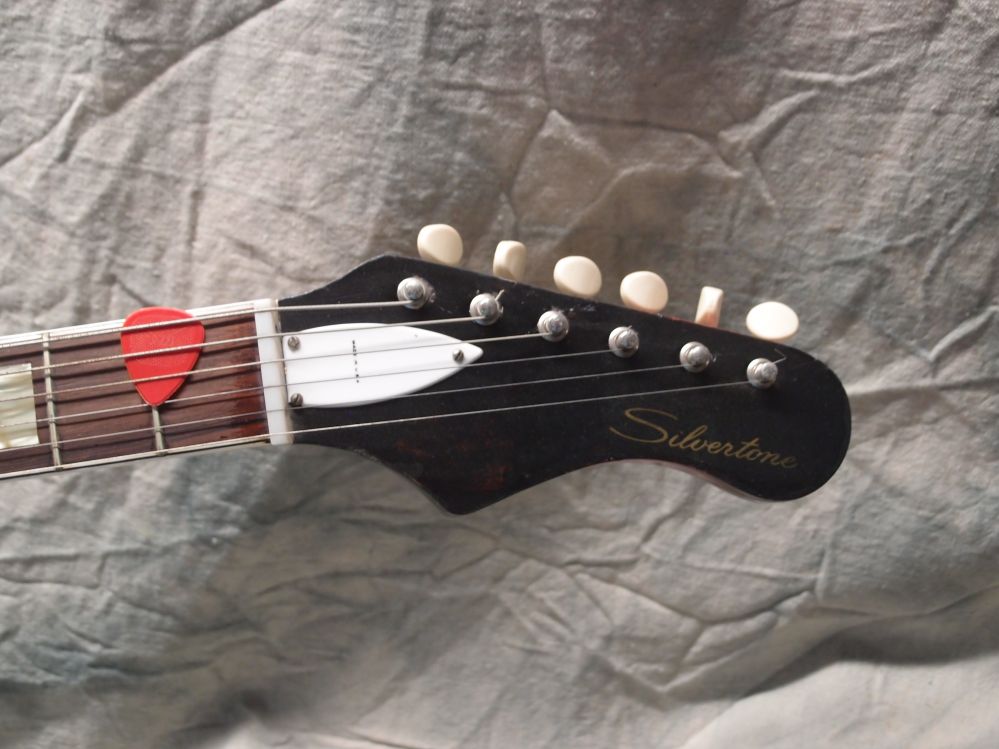
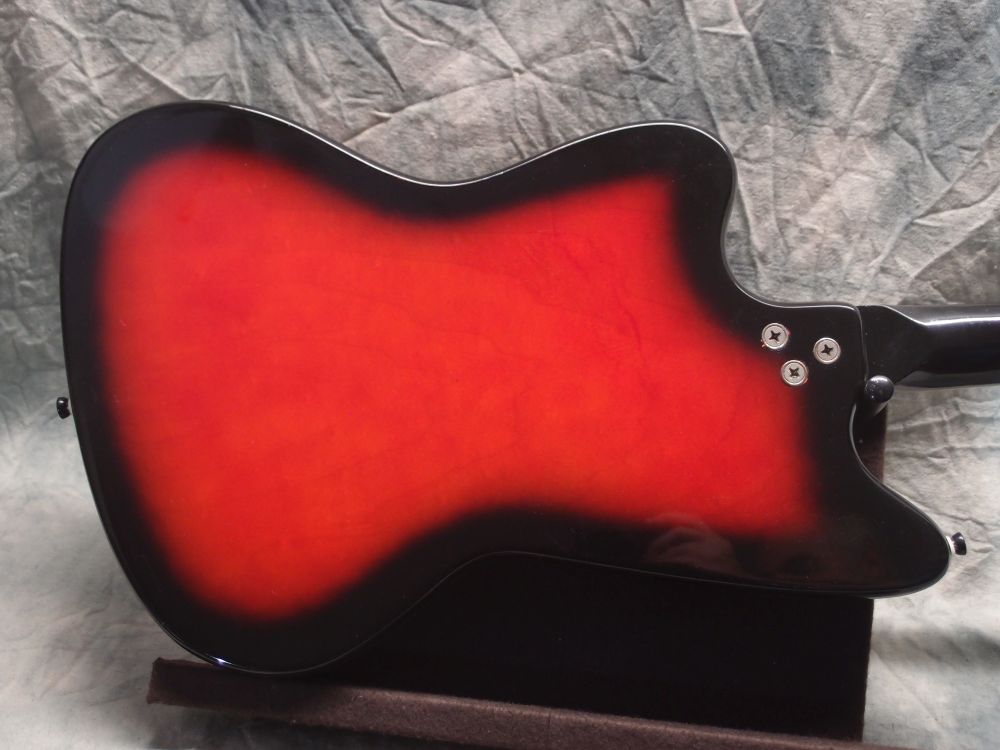
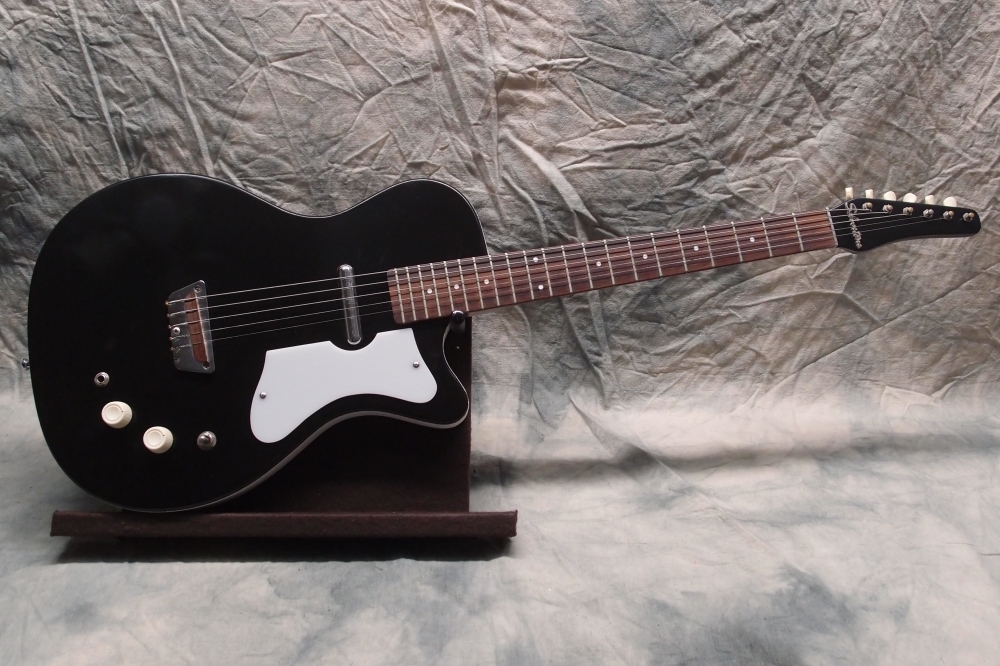
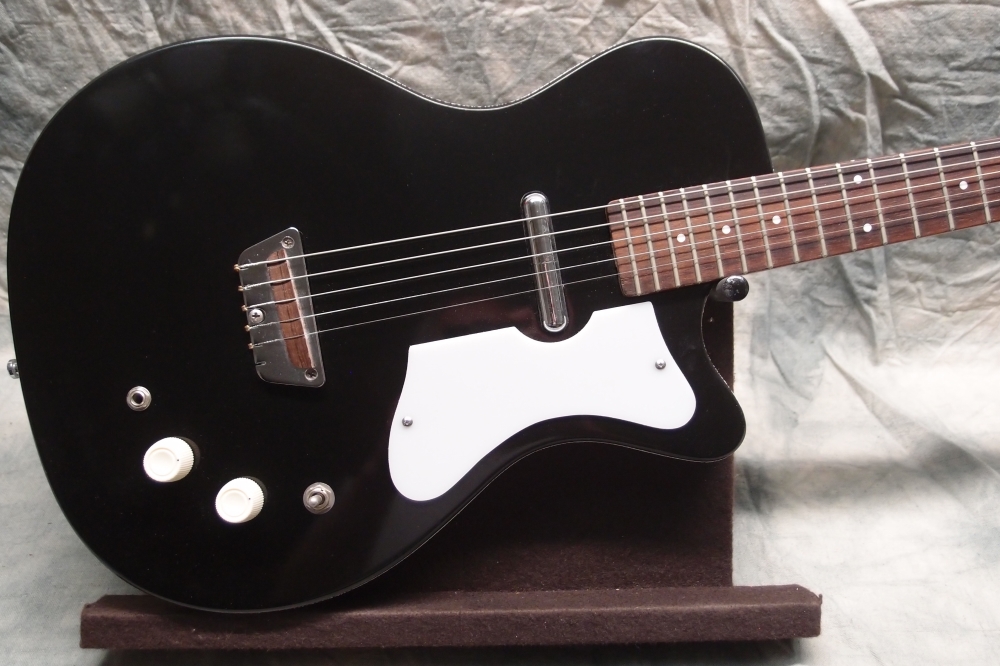
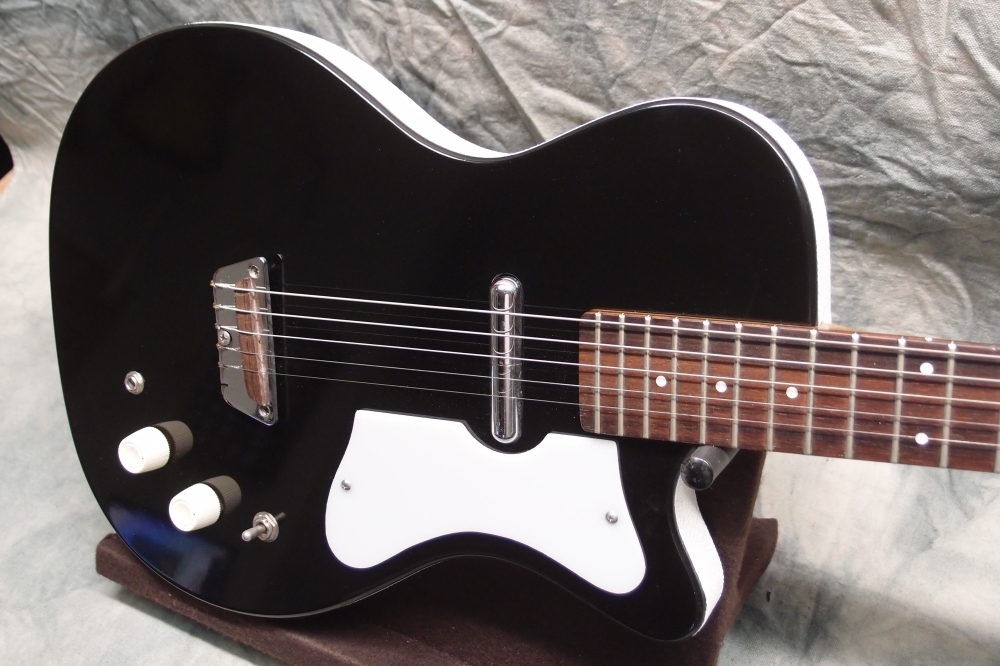
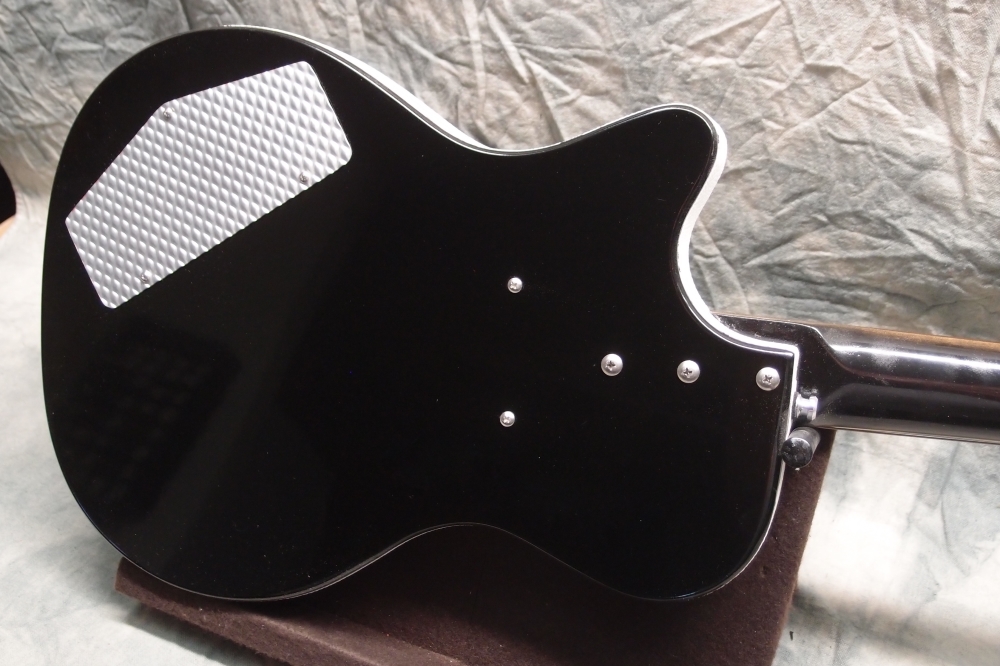
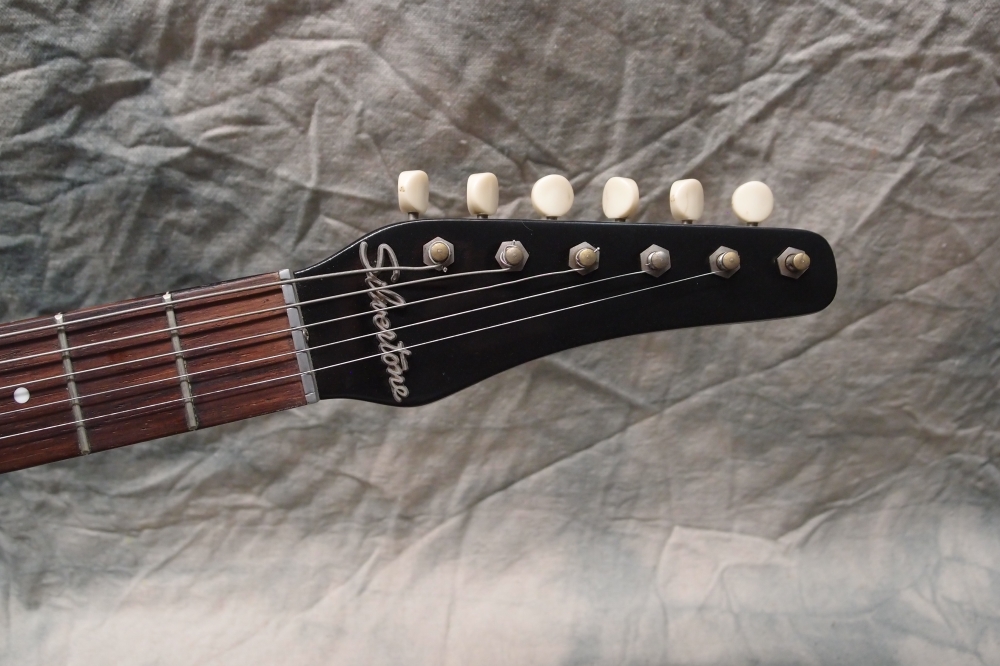
This started as a vintage neck that I got on eBay. I built a reproduction body and hunted-down old-style parts to rebuild this as authentically as possible. The finish is black nitro, which is accumulating nitro damage just from existing. Someday I should strip that garbage off and re-shoot it in polyurethane.
More: Silvertone U-1 "Dolphin" Guitar ...
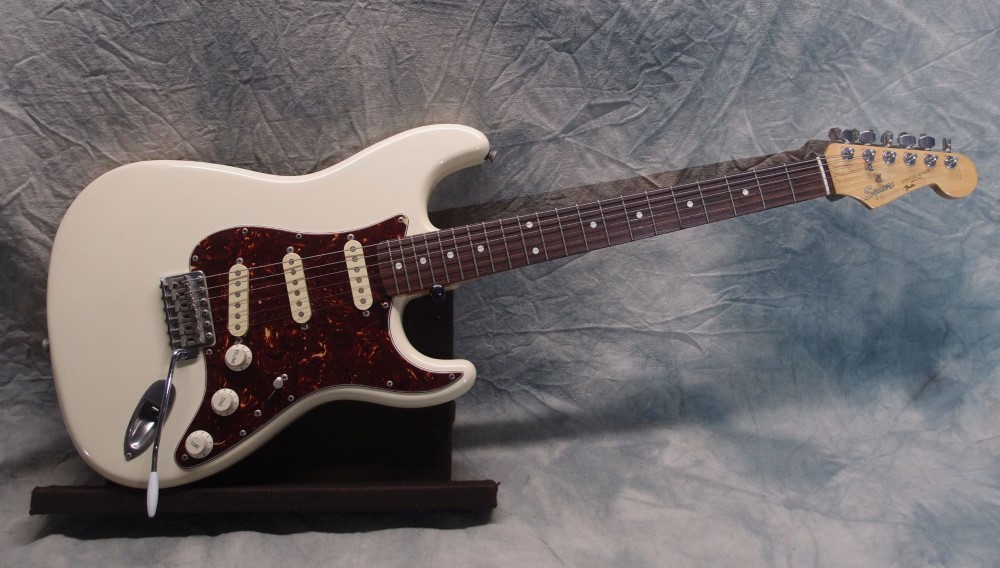
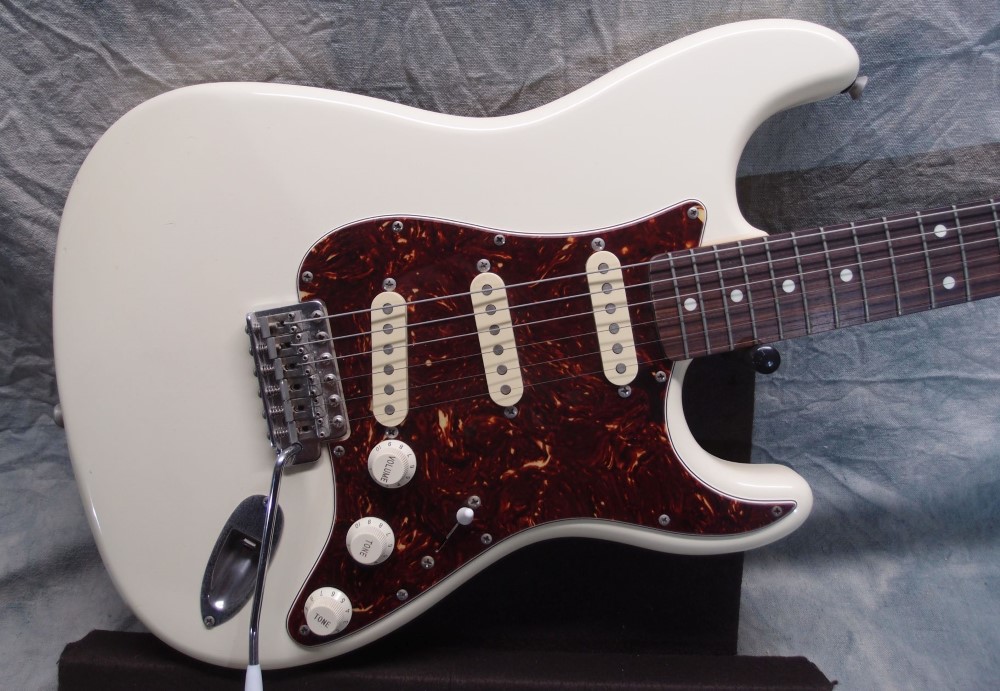
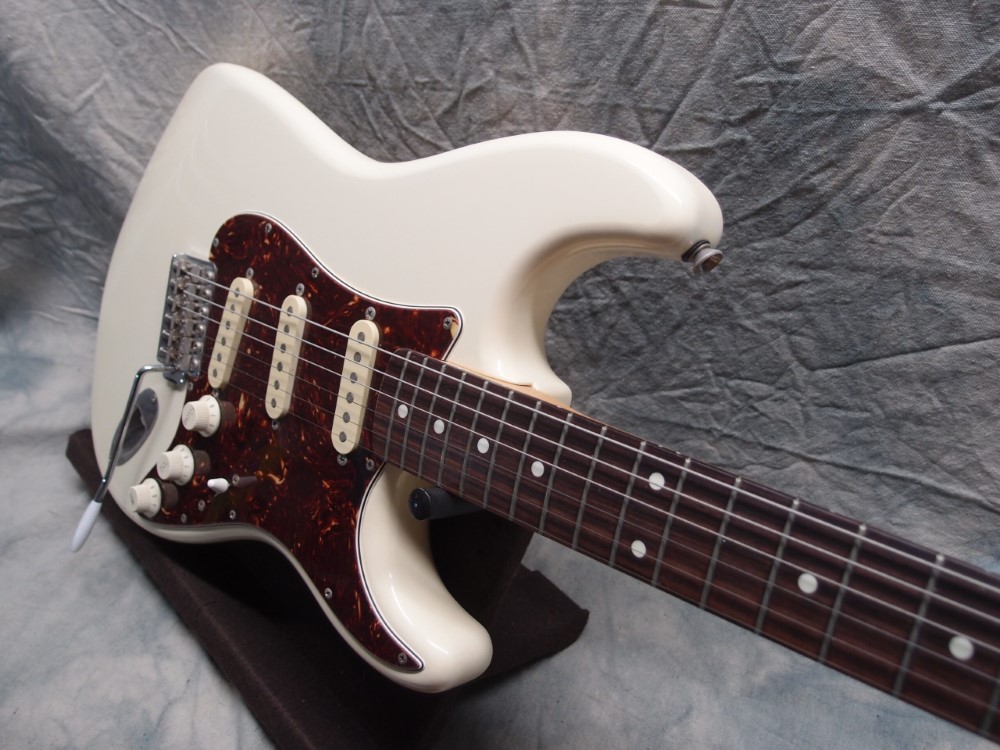
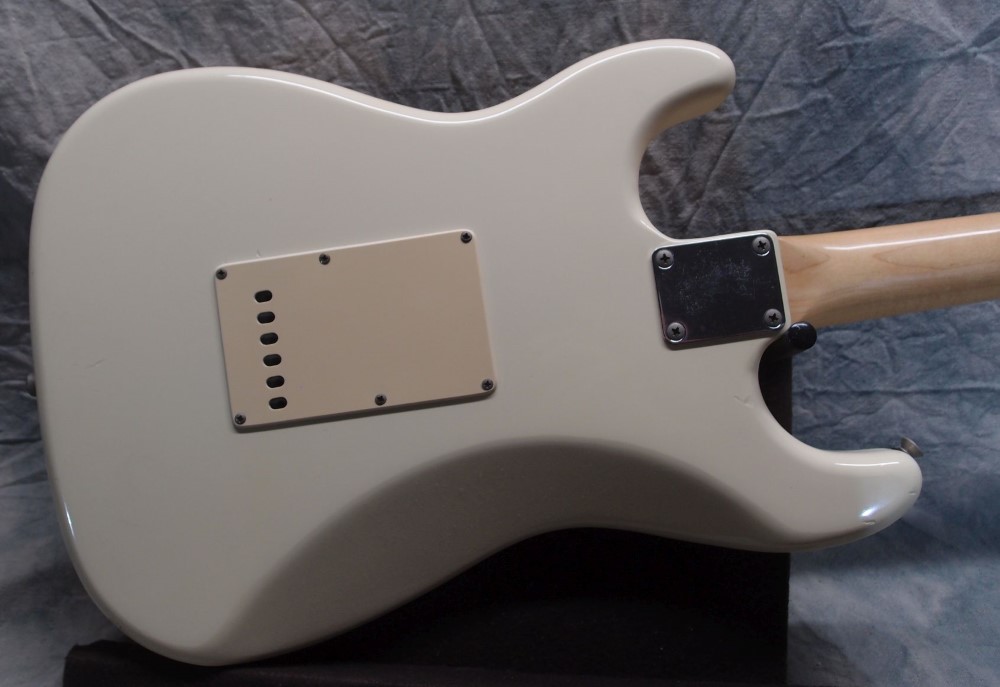
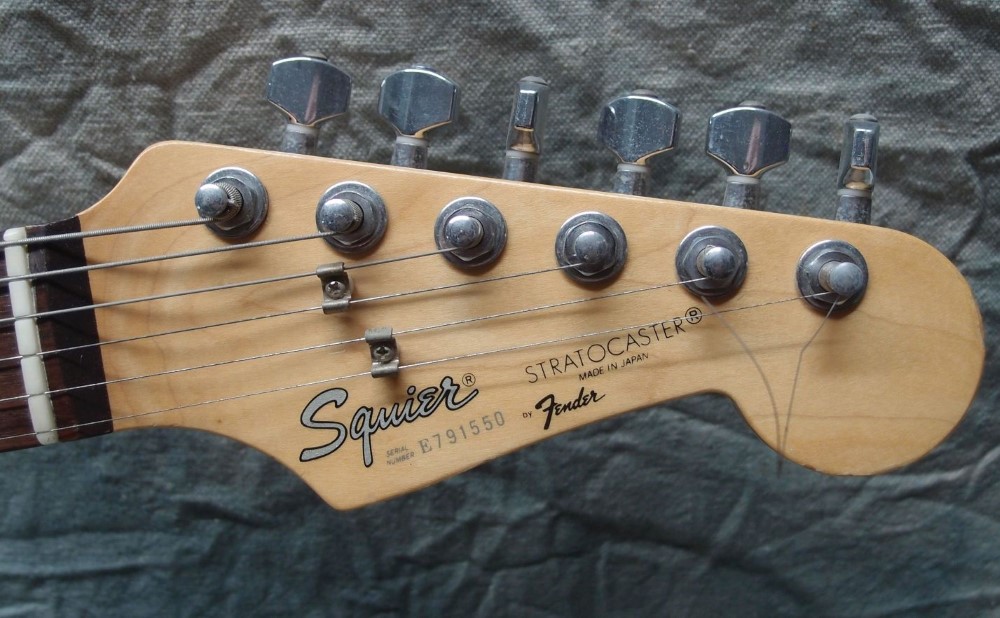
This is my reference for guitar setups - a Japanese "E-series" Squier Stratocaster from the early '80s. This was an era when Fender-America was not doing their best work, while the Japanese models were superb.
More: Squier '62 Stratocaster ...
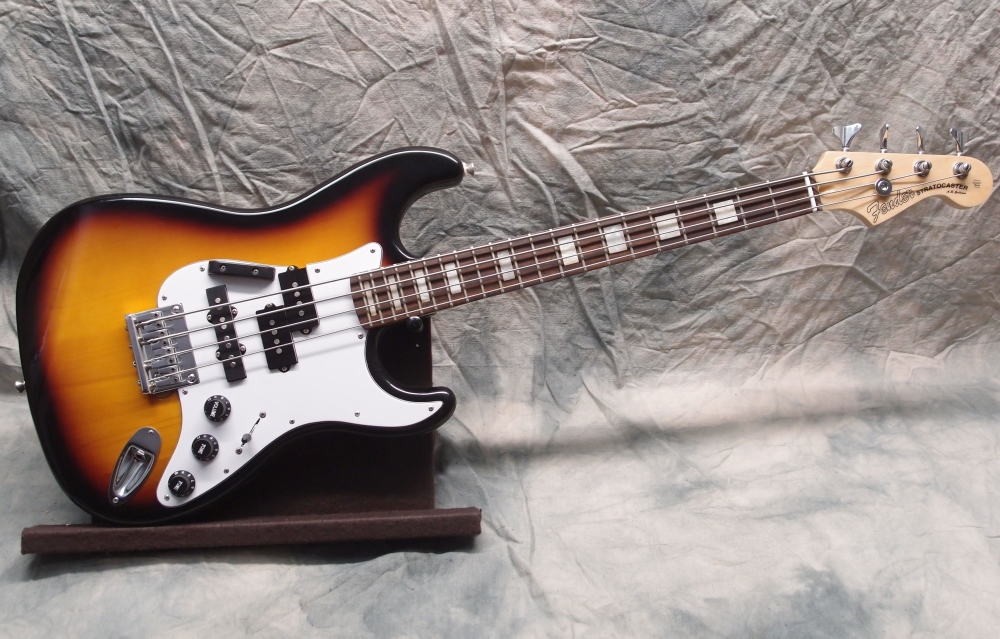
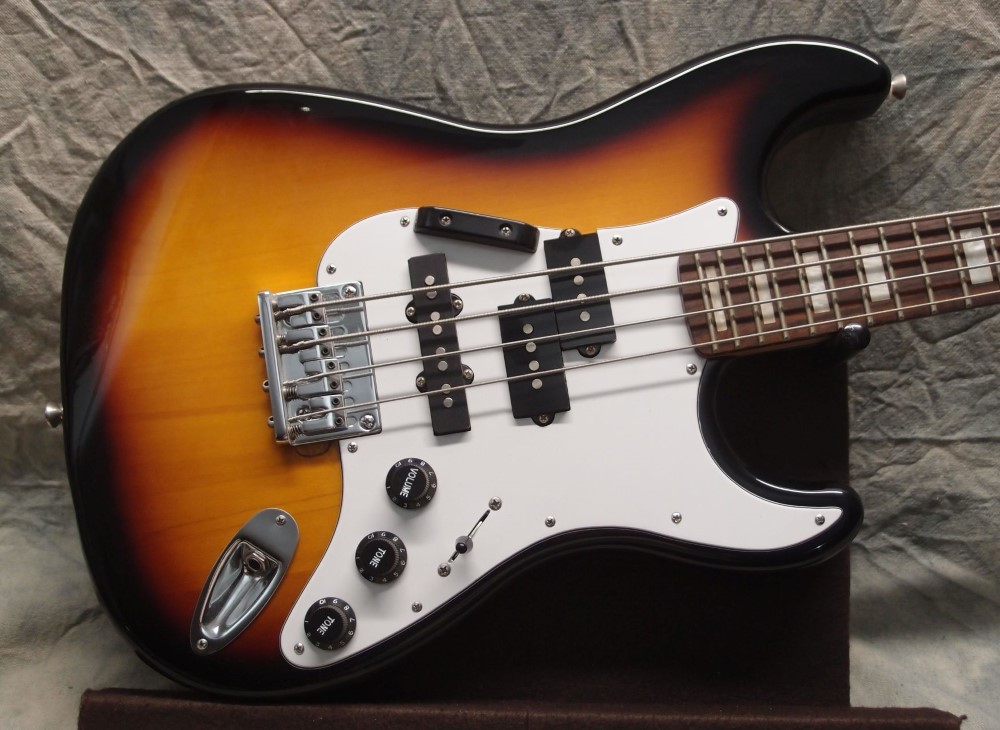
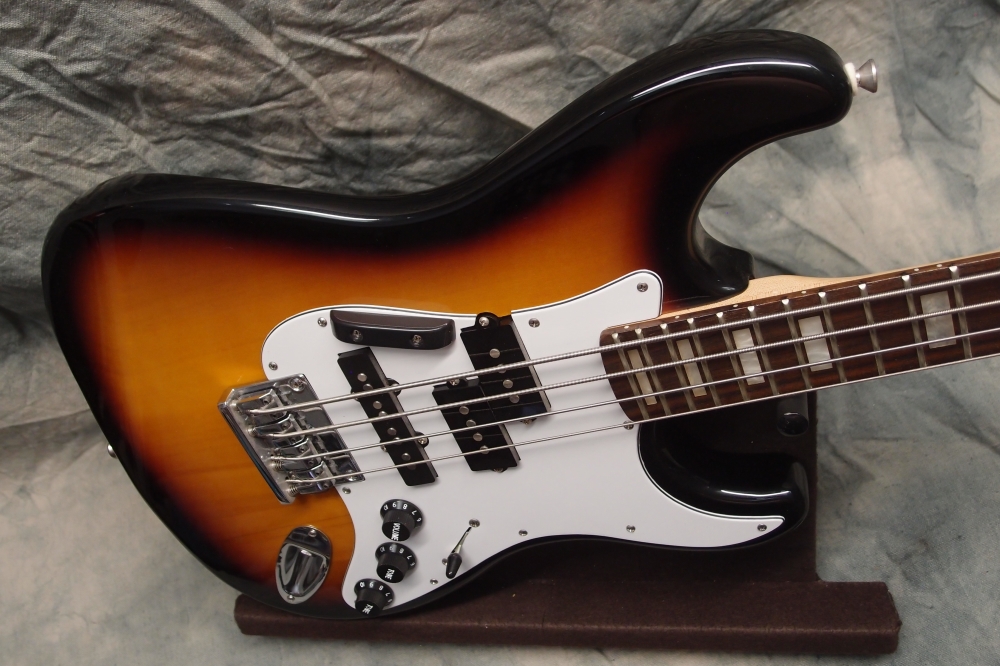
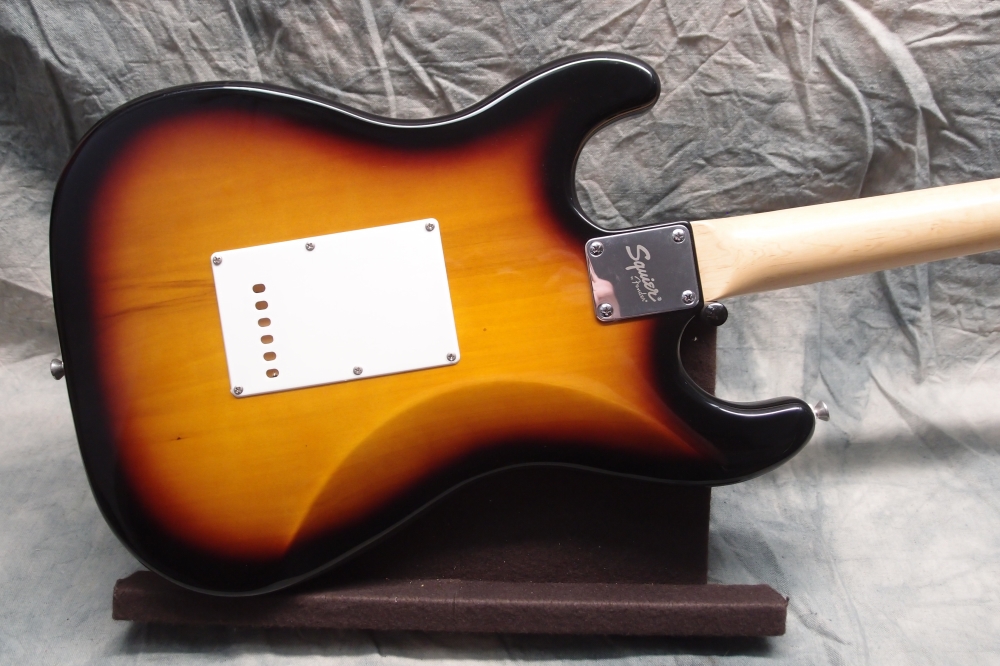
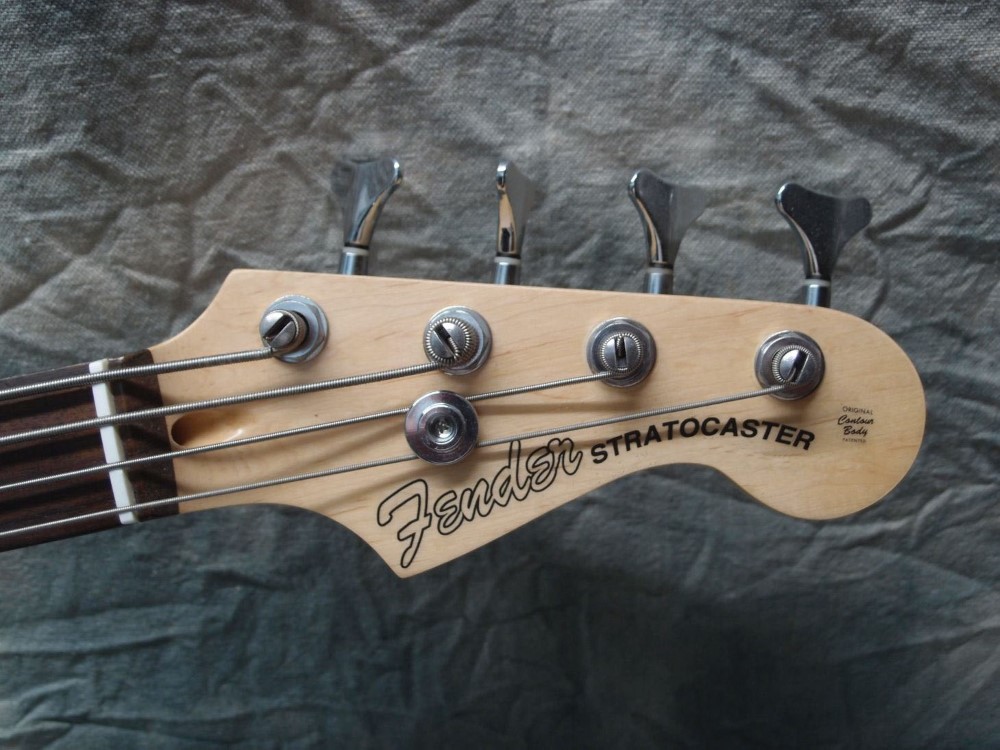
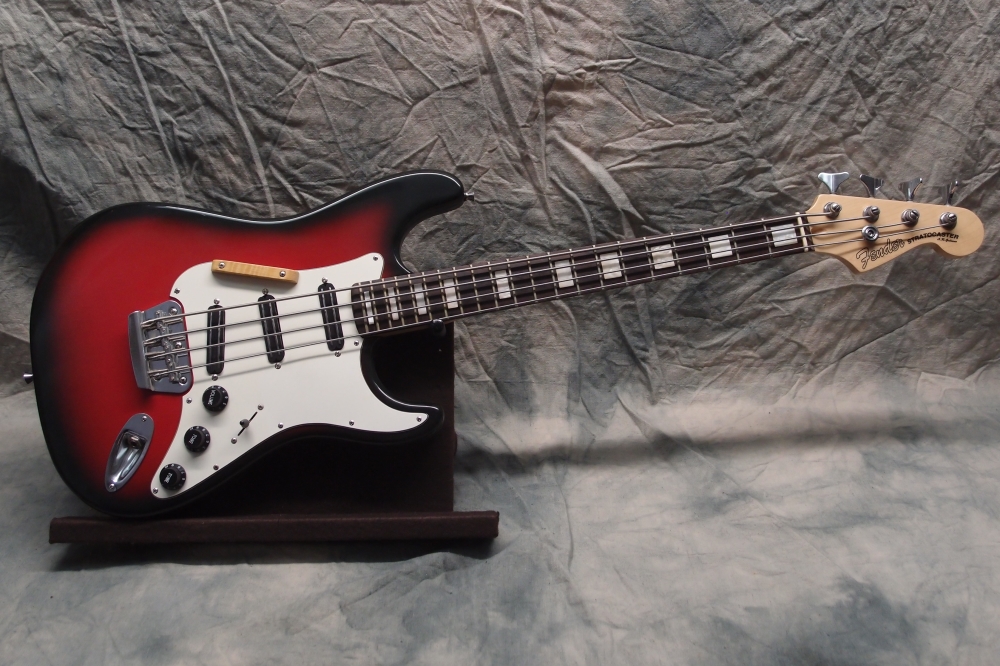
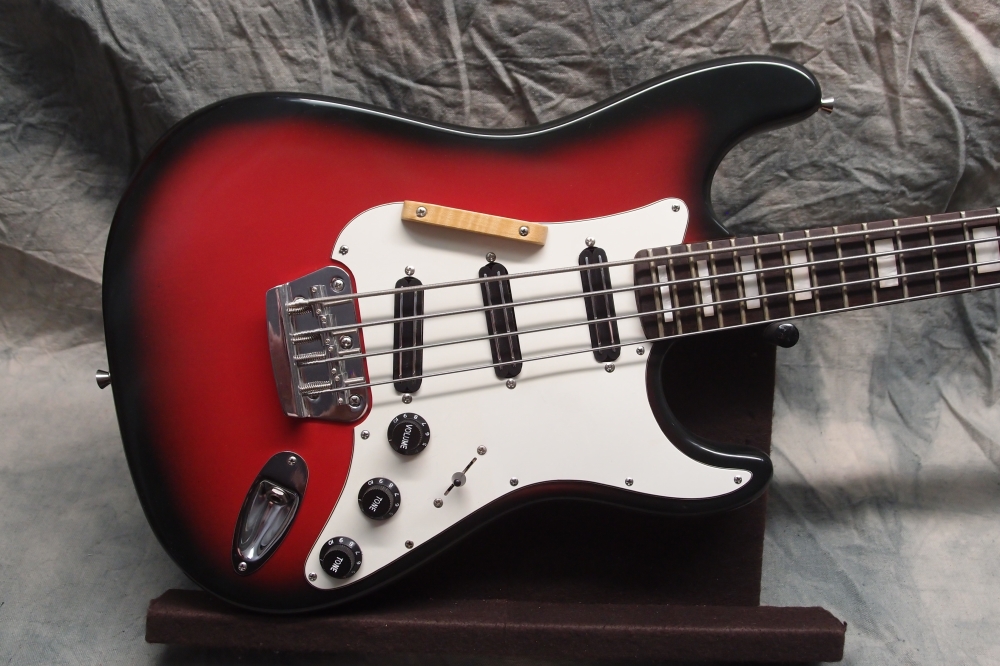
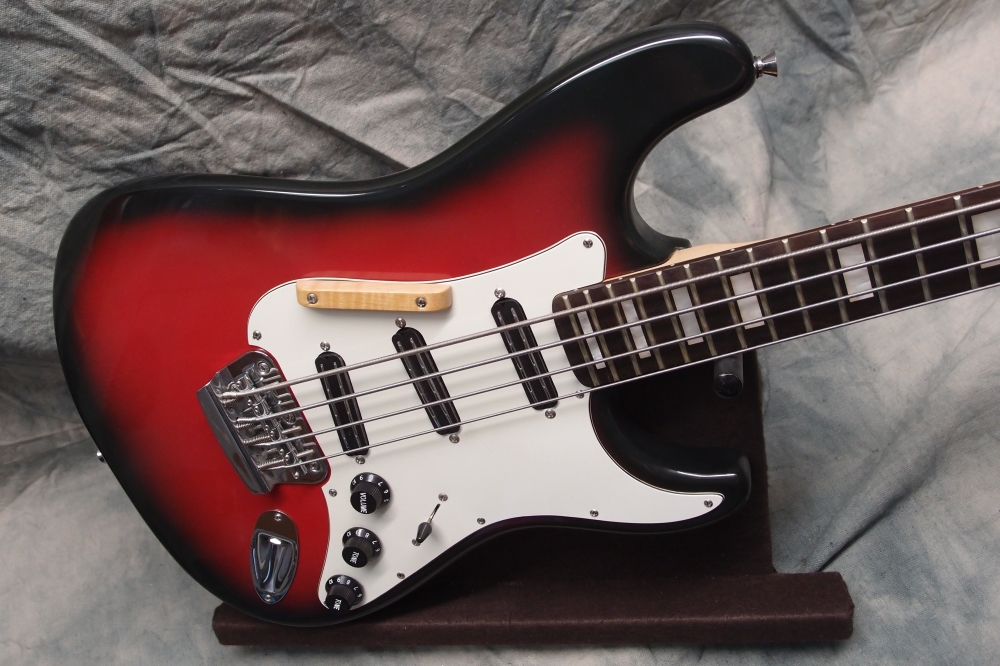
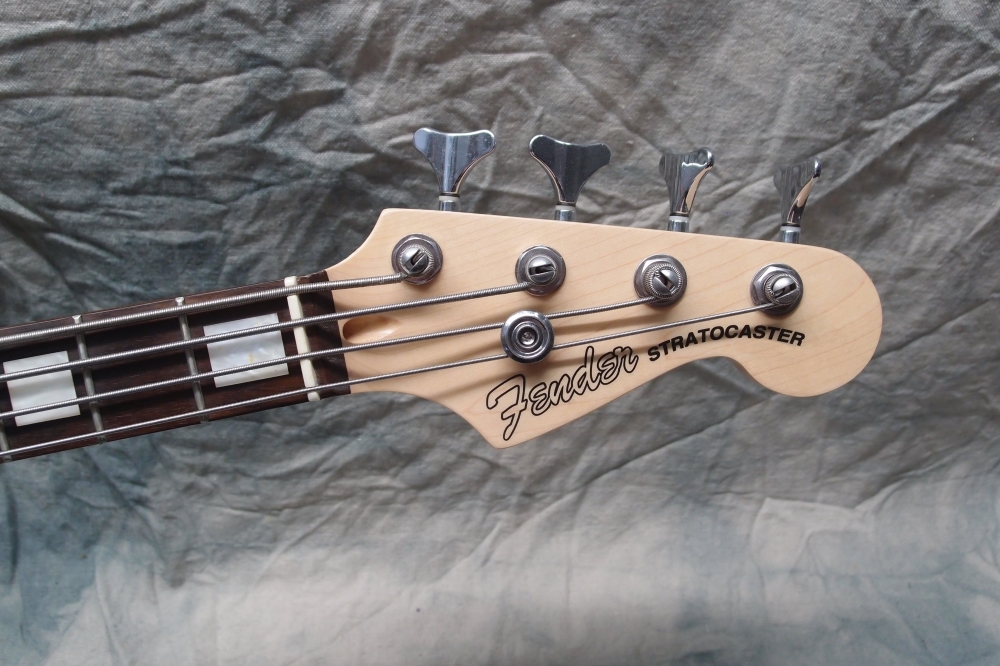
Eden paddle-head guitar neck converted to bass. Strings are lower four of 5-string set, unwound to fit 25" scale.
More: Stratocaster Micro Bass 1 ...
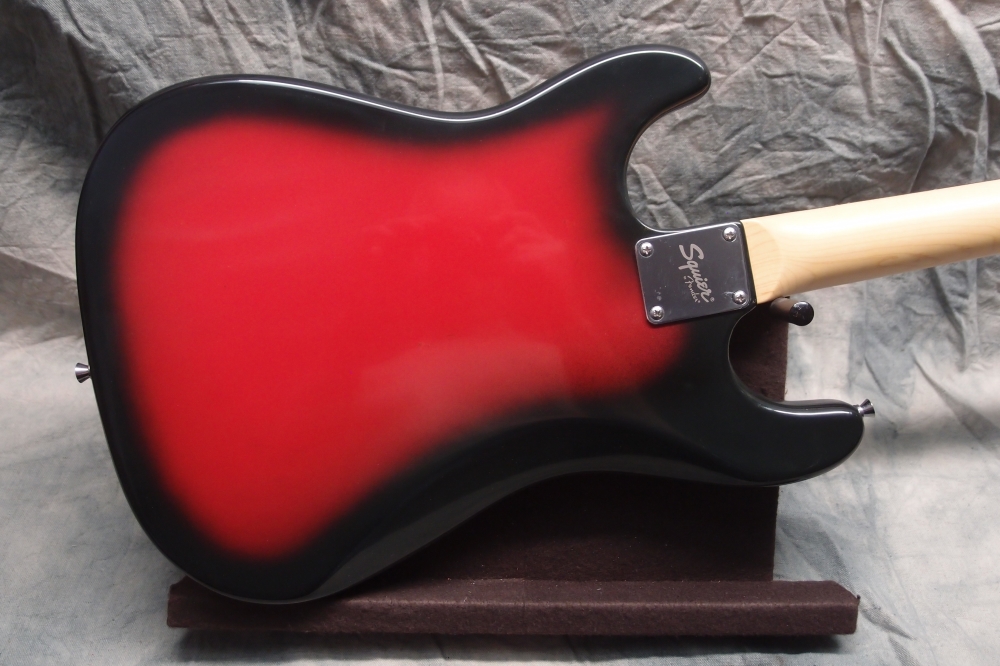
Originally all red, refinished in black burst. Eden paddle-head guitar neck converted to bass. Strings are lower four of 5-string sets, unwound to fit 25" scale.
More: Stratocaster Micro Bass 2 ...
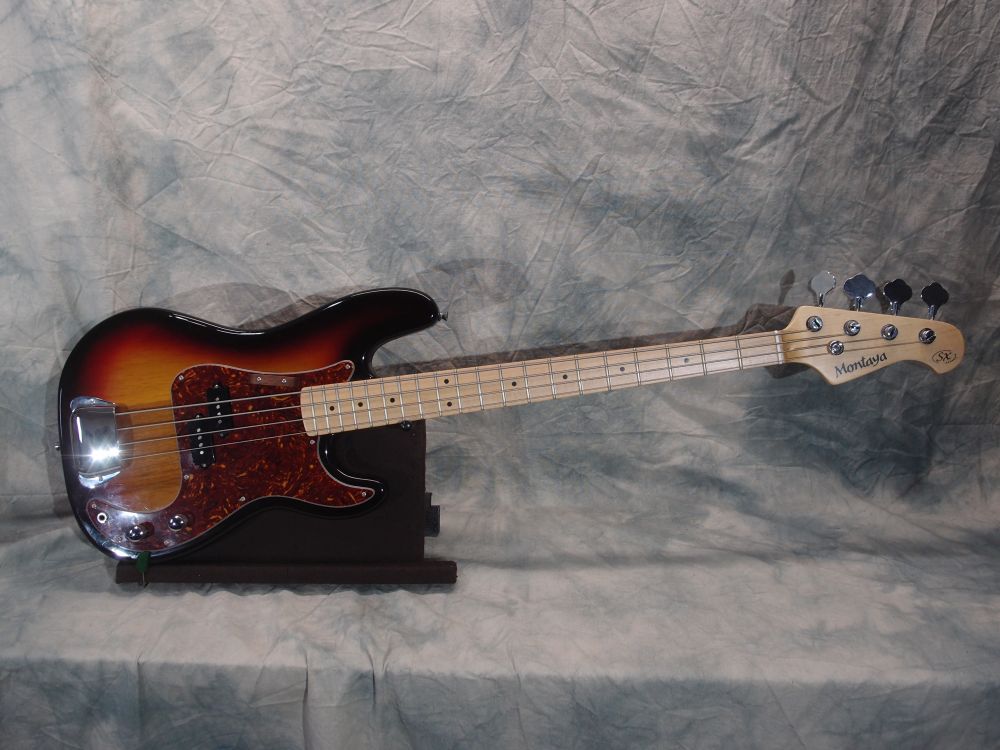
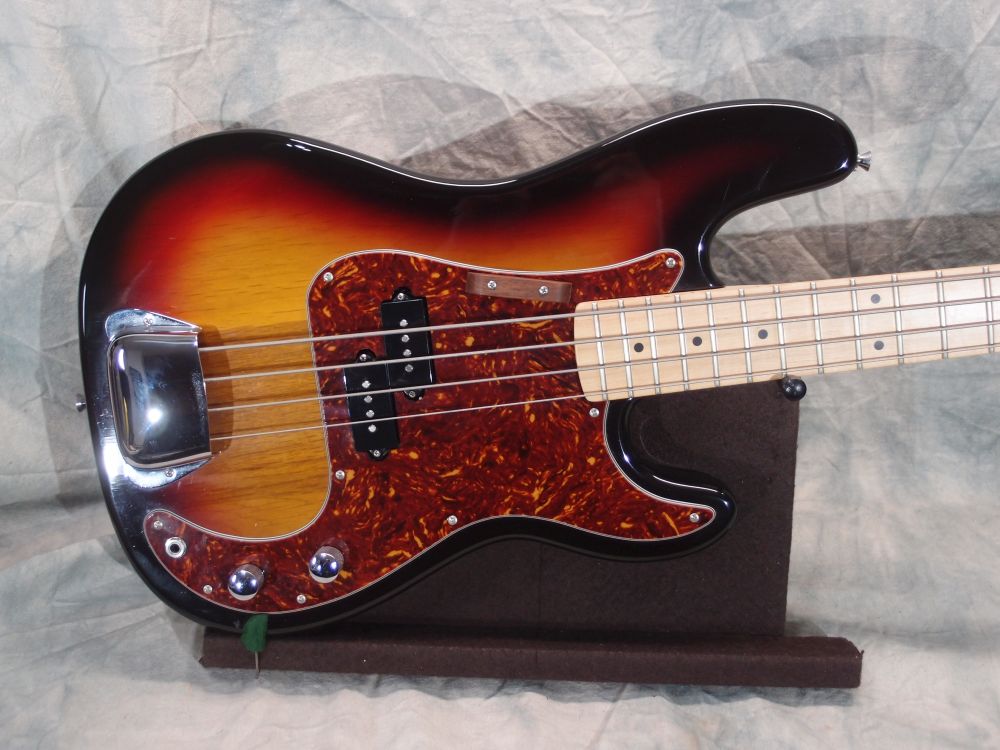
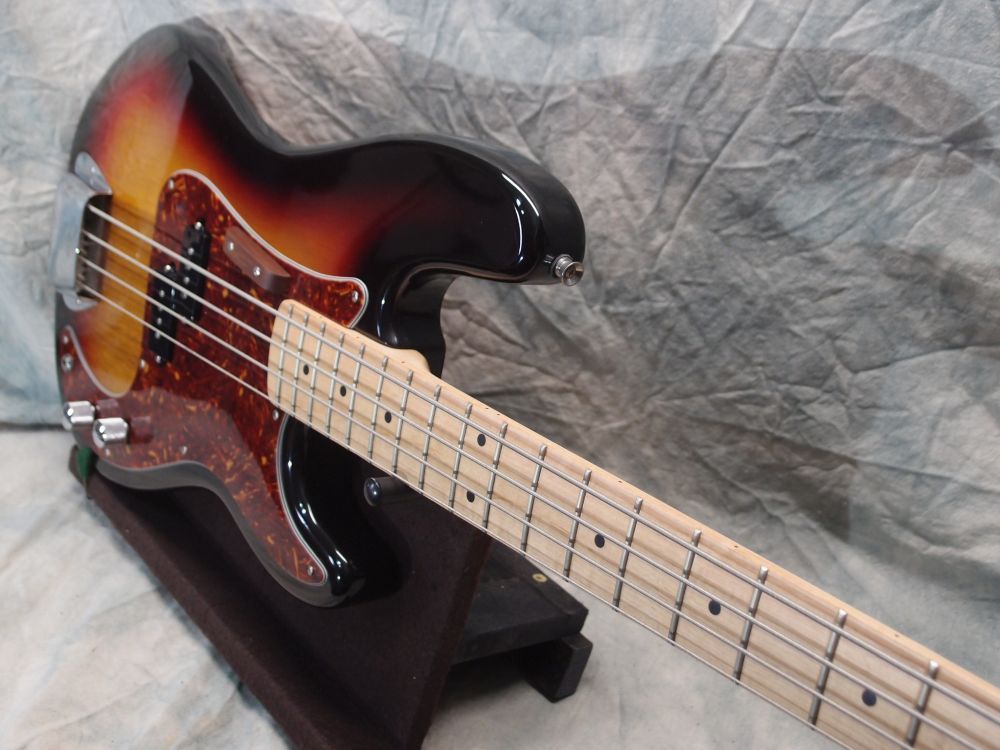
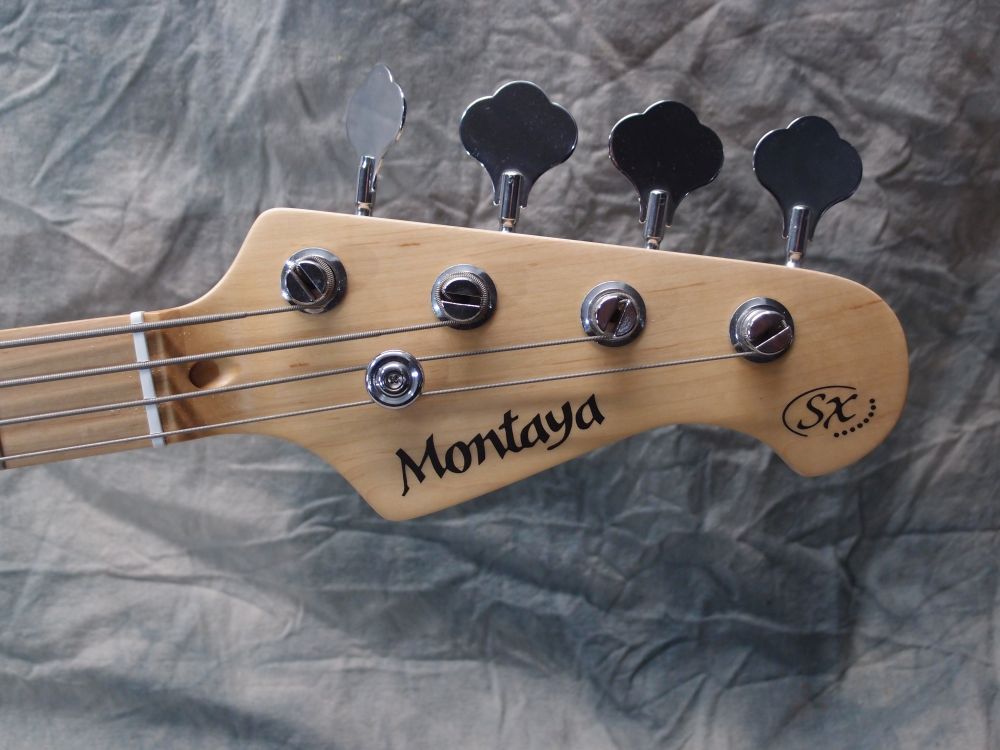
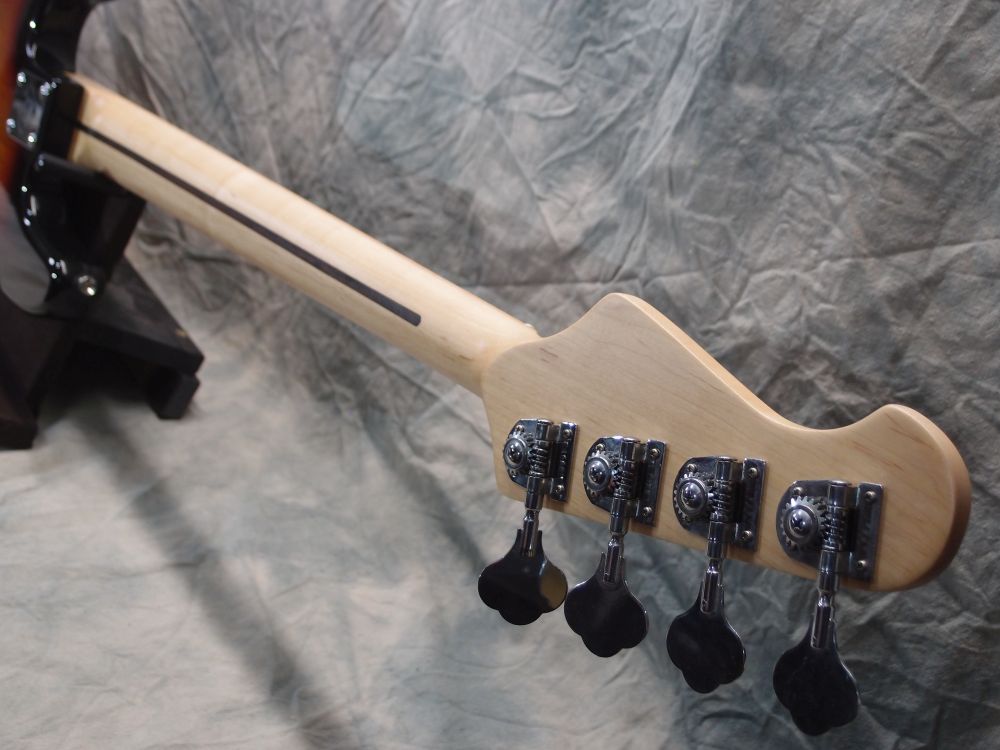
This is my attempt to recreate my very first bass, a "Montaya", as well as one of my first ventures into 'modding'. These SX's are great instruments. For 109 bucks you get an alder body with a beautiful 3-tone sunburst, a decent neck, functional bridge & tuners, and a flawless finish. What you don't get is any kind of useable pickups or strings. On this one, I installed a USA Fender pickup, my favorite d'Addario strings, and gave it a careful fret dressing and setup. I also added the tortoise pickguard, rosewood thumbrest, and ashtray for the looks only. At the time, I was going purely from memory, but I later found a picture of the original, and I got it dead right.
More: SX SPB-57 Precision Bass ...


