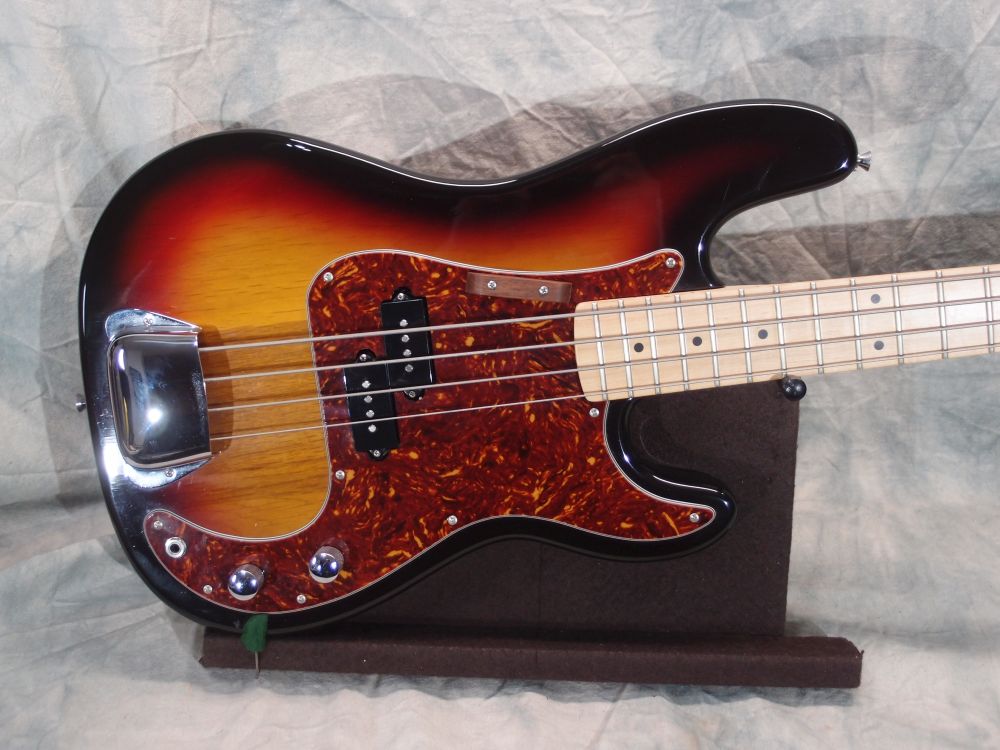
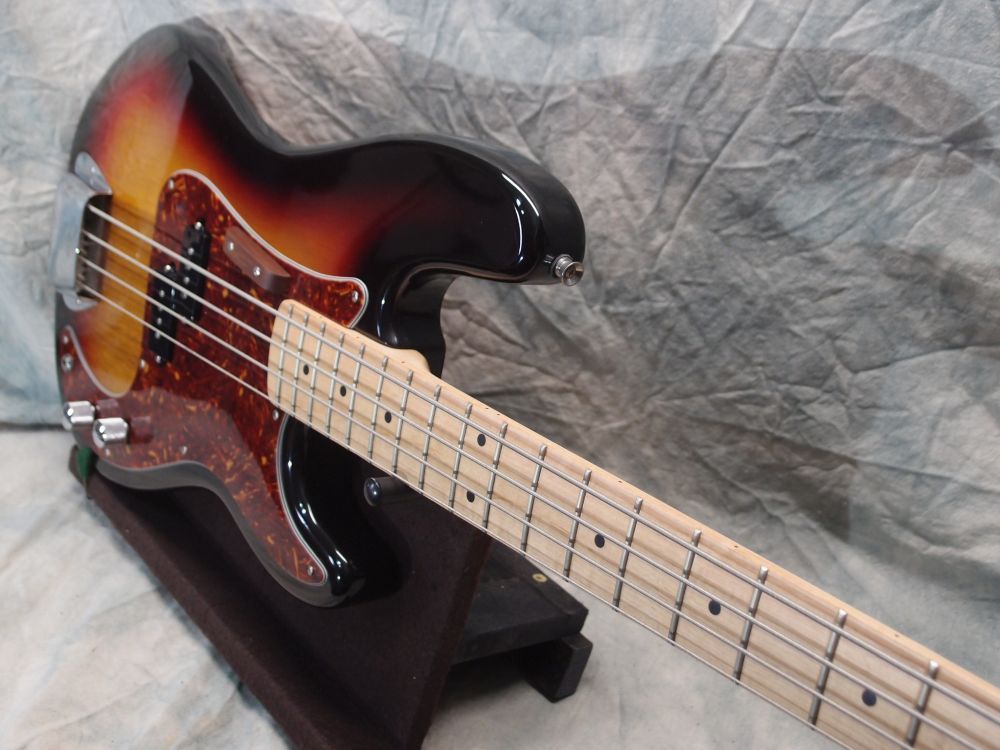
SX SPB-57 Precision Bass (2/3)
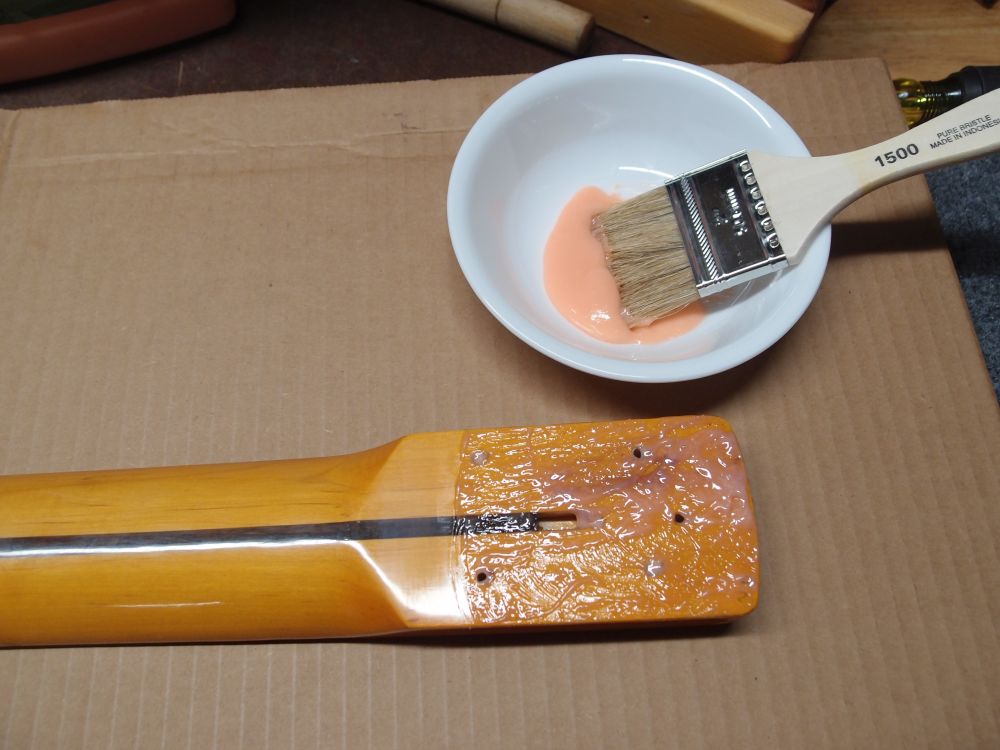
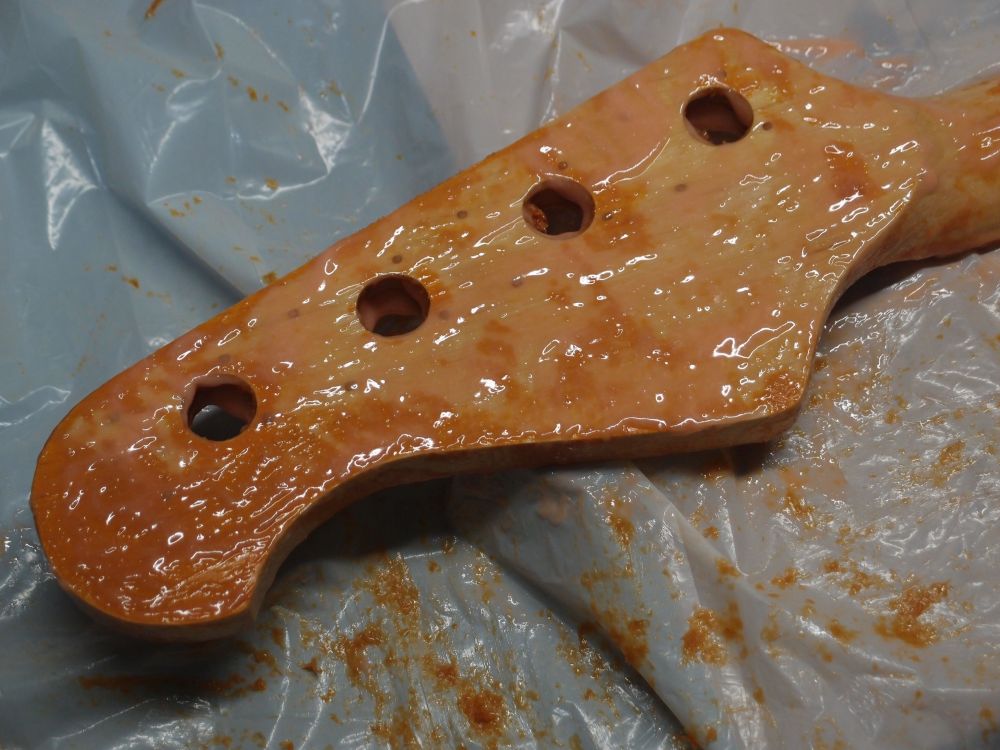
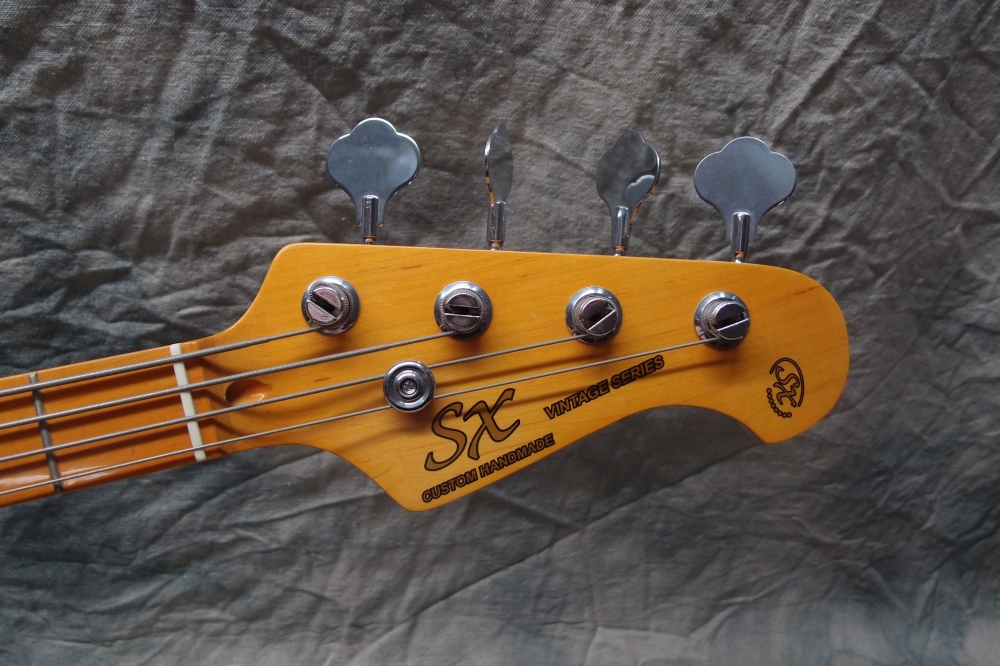
The one thing I never liked about this bass, even after all my upgrades, was that sickly orange neck. One day I was sneaking around Talk_ass ( God knows why, what a stupid place ) and I ran across some posts about stripping the orange off one of these using CitriStrip. CitriStrip is a paint stripper that you can get at Home Luthiery Supplies Depot, and is very simple to use. All the reports on Talk_ass * were how easy this was, and how great the results were, so I figured, why not? Hint: never believe anything you read on Talk_ass, it is a giant pile of garbage.
* b

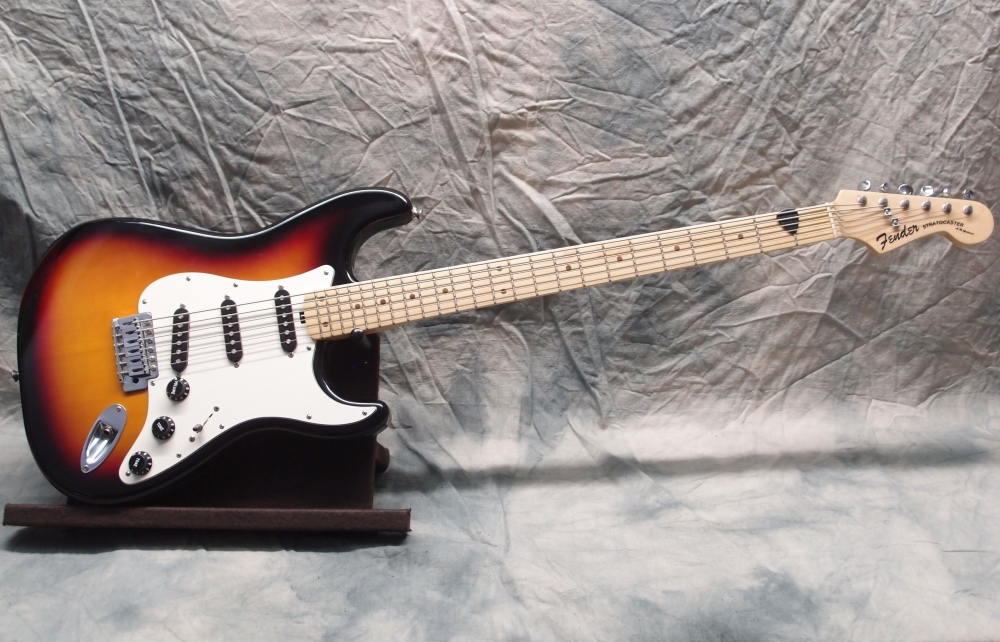
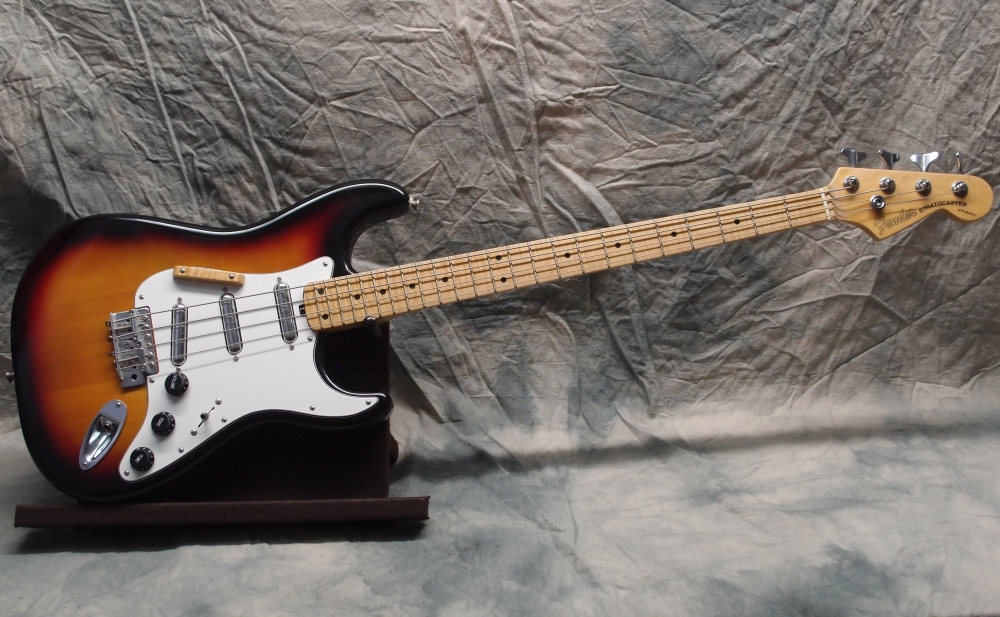
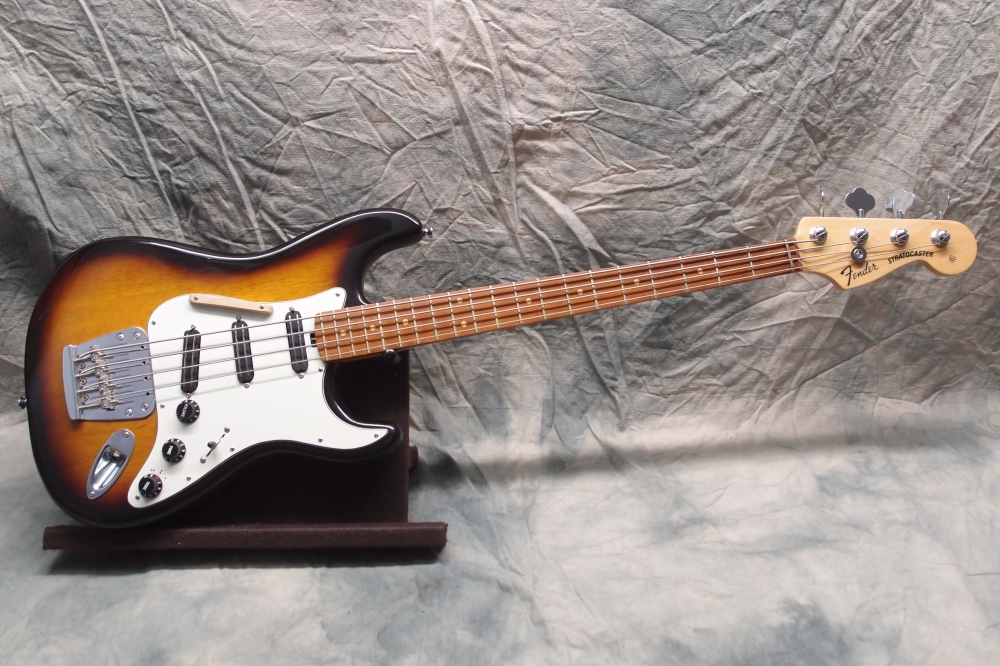
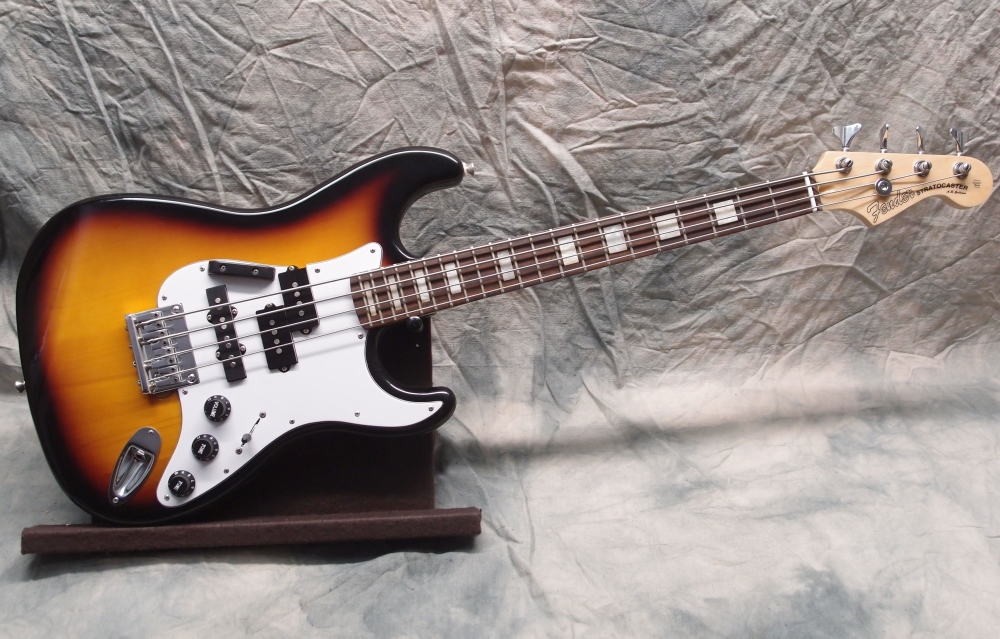
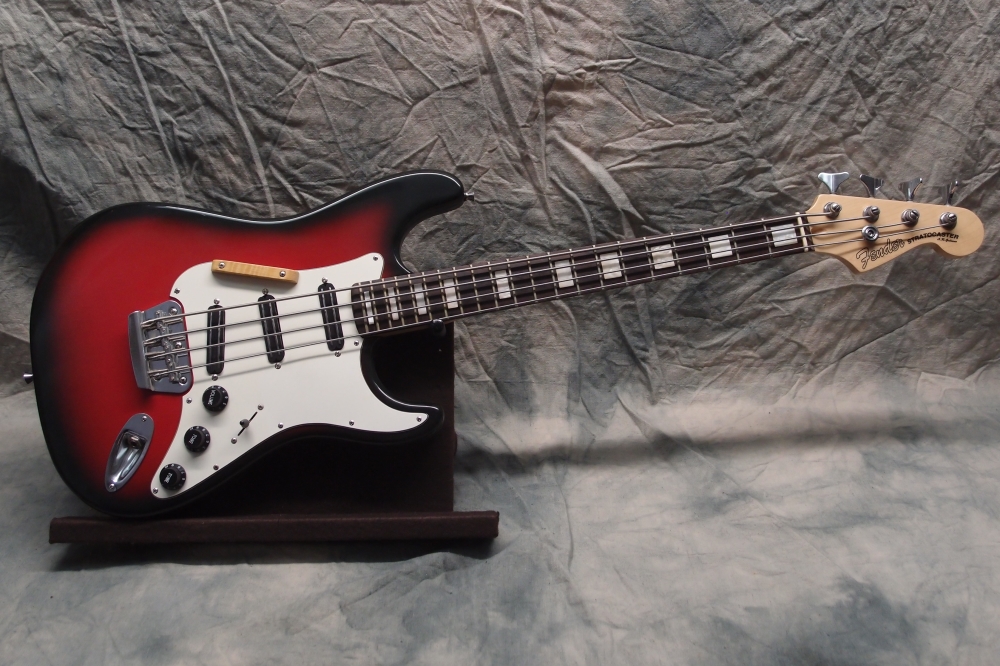
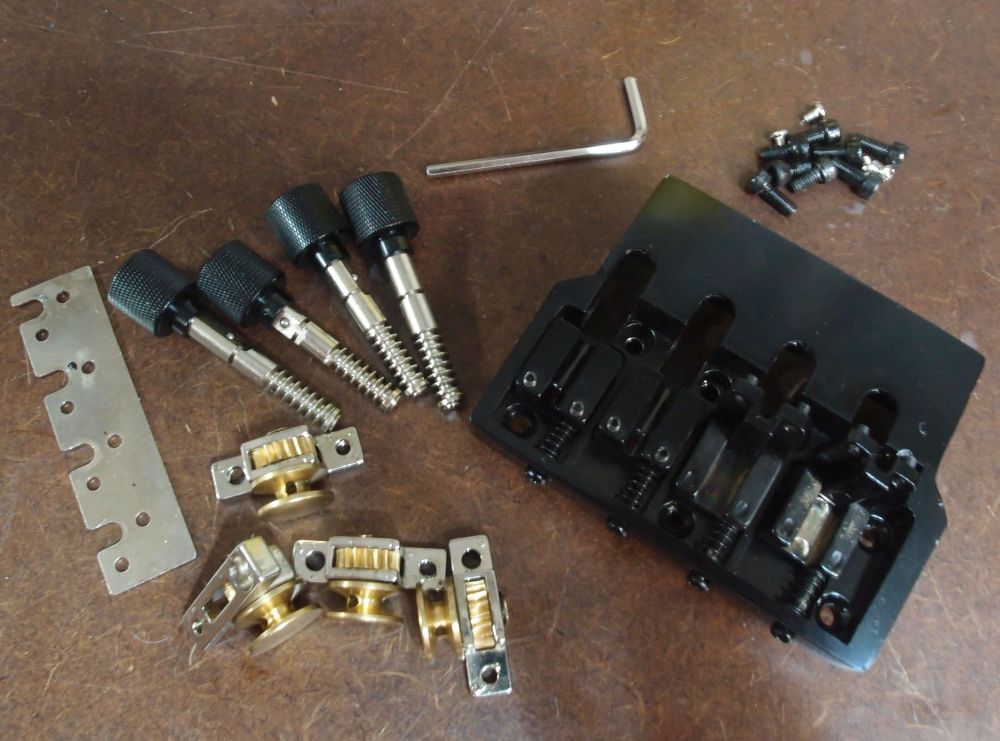
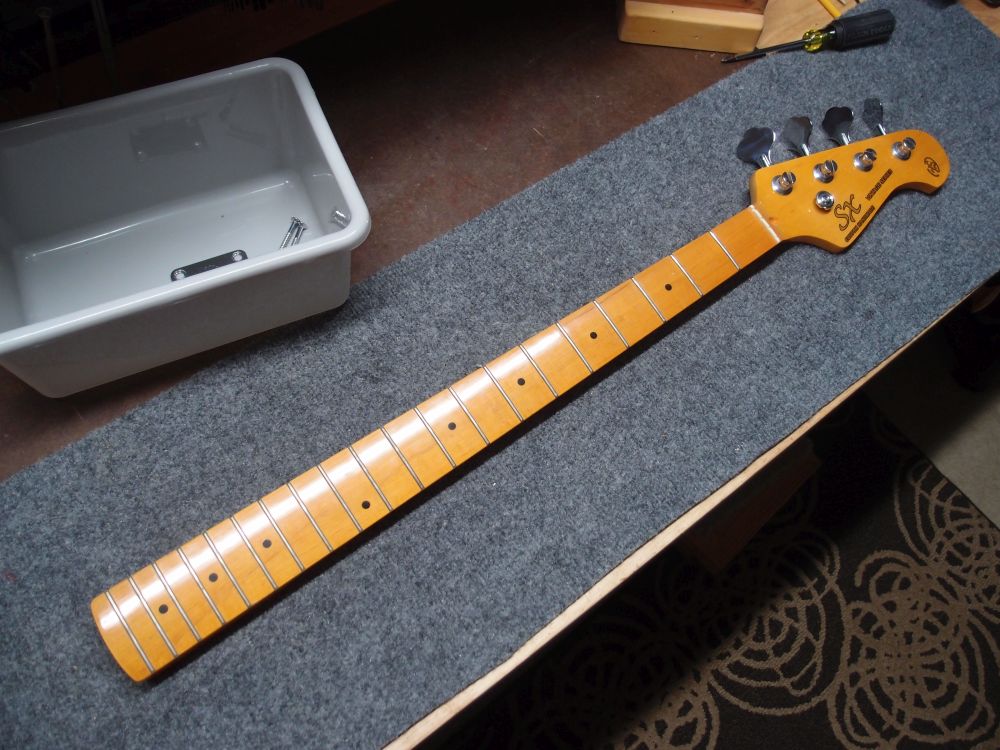
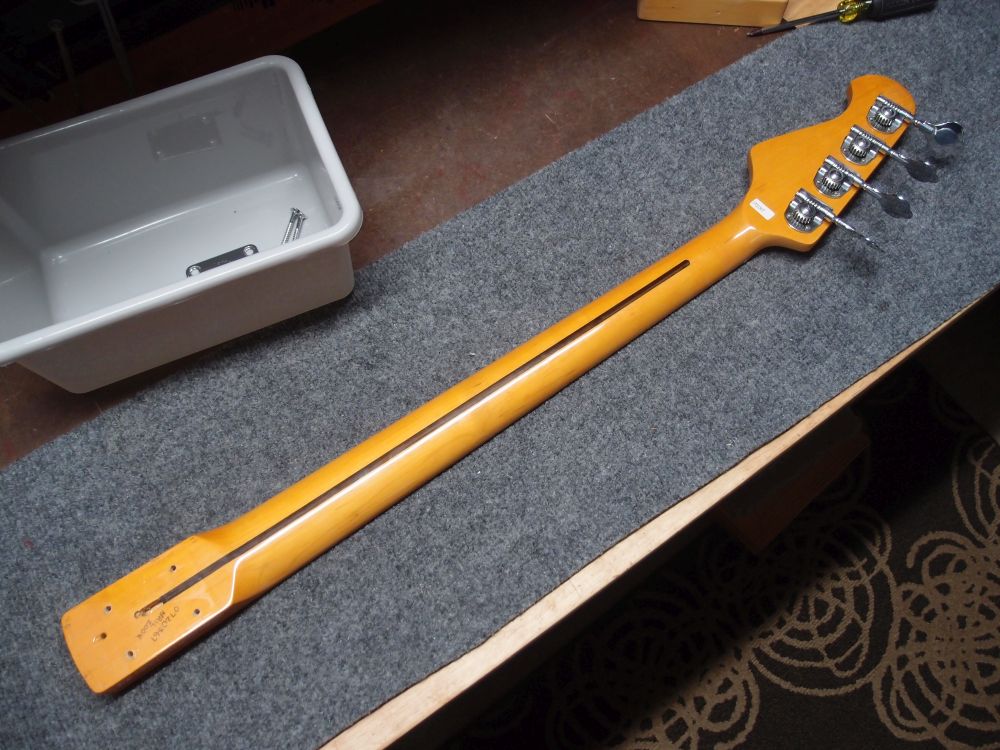
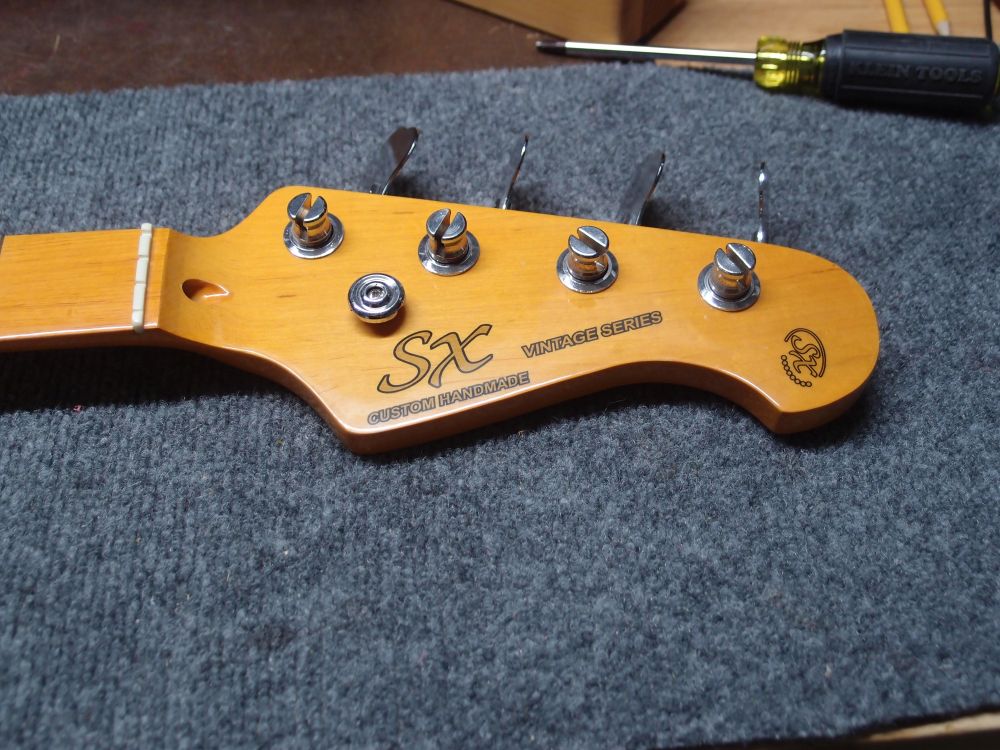
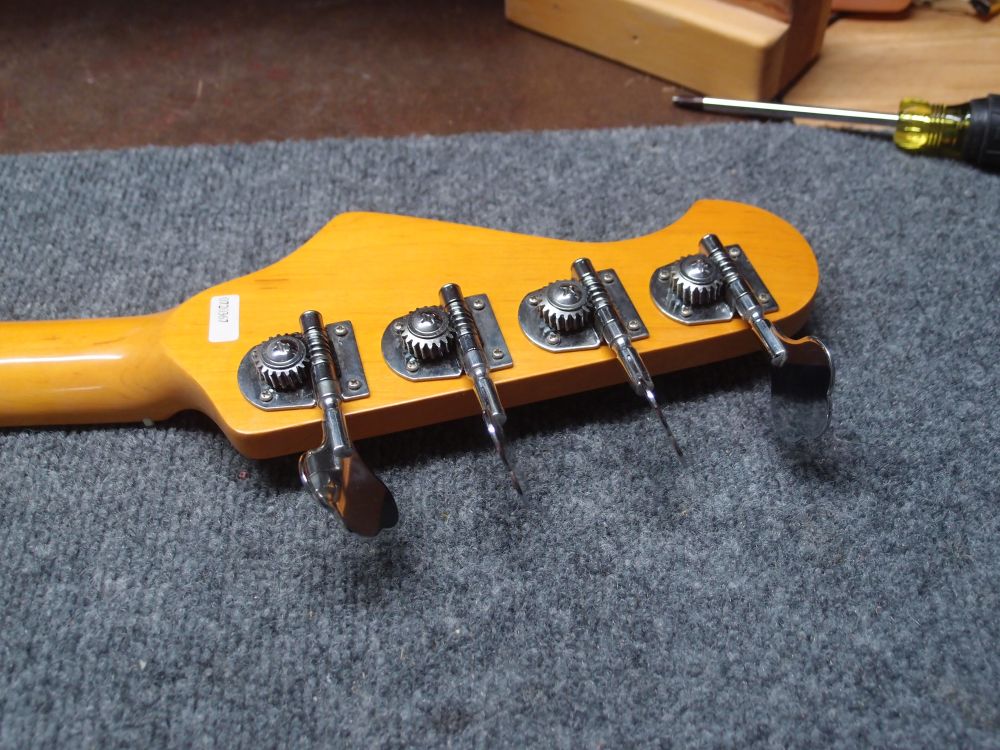
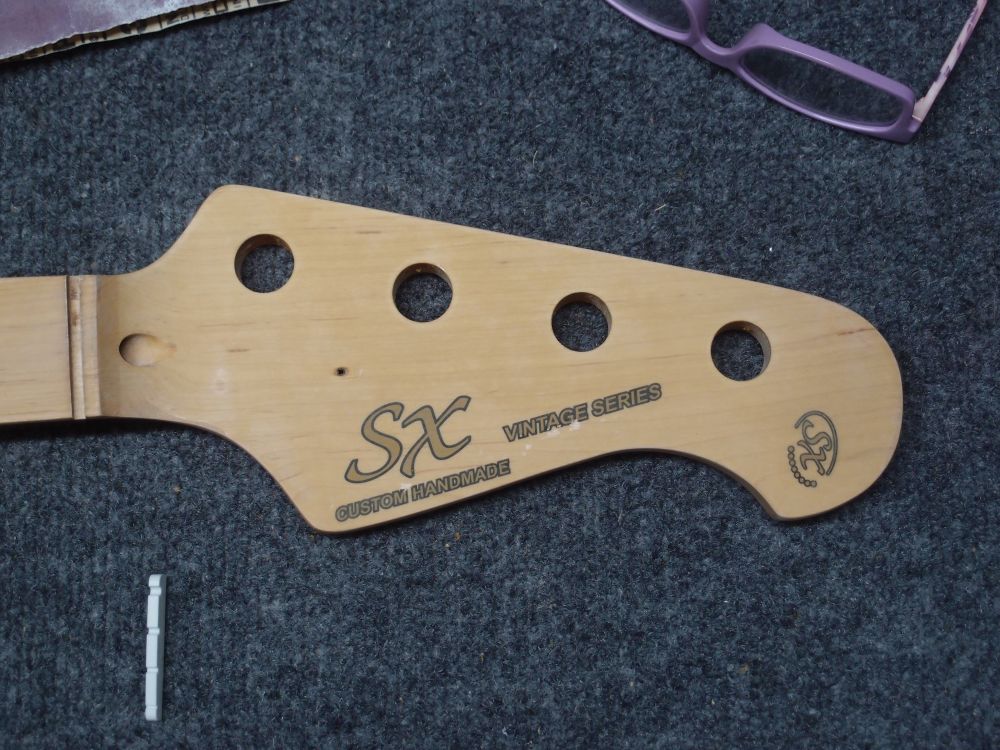
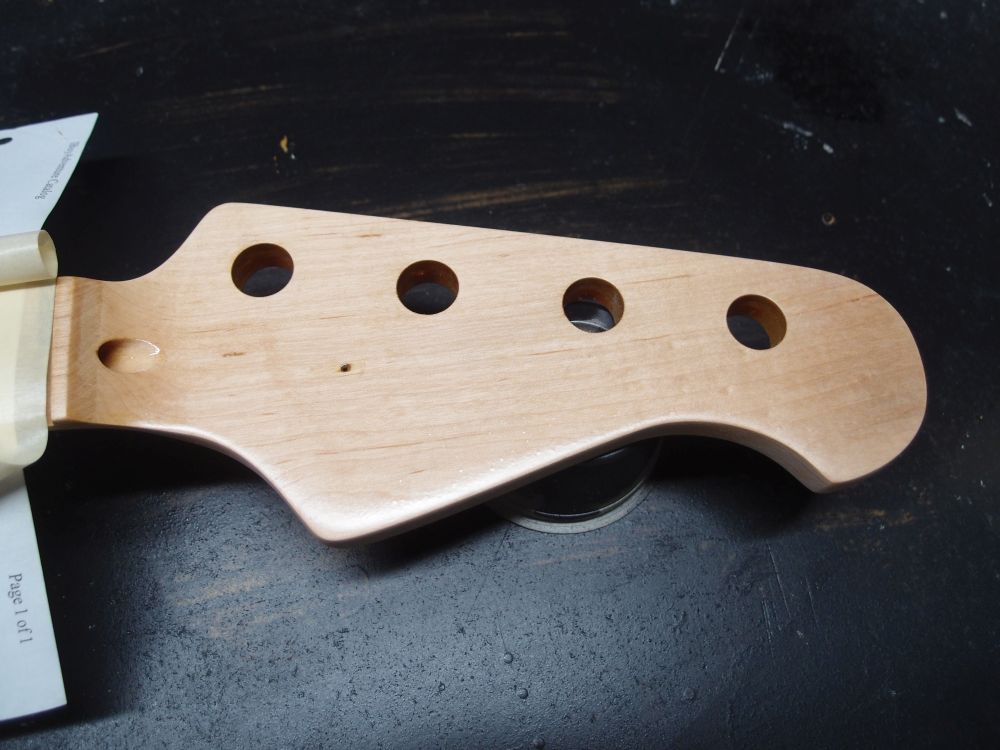
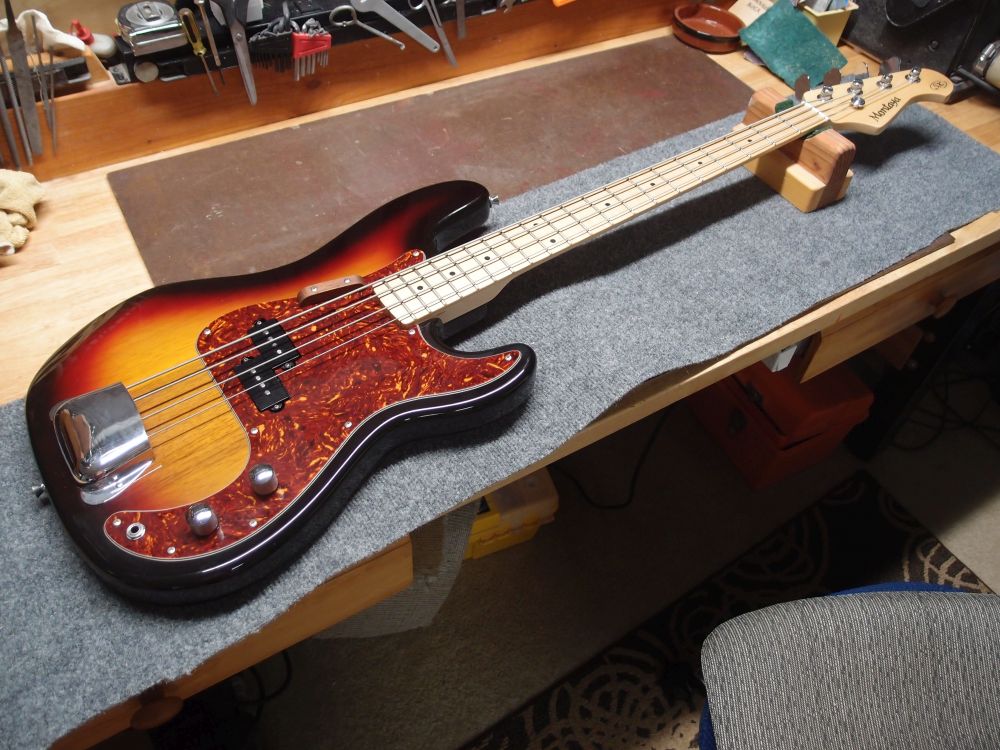
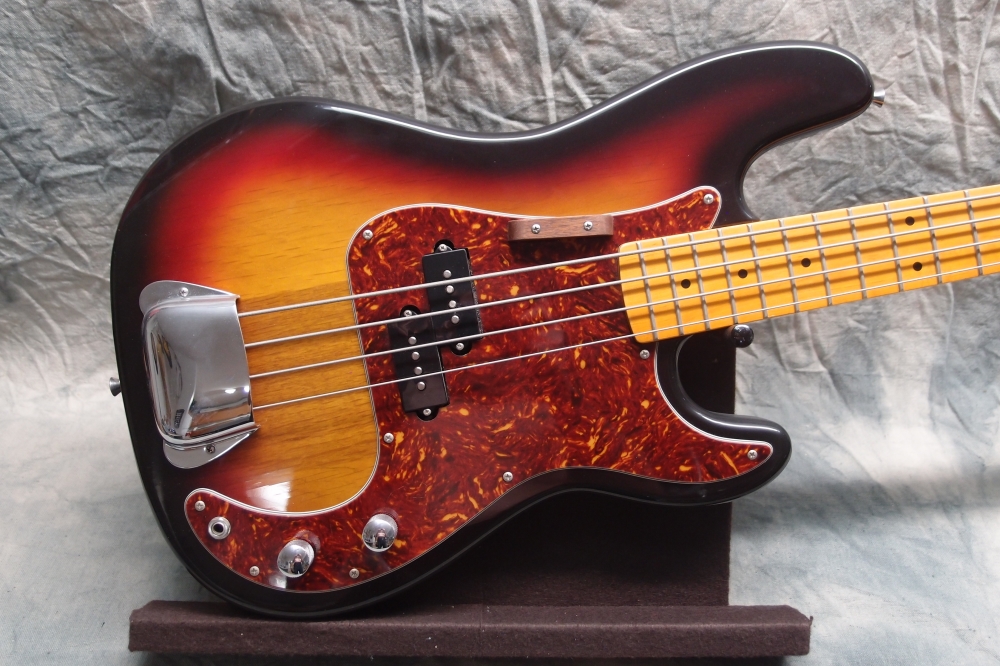
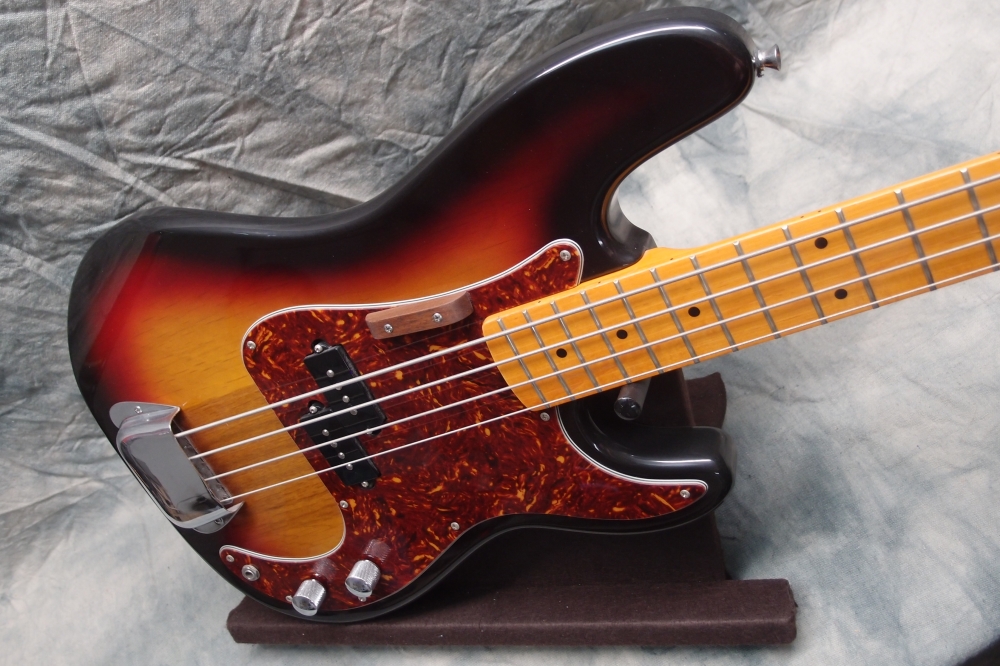
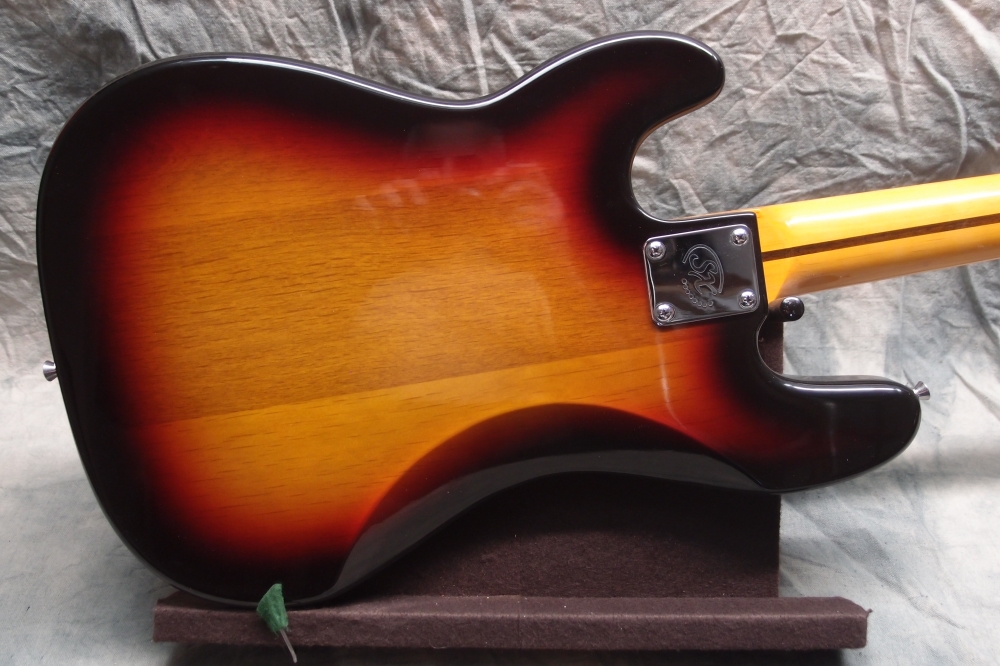
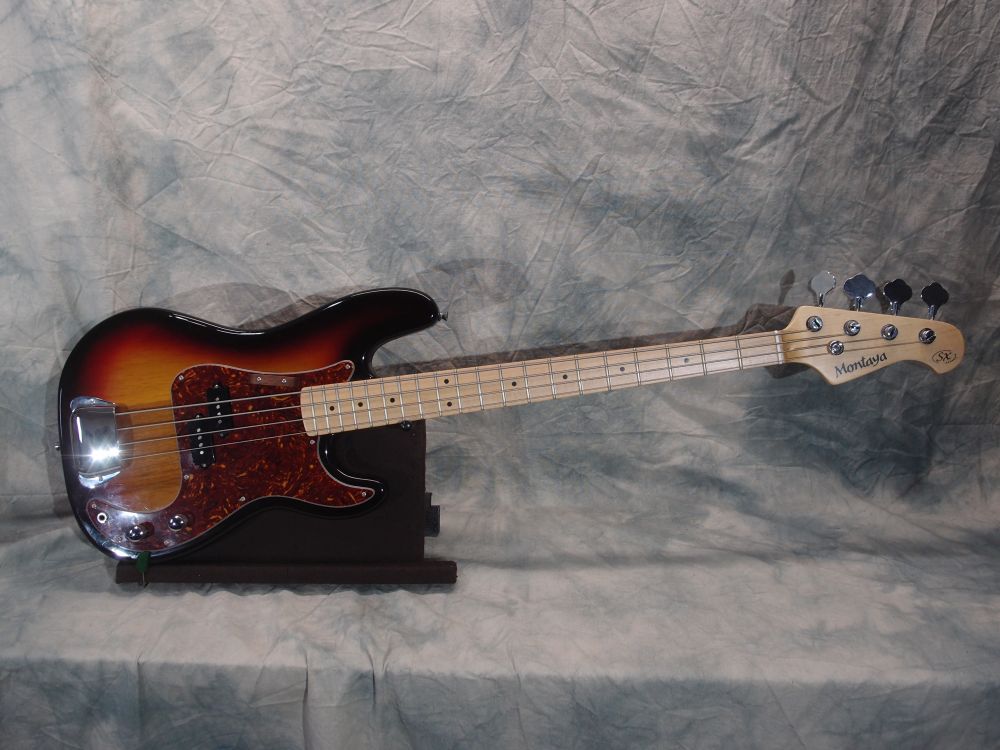
For proper NASA-style science, here are the before pictures:

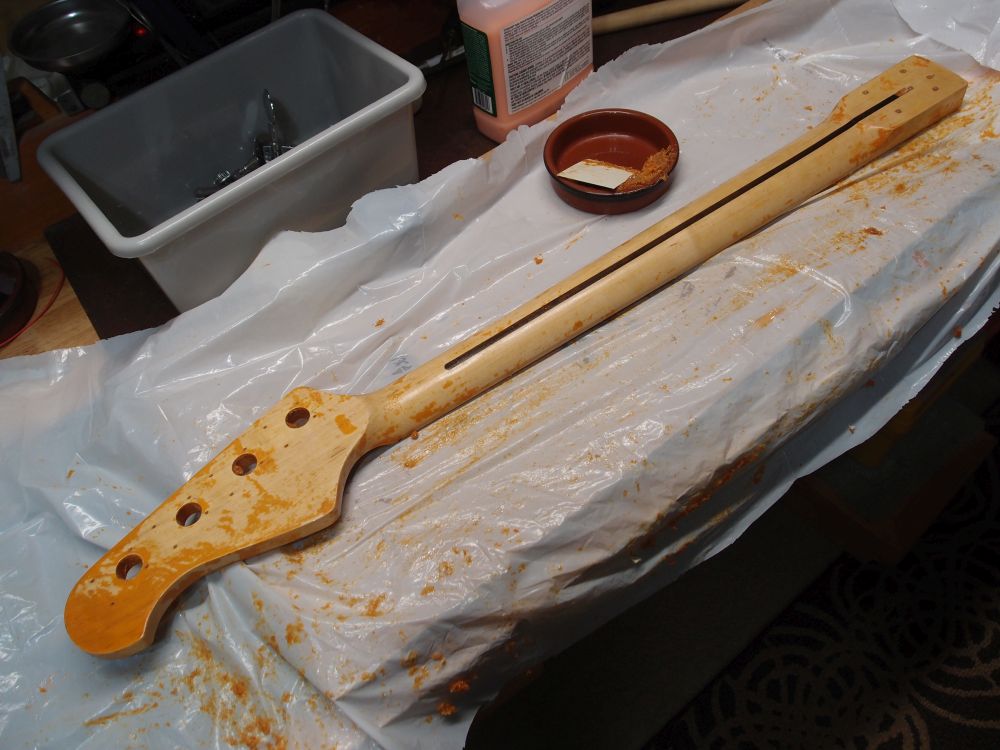
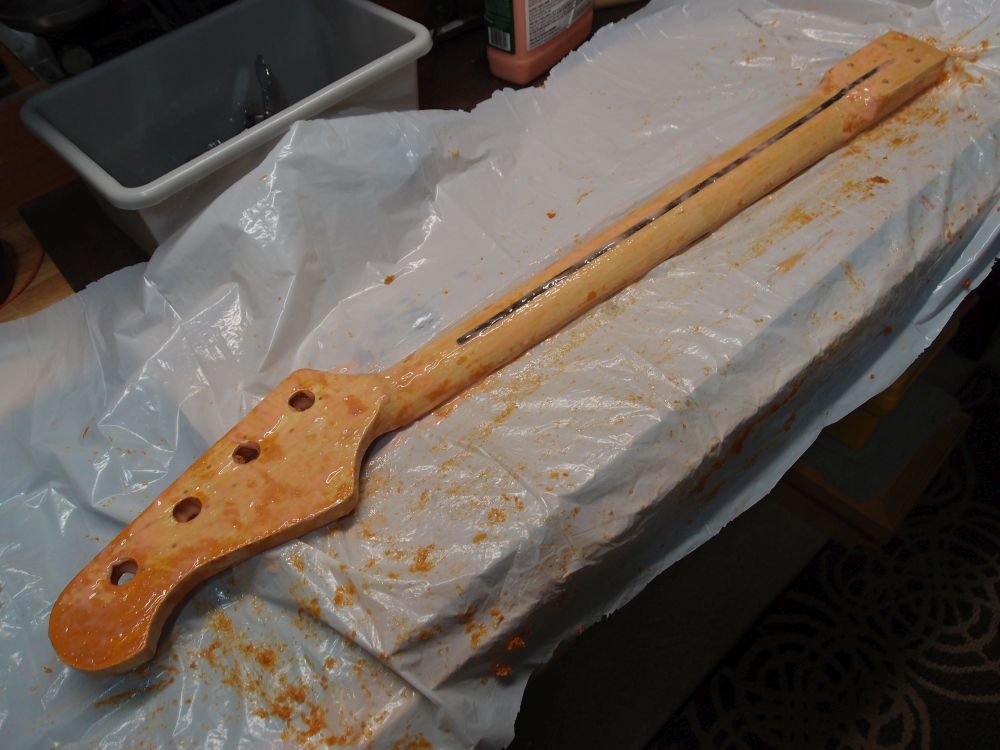
Eventually, it came out like this. Blotchy. The craftsmen on Talk_ass never mentioned that. Or maybe they just have very low standards. I should have known better than to believe anything on Talk_ass, but I was expecting something to go wrong, and had my own plan for when Talk_ass advice turned out to be crap.
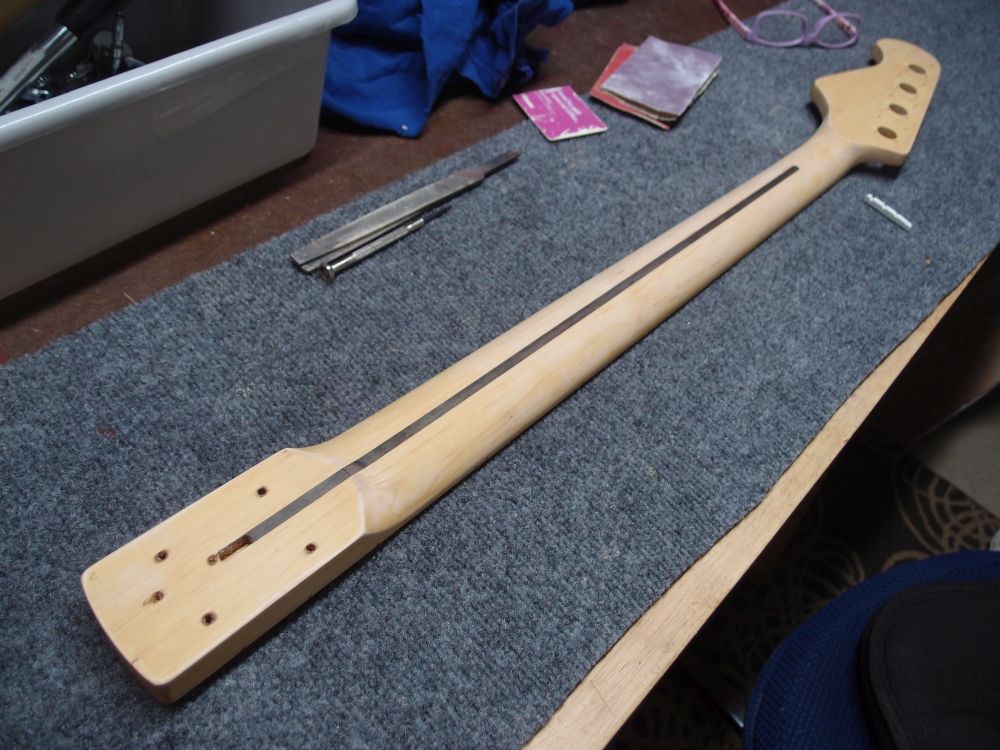
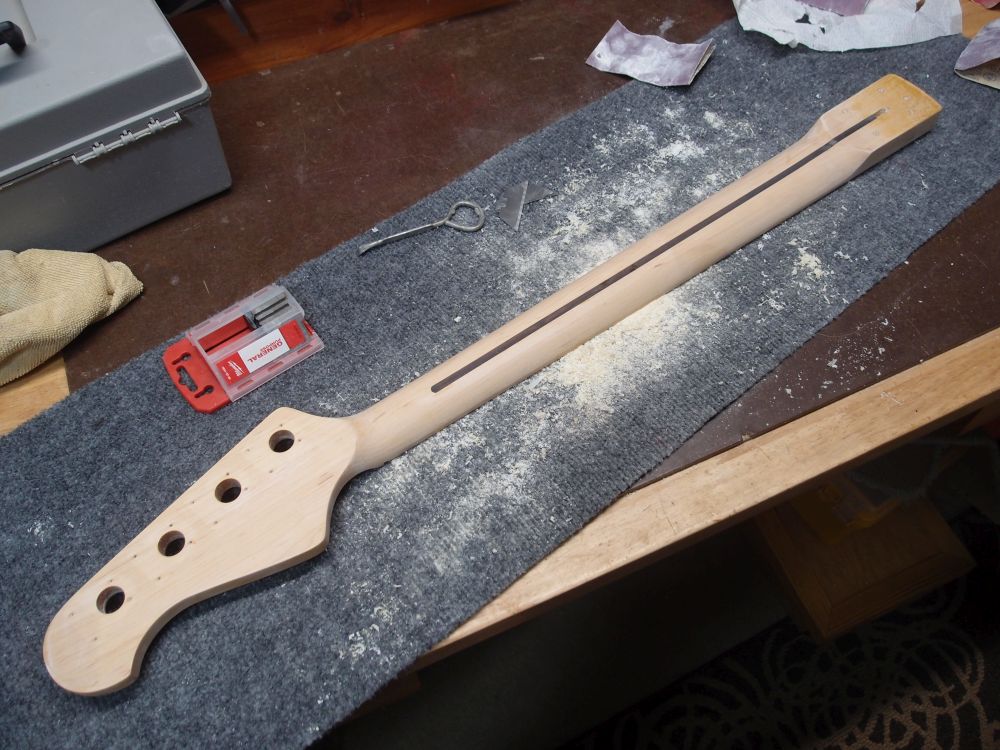
As promised, there is a clear layer under the orange - a sealer coat. The Citristrip didn't attack it much. It is probably polyurethane. I tried overcoating it with spray poly in hopes that might even it out, but it didn't, the blotches are baked-in. So instead, I scraped off everything down to bare wood with razor blades. That is the only way to get between the frets. It took a while, and a lot of razor blades.
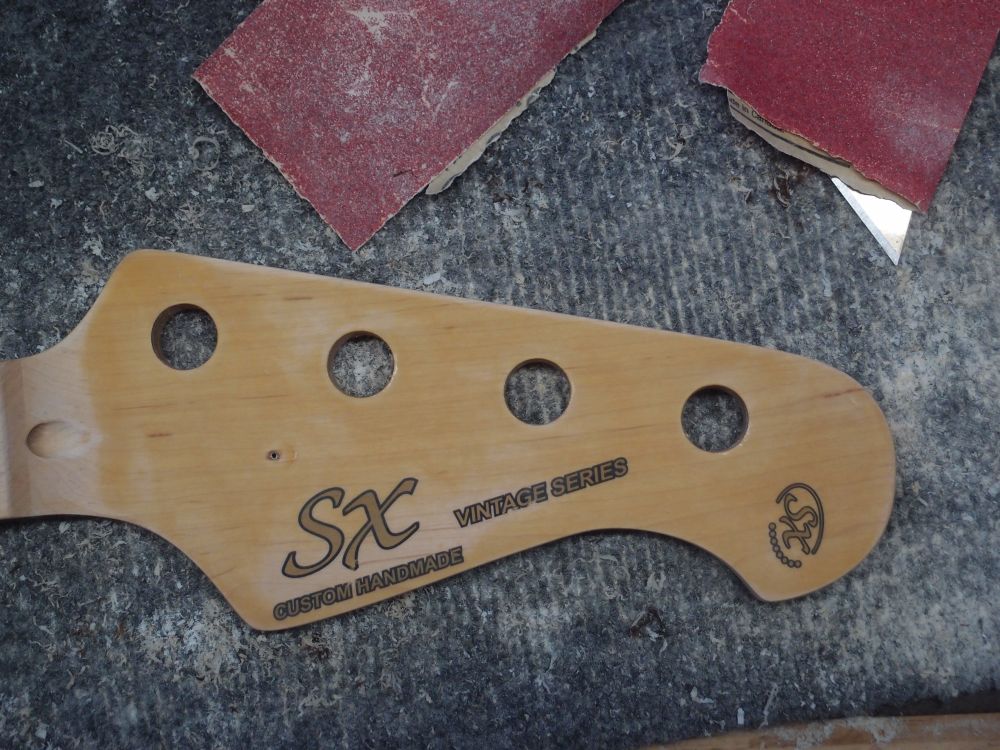
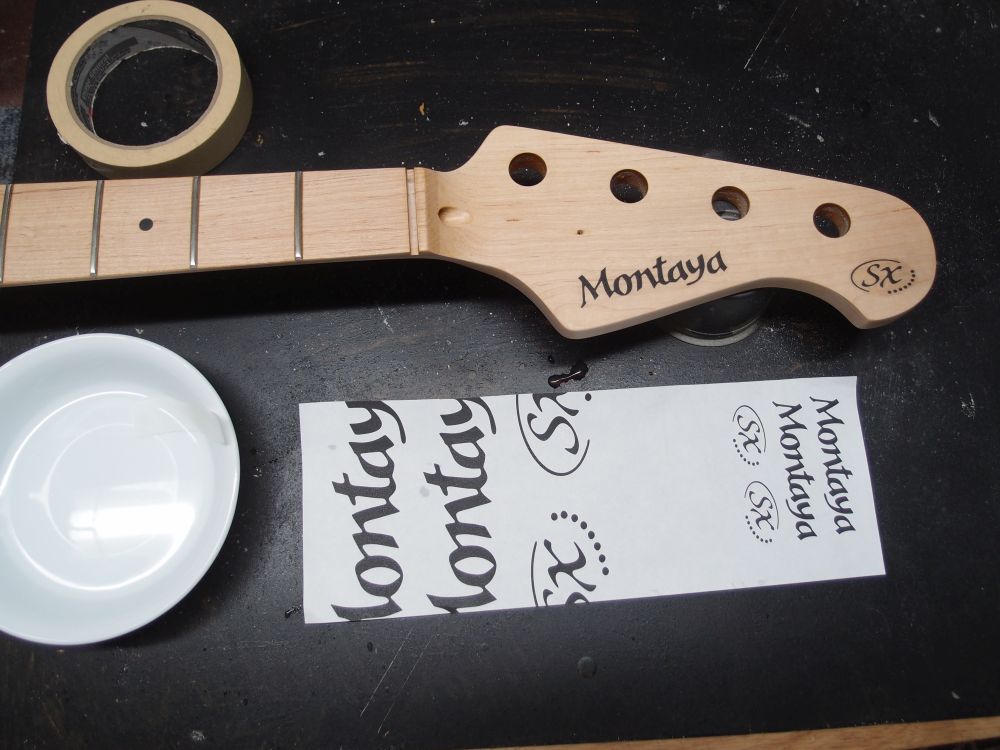
At this point I was still trying to preserve the silk-screened SX logo, although it was slightly damaged from the stripping process, as you can see below. Of course, Talk_ass said this process was completely safe for the 'decals'. Of course.
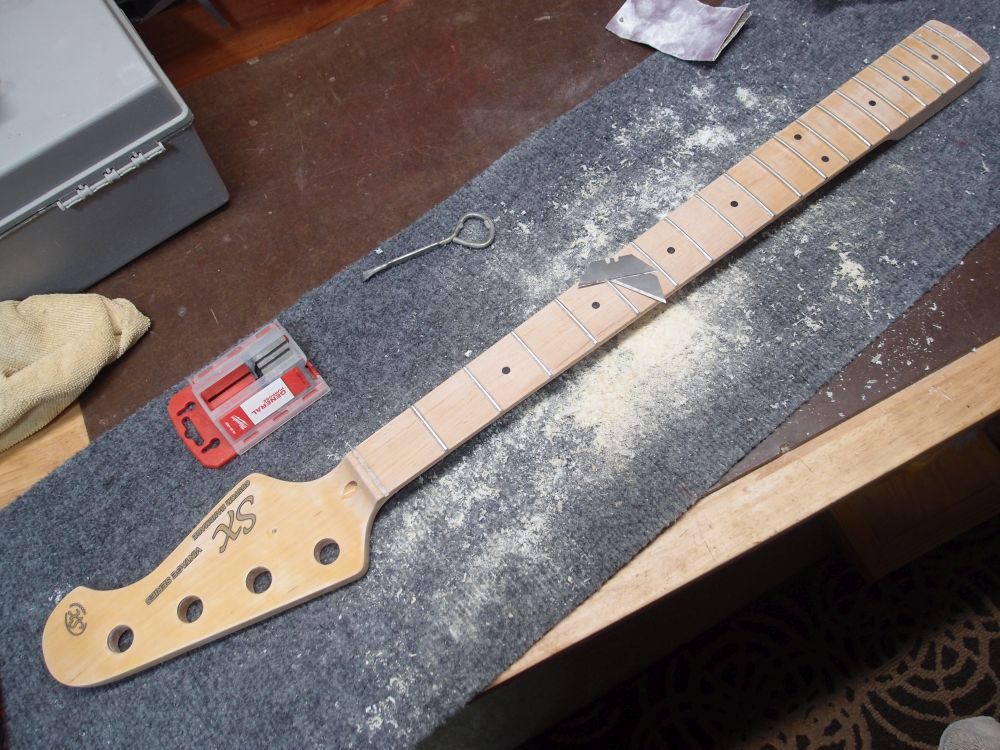
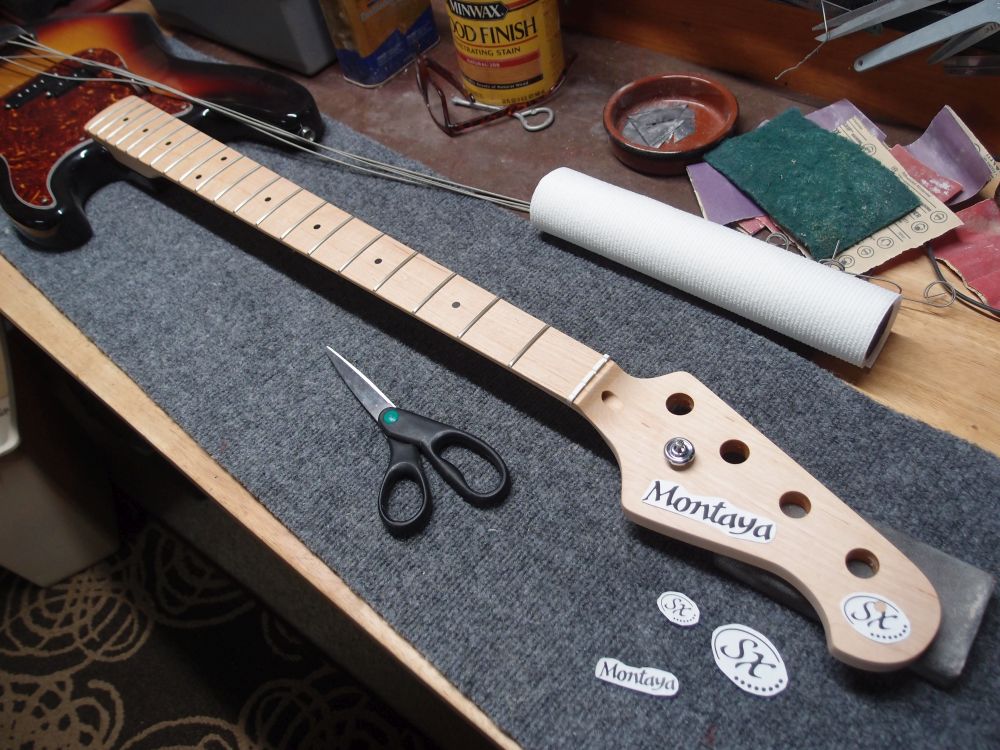
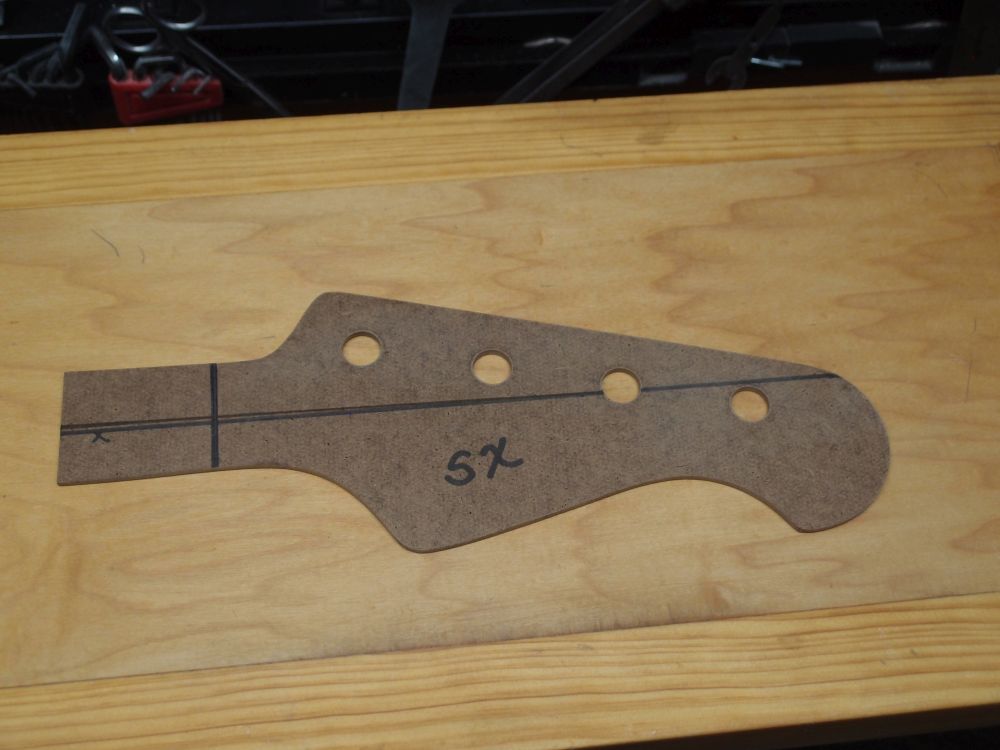
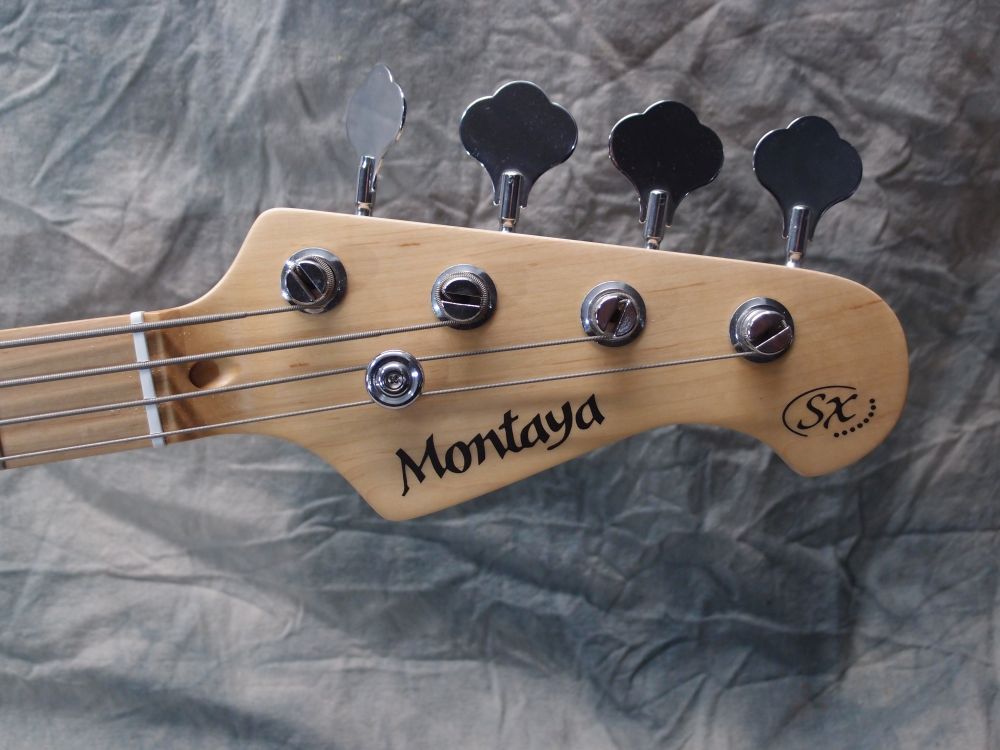
I got all the Montaya pictures I could find, and then chose the best one for a starting point. First, I converted it to a black-and-white bmp and scaled it up considerably. Then I spent a while in an image editor cleaning it up, pixel by pixel. Finally, I dropped the bitmap into InkScape and traced it to a vector graphic. That gets rid of all the bitmap jaggies and gives a nice smooth edge to everything. I did the same with an SX logo I found. After several test prints on paper, I printed two copies of each logo on waterslide decal material and picked the best two. I used a laser printer.
To finish the decals, first dust on several light coats of rattle-can poly to seal them. Let that dry, then layer on the poly thick. The goal is to put down a single layer 1.5 to 2 times as thick as the decal itself. I spray a new coat as soon as the previous one sets up. Lay the part horizontal, and make a puddle. This way it all dries into a single layer. Let that cure for at least a week. The decal will stick out slightly. Then with 1000 grit or finer, carefully sand the surface down until the decal is just a slight bulge that you can only see if you hold it up to the light just right. Put on a final thin topcoat if you want.
If you followed the instructions on the can and sprayed a lot of thin layers, you'd end up with a tree-ring effect as you sand through them. That will even show through a topcoat, which is why I go for a single thick layer. This is also how I finish bodies - a single marathon spraying event. There are more details on the decal process linked in the sidebar. Also, check out my Schwinn Stingray.
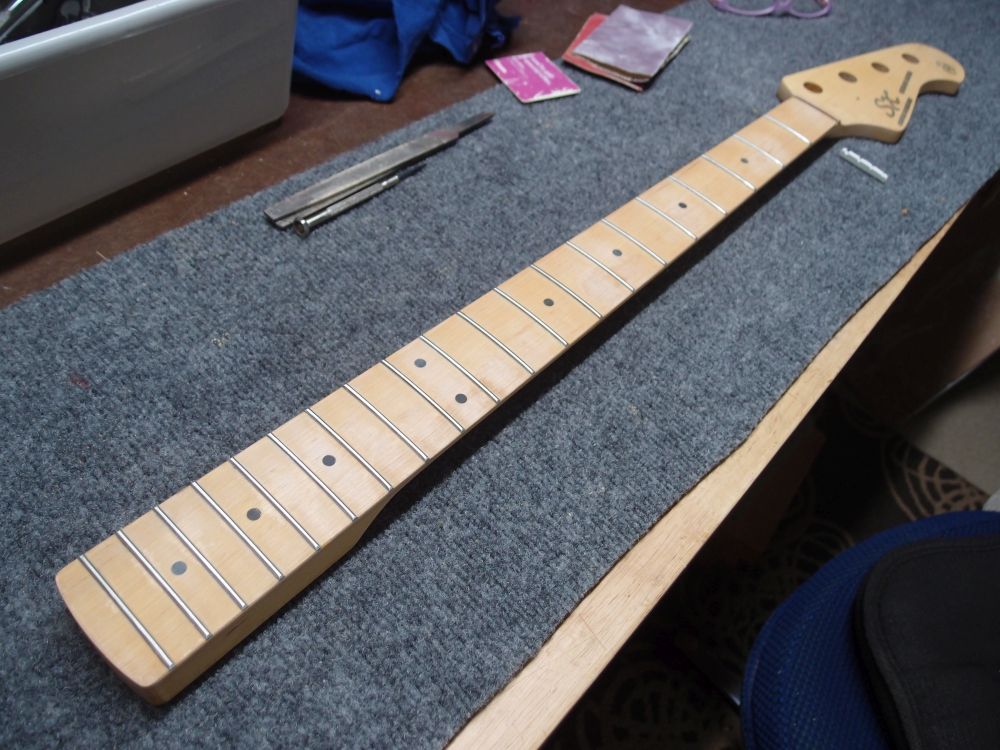
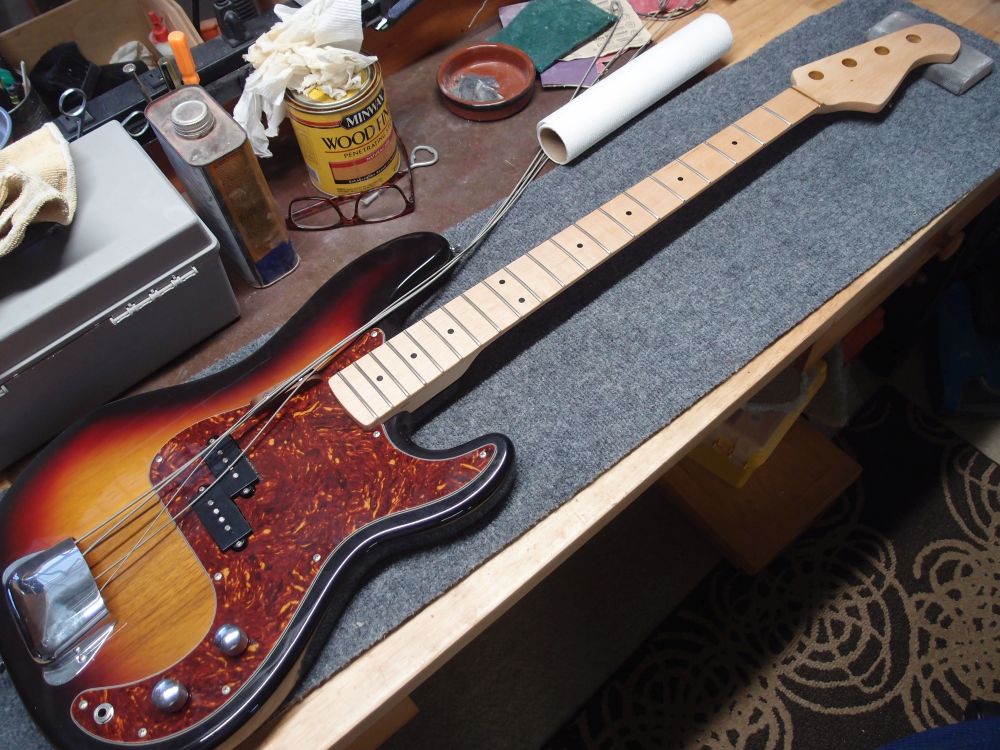
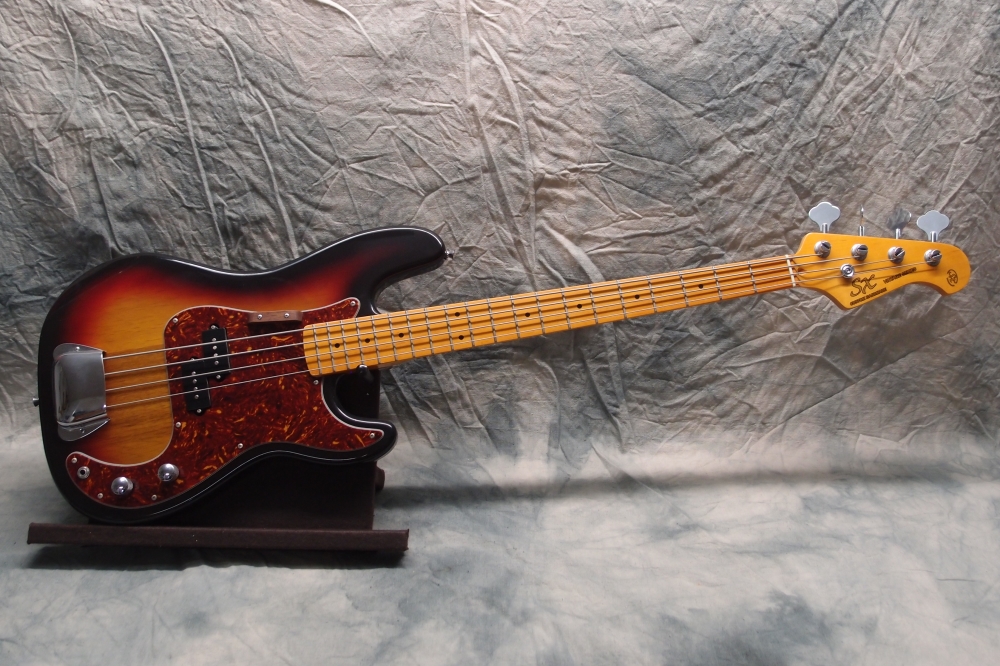
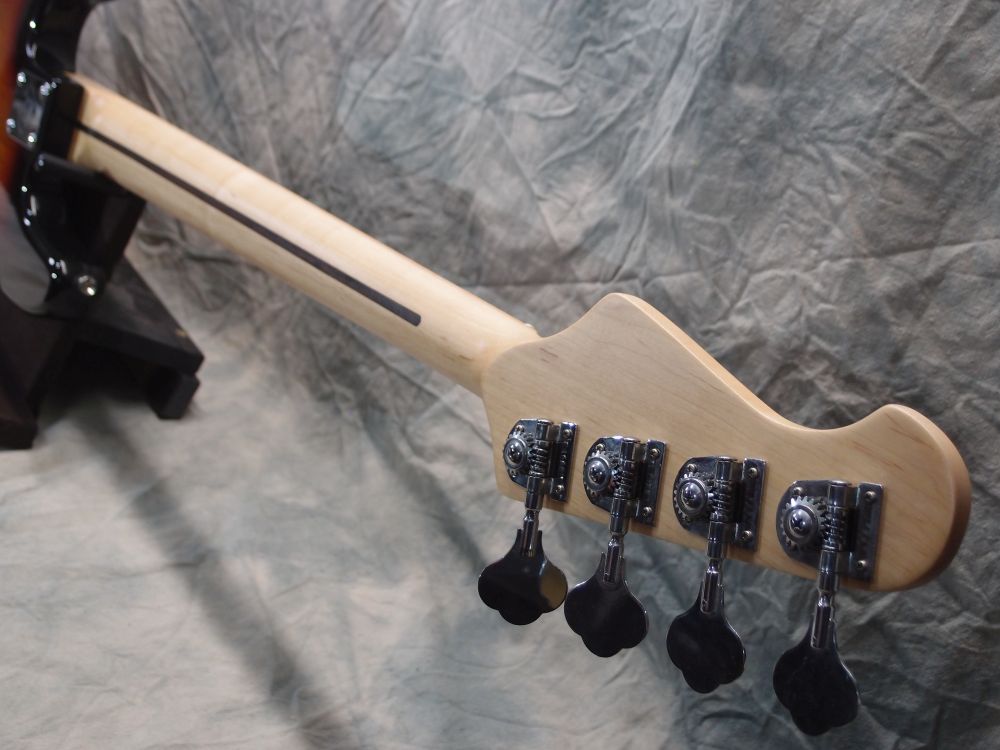
The downside of this method is that the thick coat of poly on the headstock will yellow a bit more than the thinner finish on the rest of the neck. Still better than orange. I finished the entire neck in polyurethane, so the whole thing will yellow in time. The finish is thinnest on the fretboard, where I sprayed right over the frets. Playing will wear it down, I've never had a problem. The last step was to clean out the nut slot with a file and a tiny chisel and install the new nut with Elmer's Glue. Yes, Elmer's Glue - it's good enough, cleans up easily, and won't be a problem if you ever have to pull the nut in the future.
Head over to Talk_ass to catch up on the latest discussion of how polyurethane clogs the wood pores and ruins the tone. Idiots.
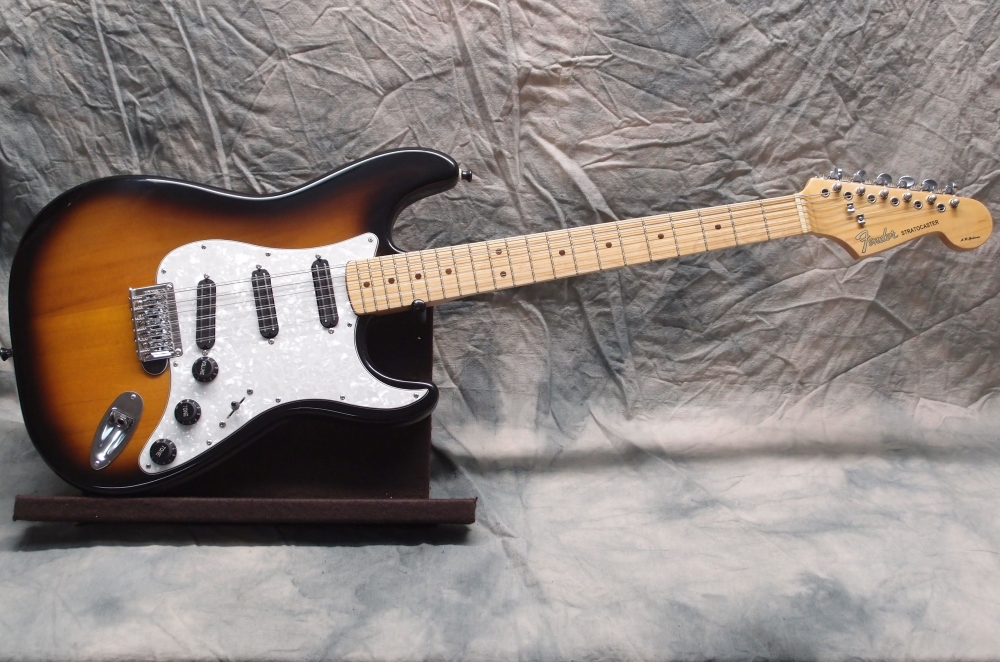
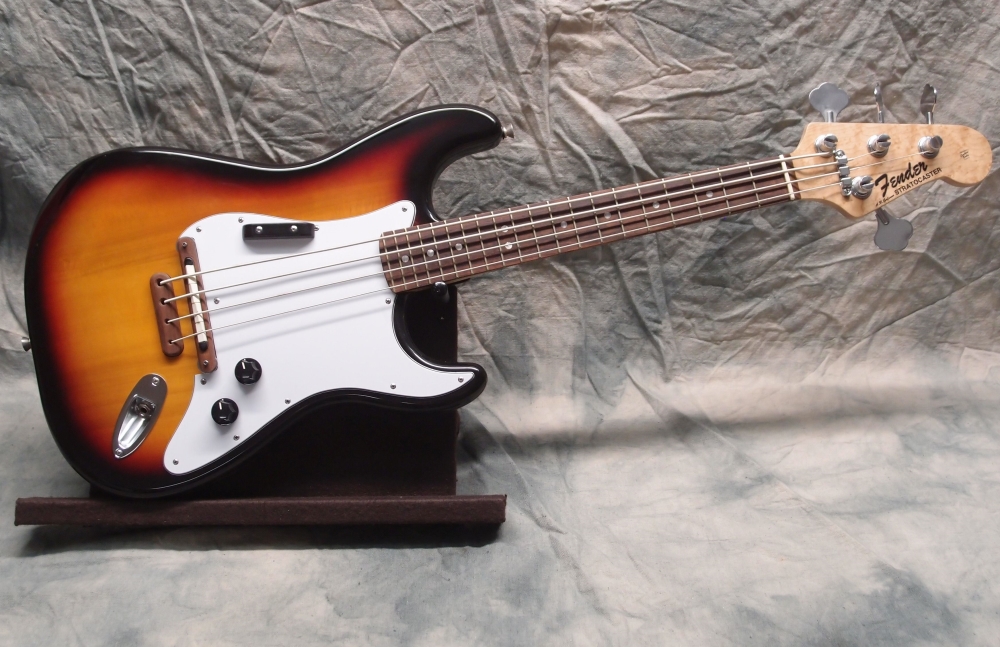
Which is better? Vote in the comments.
Oh, and while I was at it, I installed a series/parallel switch on the tone control. You separate the two halves of the P-pickup and add new leads, I just replaced all the leads. Series is the default wiring and gives the standard deep Precision sound. But a pull on the tone knob puts the two halves of the pickup in parallel, for a sound much more like a Jazz bass. It's a really worthwhile mod for a Precision. Similarly, adding a series/parallel switch to a Jazz Bass can make it sound much more like a Precision.
Would I recommend doing this? Probably not, unless you have very low standards or are willing to do a lot more work than you expected. Should you get your luthiery advice from Talk_ass? Absolutely not.

Here is that logo in two formats, in case anyone wants to upgrade their SX:
I may not have billions of tax dollars to burn like NASA, but I think I scienced the sh!t out of this project!