Jazzmaster Bass 2


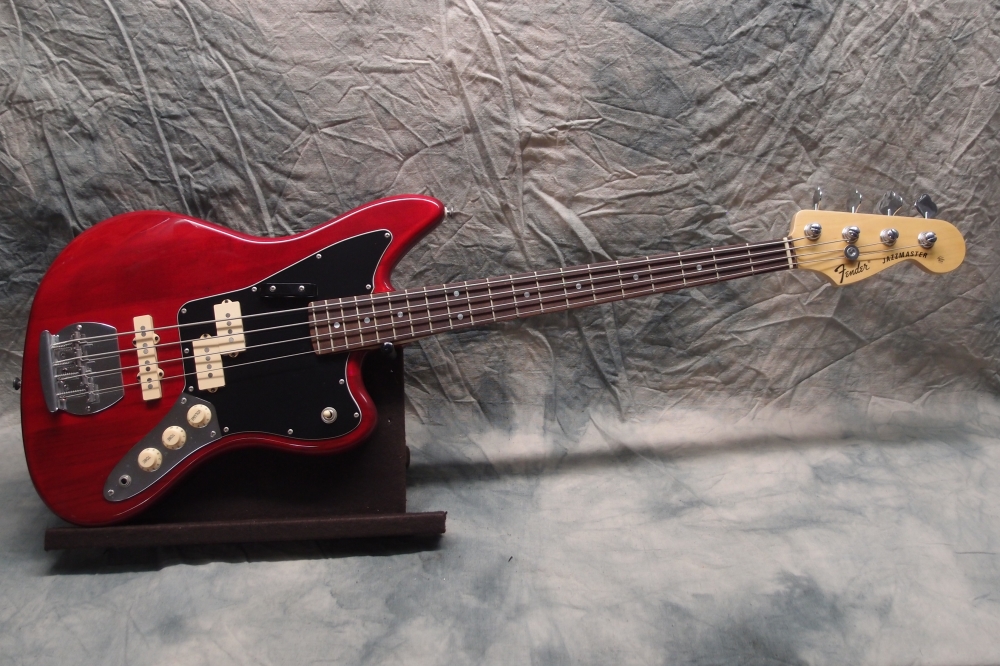
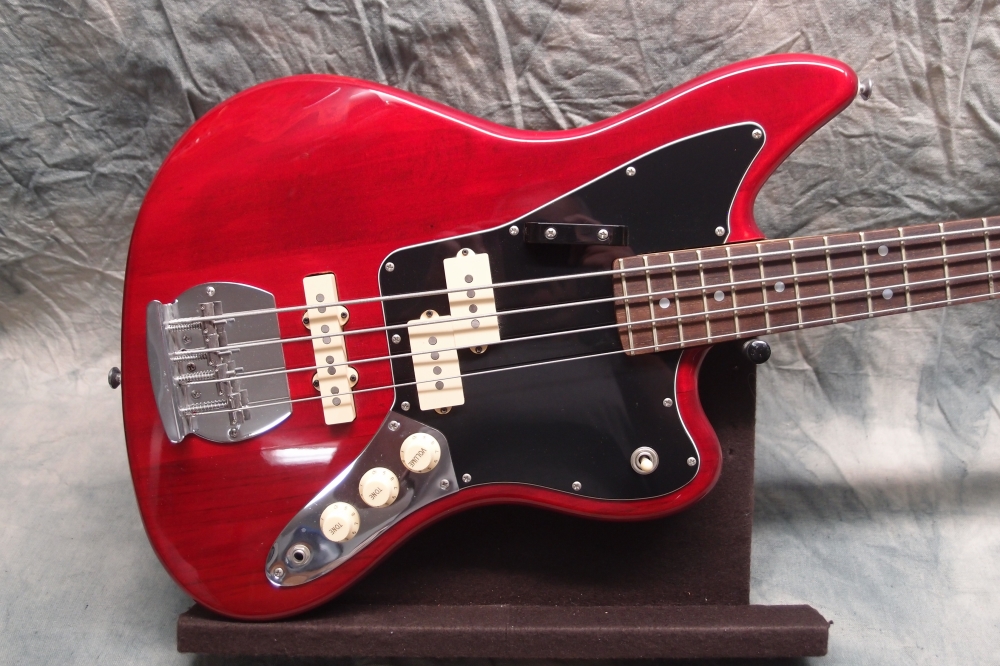
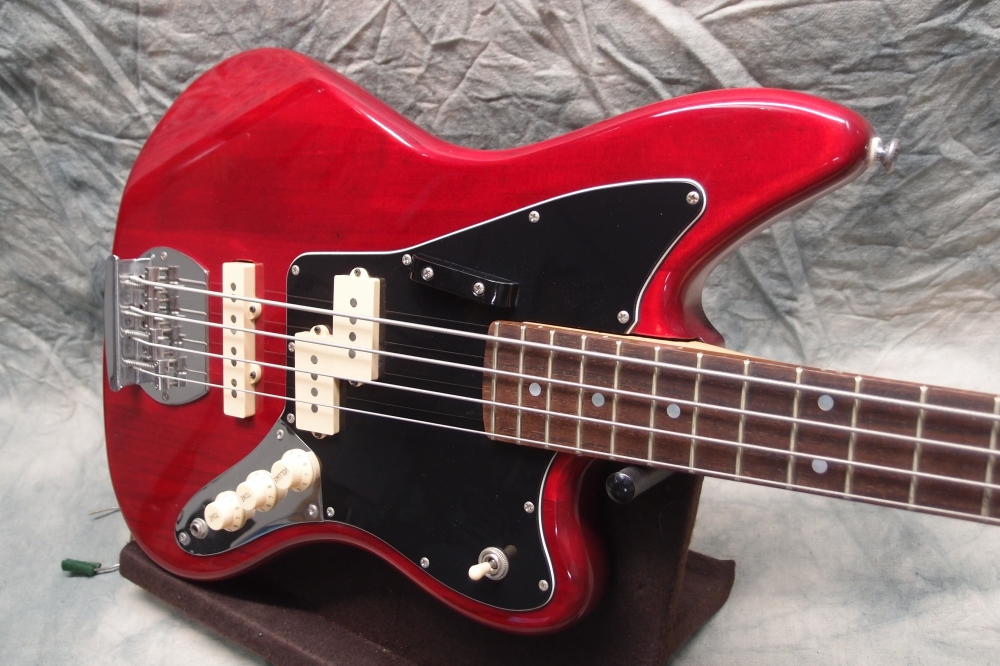
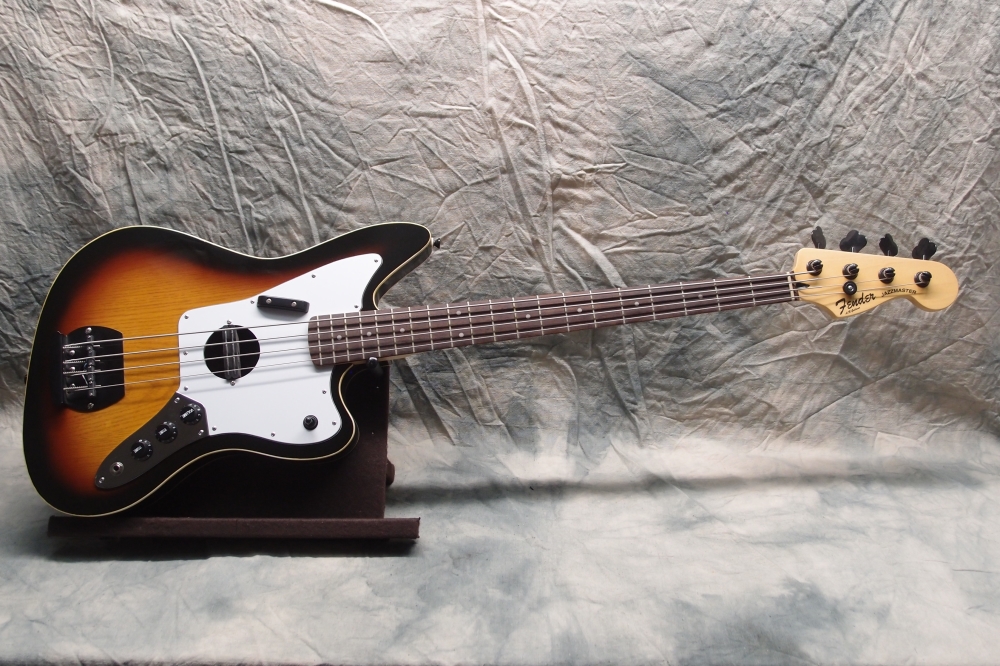
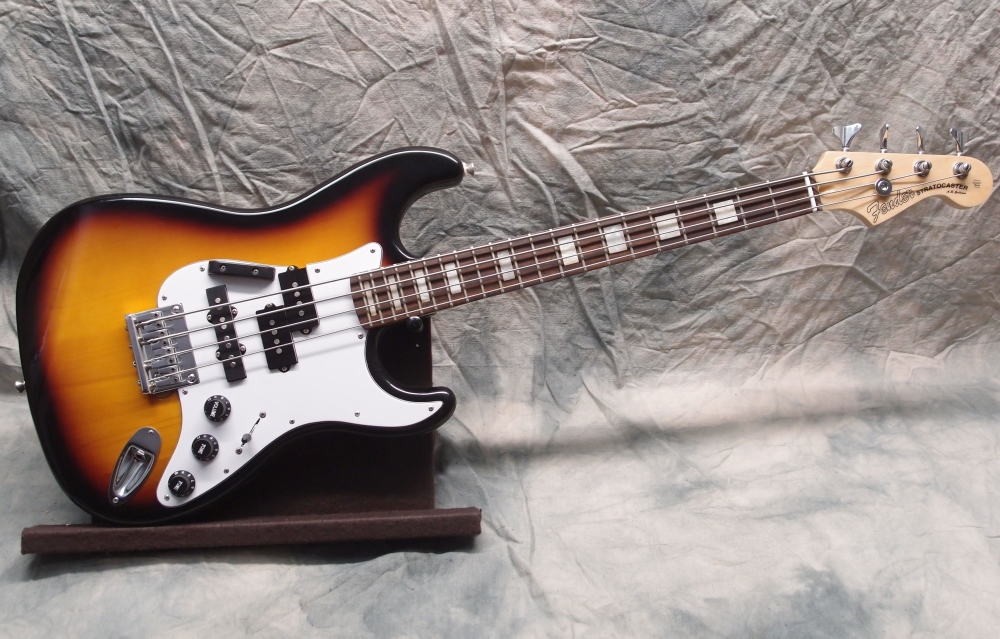
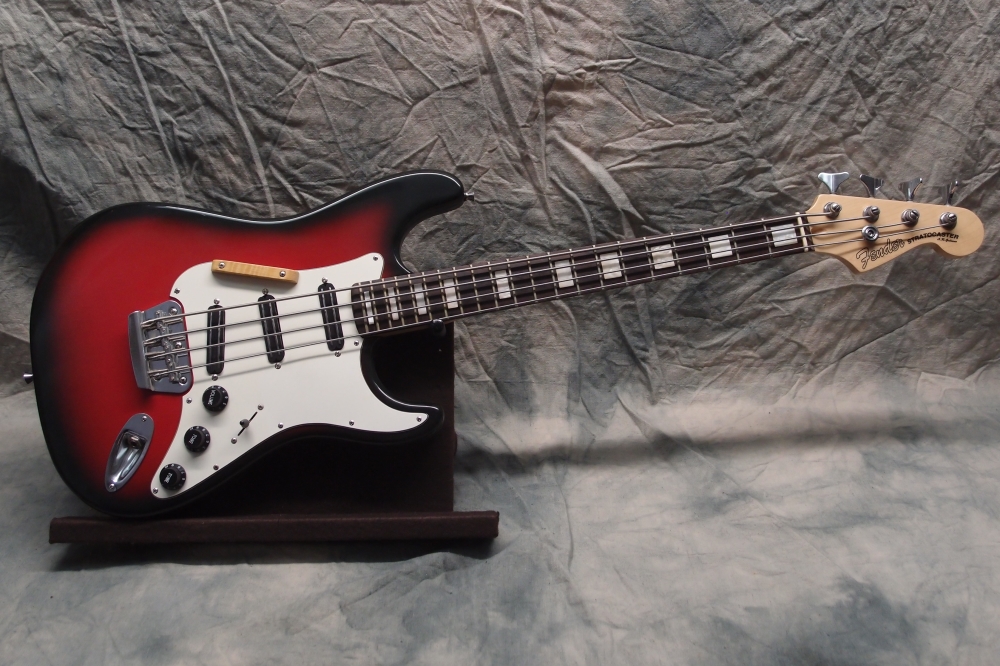
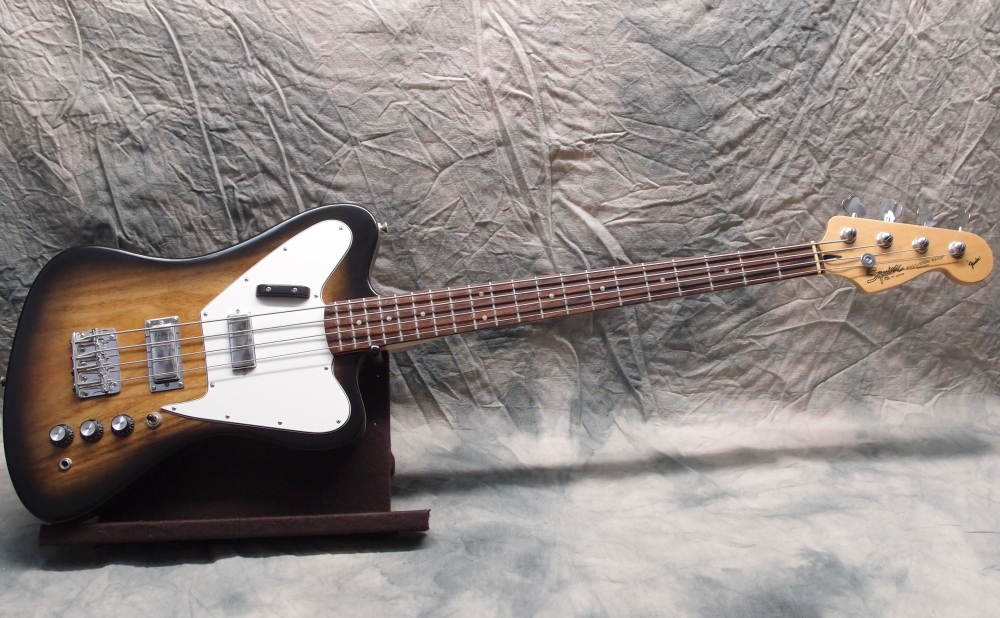
This started as a stock Squier Jaguar bass body. This 32" conversion neck was my first bass neck build. Stock pickups ( which are pretty decent ) with cream-colored covers and upgraded electronics. I used a MusicMan bridge to evoke the round Jazzmaster tailpiece, and likewise cream Strat knobs. I think it is a vast improvement over the Jaguar it started out as. The Cowbell inherited some of the Jaguar electronics.
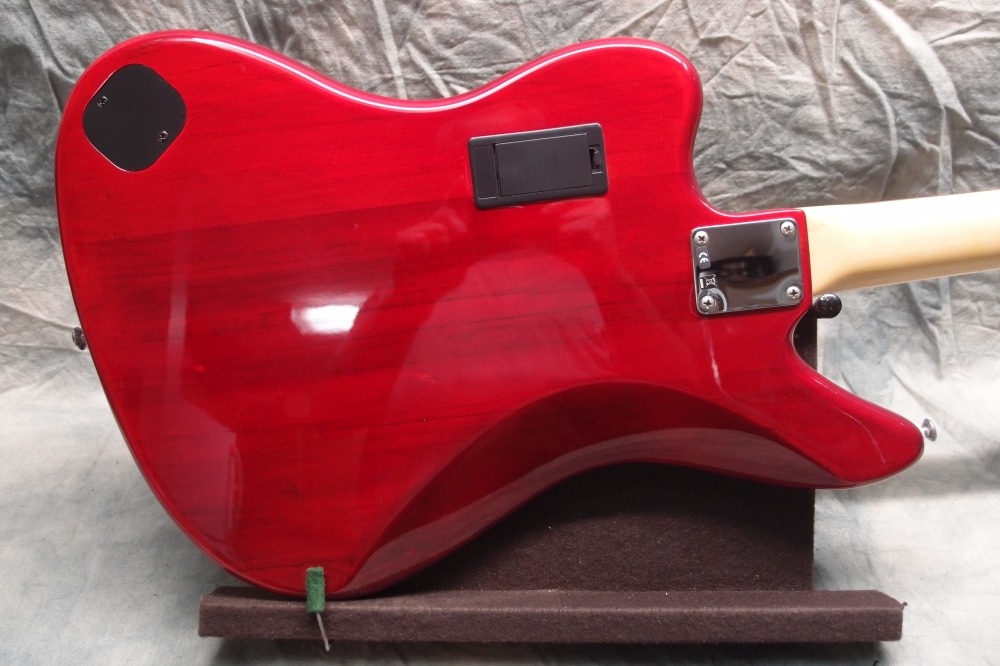
The problem with the Squier Jags is that the stock electronics are dogmeat. The stock controls are passive volume, balance, passive treble cut, and a really overbearing active bass boost. The only part I would keep is the battery box. On the other hand, I could find no reason to complain about the pickups.
Do what I did and put in an SBK-2 from Guitar Fuel ( see Links. )
For a 4 knob setup, you would have volume - balance - bass - treble.
Or you could go for an SBK-3AD with stacked knobs, you could do volume - balance - bass/treble - mid/sweep
On mine, it is switch - volume - bass - treble - active out, with passive out on the side.
I have used a lot of electronics from this source, and they are excellent - very quiet, with a wide range of boost/cut.
Installing the switch is not that difficult. Drill a hole through the pickguard where you want the switch. This will mark the spot on the body. Use a big forstner bit to drill out a cavity for the switch, then use a smaller forstner bit to make a channel for the wiring underneath the pickguard by drilling a series of shallow overlapping holes. This works best on a drill press, but if you have nerves of steel, you can do it with a hand drill. On the other hand, it is a lot calmer than routing, and much less threatening to the finish.
With P/J pickups and a good active eq, you have a bass that can do anything.
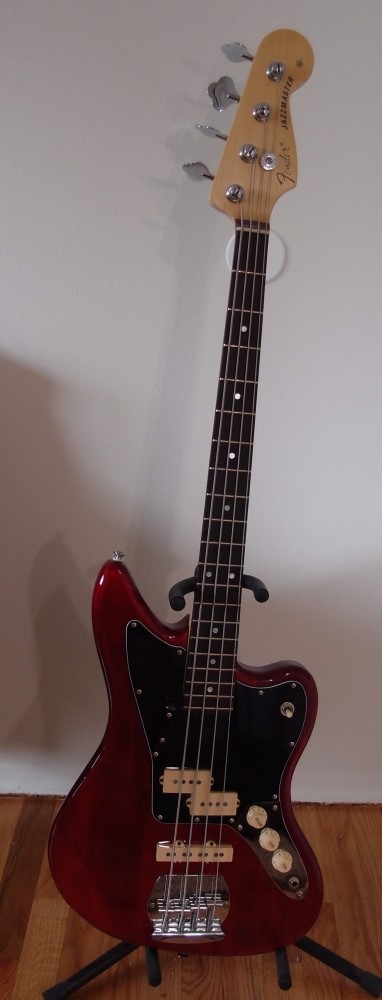
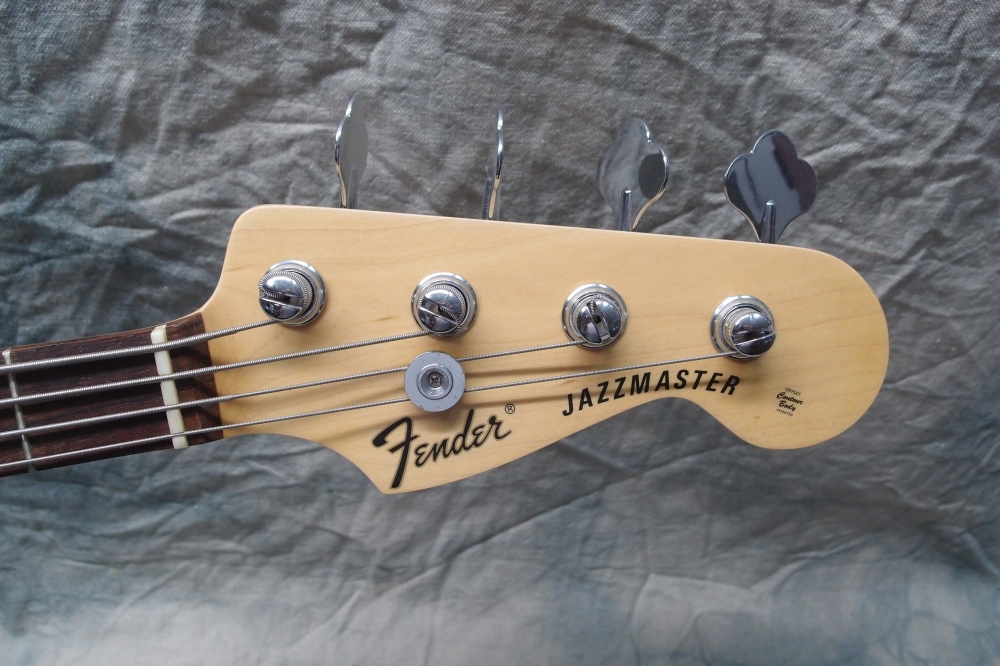
The short-scale Jags are much more entry-level, not the same quality as the long-scales. I added some style cues to make mine a Jazzmaster: torty guard, cream pickup covers, Strat knobs, switch, and rounded MM bridge kind of like a JM. Oh, and the neck is a Mighty Mite Jazz. These are terrific necks, as good as any, for a very reasonable price. I bought the decals for this one, since then I have gotten very good at printing my own.
A pull on the volume knob switches the pickups into series, a much bigger sound than you get from the normal parallel. When you mod up a Jag like this, you get a bass that plays and sounds great, yet is not really a theft target at a gig. Without being another run-of-the-mill P or J, it can doing anything those do and a lot more.
I like to retain a passive output option in case the battery dies, or I just want to noodle a bit without putting a battery in. 9 volt batteries are notorious leakers, take the battery out and keep it in a ziplock bag when you are not using it.


Chris:
April 23, 2022 at 12:30 AM
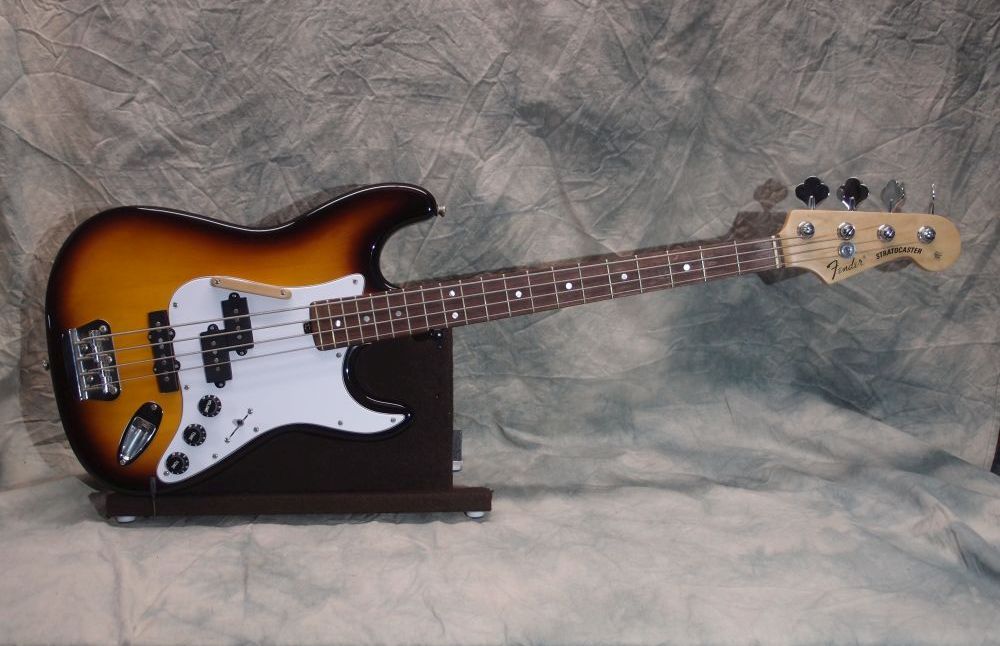
Hey, beautiful mods. Really like what you did with this one and the sunburst version. I've got the same bass and want to put some cream pickup covers on mine as well. I was wondering which ones specifically you used because I'm reading some reviews about different P/J covers not fitting different basses and want to make sure I don't buy the wrong ones. I'm looking at the "true custom shop" ones and the one's with model #PC-0953-028.
Thanks if you have any advice.