July 6, 2020
Superfreaky Part I
July 6, 2020
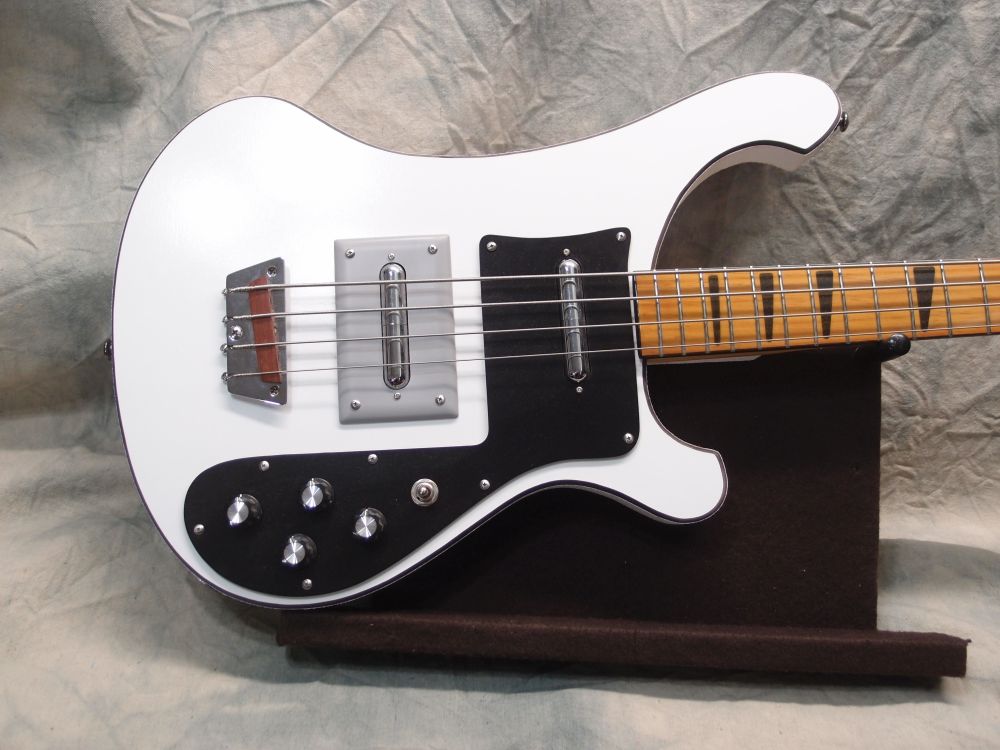
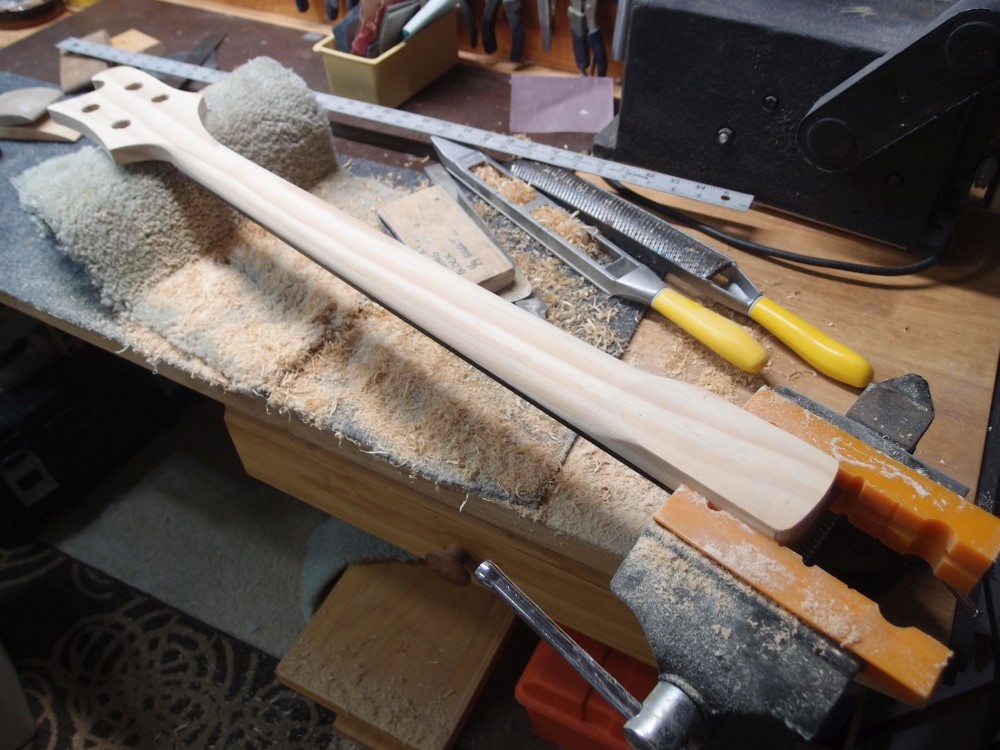
The last old project I had on the shelf was my "Rickenbacker". The body is all built, waiting for a neck. I fouled up the first neck, this is the second.

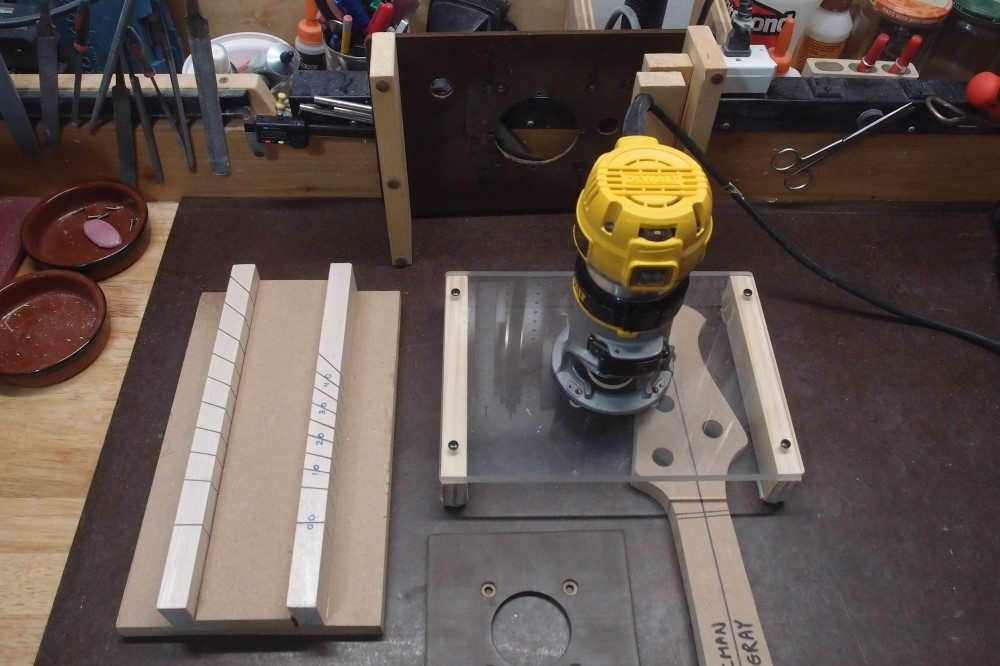
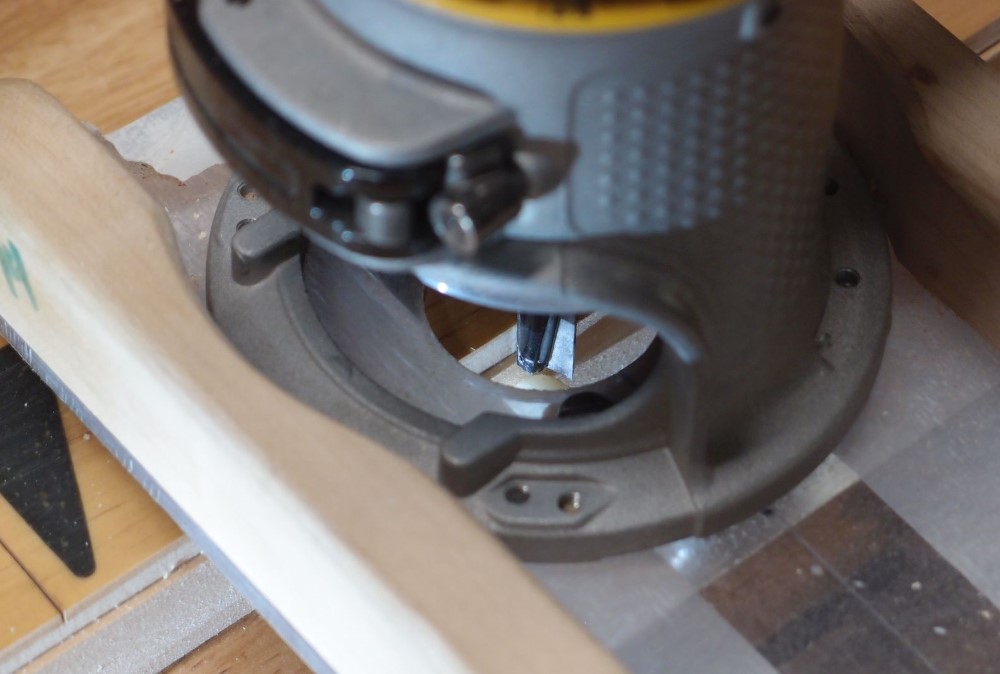
Here I am routing the edge for binding. This is where the first one went wrong, when some expensive 3M double-sided tape let go. Turns out, the cheap stuff from the Dollar Store works better, and if there is any doubt, throw it away and spend another dollar.
No tape involved this time. You can see the router is clamped to the bench, raised up on a stack of shims. Here is a look from the sides, showing the bit and the follower. After getting everything aligned on a piece of scrap, I cleaned the benchtop and slid the workpiece under the router, using the flatness of the workbench. It worked perfectly.
Trying to look down inside at the finished product.

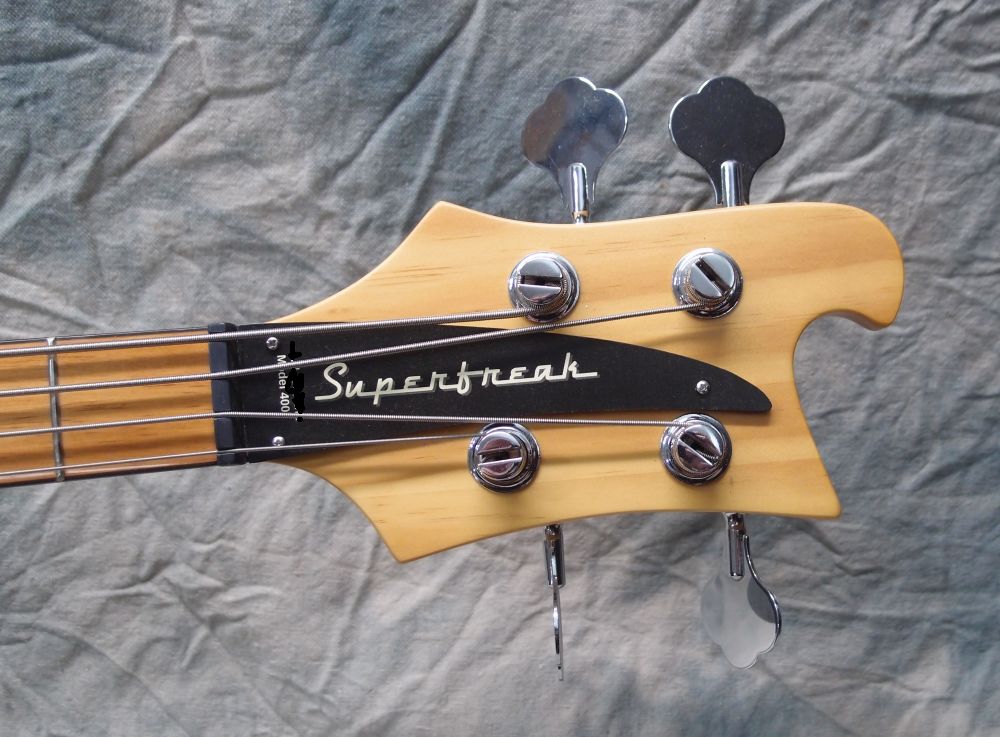
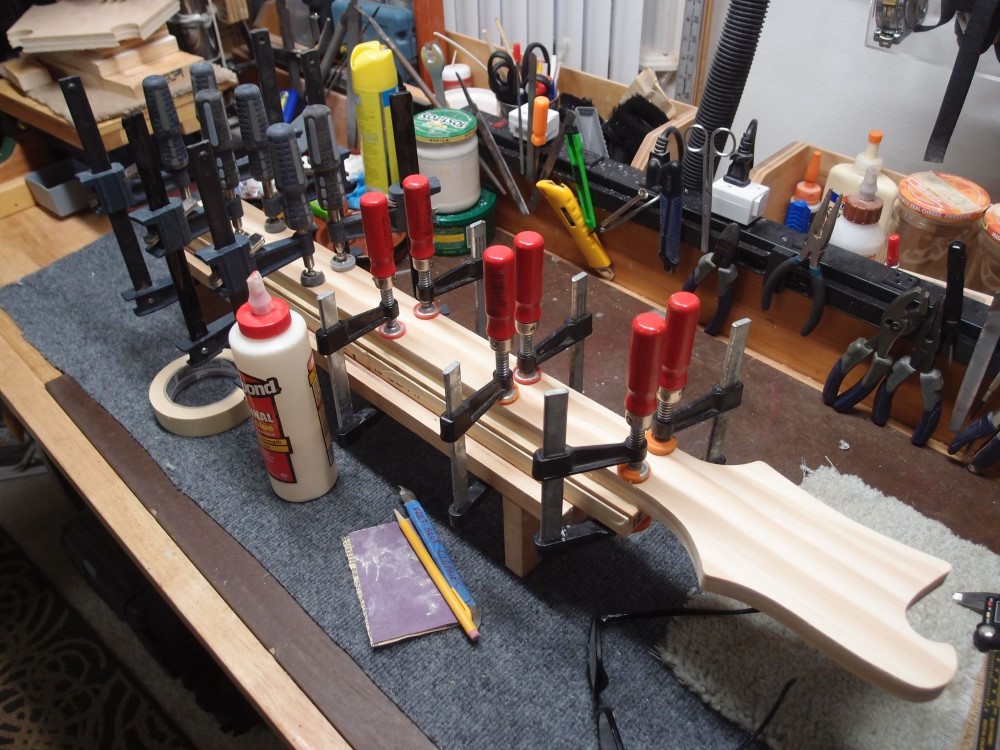
Now the binding is all on and I am working out the headstock. I'll need a piece of binding under the string nut to raise it up. That's easy. Not so easy is getting the headstock to work. Fender-style tuners have larger bushings, I'll have to adjust three of the locations to clear the 'fang' truss rod cover. And I had to flip two of the tuners from righty to lefty - easy to do with this style of tuner. The result should be a better fit than my real Rickenbacker.
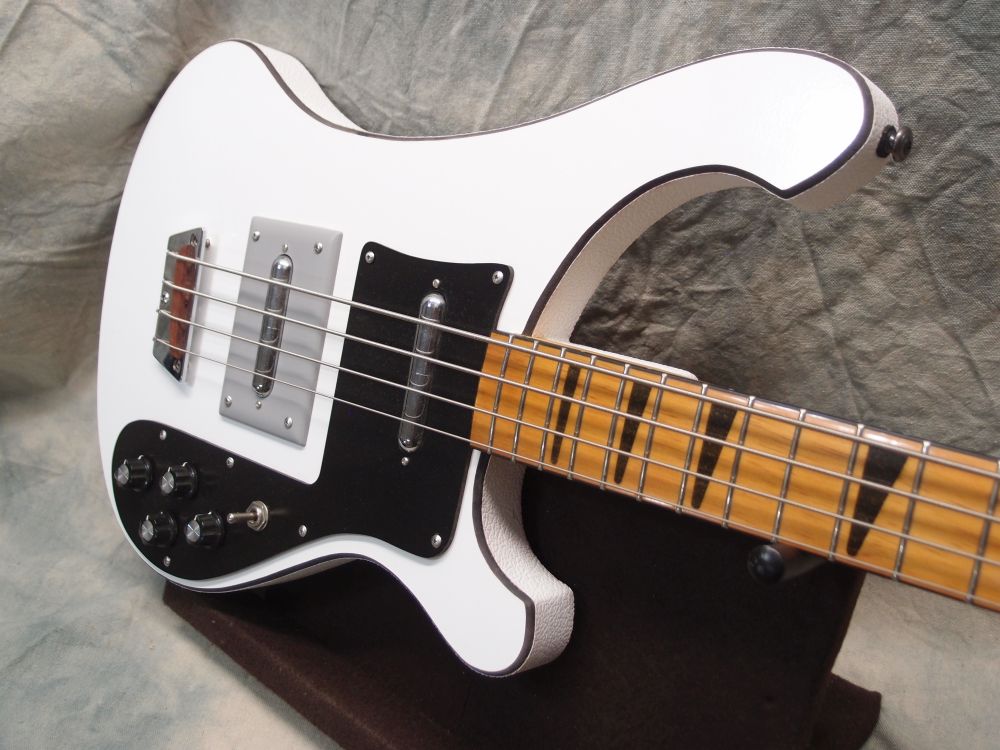
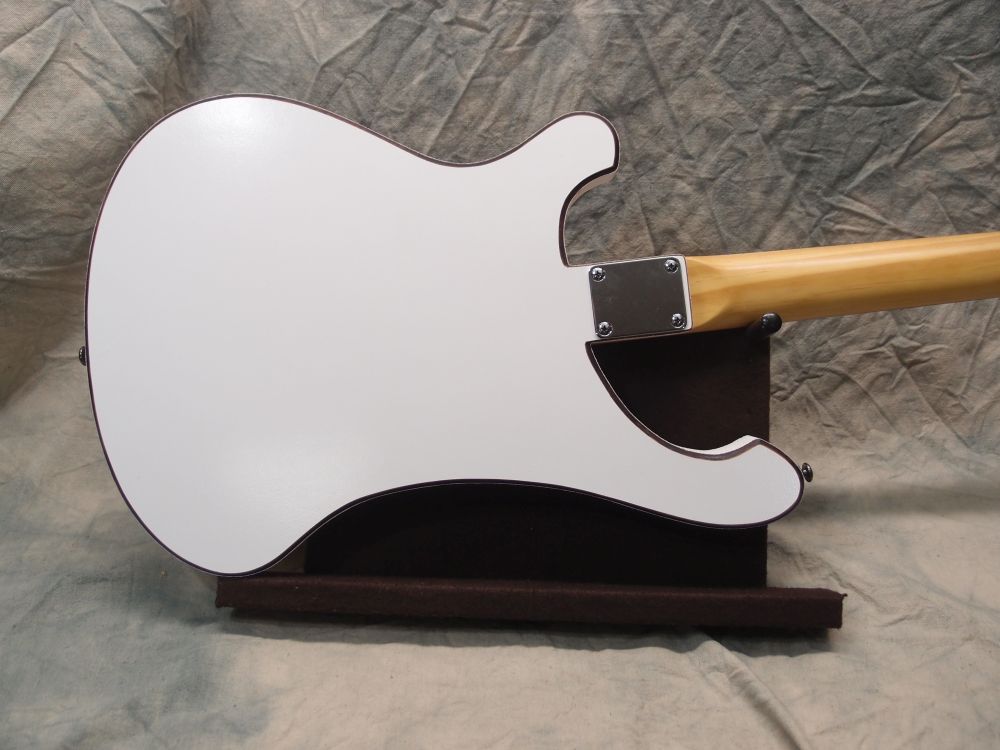
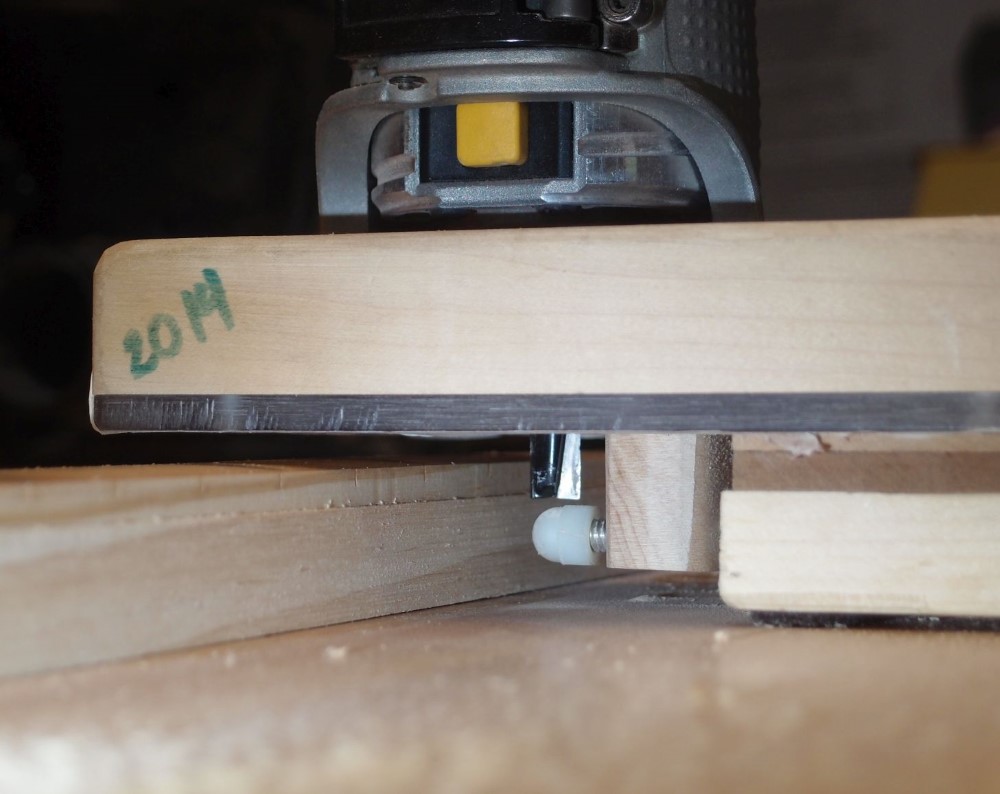
That's enough for one day, I don't want to get tired and screw something up. This neck is entirely Radiata pine from Home Depot. The 'inlays' are CA - Crazy Glue. The body and pickguard are dry-erase board over plywood, with a pickup mount made from a wall switch plate. The whole thing is an experiment to see just how cheaply I can build a Rickenbacker copy.