July 7, 2020
Superfreaky Part II
July 7, 2020
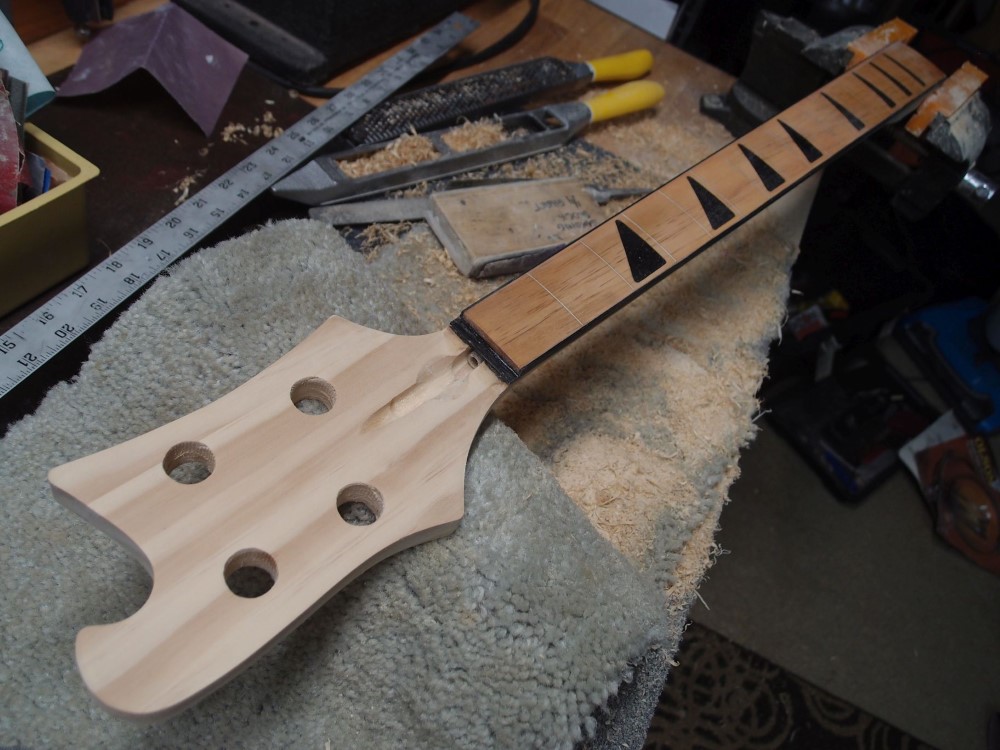
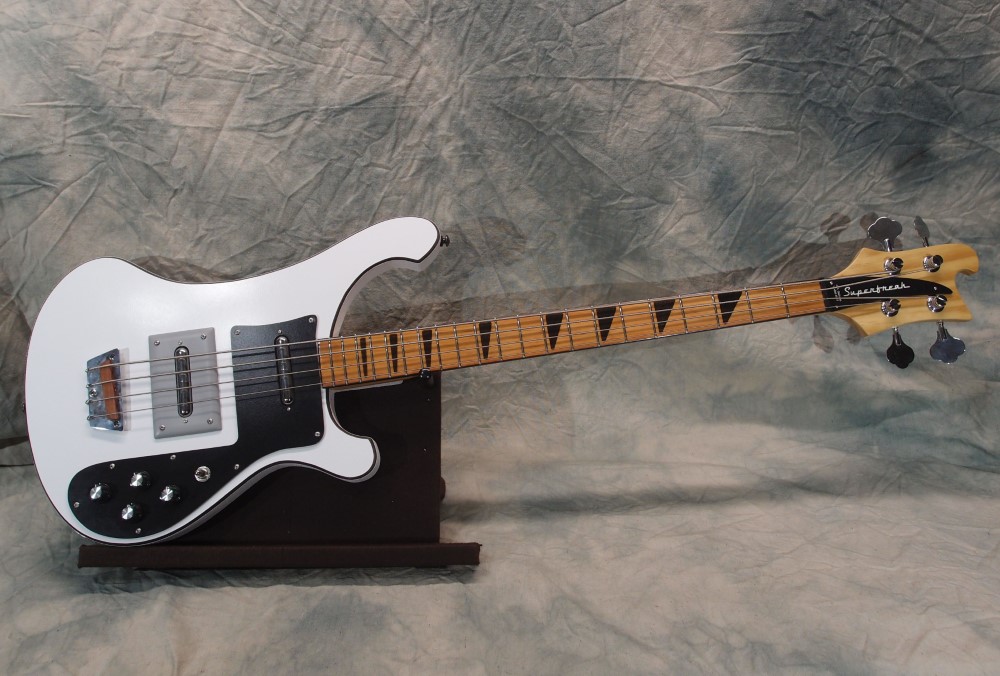
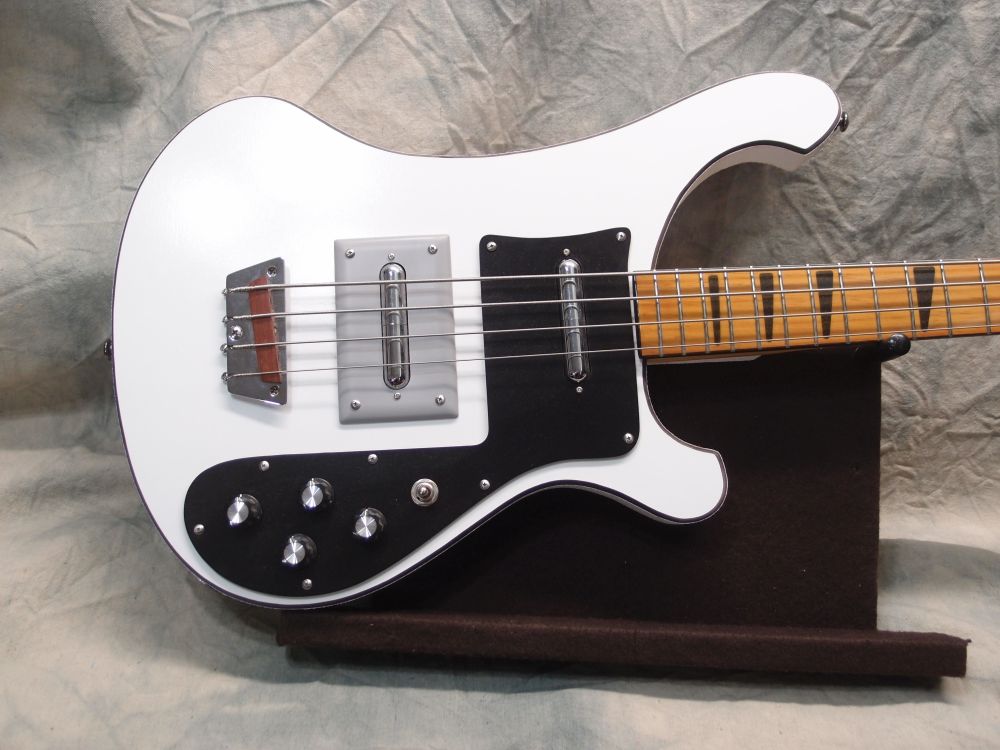
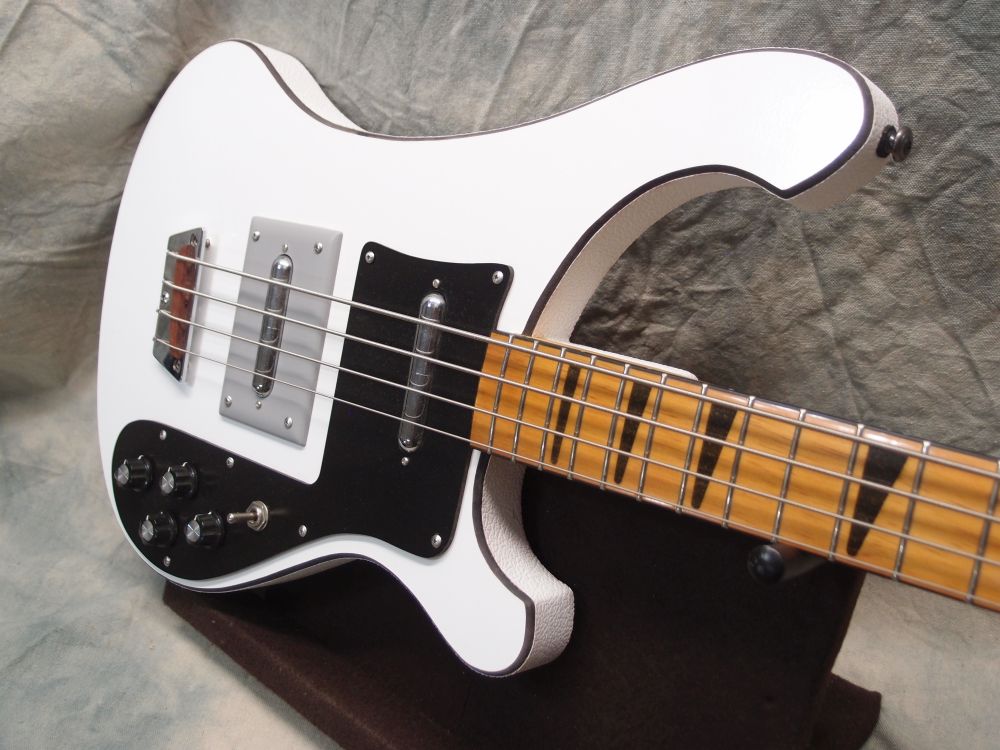
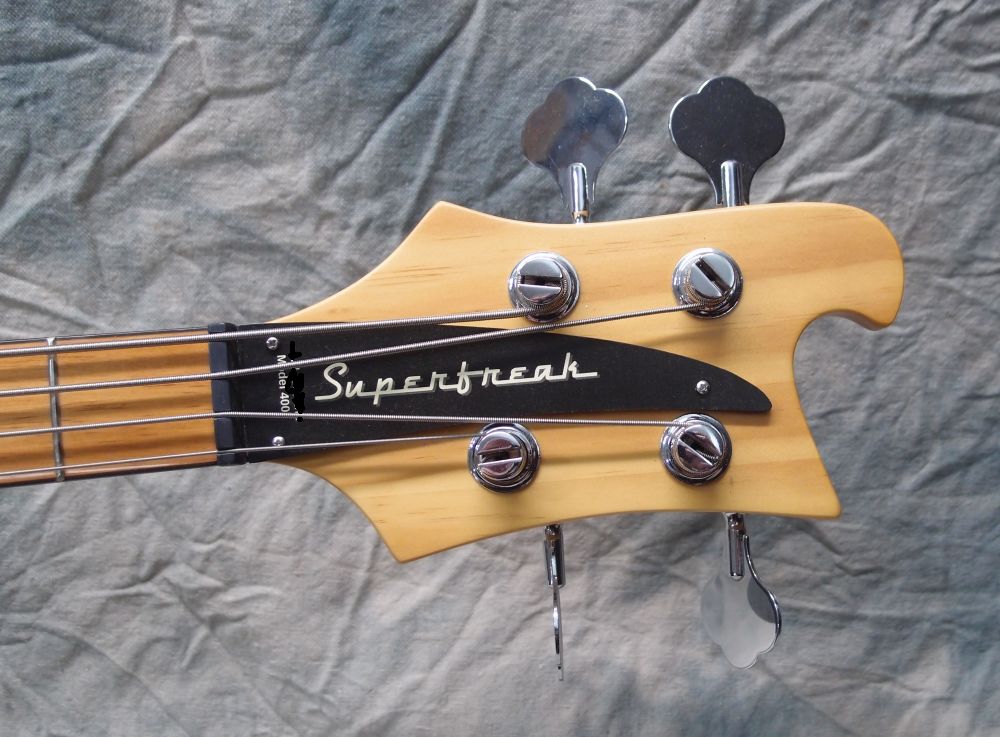
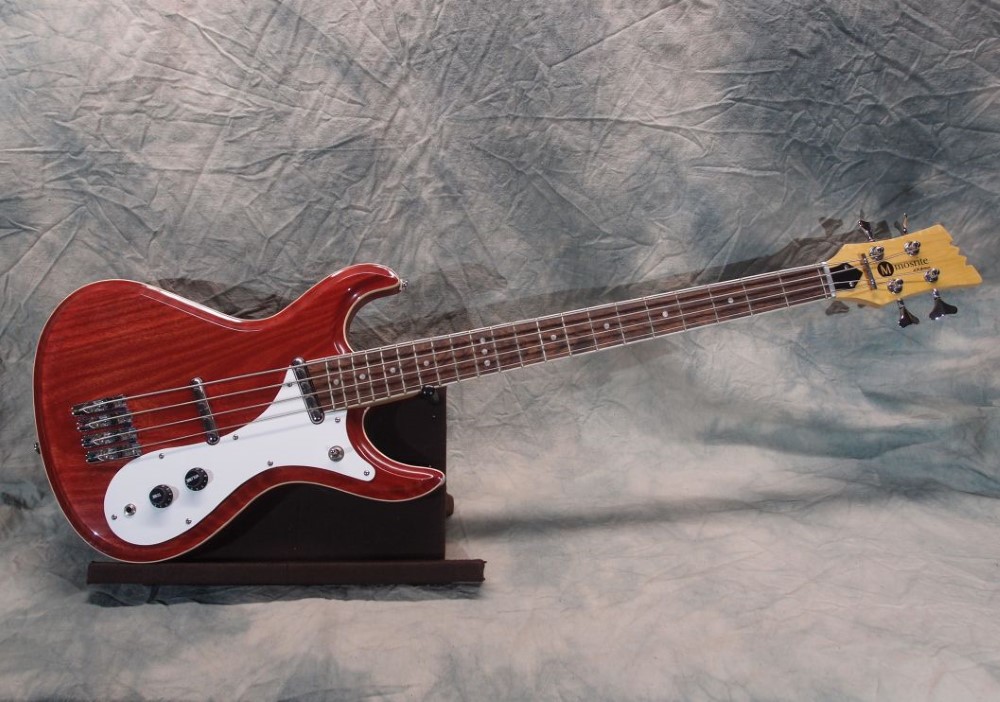
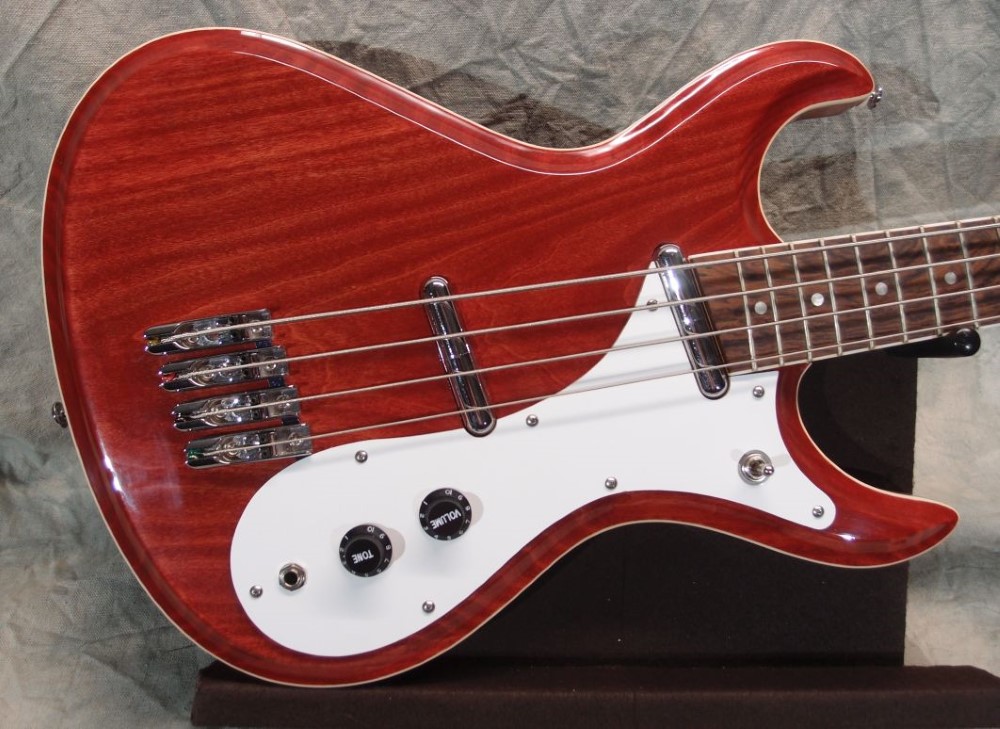
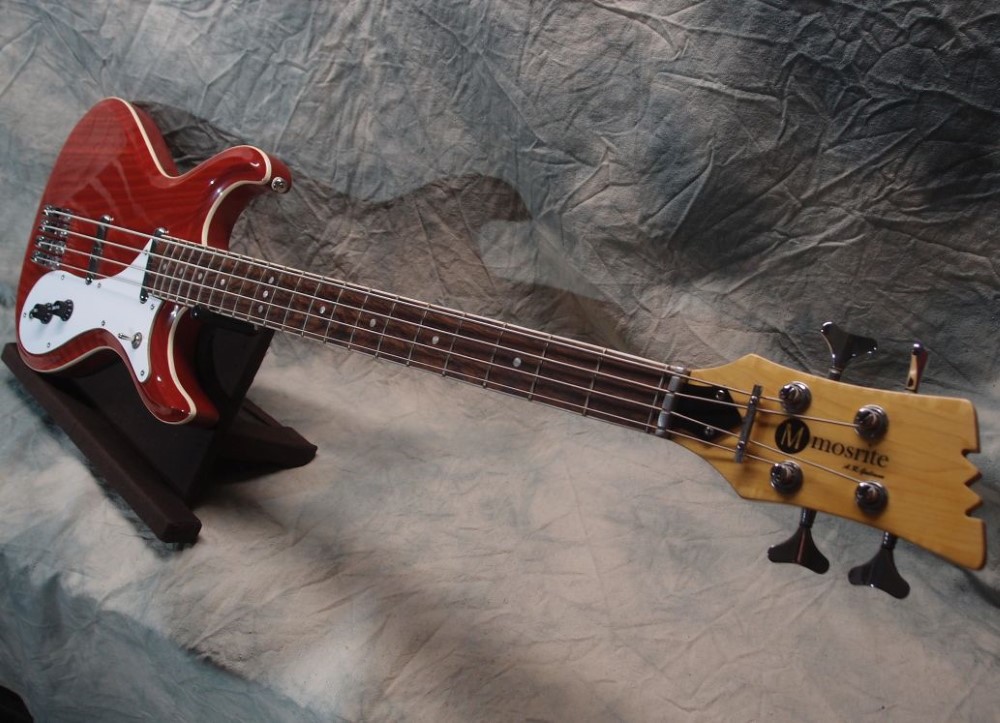
After doing the binding, I found a bulge in the middle of the fretboard. So I sanded it down with a radius block until everything is perfectly flat. I touched-up the inlays with black CA, and re-stained it to be bubing-ish again ( actually an old can of "Colonial Maple". ) Finally, I drilled out tuner holes 13/16" in the locations I determined previously, and everything fits.
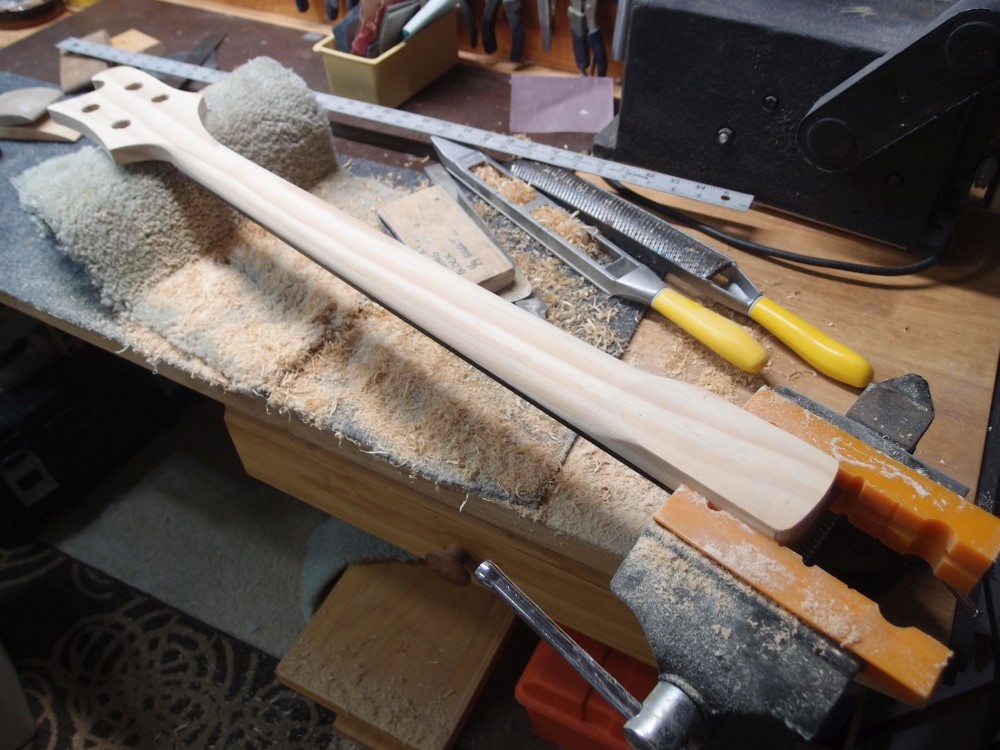
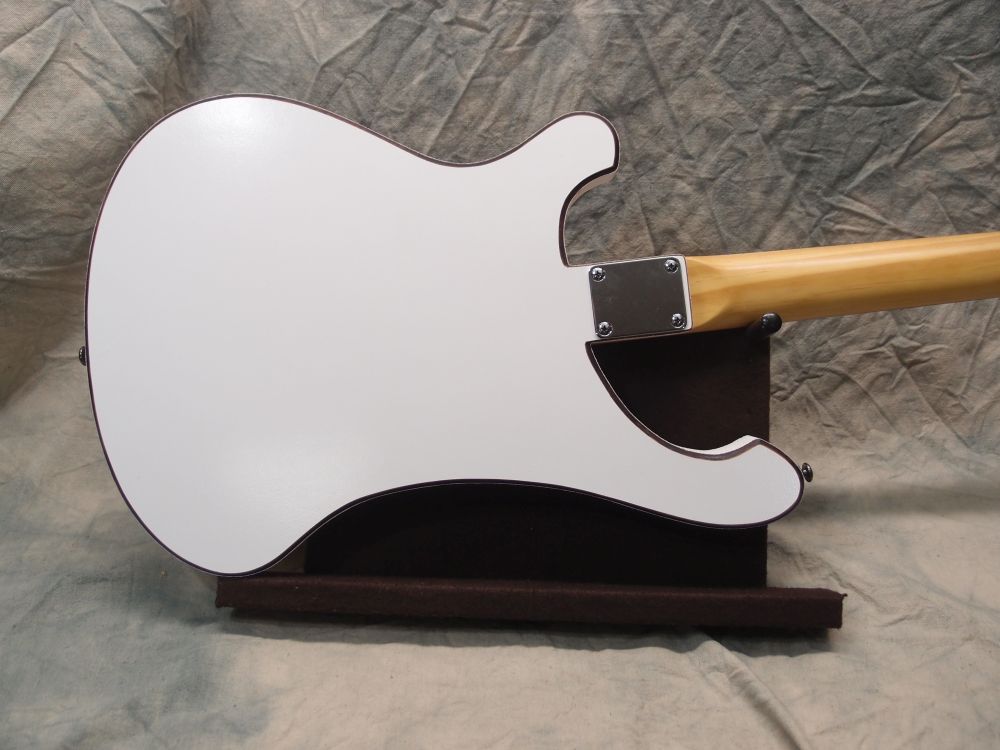
Satisfied with the front, I flipped it over and set it up to shape the back. The heel is clamped in a vise, and the head is supported to make things relatively level. I also taped-up the headstock wings to avoid accidentally marring them with tools.
After sketching in Rick-ish contours for each end, I began the attack with a long flat Surform file. I also have a curved one, but the flat one did 99% of the work. When I had the basic shape roughed-in, I switched to a big round-backed file, which is quite coarse and ideal for woodworking. Finally, I finished the shaping with a padded sanding block and 80-grit.
I used a yardstick and eyeball to judge the taper on the back, and hands to make sure it all feels right. Long straight tools naturally give a smooth even result, no bumps or dips to work out. Everything done by hand - good exercise, no excitement. The shape is pretty close to final, then on to finish sanding.
This neck is entirely Radiata. This is my second Radiata neck; the first one is about a year old now on the Cowbell, with no issues. This is a good wood for necks - lightweight, good grain, strong and straight, and easy to work.