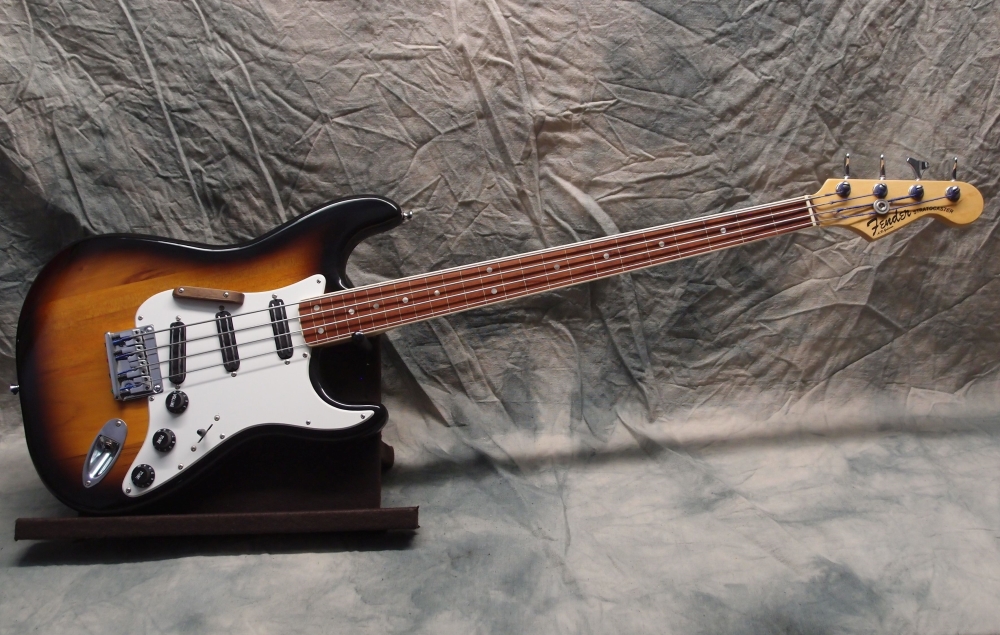
Stratocaster Micro Bass 2 (1/2)
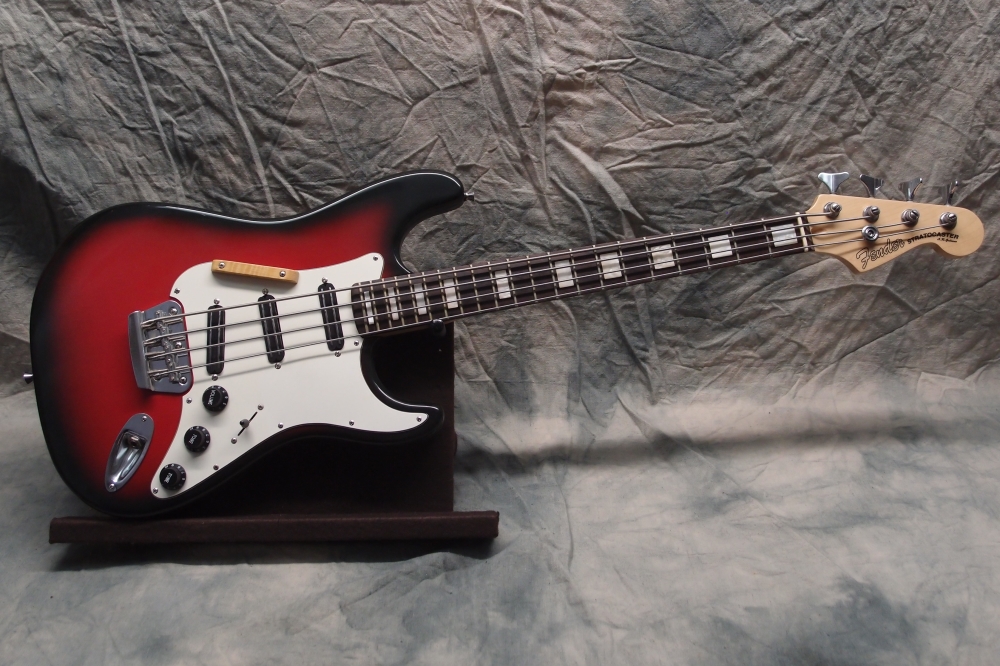


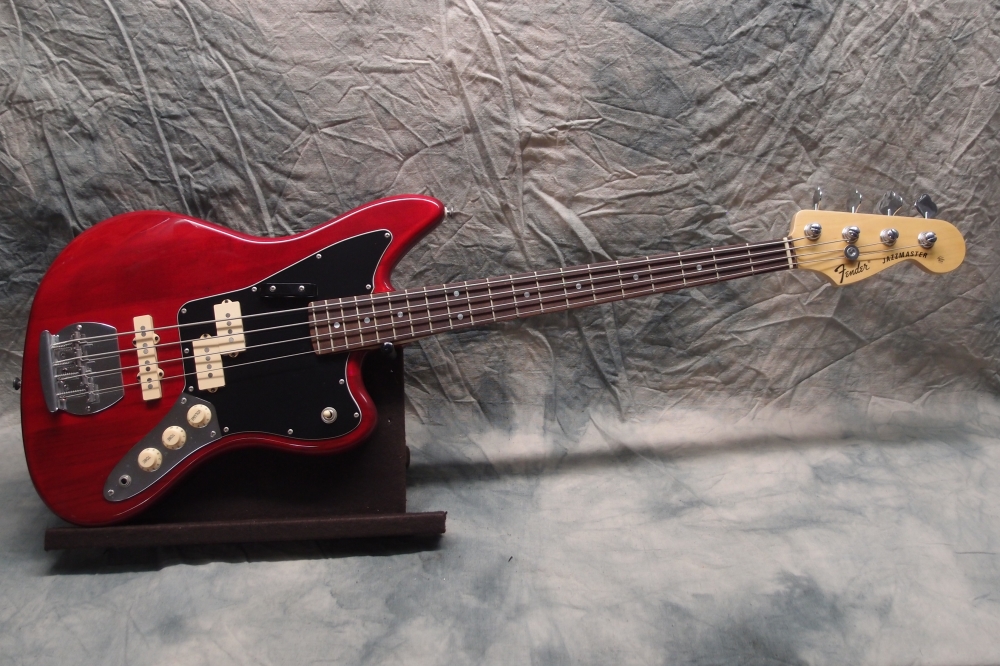
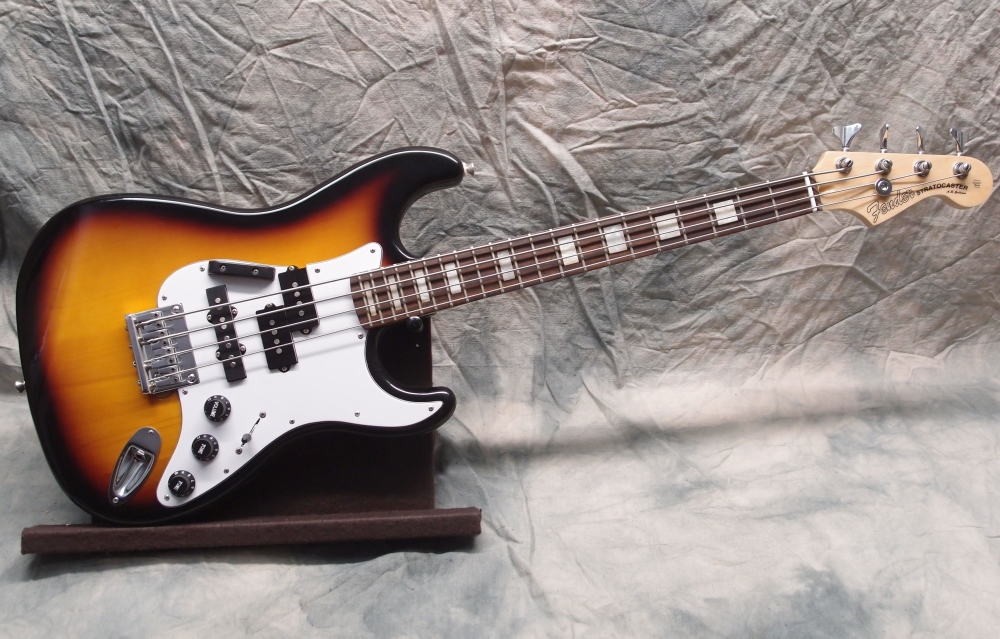
Originally all red, refinished in black burst. Eden paddle-head guitar neck converted to bass. Strings are lower four of 5-string sets, unwound to fit 25" scale.
A few build details:
- horrible crappy plywood hardtail body that I refinished so many times that it finally turned into a nice piece
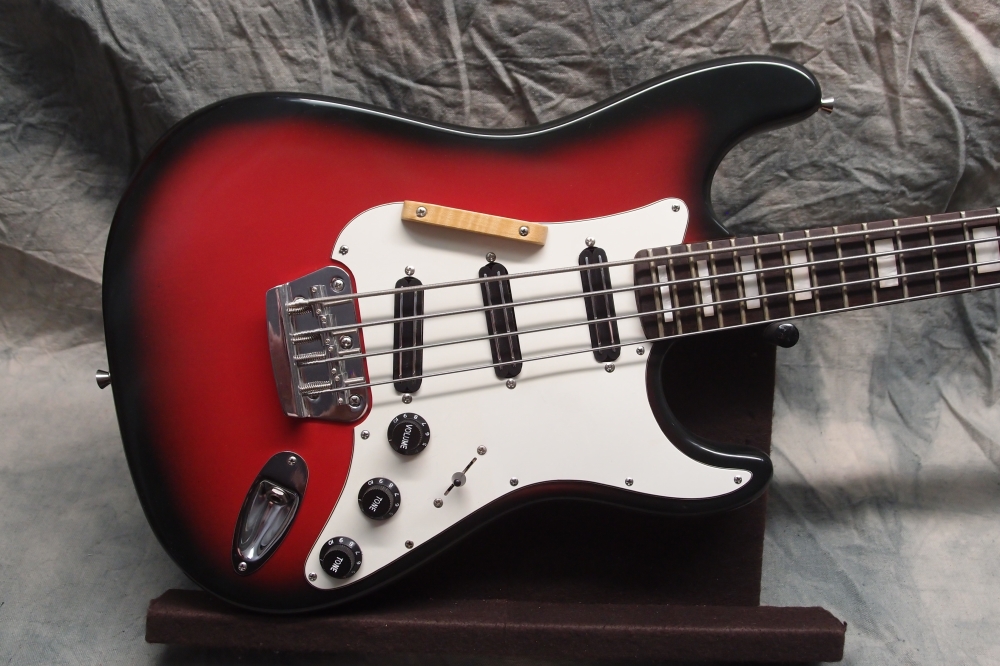
- the pickguard is the one that came with the body
- neck is the same as above
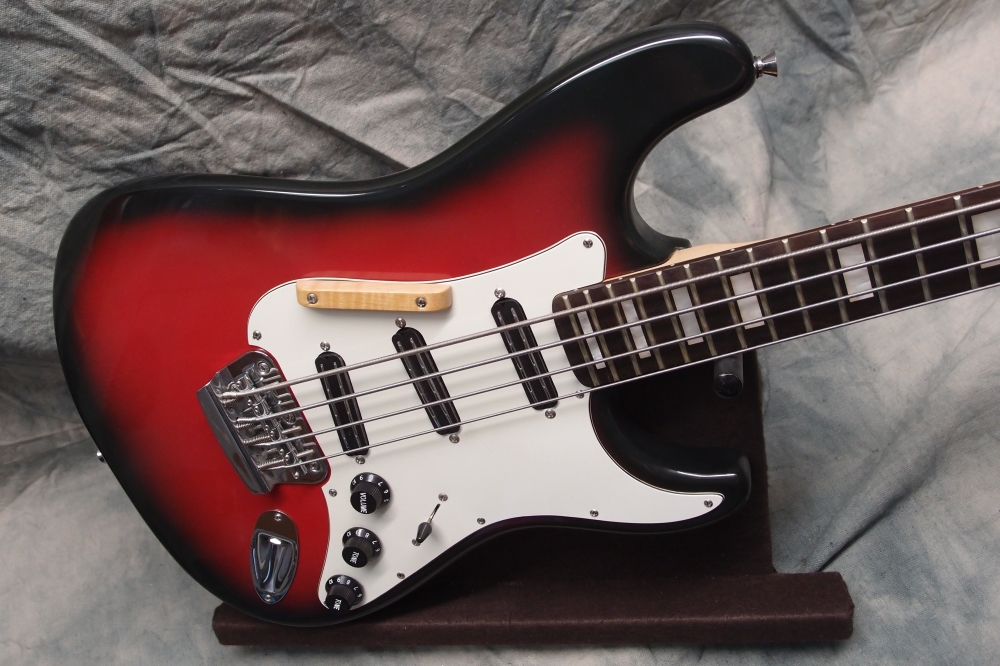
- Bronco bridge plate, modified to 4 saddles with parts from a 5-string bridge
- Belcat blade humbuckers
- standard Strat 5-way blade switch
- first tone control is series/parallel/single switch for all three humbuckers at once
- decent strings, mix of D'Addario and Darco, same weights as above
To make these strings, start with a 5-string set, and unwind the B down to the necessary length to fit the tuner. That becomes your E. You may also have to do the same for the E/A, the rest should fit. I've described the process in detail elsewhere on the board.
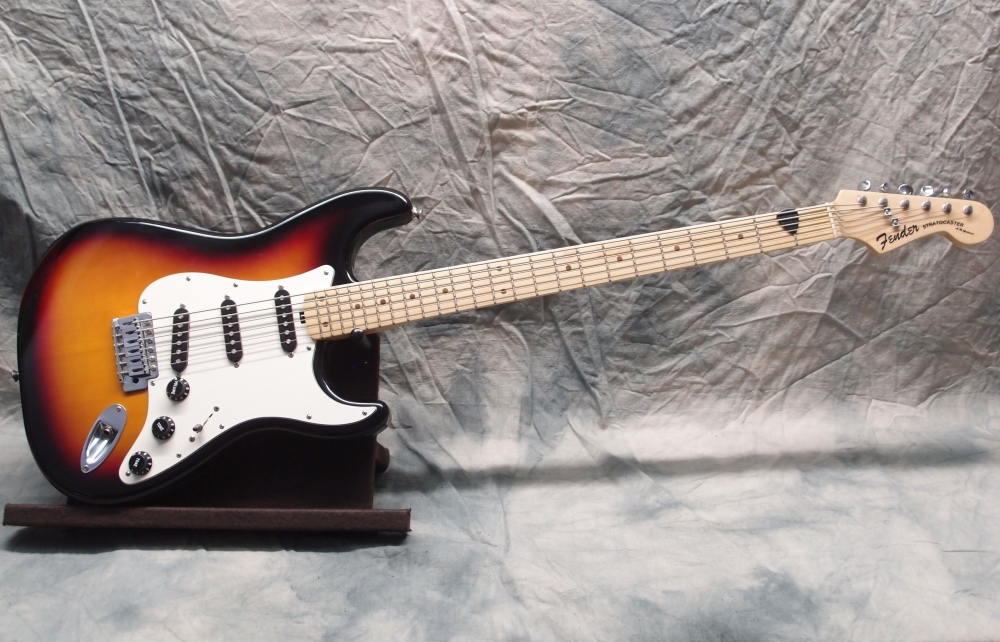
This was originally a 22-fret neck, but the 22nd fret broke off. That was actually happy, as I needed to sand down the neck slightly to make it fit this body. The body was a real POS, with plenty of "Mojo", originally all-red. I de-Mojo'ed it pretty well, it has almost no Mojo now. Those $6 Belcats make pretty great bass pickups, and they don't look funny with four strings. All in all though, I like my 30" creations better.
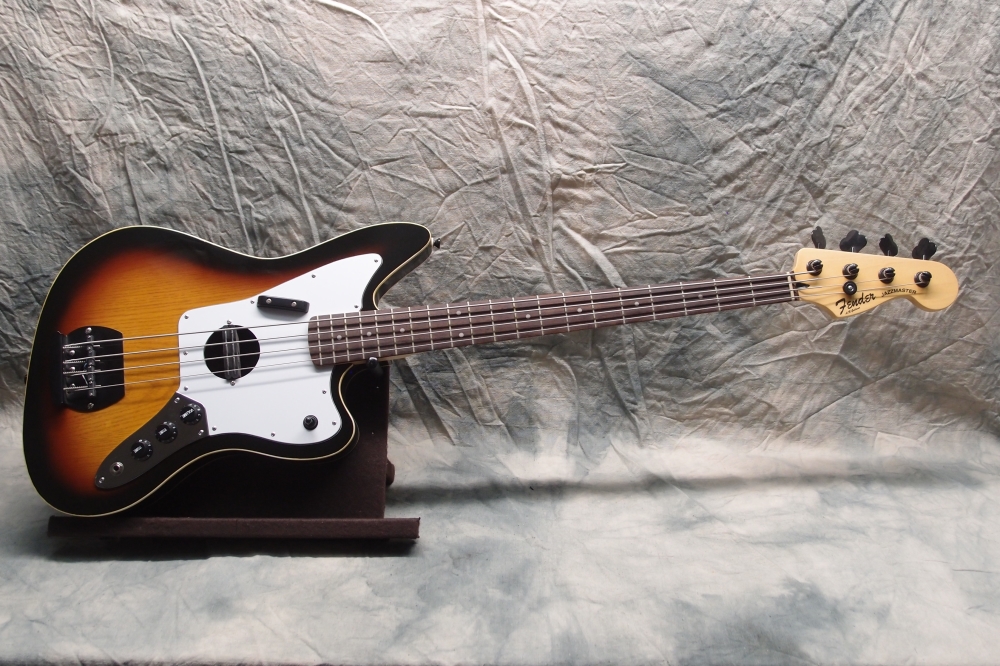
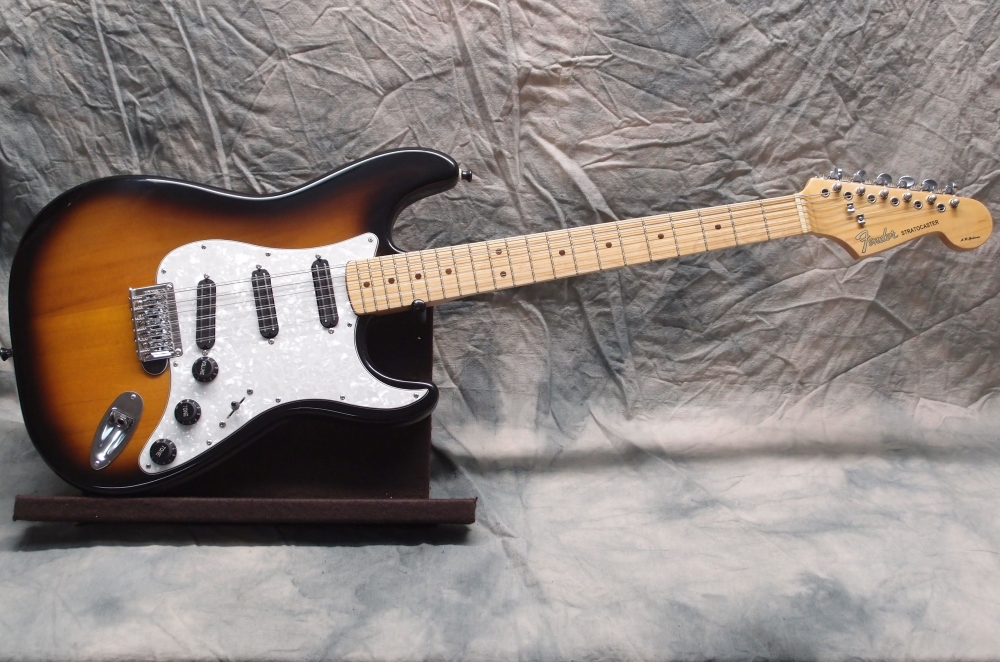
The pickups are the same Belcat rail humbuckers as I used on the previous Strat bass. The stock six-pole pickups would have worked just fine, but six poles and four strings would look funny, so I saved them for another project. The volume control and blade switch are stock, as is the pickguard. The lower tone control is a hybrid passive bass/treble control that turns back in the normal way for treble roll-off, and forward for bass roll-off, with a center detent. Both sides work very nicely, and it is fairly simple to wire up.
The middle tone control is actually a mode switch for the pickups, selecting between series, parallel, and single-coil modes for all three simultaneously. Together with the standard Strat switch, that makes 15 different combinations of all the coils, and all but the three single single-coil modes are humbucking. You can see the tic marks I made on the pickguard with a Sharpie pen - series ":" parallel ".." and single coil ".", with the "8" on the knob colored-in as an indicator. ( Series is the center position. ) But it all still looks like a Strat
The mode switch is an 8-pole 3-way rotary, with 32 lugs on two levels around the circumference. Each pickup requires 2 poles of the switch, leaving 2 poles unused. I replaced the unreliable switch in my older 3-pickup Strat bass with one of these, and it took several hours to get everything pulled apart and re-assembled right, and then draw out a definitive wiring diagram. I immediately noticed the improvement, this switch has a solid feel, and is dead reliable, no flakiness at all. It only took me about 45 minutes to install the second one here. Needless to say, you will never see one of these in a production instrument, the wiring is far more intricate than anything I have ever seen from a factory.
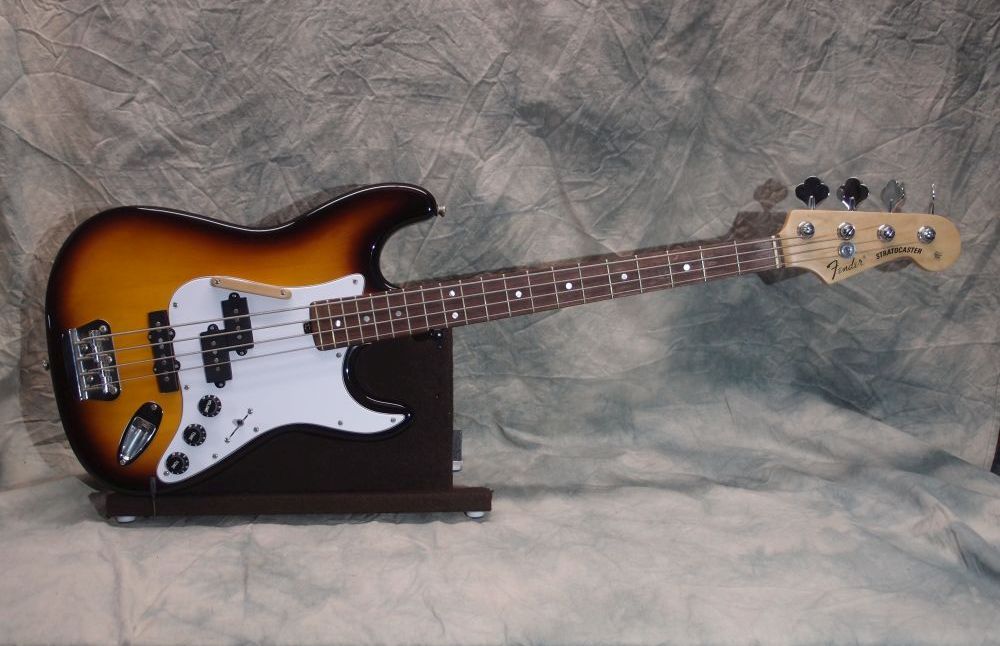
So that's it, a fairly trivial build with bought neck, body, and pickguard. The only major woodwork was shaping the headstock and finishing the neck, which is clear poly over 'natural' stain, except for the front of the headstock, which is lacquer over (and under) the custom-printed decals. I also thickened up the shielding paint in the control cavity. The bridge is grounded with a piece of aluminum duck tape that sneaks under the pickguard ( a la Jaco) to the same wire that grounds the shielding, the easiest bridge ground I've ever done.
One of the reasons the Strat design is so easy to modify like this is that the pickguard spans the entire space from the neck to the bridge. You can do anything you want to the body neck, and pickups, and make it all neat with a custom pickguard. The tremolo hole is fairly easy to deal with. The stock dual tone control on the Strat is kind of dumb, but it is a boon for modders - two controls you can do anything you want with.
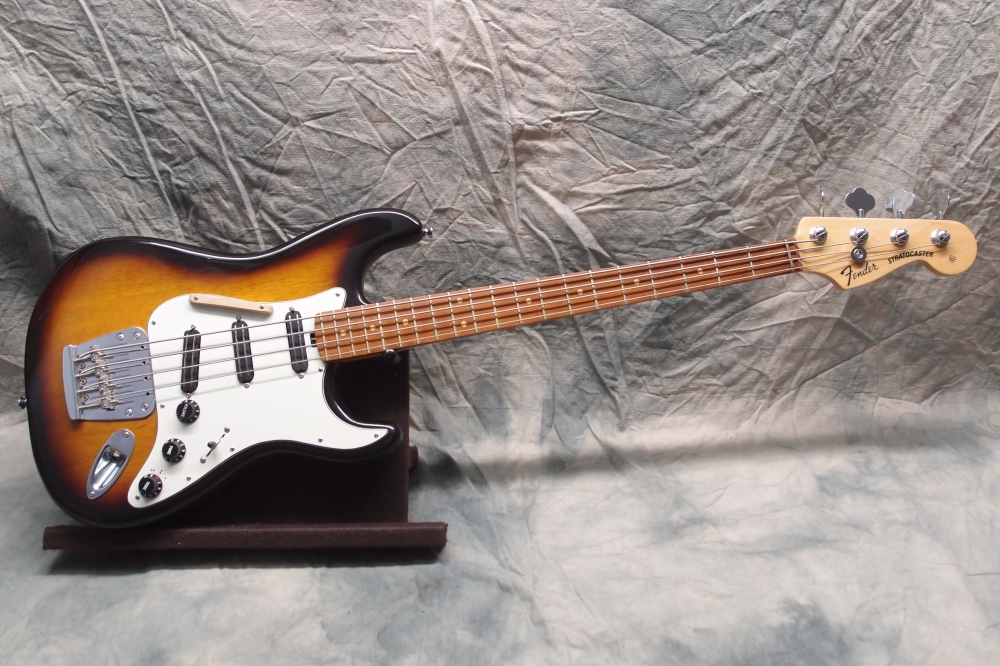
For stringing, there are several choices.
For a piccolo bass, my first go was to just use the bottom four strings from an old baritone set I had. That ended up over-tensioned, with a bad feel and tone, very shrill. So I scrapped the baritone 0.068" E string, moved the next two down, and got two singles from GC, so the final set is 0.056" 0.044" 0.032" 0.024" EADG, all wound *. That sounds and plays much better, with much more bottom end. This string set is similar in weight to many acoustic sets. I set the action a little higher than would be normal for a guitar, and dialed a little extra relief into the neck, because this thing is after all going to get thumped like a bass.
( * For comparison, a D'Addario standard piccolo set is 0.052" 0.042" 0.032" 0.020" EADG, long scale. )
The neck pickup in series mode has the best bass response, other pickups and settings become more and more guitar-like, approximating the rounded tone of a jazz box with the wound G string. In fact, that suggests yet another project to me, something completely new and radical: a 6 string piccolo bass. At any rate, all this was motivated by playing along with Stanley Clarke's 'School Days' and getting frustrated every time he went off the end of the fretboard. Well, eat your heart out now Stanley, I may never play like you, or even close, but now I have more frets !!!
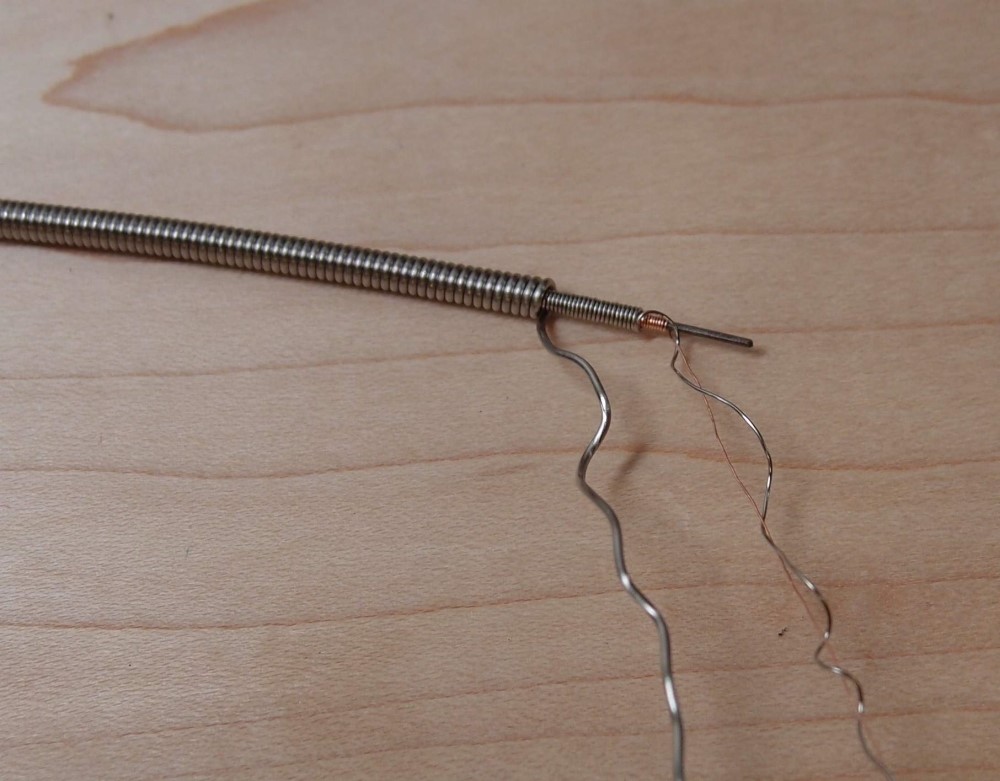
In truth, a four-string guitar that plays like a bass is interesting, but of marginal usefulness, and I would never have done it unless it could do more than that, and it can. The other stringing option is to use the bottom four strings from a 5-string set: 0.135" 0.105" 0.085" 0.070" tuned EADG as a real bass. For this purpose I got an "open-package" set cheap, which I will have to shorten to fit the 25.5" scale. I haven't really looked into how to do this yet, but I imagine soldering the winding to the core at a suitable spot and then removing the excess should work. In this case, I take a string set that tunes BEAD and shorten it to tune EADG, equivalent to applying a capo at the 5th fret, for an equivalent scale length of 25.5".
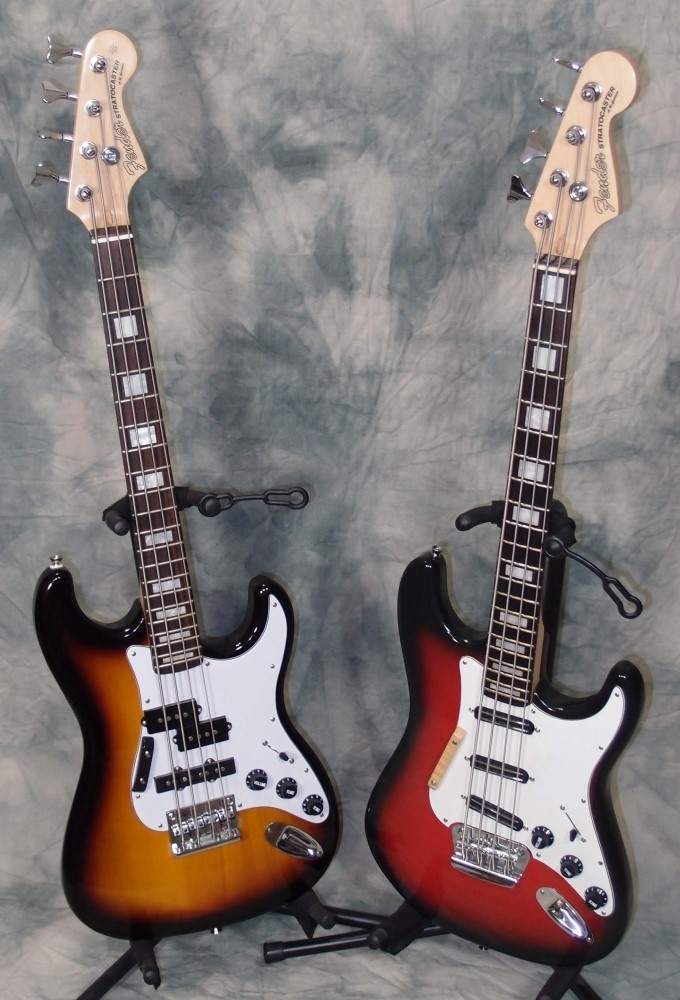
When I get around to doing that, I'll post the results. So that makes Strat bass #4, and number 5 is on the way, a Bass VI.
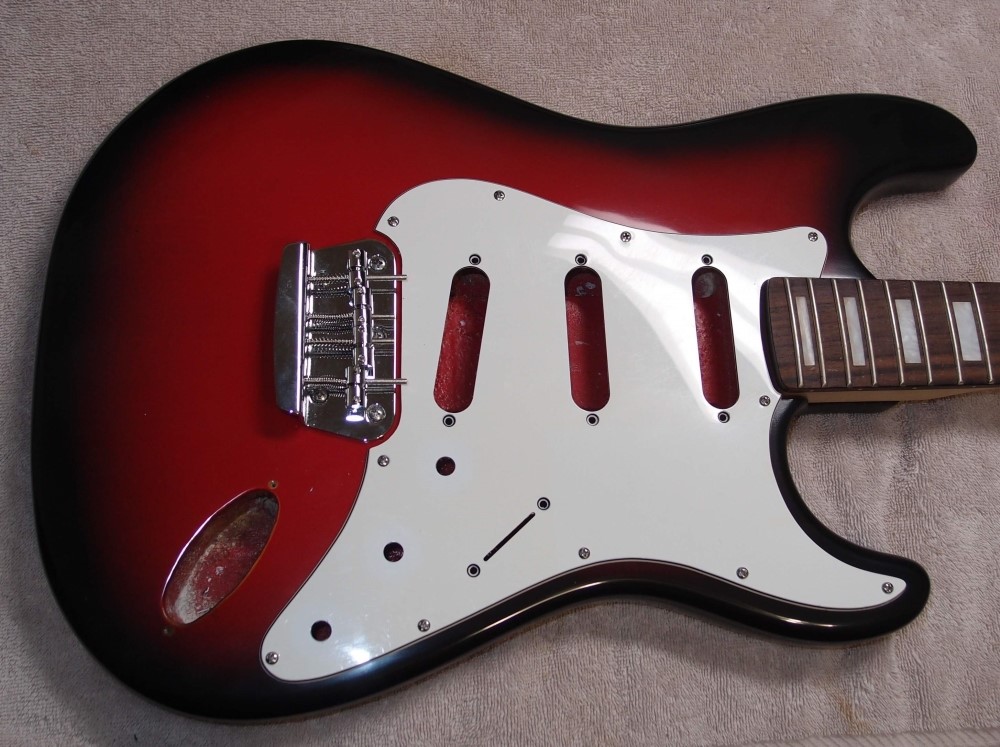
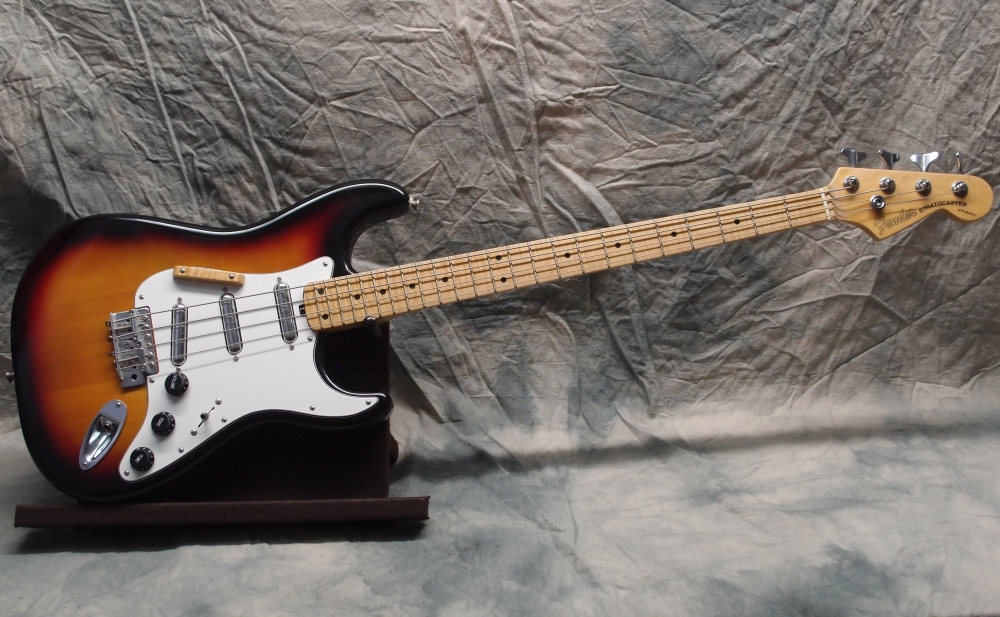
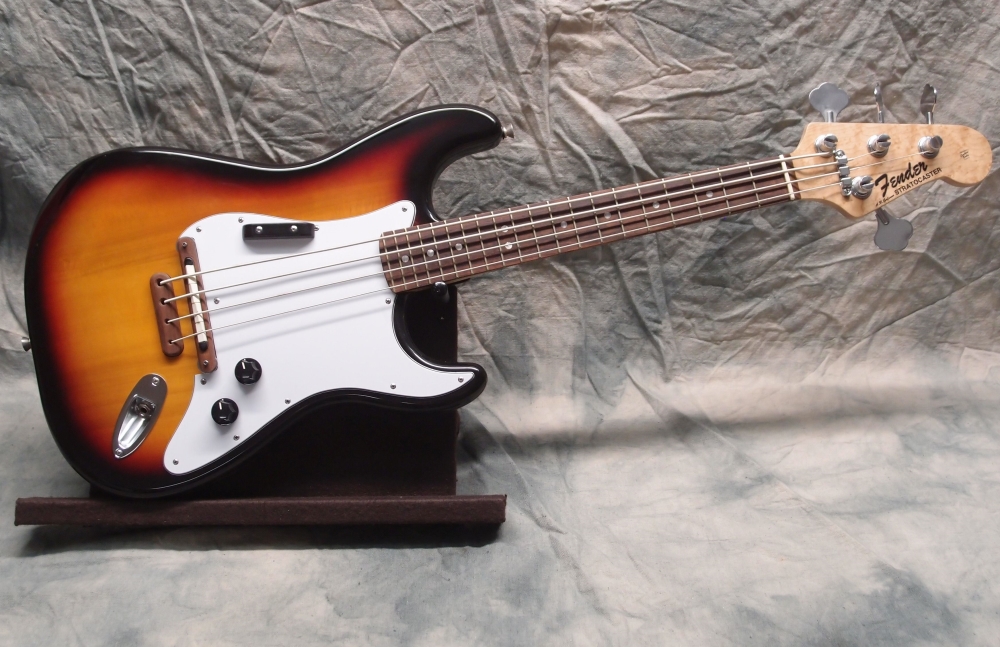
This is the last Stratocaster body that I had lying around, actually hanging in the attic for most of a year. It is a rather thin plywood hardtail, originally all-red with plenty of 'Mojo', as they say ( you pay extra for Mojo, right? ) I was disappointed with it when I received it, and it became a test article. I sanded down much of the 'Mojo', and then shot the black band around the edge to cover it up. Then I messed around with a lot of different poly clear coats, so it got really thick and smooth. Finally, I capped it with a coat of aerosol Minwax satin, which came out pretty decent. Yesterday, I retrieved it, and decided to try some polishing techniques. First I wet-sanded 1000-1500-2000-3000. Then I hit it with the random orbital sander with a foam pad and some cutting agent, then a softer pad and a polishing agent, and finally a wool pad and some Turtle Wax. It's not the best burst I've ever shot, but it is the first, and it's good enough. It's too bad about the Mojo, though.
I was surprised how nice it came out. The high gloss in the picture was originally a satin - goes to show what you can do. So I decided to mate it up with a surplus 25" bass neck and make another pico. That neck was originally a piccolo bass, which turned out to be little more than an electric ukulele, so I broke it up and eventually made an excellent short-scale fretless out of that body. So far here I have modified the pickguard that came with this body and mounted the bridge. I widened the bridge cutout until it obliterated the two screw holes, and then deepened it to give a constant gap around the bridge. Except for the initial grinding, that was all done with hand files. Finally, I drilled two new screw holes. The bridge plate covers all the damage pretty well. I need to find the rest of this body's parts in the junk box.
The bridge is a Bronco that had donated its two saddles to make a 4-string Strat tremolo bridge. I found a cheap 18mm 5-string bridge, and mounted 4 of its saddles on the Bronco plate. The narrow spacing is essential for the Strat-sized neck and pickups. The modification required 4 new holes in the bridge plate for the saddle screws; the string holes are fine, and the two old saddle screw holes are out of the way. The trick to drilling chromed metal is to start with a tiny drill bit and chuck it so only 1/4" protrudes, that way it cannot bend and skate across the slick hard chrome surface. Of course, this is done in a drill press, with the part clamped in a vise. Once you have the pilot holes, it is easy to drill them out to whatever diameter you need, the metal under the chrome is soft mild steel. I looked at modding a Strat tremolo to 4 saddles, but there are already too many holes in it, no space to drill more.
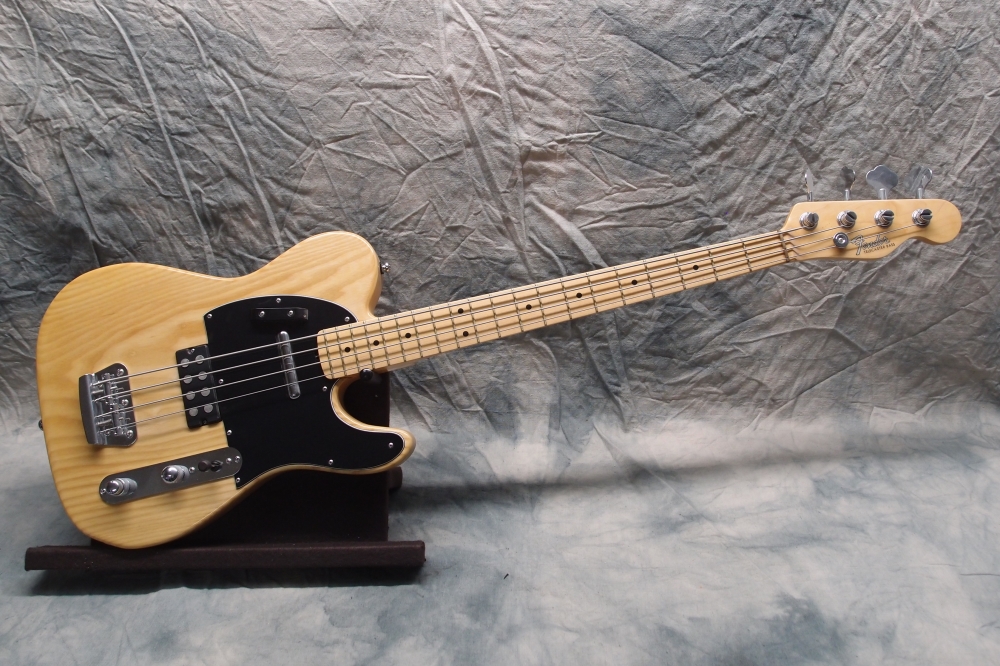
Funny, this is the first time I have used a Bronco bridge on a Strat project, given how inexpensive and easily available they are. I used a stock two-saddle one on my Tele bass, which is supposed to have two saddles. That's a different kind of Mojo. The rest of the plan is: 3 of my old standby rail humbuckers, passive wiring, haven't decided how complicated I want to make it. Probably a pickup mode switch, and a standard tone control. Already ordered a 5-string set of strings, which I will unwind down to 25" scale and fix with Crazy Glue. That worked perfectly the first time. This will probably be the last of my Fender-Benders.

Questions or Inquiries?
Just want to say Hello? Sign the .