Stratocaster Fretless Bass


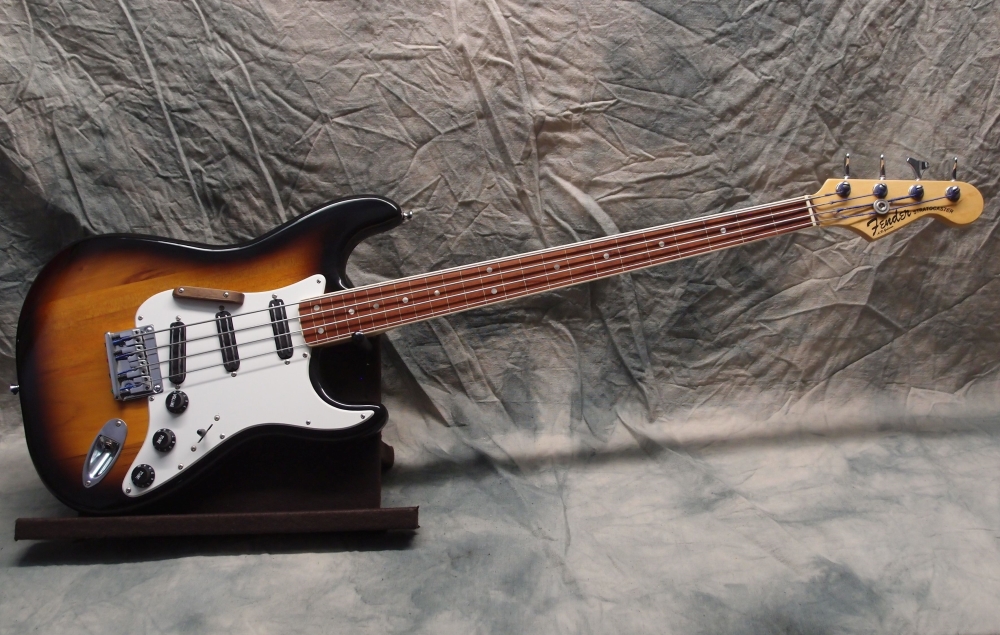
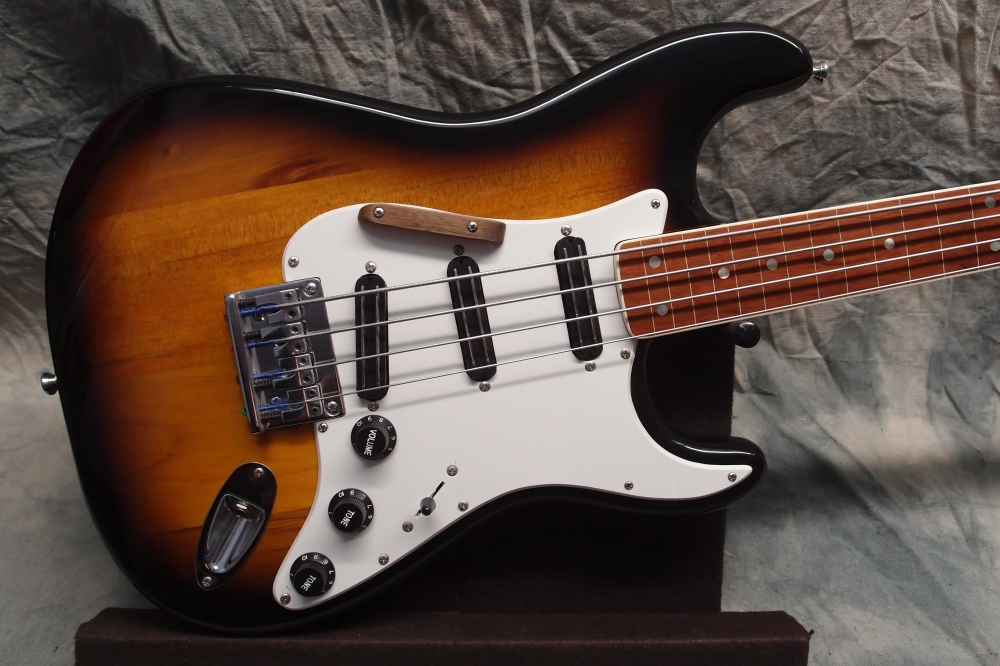
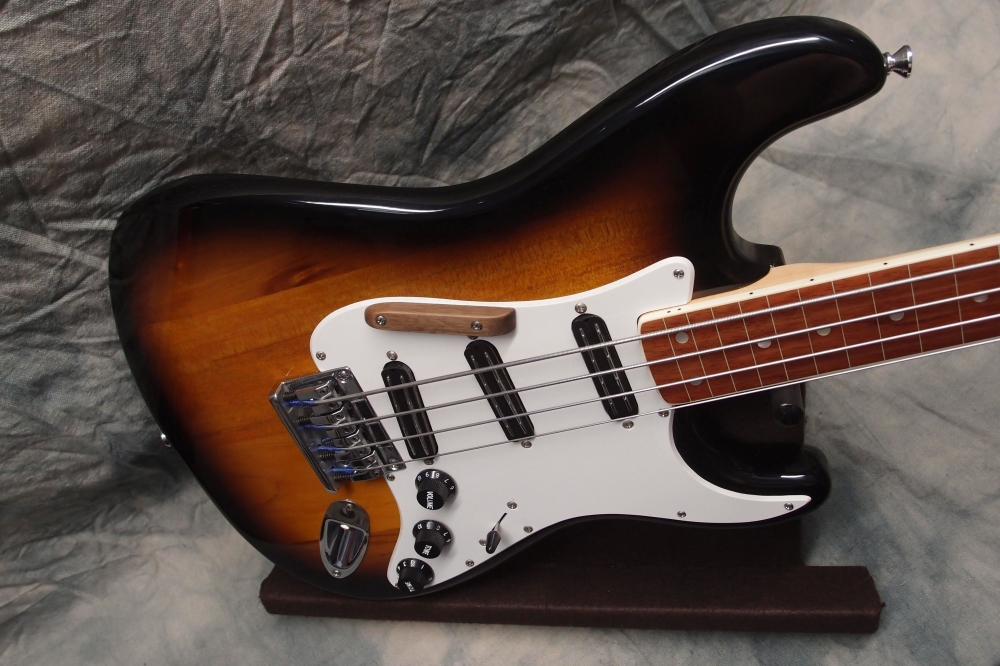
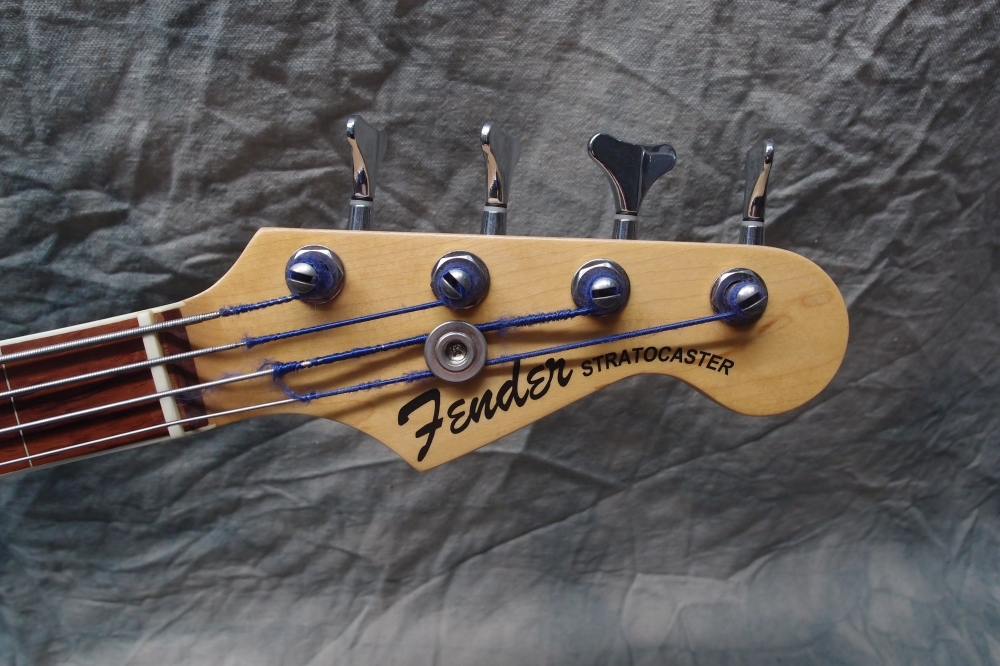
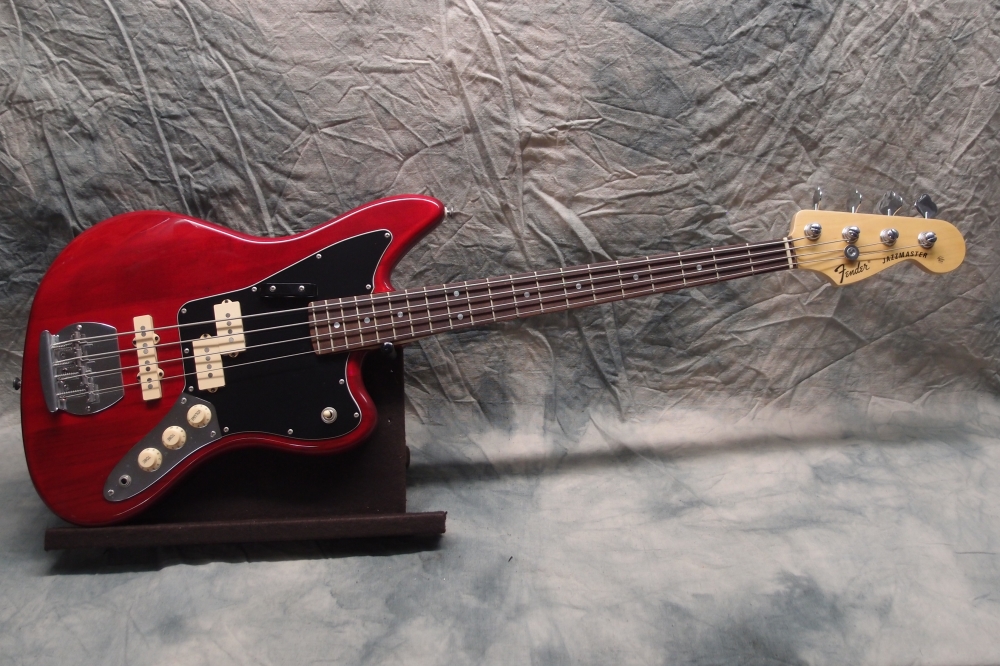
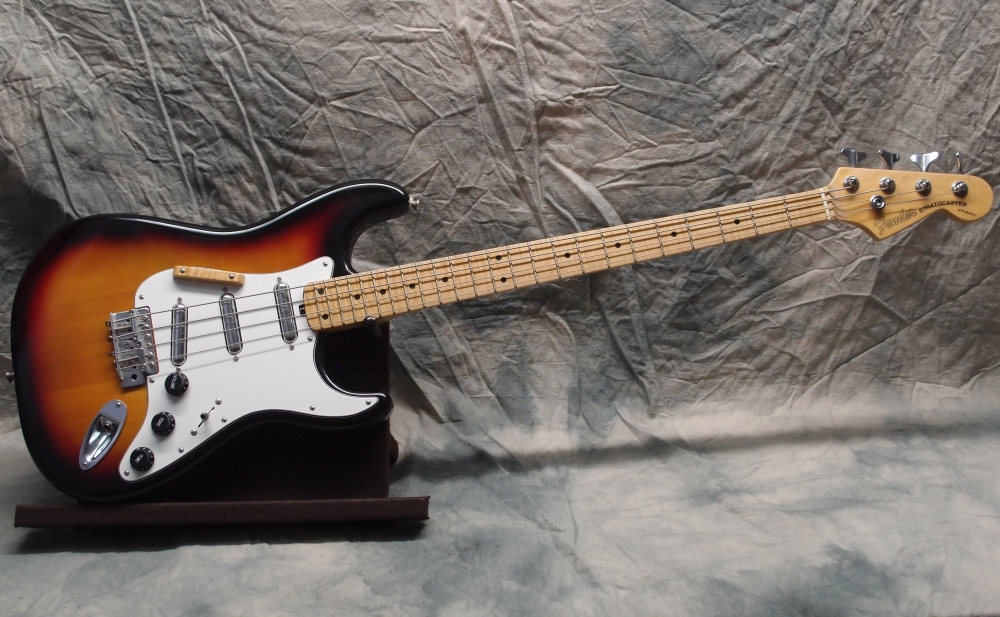
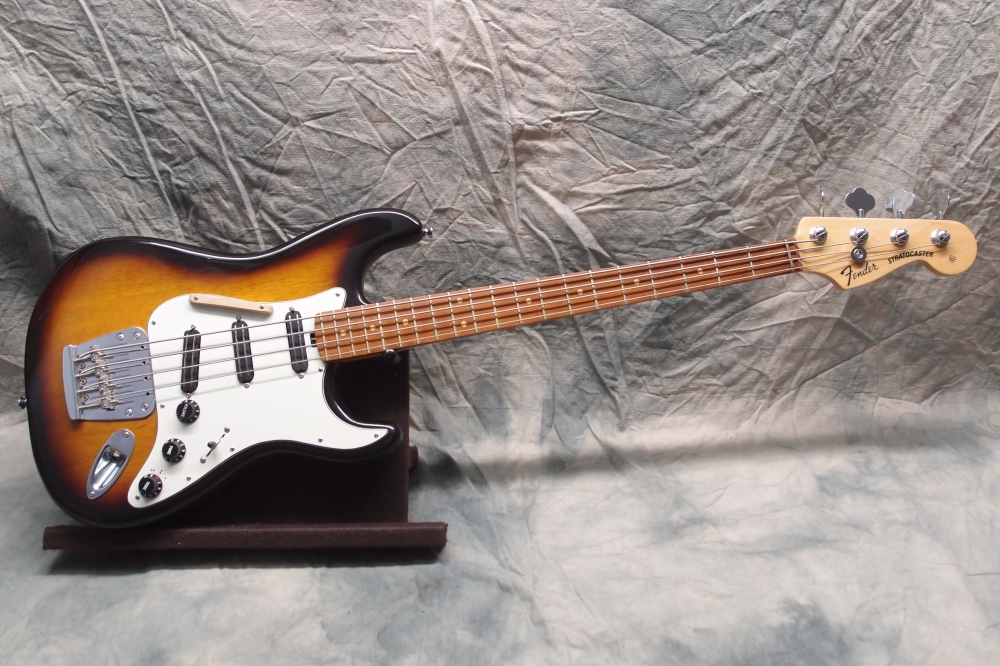
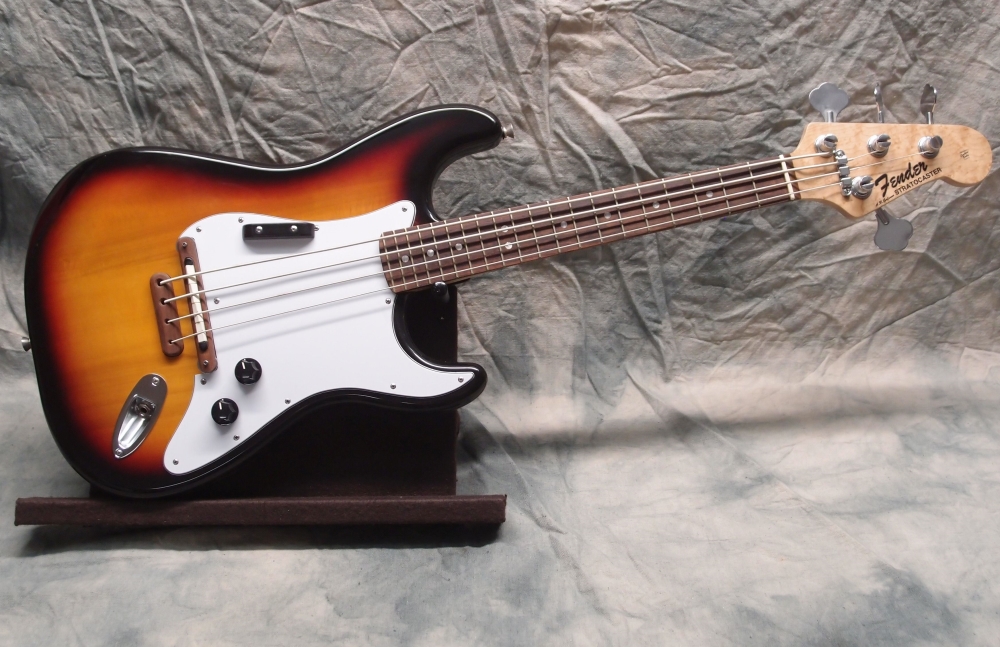
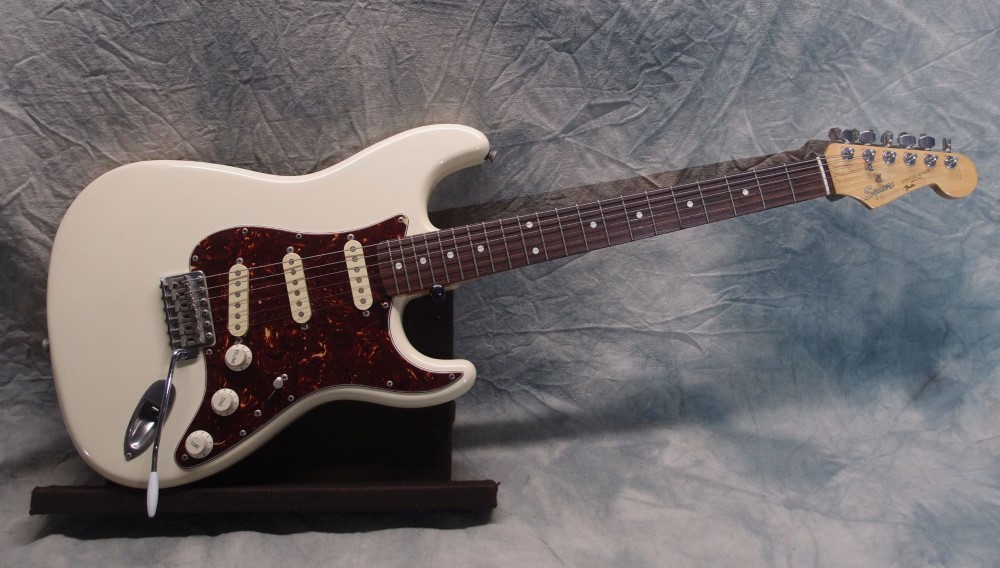
This fretless sounds really cool, and is super-easy to play, as you no longer have to stretch your hand unnaturally just to make ordinary patterns. It is set up with flats I found in the junk box. Can anyone tell me what kind of strings have blue thread leaders? The intonation fell right in, which is surprising considering the bridge was previously set up for 25.5" guitar strings. ( Actually, how important is intonation on a fretless anyway? )
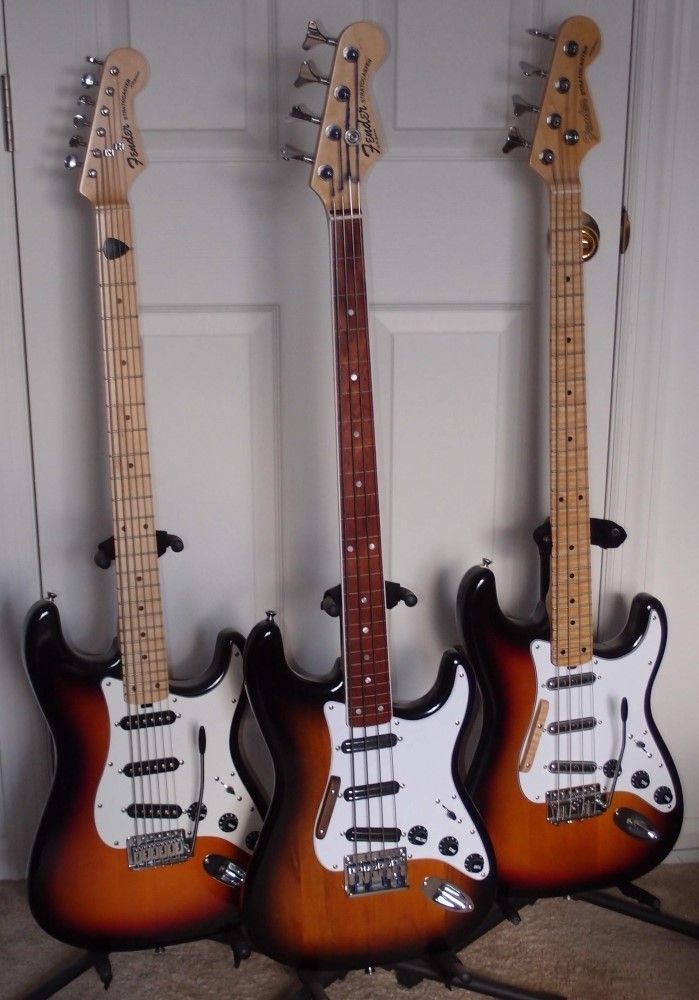
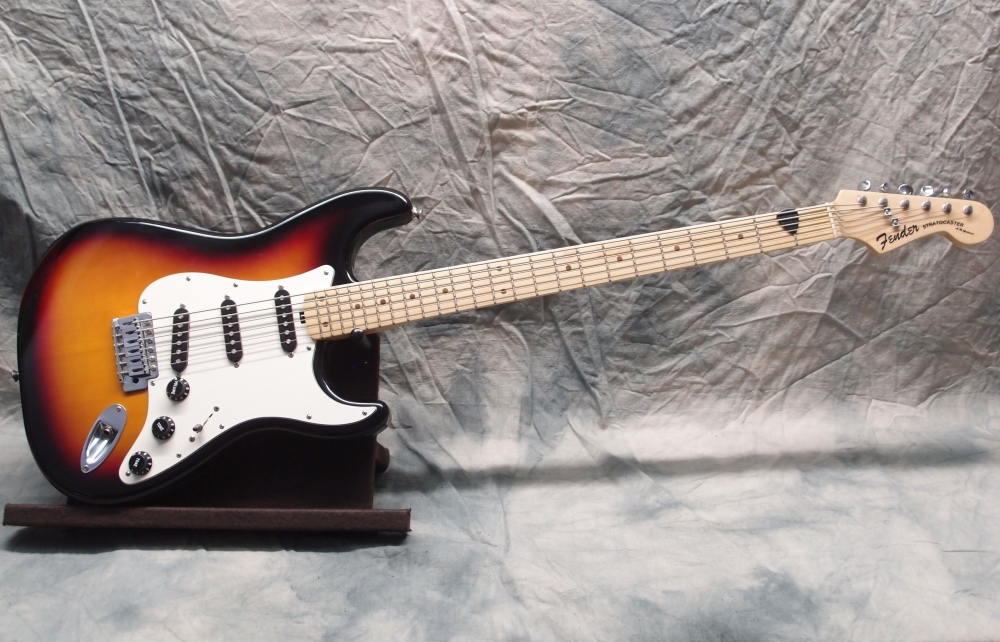
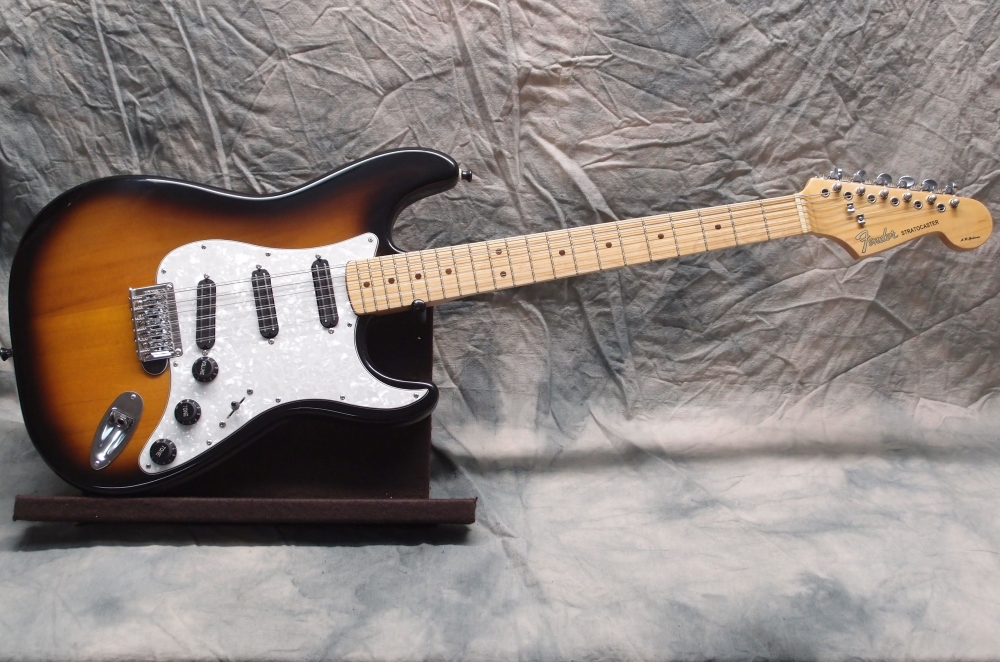
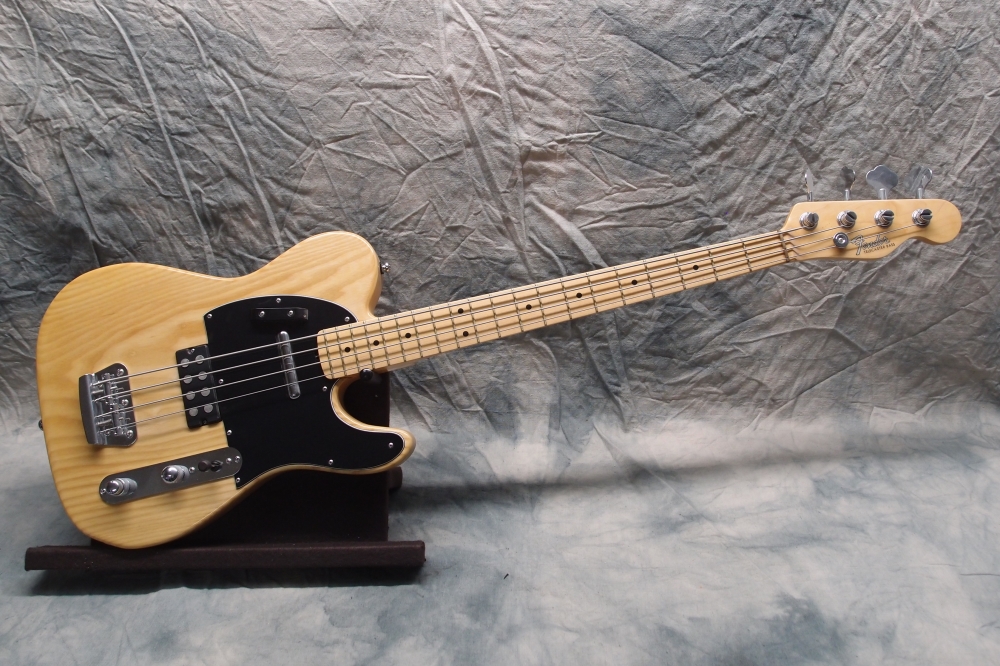
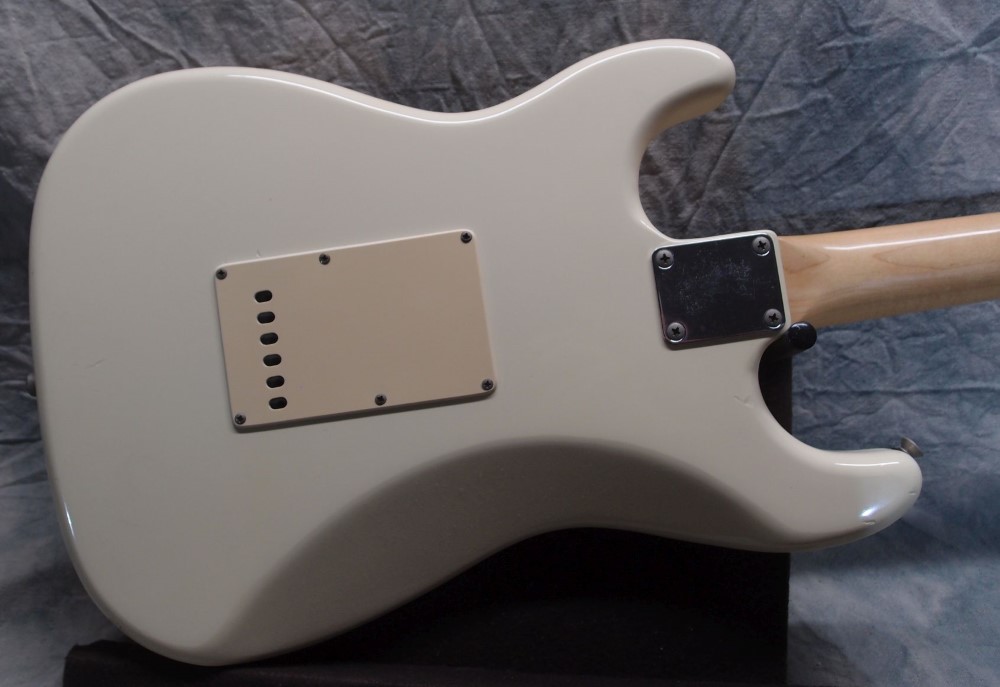
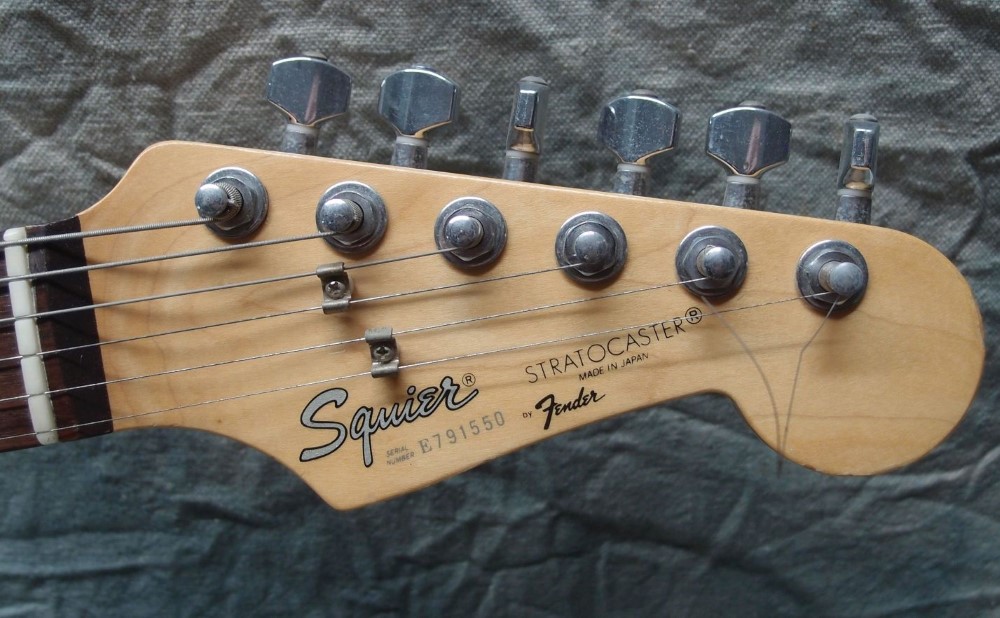
They may have Fender decals, but I also signed them under the finish - I am not trying to pass-off fakes. But Fender could do worse than to steal some of my ideas, most of that 'Pawn shop' stuff is awful.
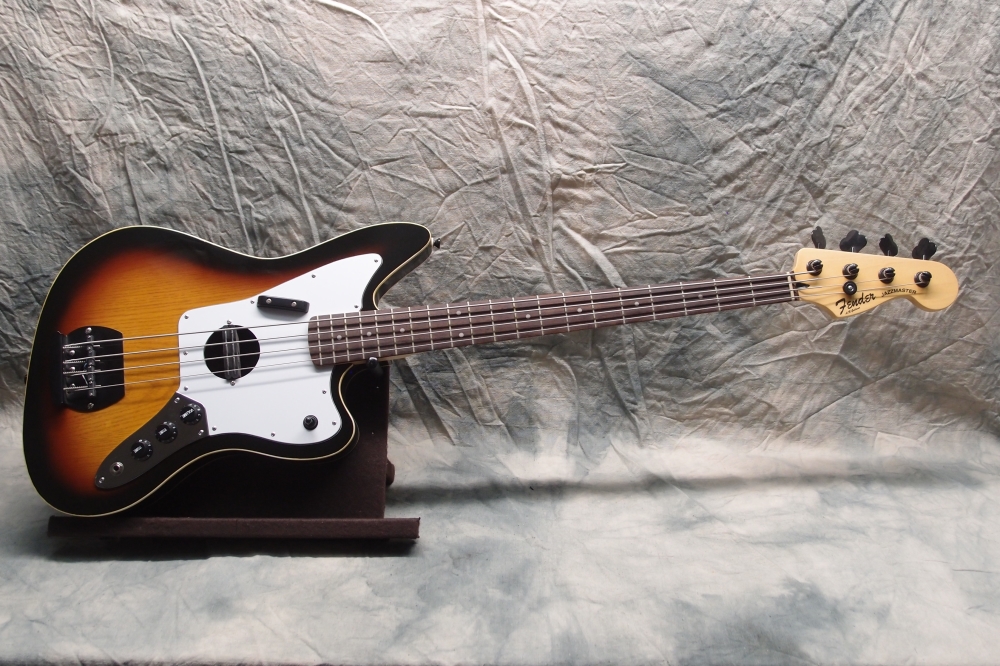
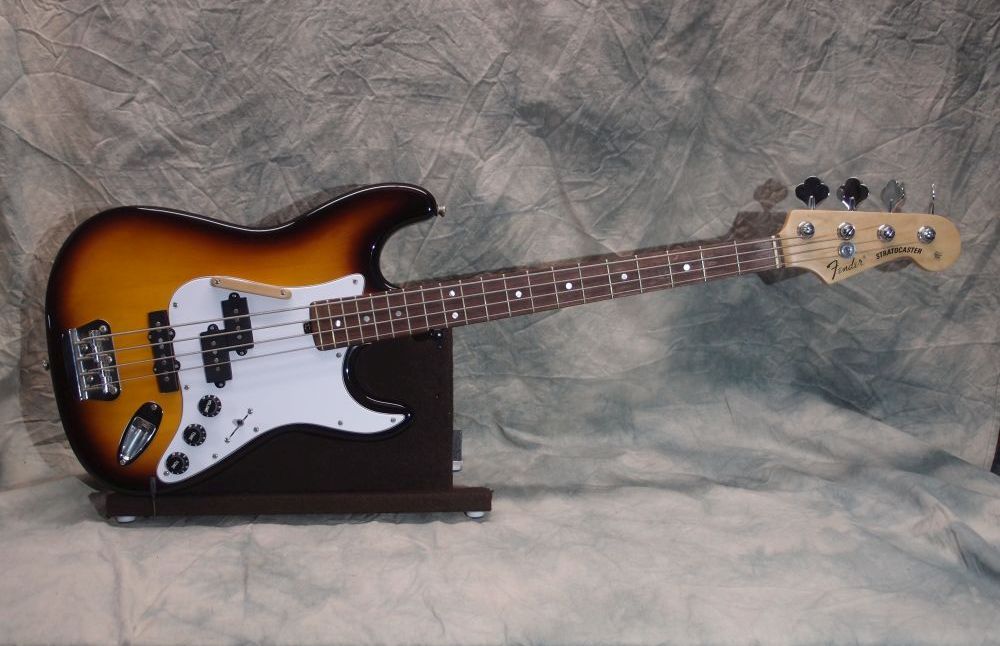
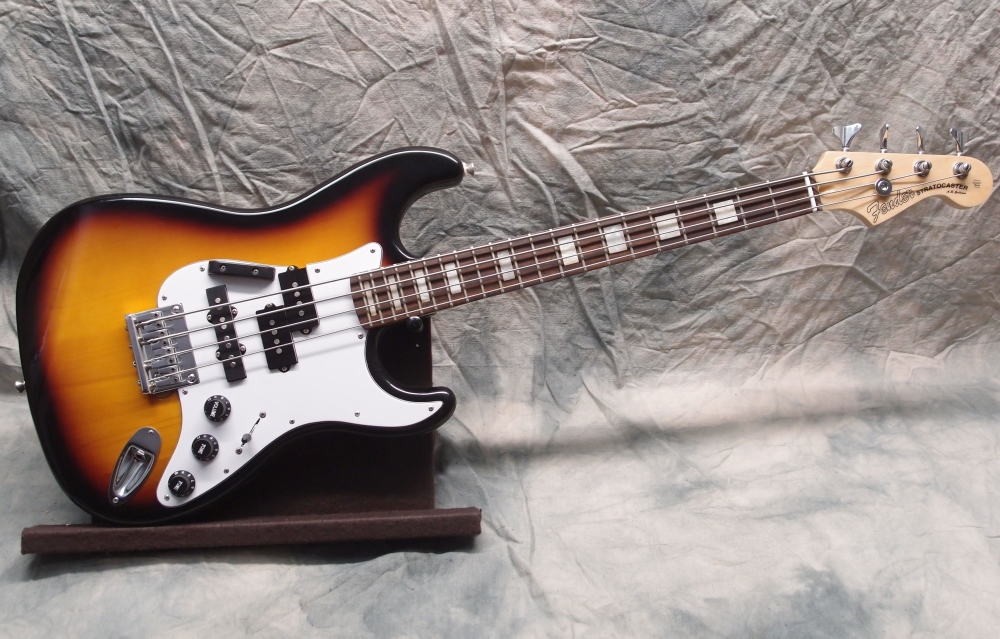
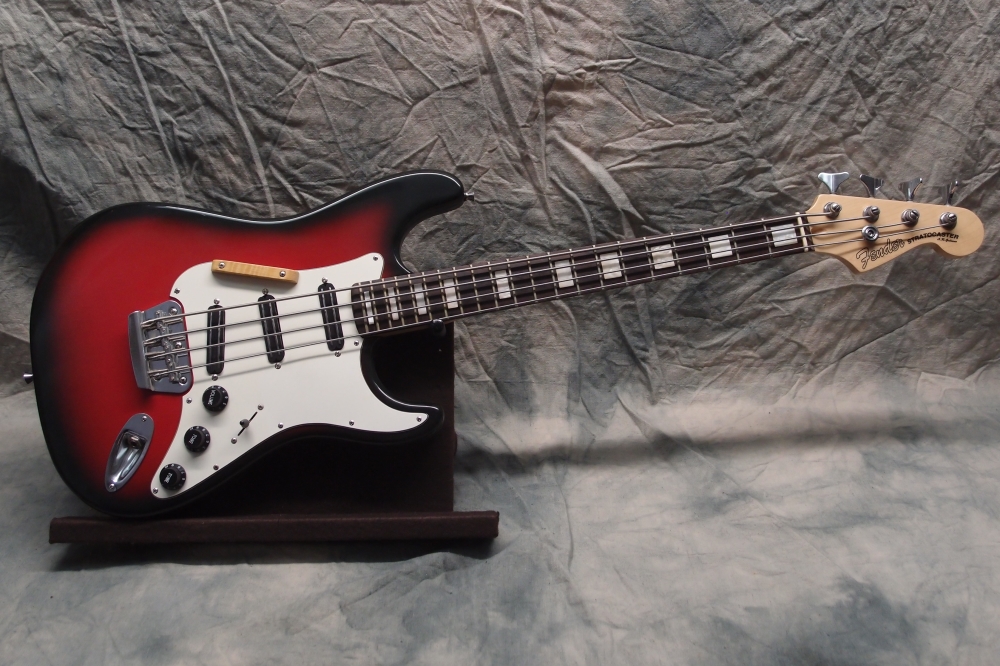
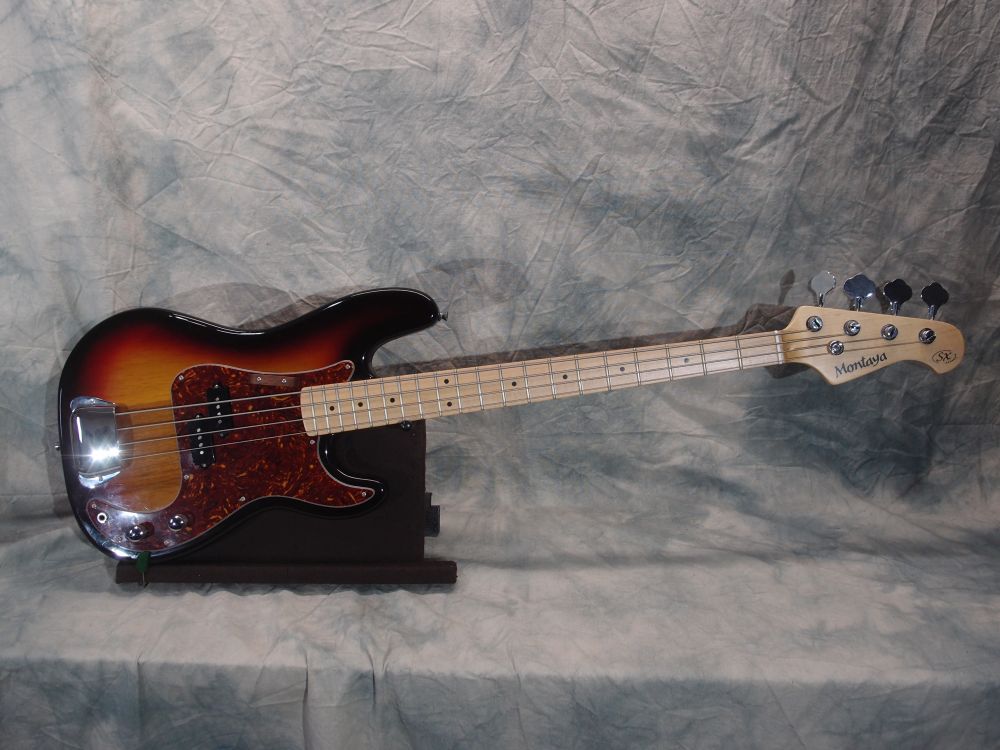
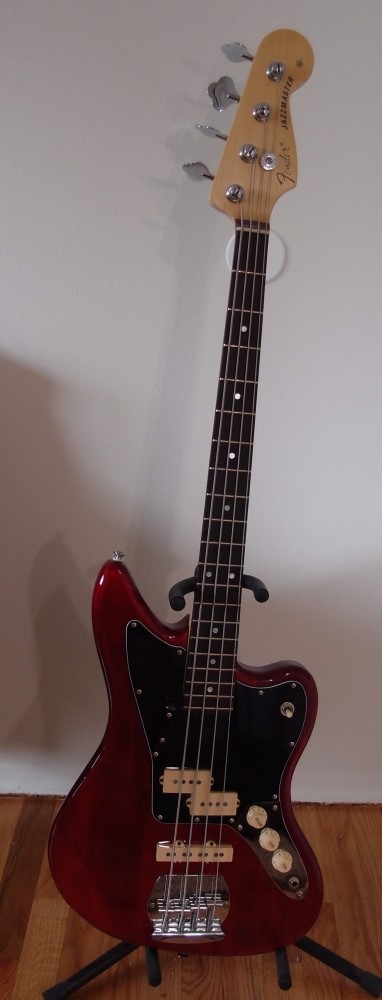
In the middle is the new fretless that I built out of the piccolo. Next to it are two older long-neck short-scales: Bass VI on the left and 'Bass IV' on the right. This two-octave neck design is fast becoming my favorite. It requires no modifications to the body except a block in the tremolo cavity. The bridge and everything else stay in the same place, and the pickguard can be easily modified. This picture is an interesting study in variations.
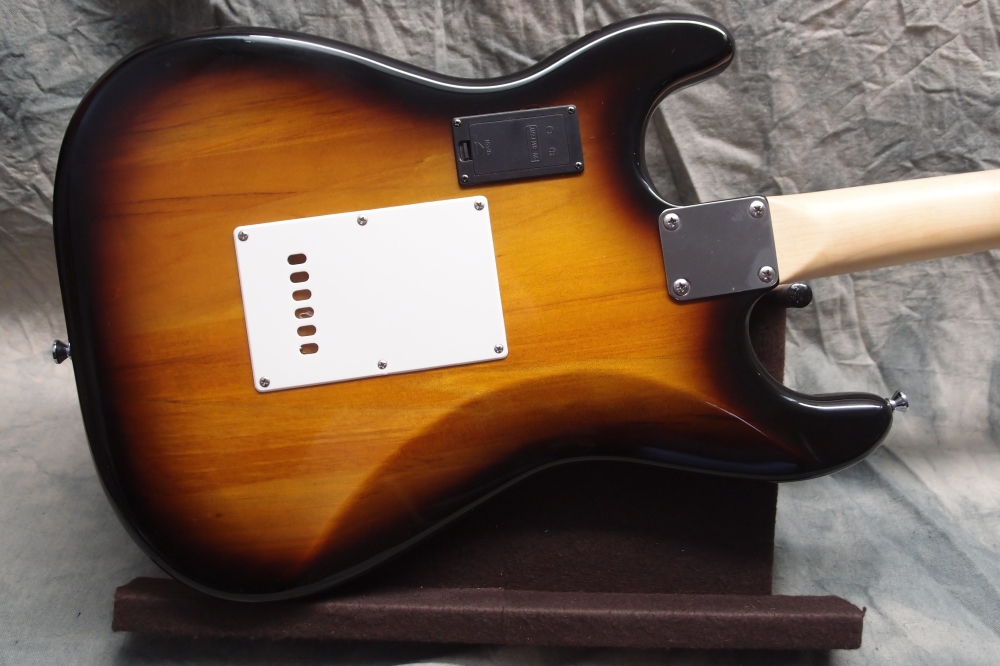
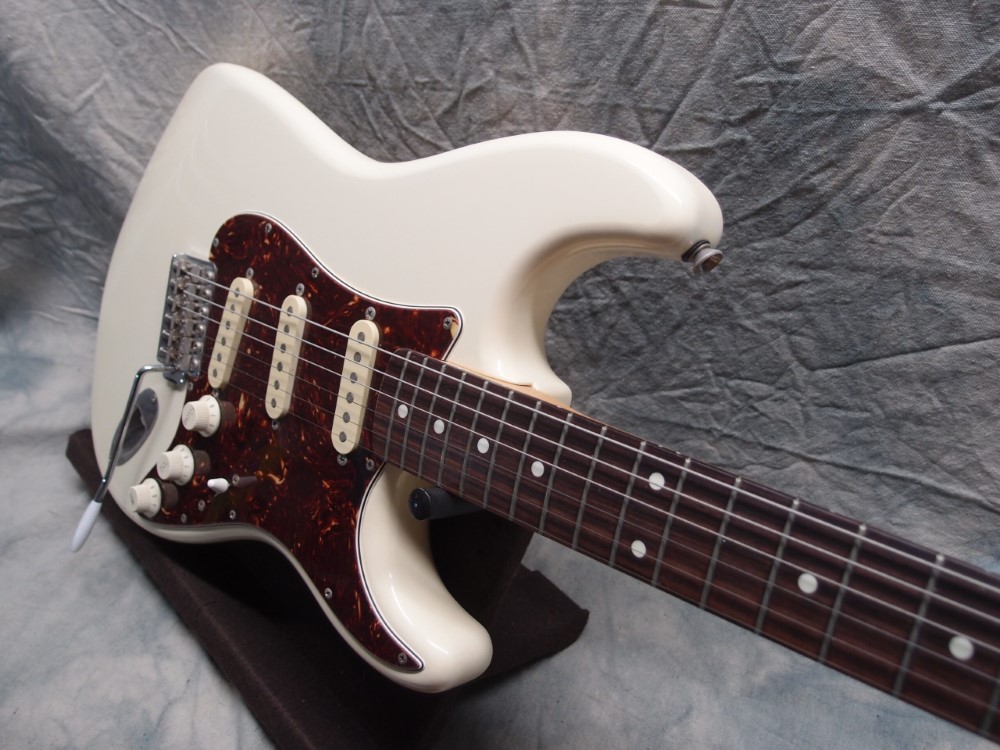
The neck is shimmed back with about 8 layers of masking tape, allowing me to raise the saddles up to their normal height. I only use Scotch 3M masking tape for its superior tone, I find other masking tapes are not as tone-ly. I know some people say the kind of tape you use doesn't matter, but I know it does, I can hear the difference, and I am not just fooling myself. I also let the tape 'breathe' for a few days to equalize its aura before I put the neck back on. Sure, it can take weeks to setup a guitar like this, but anyone who doesn't understand this just doesn't understand guitars. Friggin' mechanical engineers !!!
I got lazy and used a bought truss rod, which is not nearly as easy to adjust as my own, but I figure a fretless is not very finicky in that regard, and so far that seems to be the case. In a month or so I'll revisit the setup, that will give the new neck a chance to settle in. Experience tells me I will probably lessen the shim and tighten the truss rod a bit. It actually plays very nicely right now. The fingerboard is Granadillo - much harder than rosewood, so perfect for a fretless. The binding is a nice way to cover up a mistake I made. The cheap truss rods you can buy from China are actually far superior to the 'classic' crap that is used on the expensive US-made models - Fender, Gibson, and Rickenbacker.
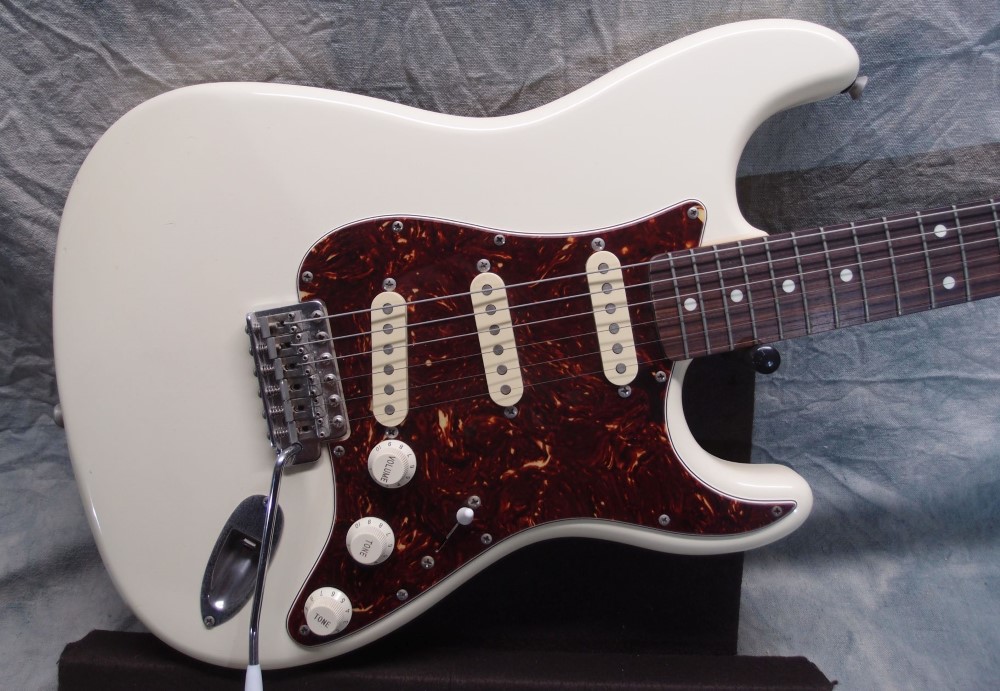
The three pickups each sound distinctly different, with the combinations being dominated by the lower-sounding pickup. At first, I used to try to put the pickups in the standard locations, mathematically allowing for the difference in scale. However, these 3-pickup models use the standard Strat pickguard. When you put on a long neck, that has the effect of crowding all the pickups toward the bridge, and basically randomizing the locations. And yet, it sounds fine. I know there are dead spots where you wouldn't want to place a pickup ( Leo found one and used it on the Stingray, don't ask me why ) but this seems to miss them - they all sound good.
The pickup switch is wired in parallel, while the pickups are wired internally in series. The pickups are very hot, and I had to drop them down into the body to get a nice even response out of them without overloading. The bridge pickup is very Jazz-y, with lots of fretless 'wah', even with the flats. I put in a good set of active tone controls, but my initial impression is that they are wasted here. Treble boost is almost non-existent - I guess there are just not enough of the higher harmonics to boost. The only thing that really works is the bass boost. I may rewire it if I come up with a better use for the electronics.
To build one of these, you need a suitably narrow bridge - 18mm spacing - as the neck is guitar-width, not standard Fender bass width. A Bronco bridge works just fine, and the two-saddle intonation is really not as bad as some people make it out to be. The squarish zinc thing I used here can be found on eBay, both of them are fairly inexpensive. The Bass IV uses a Strat bridge with Bronco saddles. I then got a cheapo 5-string bridge, took the 18mm saddles off it, and converted the empty Bronco plate to 4-saddles. The trick is figuring out how to drill through the hard chrome plating without the drill bit skating all over the place. I did a study of converting a Strat bridge to 4 saddles, but there are too many holes in it already to drill 6-8 more in the right places.
I get a kick out of building things wrong. Those guitar humbuckers ( Belcat ) make great cheap bass pickups. The only hitch is that they are too narrow for standard bass spacing near the bridge. I just used my last one, and will have to order a new batch. For the price, you just can't beat them.
Building the Neck
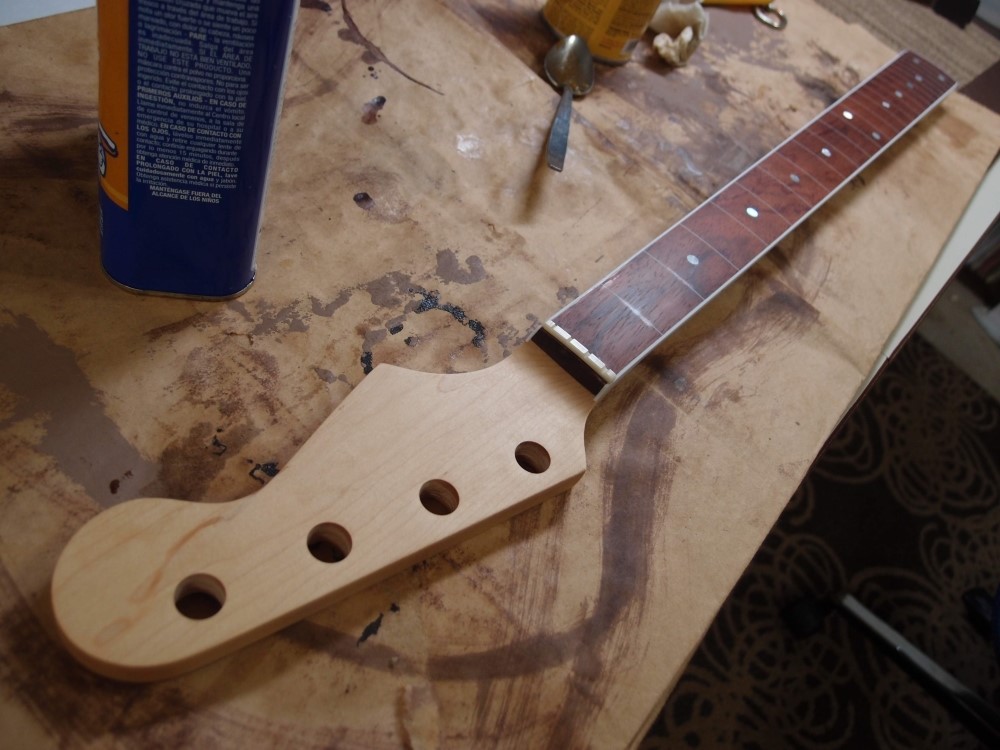
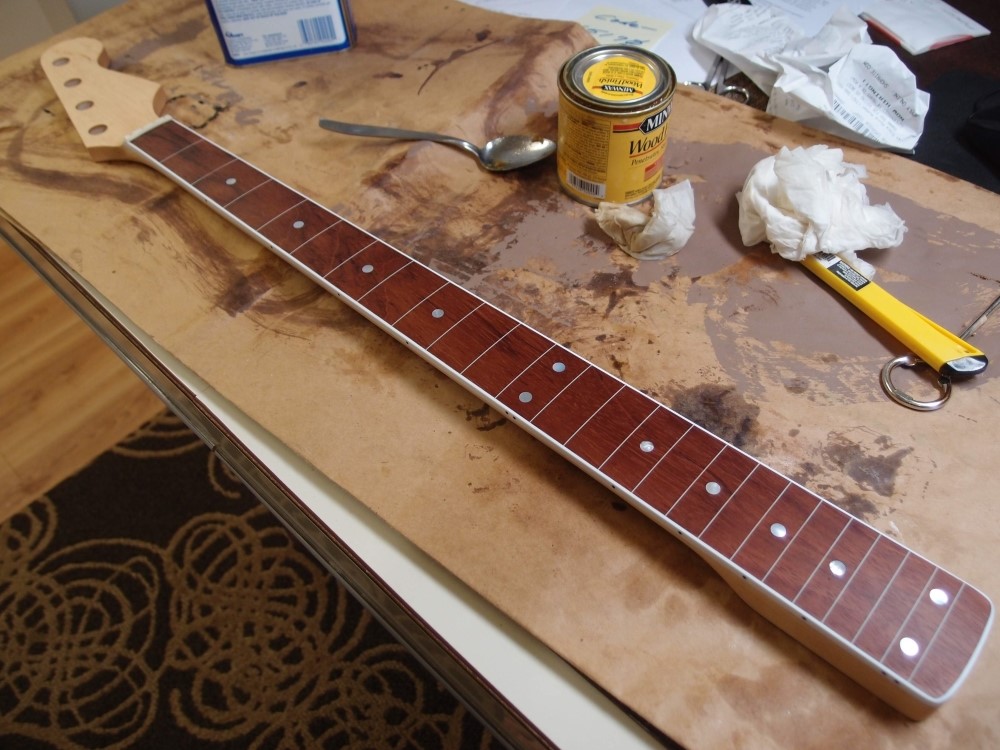
I picked up a $7 piece of maple from Home Depot and got busy. When building a neck for a project like this, you are in a tight corner. To use the stock bridge position with a longer scale, you need to push the nut away by adding frets at the heel. To go from 25.5" to 30.3" requires a 24 fret neck. The fingerboard blank is 24", just long enough for 24 frets at a 30" scale. You would need a longer blank for a longer scale - expensive, if you can find it at all. You also need a guitar-sized heel to fit the body, and a narrow bridge to match. By shrinking the headstock down to guitar-size, I was able to use a narrower and cheaper piece of maple, and I think the smaller headstock is better balanced at the end of that long neck. But the classic elephant-ear tuners won't fit on a smaller headstock, so minis are used, which further improves the balance. There is a reason for everything.
The fingerboard is a piece of Granadillo ( I think ) that I had lying around. It had warped in storage, and I didn't have high hopes for it, but a few months back I radiused it as a test, and it seemed to be ok, so I used it. The lines are strips of 0.020" plastic sheet from the hobby store. They started out light gray but now look ivory. This is actually easy to do: you cut the fret slots as usual, glue the strips in with Crazy Glue, then trim as close as possible. After putting in the pearl position markers, sand the whole thing smooth with a radius block.
The edge binding was not planned, it is the result of a brain fart I had while drilling the holes for the side markers. The whole thing was too far along to scrap, so I covered up my mistake with binding. Fortunately, the back of the neck was still square, and with a little cleverness, I was able to cut the notch for the binding with my homemade binding jig. Two tubes of Crazy Glue gel and the binding was on for good - blunder fixed in under an hour. The second time I drilled the damn holes right.
The nut is a bone J, with the ends notched to allow the binding to pass through, which is the way Fender does it. I ordered the truss rod from China for another $7, as I don't think a fretless needs much adjustment, and building one of my own wouldn't be worth the time. Also, a stock long-scale truss rod is just right for a two-octave short-scale neck. The tuners and the rest of the hardware are stripped off the Piccolo neck. If anyone is interested in that, I might want to get rid of it. The 'Pico' bass uses a similar neck and is a really nice instrument.
I think the Granadillo turned out beautiful. It is a very hard wood, less porous and oily than 'rosewood', and easy to work. The color is slightly darker than Bubinga, and the finish on it is already like glass. I think I have one more piece somewhere, but it is readily available and fairly cheap at Rockler. In the photos, it is sanded to 320 and stained, awaiting poly. All in all, I'm pretty happy with this neck so far. Even my blunder turned out to be for the best - next to this one, my unbound necks look naked. This may be the prettiest piece I've done yet, and so far hasn't cost me $20.

Questions or Inquiries?
Just want to say Hello? Sign the .