Ridgid Belt/Spindle Sander
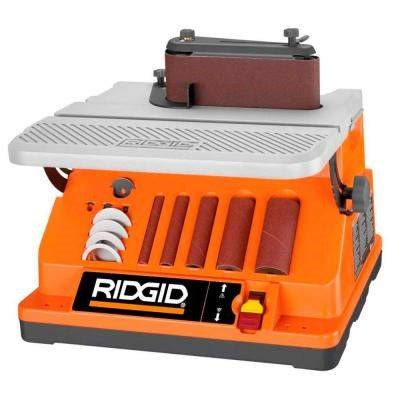
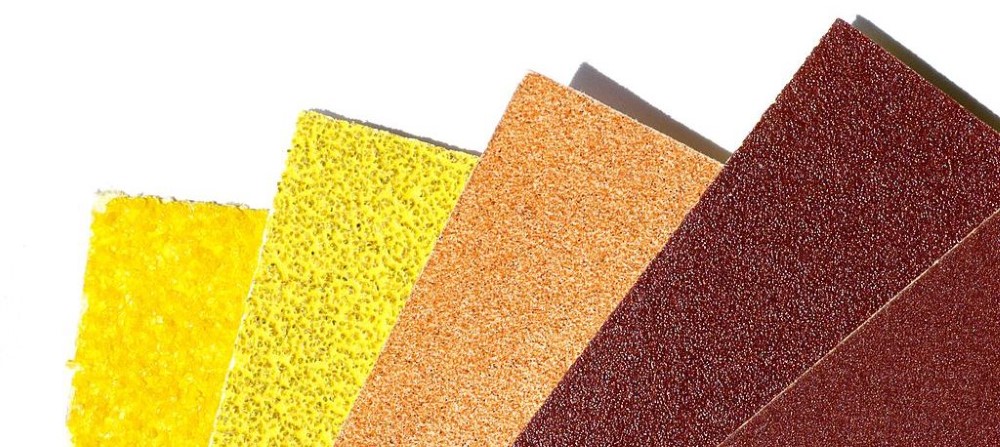
The belt attachment is what makes it far superior to an ordinary spindle sander. Belts have a far greater working area than the small cylinders most spindle sanders have. They last longer and are cheaper to replace, and are available in a wider variety of grits. The #36 belt is ideal for removing material to make a rough shape, then clean up with a #80. The big end of the belt drive is a 2-1/2" diameter, which turns out to be by far the most useful part of the machine, and exactly matches many of the curves on a Fender neck. Of course, there are smaller spindles all the way down to 1/2" for tight spots. The flat on the belt will cut reasonably straight for small parts that fit entirely in it, but anything that overhangs the ends is going to be gouged by the rollers unless you are very careful - light touch and always moving the workpiece. It's good exercise.
To make a neck, draw it out on a wood blank, and route the truss rod channel. If the channel comes out a little off-center, redraw the neck around it, then cut around the drawing with a bandsaw. Clean up by sanding square to almost the outline, but do not sand all the way to your marks, especially not with the 36 belts, as it leaves deep gouges that will have to be sanded out later. Now glue on the fingerboard, then trim and smooth it to match the back. Sketch the contours of the transitions at the back of the heel and headstock, and then bandsaw away part of the back corners in-between. Return to the sander with the 36 belt installed, and start contouring the back. At this point, you are just trying to rough out the curve, stay away from the sides of the fingerboard or your neck will come out too skinny.
This is the tricky part. You'll simply have to develop a feel for how to do it, so practice on a lot of scrap. Do not simply press the piece against the belt and hold it - that will never come out even. In fact, I use the rounded end a lot more than the flat. Use a light touch, and always keep the piece moving, flying really. Anywhere you stop is going to cut a valley. The hardest spots to get even are the ends near the head and heel. I cut those first, shaping on the round end with the table dropped, using all kinds of crazy angles to make the right contours. Then sand the rest of the neck to match, and finally carefully use the flat to even everything out.
There is simply no way to adequately describe this process in writing, it just takes practice. Buy yourself some cheap maple to practice on, lay out some fake necks, and plan to make a lot of ruined scrap before attempting your first real neck. Ruining that would mean having to start over, with the loss of all the work you've already done on the fingerboard and other profiles. Soft pine is also a good practice wood, it is cheap and you really have to learn to be careful as it cuts so fast.
Remember, you are not going for the final profile with the 36 belt - that would not leave enough material to smooth out the tooth marks. Once you have the profile roughed-out, smooth it down a bit with an 80 belt, and then it is time for hand tools. For making straight sides on the fingerboard, use a mill bastard file ( the kind with big teeth. ) Grind any burr off the handle of the file first to avoid scratching, then use the full length of the file lengthwise against the wood. It is a slow process, but that assures you don't over-cut, and the result will be dead straight, you'll be amazed that you did that. You can also use the file to level any remaining bulges in the back of the neck the same way. Japanese flat-cut rasps are also ideal for this, but they are expensive, and a mill bastard file from the hardware store will get the job done. Another thing you can use is a small powered palm sander, but be aware that this will leave tiny swirl marks in the wood that will have to be sanded out by hand. Wood scrapers are also very useful for final contouring. StewMac has nice ones. You could also use a sanding block.
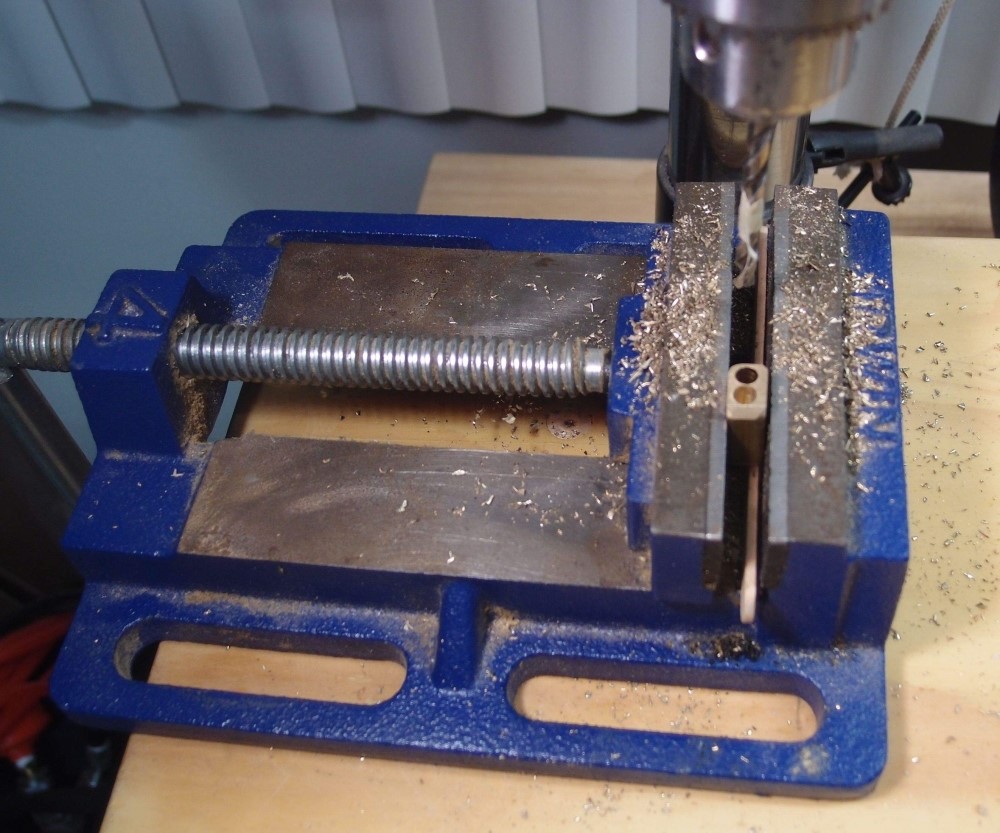
When you're happy with the back, it is time to thin down the headstock. That was described in a previous post. Drill the tuner holes first from the back, so that any tear-out from drilling will be removed in this step. The curved ramp from the fingerboard down to the headstock can be shaped free-hand on the spindle sander using a 3/4" drum. Again - tricky, practice all operations on scrap first.
Finally, you must fit the heel to the body. Hopefully, at this point, the neck heel is just a little too fat to fit in the pocket. Using the flat on the belt sander and a fine belt, carefully work down the heel until it makes a snug fit, and then just a tiny bit more to allow for the thickness of the finish. Re-straighten the sides with the file if necessary.
There is no magic neck contour. Fender has C-shapes, and D-shapes, and U-shapes, and V-shapes, and W-shapes, in fat and skinny, and it all really makes very little difference. If you put your thumb on the back of the neck, you're gripping a lot more air than wood - go try it right now. As long as it feels good to you, that's right. I concentrate much more on getting the neck smooth and straight, so as you run your hand down it, you don't feel any hills and valleys along the length. What you definitely don't want to do is sand right through to the truss rod channel, or make a neck that is so thin that the truss rod breaks out the back. I like a slightly chunky neck, and the extra wood makes it much much more stable than a skinny neck. I usually go for a cursive-Q neck profile, or sometimes a lowercase h.
So - go slow, light touch, keep moving. All this is hardly adequate instruction for what is really an art that can only be developed by practice. The best advice I can give you is to turn a lot of perfectly good wood into sawdust and scrap before attempting a real neck. Do not go for your final profile too soon, ideally, you will reach your final dimensions as you are doing your final finish sanding. That is something that comes with experience. If you end up throwing away your first neck, don't feel bad. But your second or third one will be something you can be proud of. Rest assured, if you put in the time and effort, you can learn to build your own necks as good as anything you can buy, if not better.
For doing bodies on this machine, first bandsaw the rough outline. Outside curves are easily done against the flat of the belt. For inside curves, always use the largest diameter spindle that will fit. All the advice above for necks applies to bodies as well. For tummy and arm cuts like a Strat, sketch the outline on all faces, drop the table on the sander, and free-hand it against the fat roller of the belt. It's not as scary as it sounds. Finish up with a palm sander. It is usually better to route the neck pocket first so that the router has the entire slab of wood for support.
Always wear a dust mask when sanding. This machine can quickly turn a lot of wood into a lot of fine airborne sawdust that you absolutely do not want to breathe in. Even when hand sanding, the dust will be right in your face - wear a mask. Many of the tropical hardwoods used for fingerboards make highly irritating dust. You can end up hacking your lungs out for weeks. Wear a mask.
I recently got a new one of these for free from Home Depot for review. The new version is functionally the same, but with a lot of detail improvements. The most obvious is a switch from a plastic hull to an open metal frame. After a tremendous amount of use, my old one was developing some cracks in the plastic, although I wasn't worried about them, it would probably last for many years to come. The deck on the new model is slightly larger around the back. The belt attachment is also slightly different and incompatible. All-in-all, the new model is an improvement.
Questions or Inquiries?
Just want to say Hello? Sign the .