Ultimate Router Plate

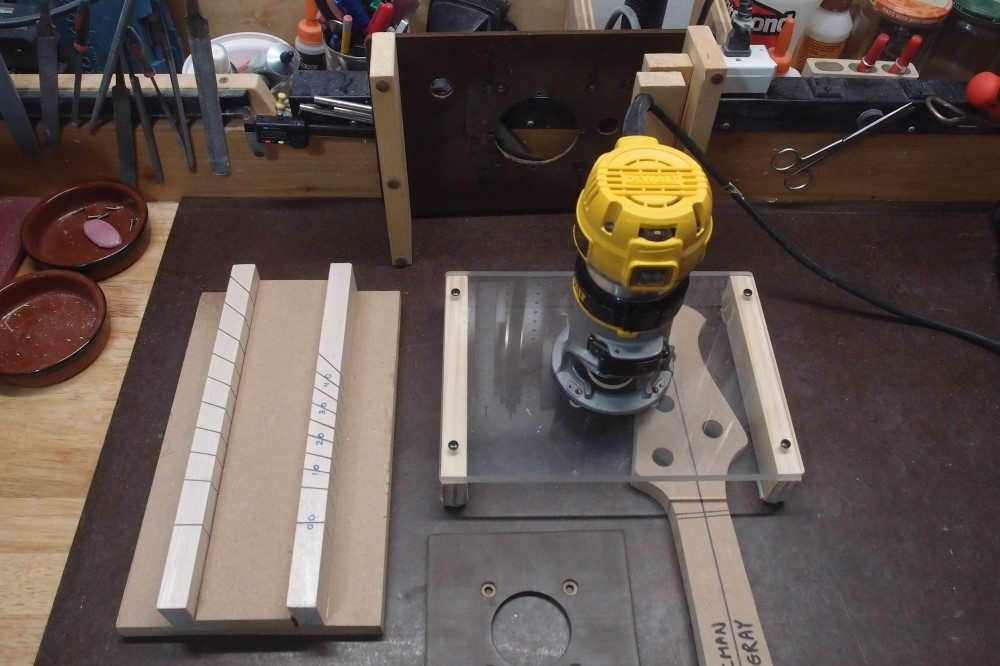
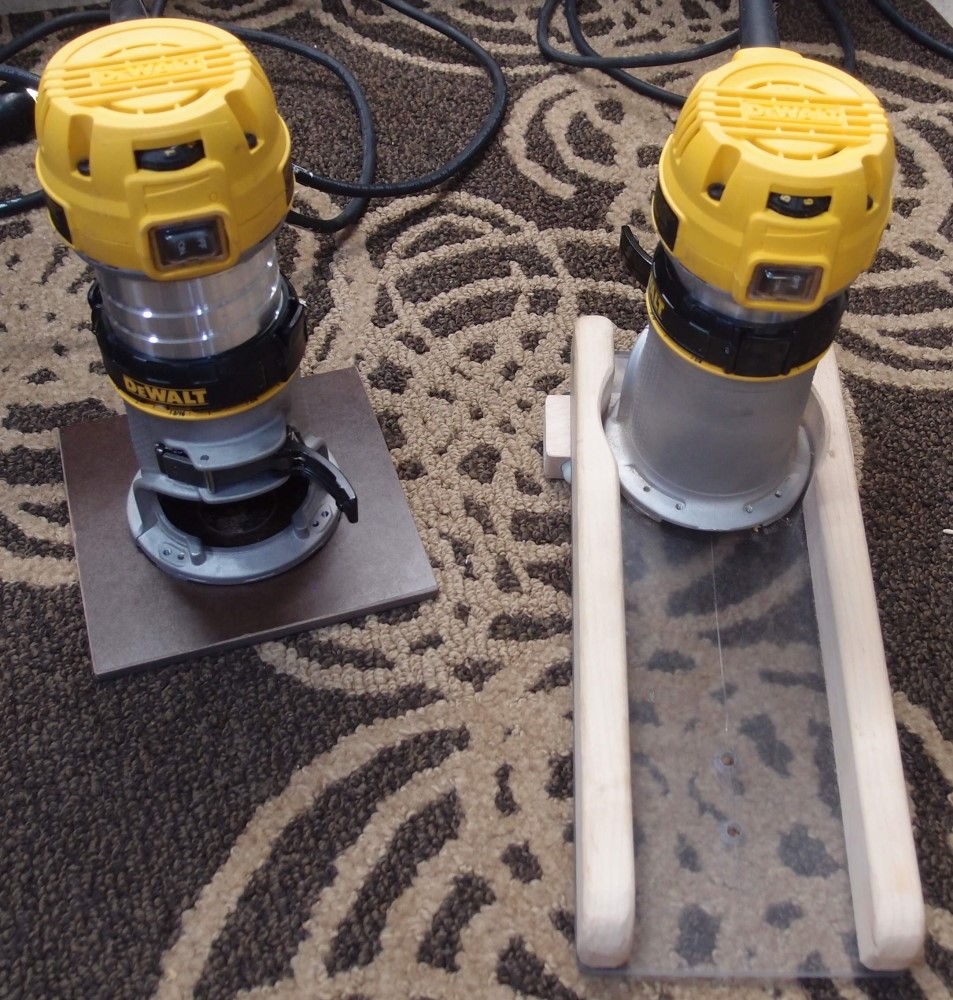
This is based on an older design I made from an even older piece of phenolic, which you can see behind. Phenolic is very stiff and strong, good for tooling, but you can't see through it. If you look at that one, you can see the giant hole I made for vision. I was barely able to adapt it to the small router, but the vision hole was useless.
Then I remembered the piece of 10mm polycarbonate that I got out of an old iMac. I made a new plate of roughly the same dimensions as the old one, specifically for the little router, and made a new set of supports from nice hard yellow pine. The polycarbonate is just as stiff as the phenolic, and you can see what you are doing, which is always nice.
I still have half the clear material left, enough for three templates, one big and two small, which is fine because I really can't think of even one more template I need at the moment. This material, from inside an old computer screen, has light-dispersing dots on one side. I sanded them off and polished it back to transparent.
You could remove the supports and use this as a regular giant router base, but what it is really for is over-routing. Imagine the headstock template is a real neck, and you want to thin down the headstock. Just stick it down to a smooth surface, like your workbench, and set up your router with the The Ultimate Router Plate (TM). You can slide the router around the workpiece, and remove the excess material easily. This headstock fits entirely on either side of the router bit, and it is about the biggest one there is.
( You can also do this job on the end roller of the belt sander, but that is a little scary. I like the control you get with this method better. )
I can make supports of different heights for different jobs, and even rout tapers by angling the workpiece. I could rest one side on a body with a custom support on the other side for routing body edges with bearing bits. In fact, an adjustable support is the next thing I should make. I could also lay it across the top of my truss rod jig, using the supports as stops to keep from running off the edge.


Questions or Inquiries?
Just want to say Hello? Sign the .