Fender-style Piezo Bridge
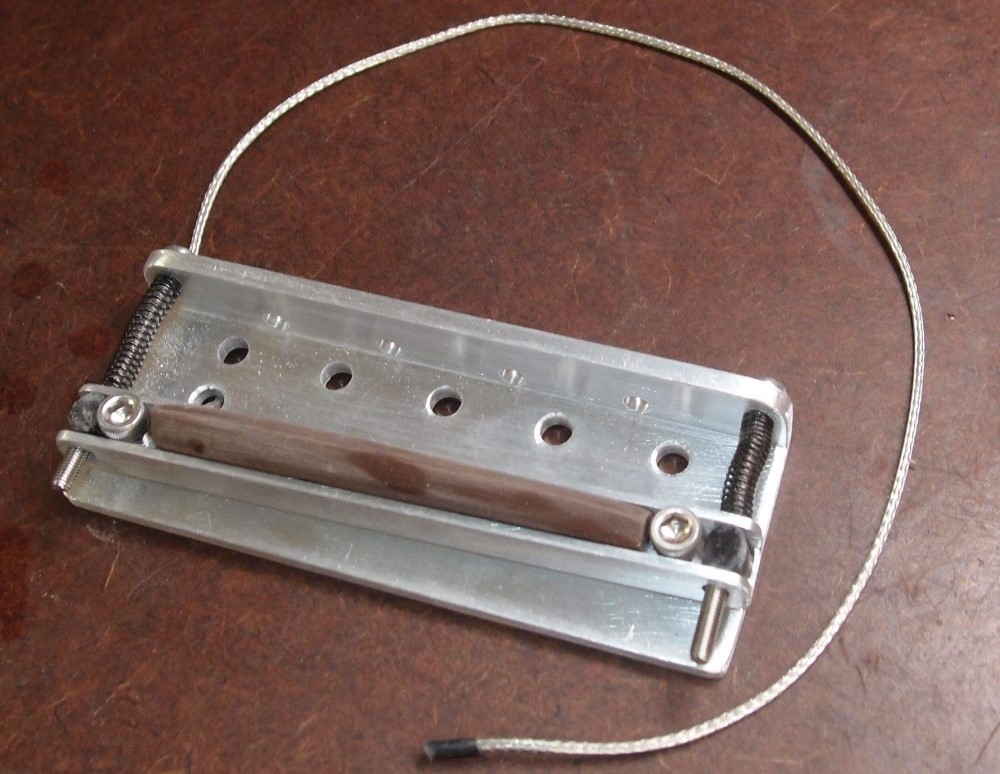
I just built this - my first bridge. The plate is 1/8" aluminum, screws from Home Depot, springs from the junk tone box. The saddle is from the truss rod I just destructed, plus a scrap of phenolic I found and shaped to a pointed 12" radius. The bushings are black plastic and were the hardest part to come up with, I finally bought some plastic chain that fit and cut them from that. They are drilled and threaded for the screws, although with plastic you can just force the screws in.
The whole point of this is the one part you can't see - a typical guitar piezo element sandwiched between the upper and lower parts of the saddle. The string spacing and mounting hole pattern is stock Fender, so I can drop it into anything I want to use as a testbed, and rig up the electronics externally. I still have to figure out how to countersink the five mounting holes. The regular wood countersink works fine on aluminum, but it's too fat to fit there.
I can already tell that the aluminum channel is much stiffer than the wood ones I've made, which have both collapsed to some extent. I may retrofit them. The #8 cap head bolt takes an oddball 9/64" or 3.5mm Allen wrench. I won't be using those again. Fortunately, a T20 Torx fits well enough for this prototype.
If this works, I'll finally have my DIY piezo solution. This should retrofit onto any Fender-style bass. There is still height adjustment and overall intonation. I made this saddle straight, but I could make a Tele-style compensated saddle. That would give about 99% intonation. You could make the saddle from anything hard - rosewood, maple, Lexan, brass aluminum, bone ...
The dimensions of the base plate are 1.5" x 4" x 5/8" approximately. A Fender bridge typically has the strings about 1/2" above the bridge plate, so I had to squeeze everything into less than that. The height screws are located right at the ends of the piezo to minimize the span. The intonation screws are outboard, where they won't be a weak point. The piezo wire was hacked a bit so that it exits the side rather than the bottom.
The one thing I'm concerned about is the height threads in the bottom of the saddle. That's only 1/16" of aluminum, but it's not under that great a load, nor is it a working thread, so I think it should be alright. I selected the largest bolt I could fit in there for strength. The plastic bushings are under no strain at all, and I'm not worried about that.
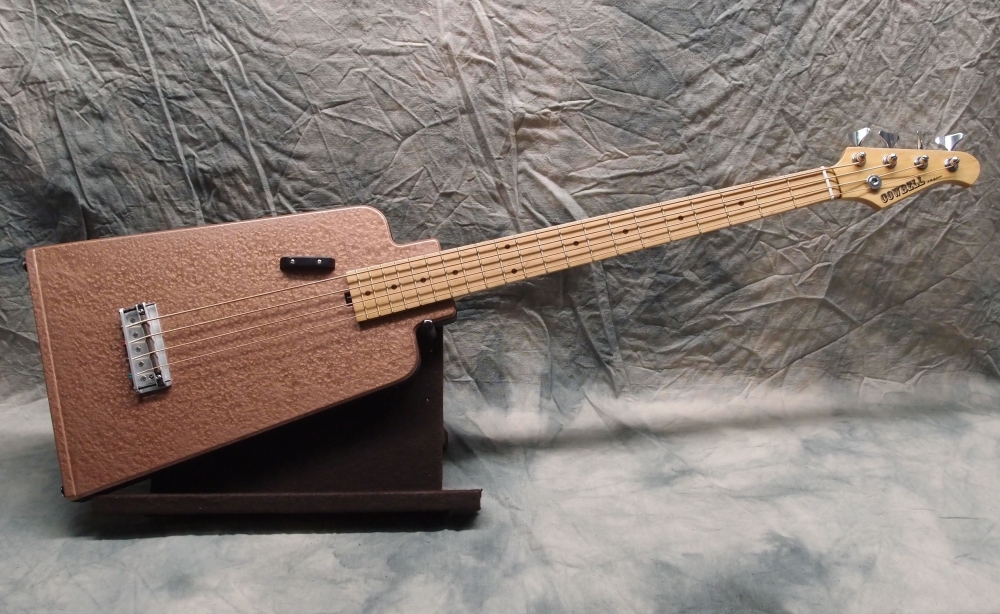
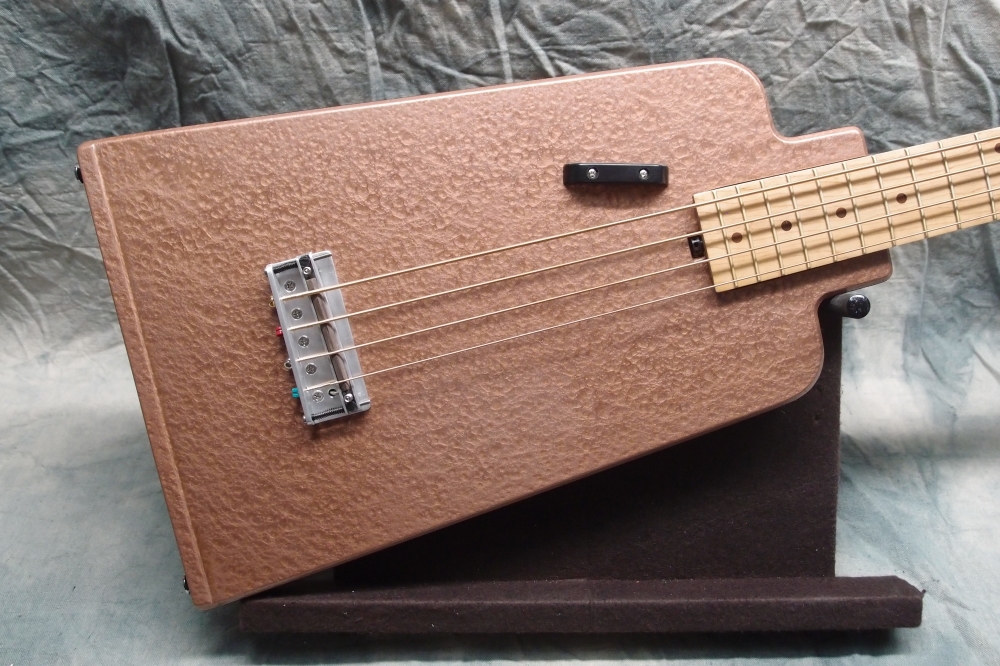
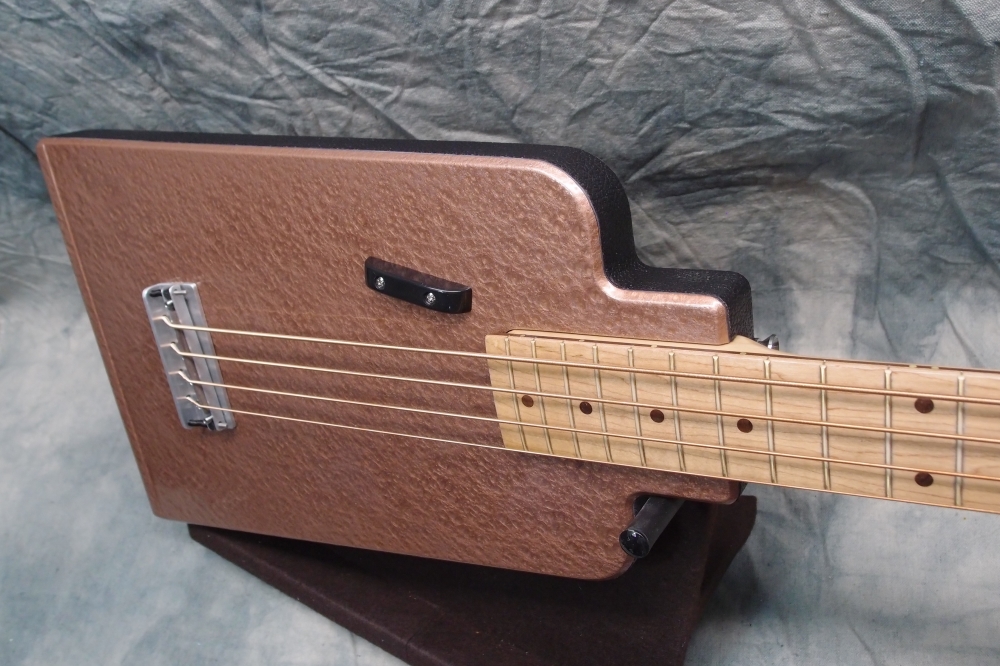
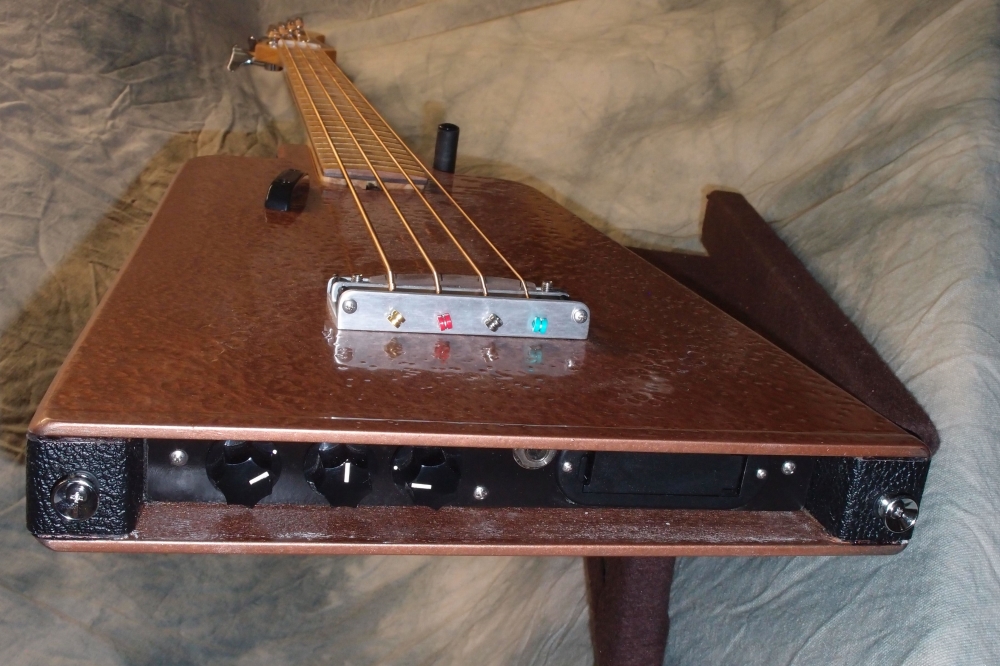
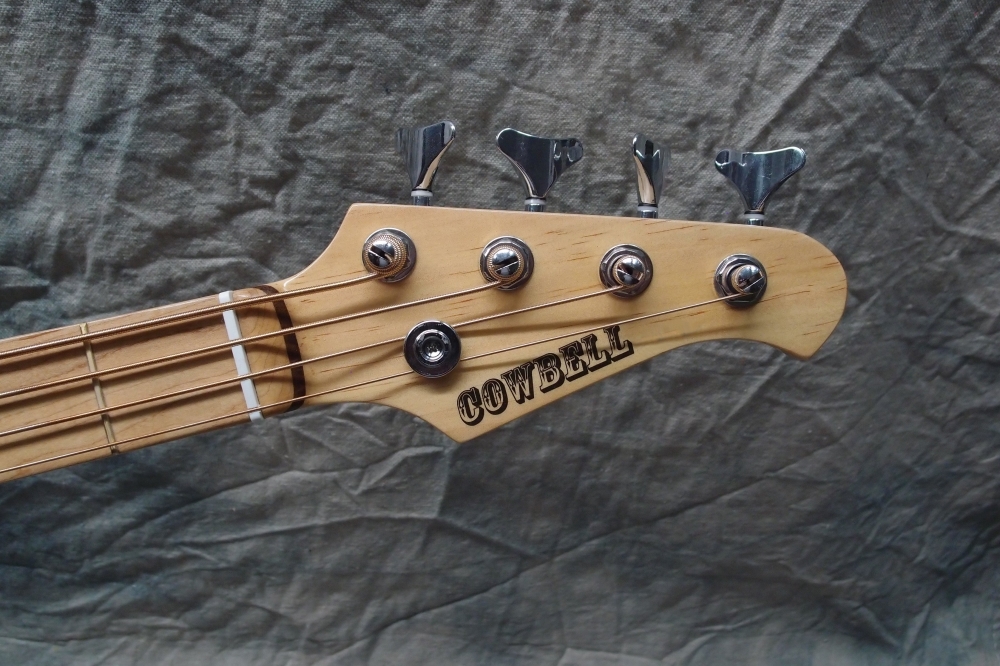
This bridge eventually ended up in the Cowbell bass, where it is performing flawlessly. It better, that instrument is pure-piezo, with no backup.




Questions or Inquiries?
Just want to say Hello? Sign the .