Double Lipstick Pickup Mount (2/2)
Now to make the routing template.
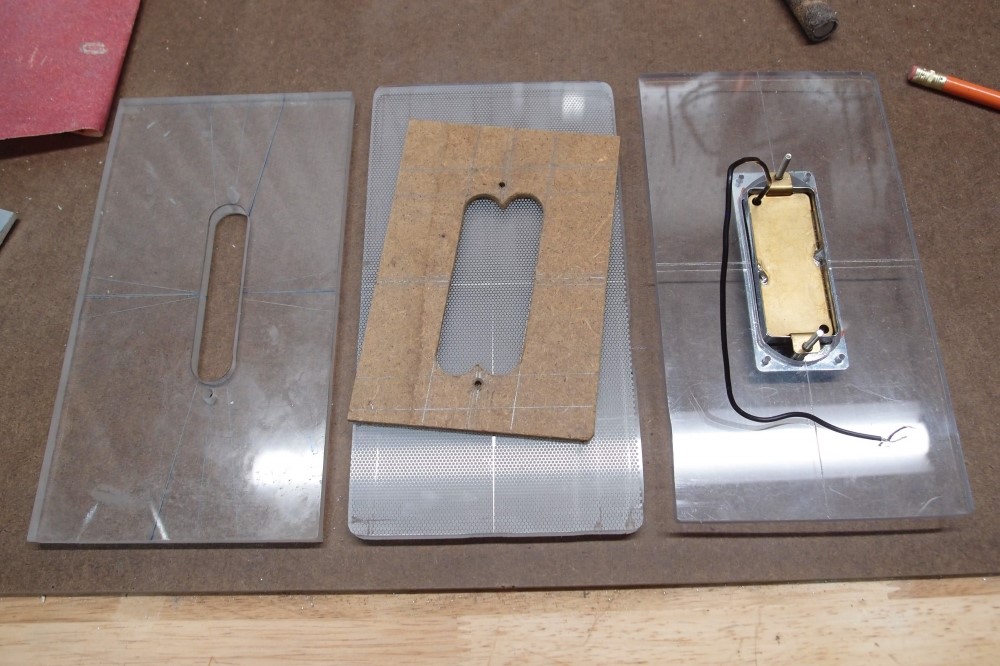
On the left is a lipstick template I got free with some pickups. It is a good fit, except the mounting holes are a bit too far apart, so I filed them in and remember that. On the right is the mini-humbucker template, all widened out for a body rout rather than a tight pickguard rout. If I ever want to do a pickguard rout, I can just do it by hand. That is a lot of handwork anyway, as a router won't get you the tight corners.
There is no point in using a radius on a routing template that is smaller than your bit, say 1/4" for a 1/2" template bit. The router is simply not going to go in there. At the same time, you can make use of that, and make templates with square corners that the router will turn into radii. For a tighter corner than the router will do, I drill a hole of the right radius, and cut up to it with whatever tools work.
In the center is the template for the slant double lipstick pickup. First I laid out centerlines on both the blank and the pre-template, then aligned the pre-template on top and traced. I double-checked the outlines with the single template. I marked the mounting holes for reference, but I will erase these and re-mark them from the actual part later. Its job done, the pre-template went in the trash.
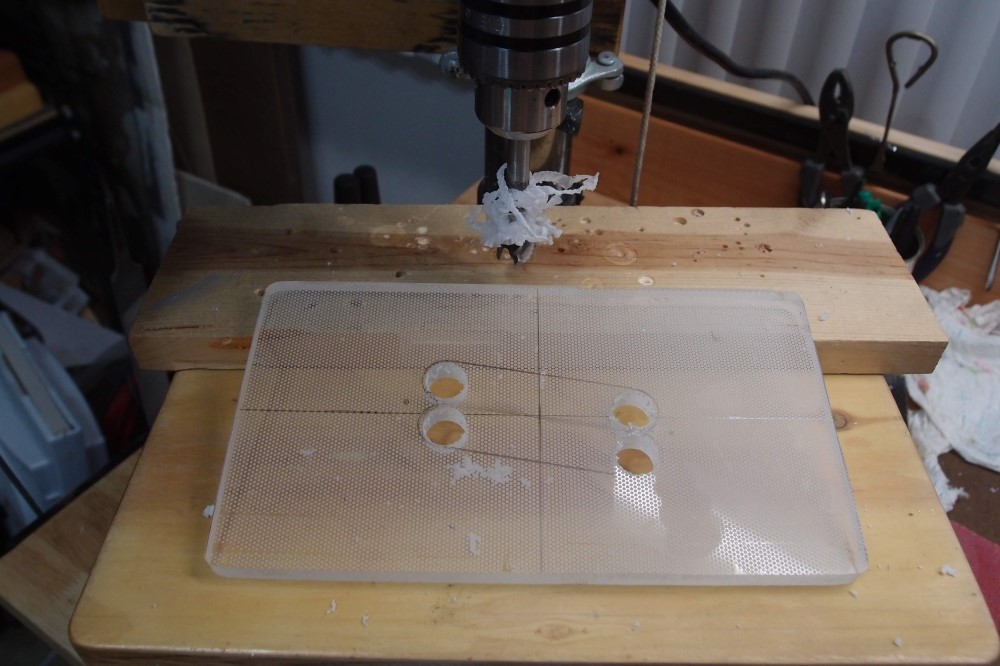
As I said earlier, start out with the end holes, in this case, four 5/8". This material is actually the backlight of an old computer monitor. I got six template-sized pieces from it, 3/8" thick. ( $12.99 each at StewMac. ) The dot pattern makes it easy to write on.
Be prepared to make a mess - just look at the drill bit. I'm loving my new vacuum cleaner switch. I used to say there's no point in cleaning up a mess until you're done making it, but now all I have to do is flick a switch.
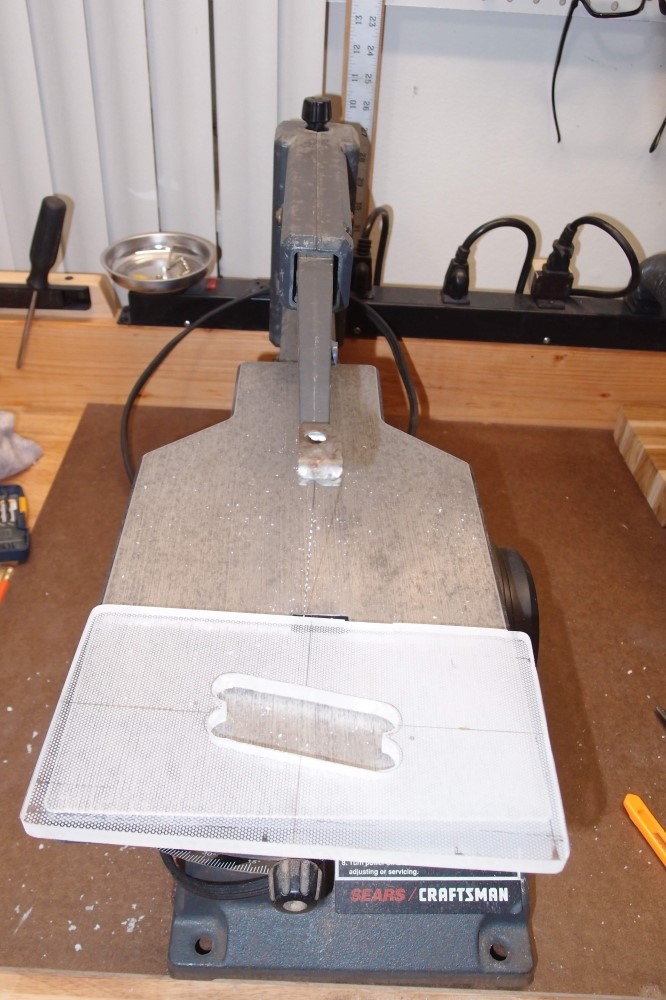
Next, connect the dots. When this blade was brand new, it cut this stuff cleanly, but now it more melts its way through than cuts. It takes several passes to clear all the melted material out and separate the pieces. Now would be a good time to scribe the centerlines with a straightedge and razor, before they get smeared off. Drilling the end radii is much easier than sawing them in this thick, tough, melty material.
If you don't have nice clear material like this to make templates from, many other materials will work. For tracing-only templates, ordinary masonite is perfect, or thin plywood. For routing templates, you need a minimum thickness of 1/4", I like 3/8". Hardboard is the best, good quality plywood will work, but splinters. The thicker the material, the more attention you need to pay that your edges are perpendicular and straight. You can also make quickie templates by shaping pieces of scrap wood and gluing them together, but in general, avoid using natural wood, man-made materials are more stable.
Thicker templates are easier to start the routing with, but almost any cavity should be dug out roughly with Forstner bits first, and which point a thin template is no problem. The one exception to this is the cover plate shelf around a control, typically about 1/8" deep. You need a thick template to do that, there's no getting around it. To do a deep cavity with a thick template, cut down far enough to use the walls of the cut as a guide, then remove the template.
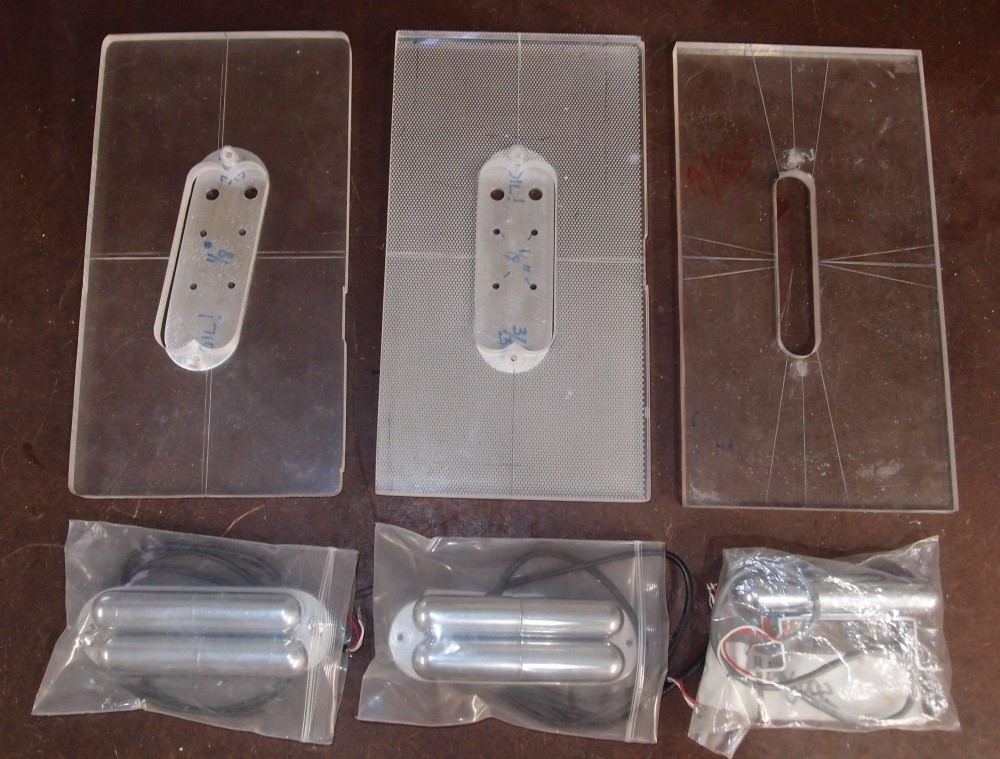
On the left is the finished slanted double lipstick pickup template, probably the only one in the world outside of Korea. I had a real Doh! moment with it when I realized that while tracing the pre-template onto the back of the plastic, I forgot to flip it, so the template came out backward. Not that big a deal, as I intended this template to be reversible from the start, but now the dots were on the front. So I took some polishing compound, and they rubbed right off. Must have been printed on, not laser-etched.
This is the trickiest pickup template I've yet done, because there is nothing square about it, it is all curves and angles, and the curves are actually flattened ovals. Add to that the offset screw holes, and you have a real PITA to design. Each routing template has an associated metal template for the double mounting plate, which is easily made from Home Depot aluminum.
In the middle, the straight double template is still 'dotty', but now I know I can fix that. On the right is the single template that I didn't make myself. I have filled the holes in the single template with Crazy Glue Gel. I'll give that a few weeks to harden all the way through and then re-drill them right. That covers every possible combination of lipsticks, time to order up some more. You don't need to pay fifty bucks for one, the ten-dollar ones work just as well.


Questions or Inquiries?
Just want to say Hello? Sign the .