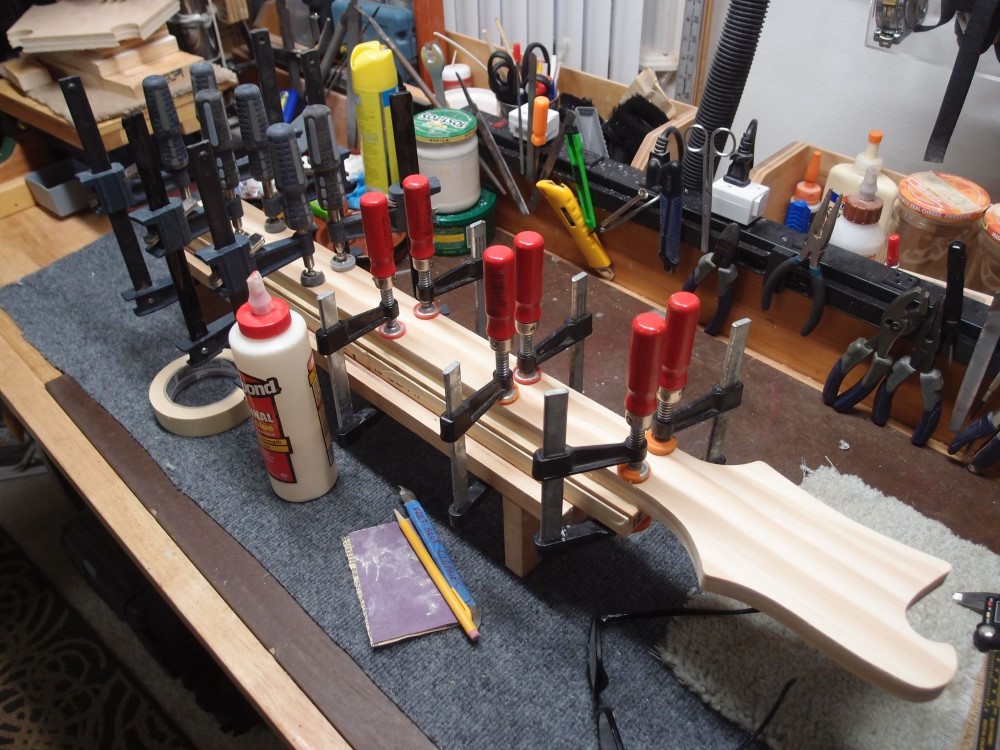
The last old project I had on the shelf was my "Rickenbacker". The body is all built, waiting for a neck. I fouled up the first neck, this is the second.
More: Superfreaky Part I ...

The last old project I had on the shelf was my "Rickenbacker". The body is all built, waiting for a neck. I fouled up the first neck, this is the second.
More: Superfreaky Part I ...
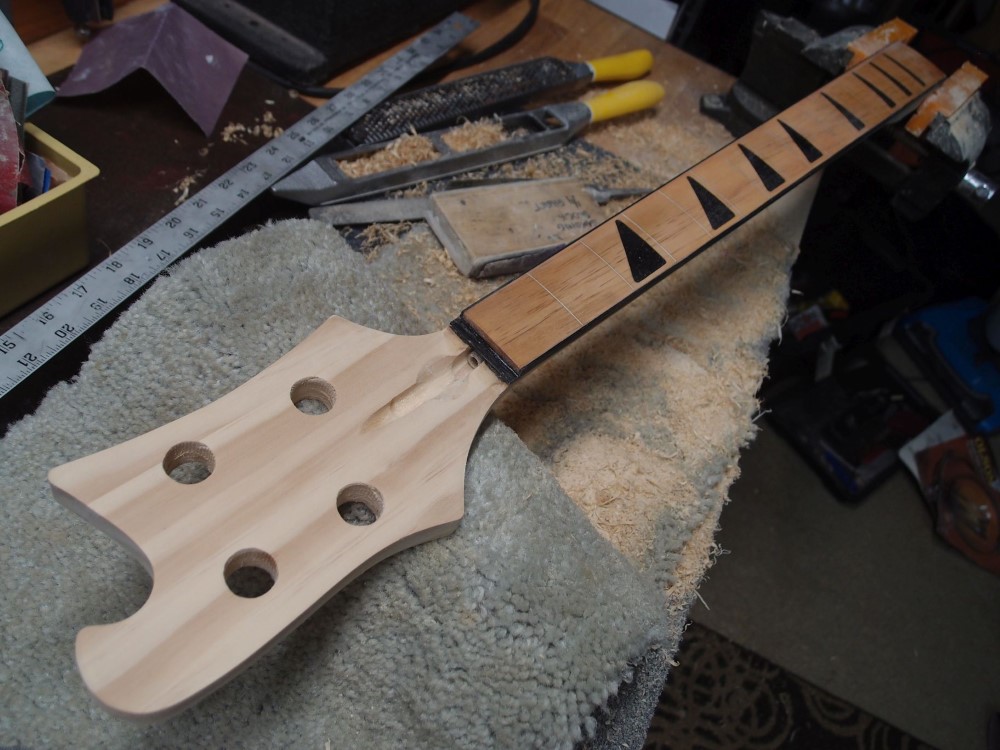
After doing the binding, I found a bulge in the middle of the fretboard. So I sanded it down with a radius block until everything is perfectly flat. I touched-up the inlays with black CA, and re-stained it to be bubing-ish again ( actually an old can of "Colonial Maple". ) Finally, I drilled out tuner holes 13/16" in the locations I determined previously, and everything fits.
More: Superfreaky Part II ...
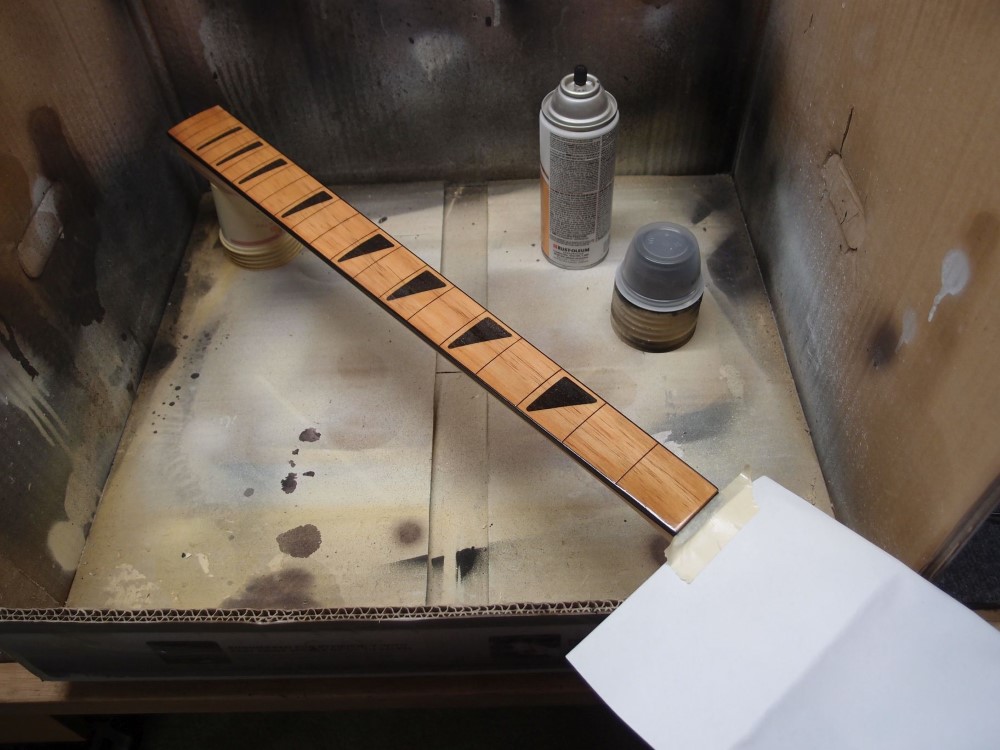
I finished the shaping with a big metal file and 80-grit. Then finish-sanded 100-150 and cleaned out the fret slots. 150 is good enough for now. For final finishing, I'll take it up to 320, which is smooth but leaves plenty of 'tooth' for the finish to grab onto. I wouldn't go any higher - the surface becomes too smooth.
More: Superfreaky Part IIa ...
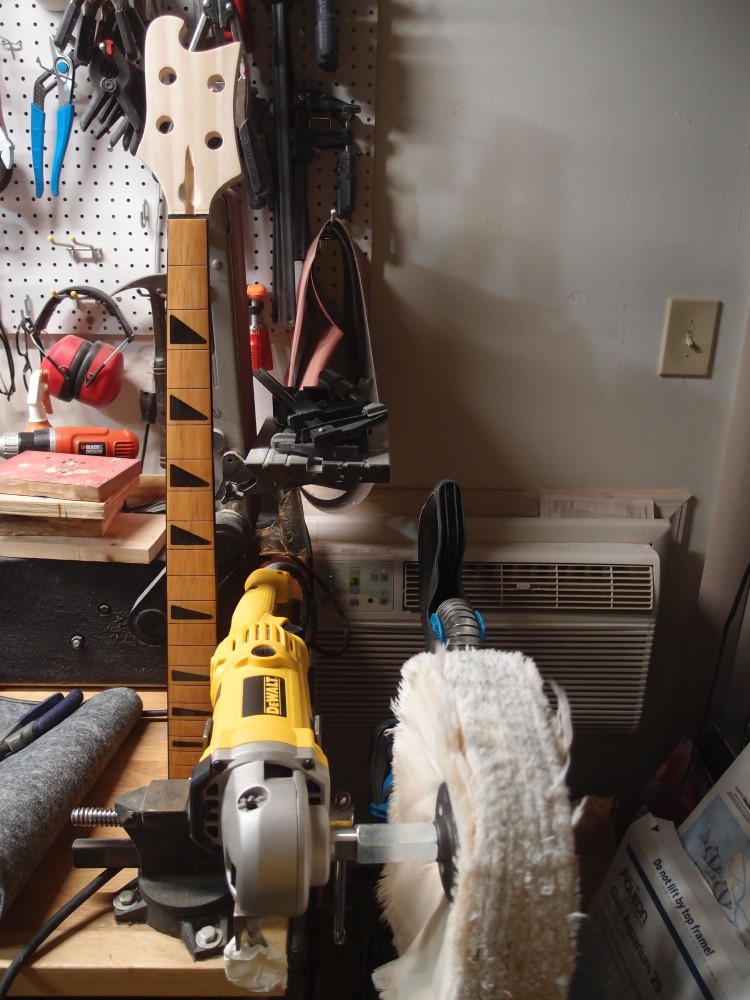
Since last time, I roughed-up the surface of the fretboard and applied another thick layer of poly. Normally, I let poly dry for a week at least before I touch it, but I got restless. After two days drying in a warm place, I smoothed it down with 400 grit and then polished it up from 1000 to 2000, all dry as I do not want to get water in the fret slots. Finally, I decided to try the polishing wheel on it, and the result came out very nice - like wood underwater.
More: Superfreaky Part III ...
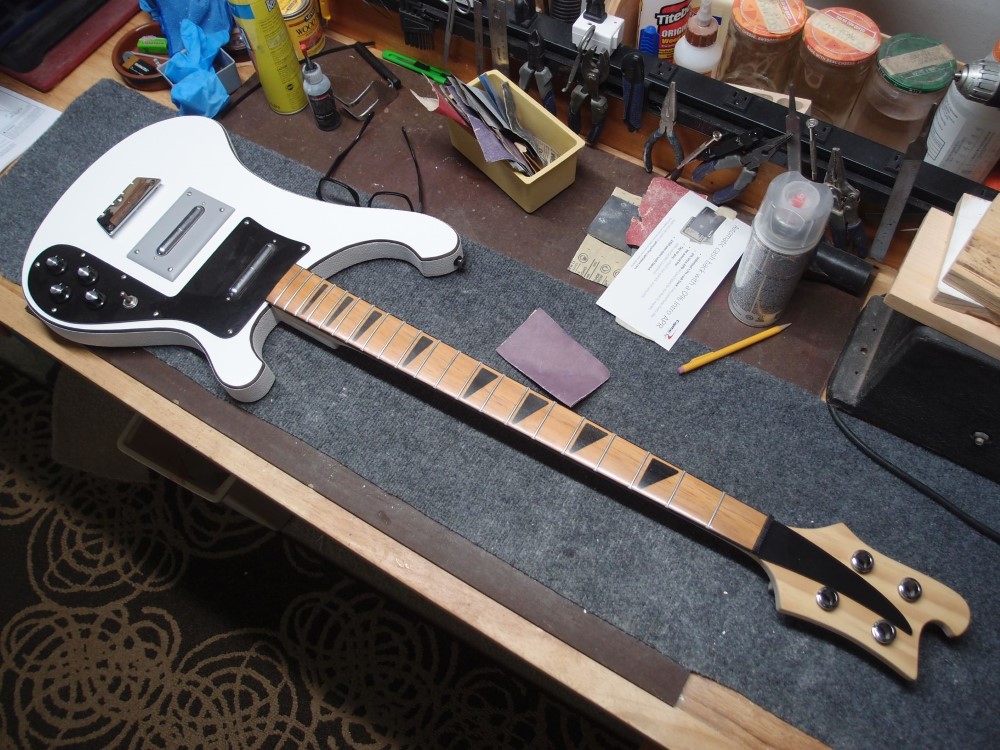
Laying out the parts to see what it will look like. The body has been finished for a long time. Yesterday I encased the neck in plastic - 4 layers of polyurethane, wet-on-wet. Today I smoothed it out with 320 sandpaper, a gentle touch to remove any remaining wood grain and give a good surface for the final topcoat. It will need a few days to fully cure before then.
More: Superfreaky Part IIIa ...
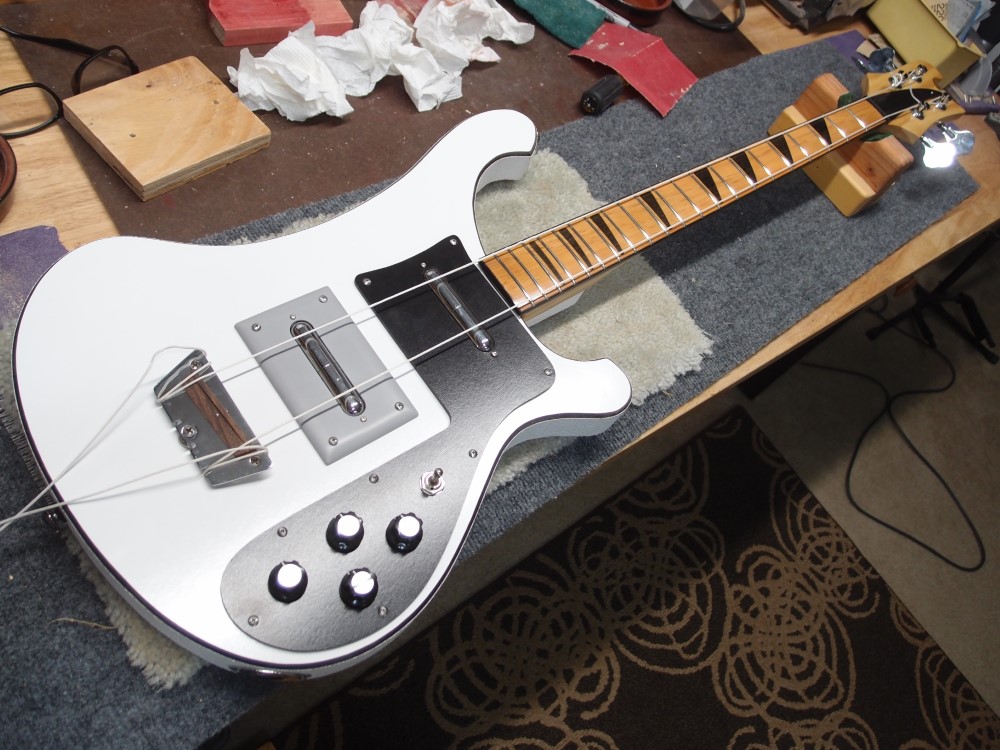
This thing is finally all together. The watermarks in the fretboard are all polished-out and it is shiny again. The only thing missing is strings and a name on the headstock.
More: Superfreaky Part IV ...
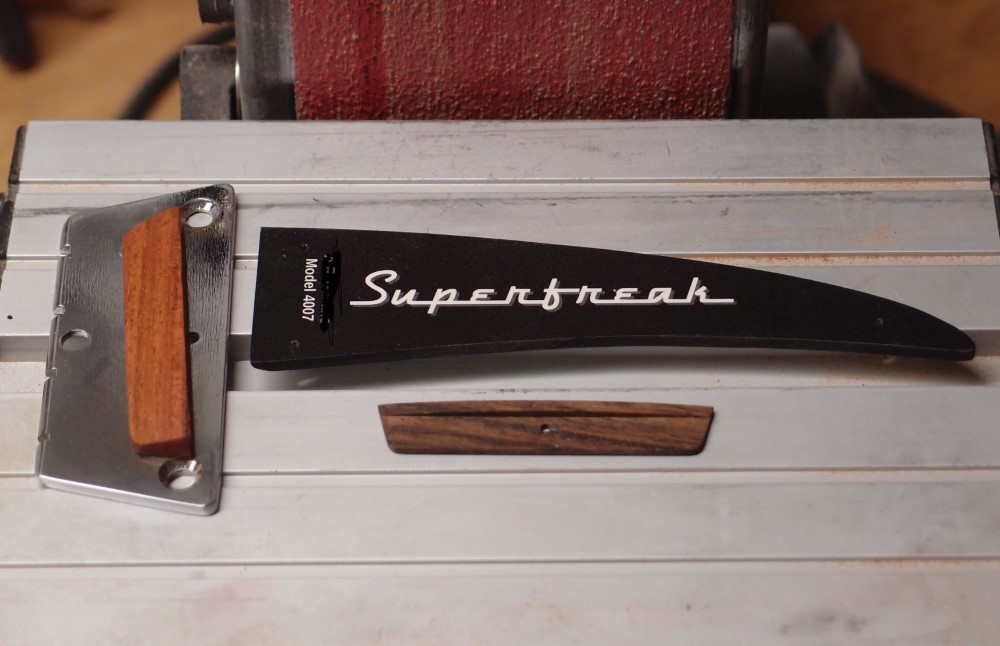
Some small parts for the new Ric. The logo is laser-printed on an adhesive packing label. A coat of poly locks-in the toner. The font is a free one called Dymaxion. It is a pretty good match for the Ric logo, which was actually hand-drawn.
More: Superfreaky Part IVa ...
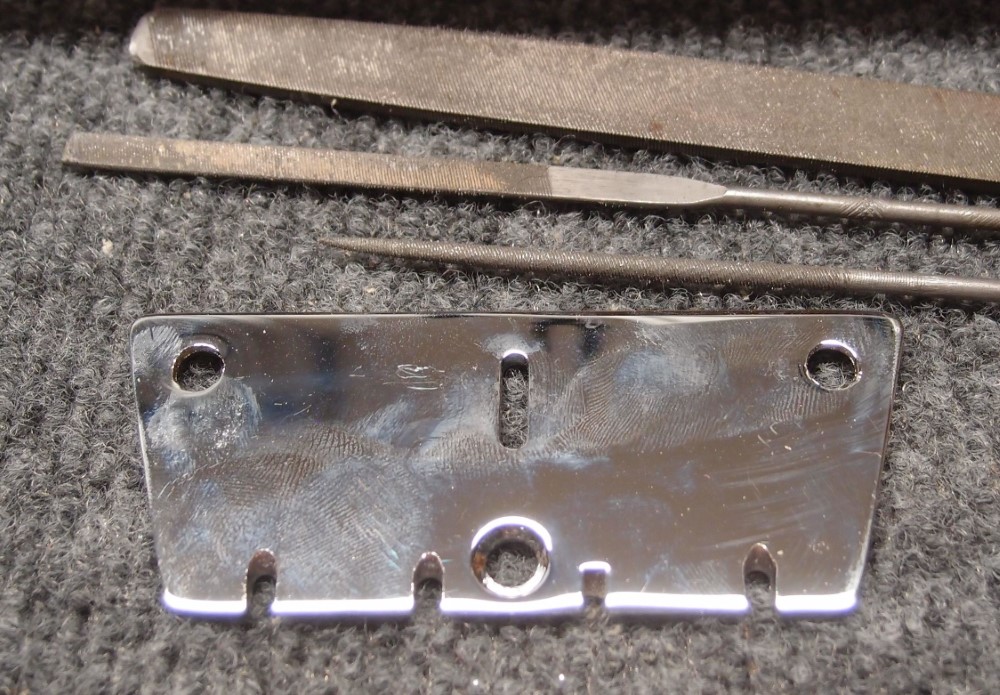
There is a problem with this bridge. At best, the string retention is a balancing act based mostly on good intentions. As I recall now, this is not a Danelectro part, it was made by someone else. The string notches are too small, and a very thick layer of chrome finished the job, they are totally ineffective. This was also a left-handed bridge, so the notches are reversed in size.
More: Superfreaky Part V ...
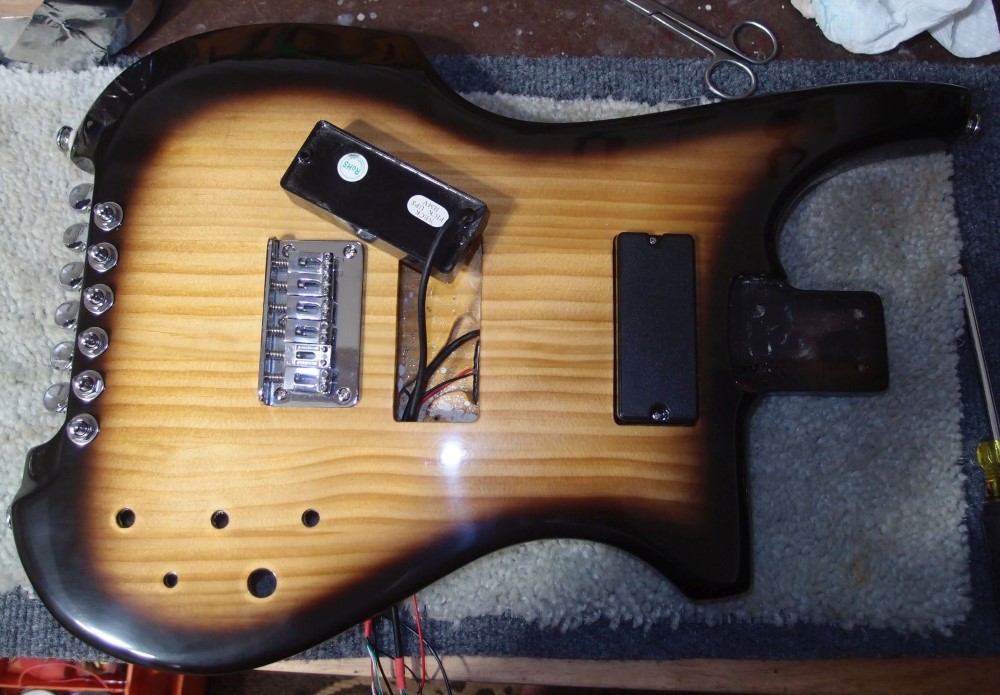
I started putting together the Kubicki guitar. So far, just simple mechanical stuff: tuners, bridge, pickups, etc. In this picture, you can see how the wires pass through the battery compartment and everything collects under the bridge pickup and then goes into the control cavity. Soldering tomorrow.
More: The Matching Guitar ...
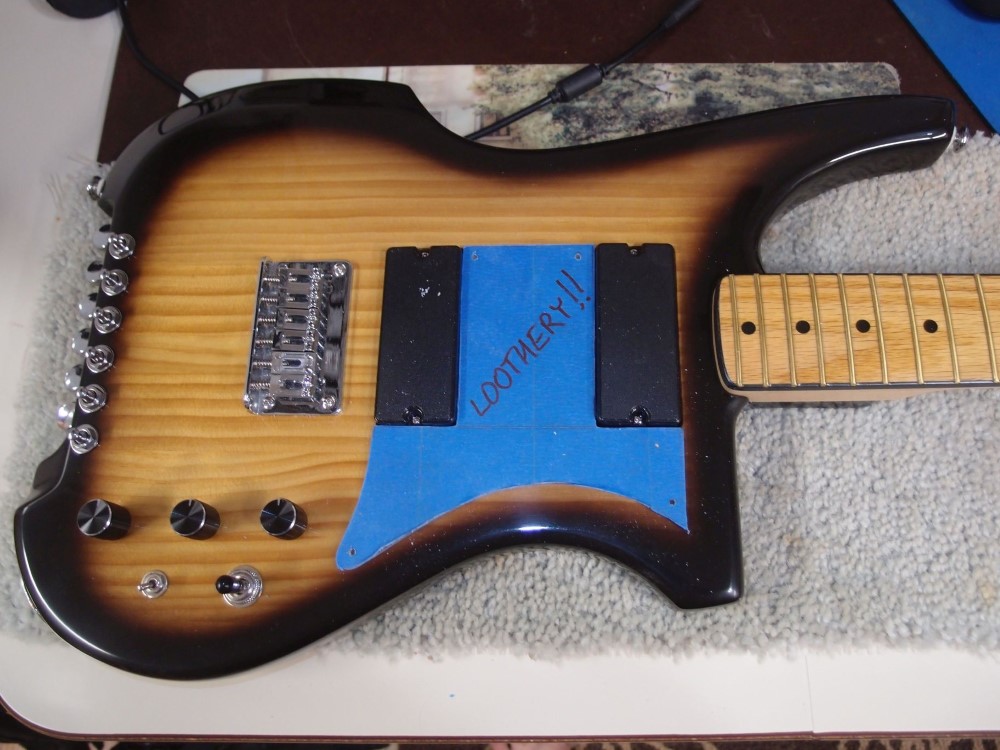
I'm making the clear pickguard for the guitar. It is a near copy of the bass, so this is easy. I traced the old one onto the masking tape and roughed it out on the scroll saw with a very coarse blade and a light touch. You don't want to melt the blade into the plastic - that is a do-over!
More: Today's Lootherization ...