Instruments with a predominantly solid wood body.
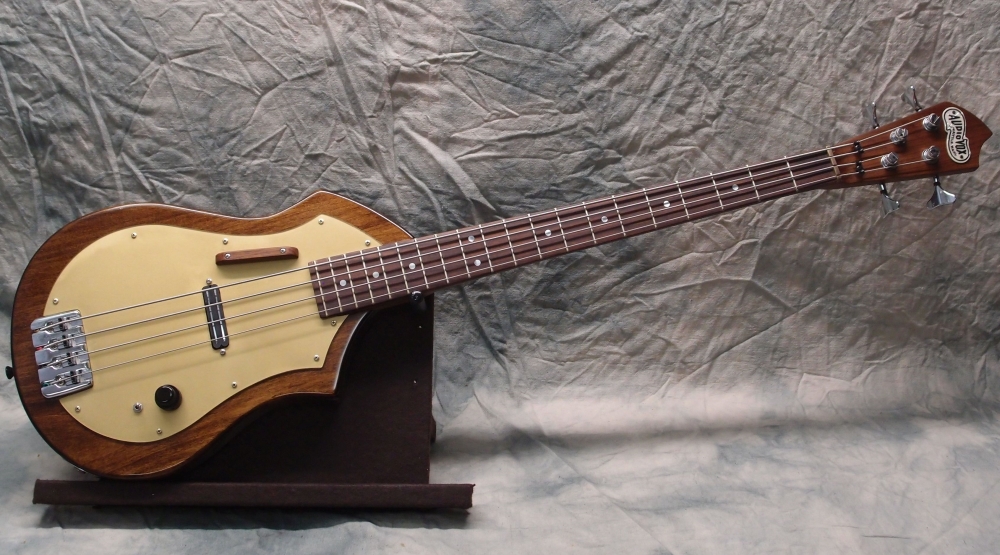
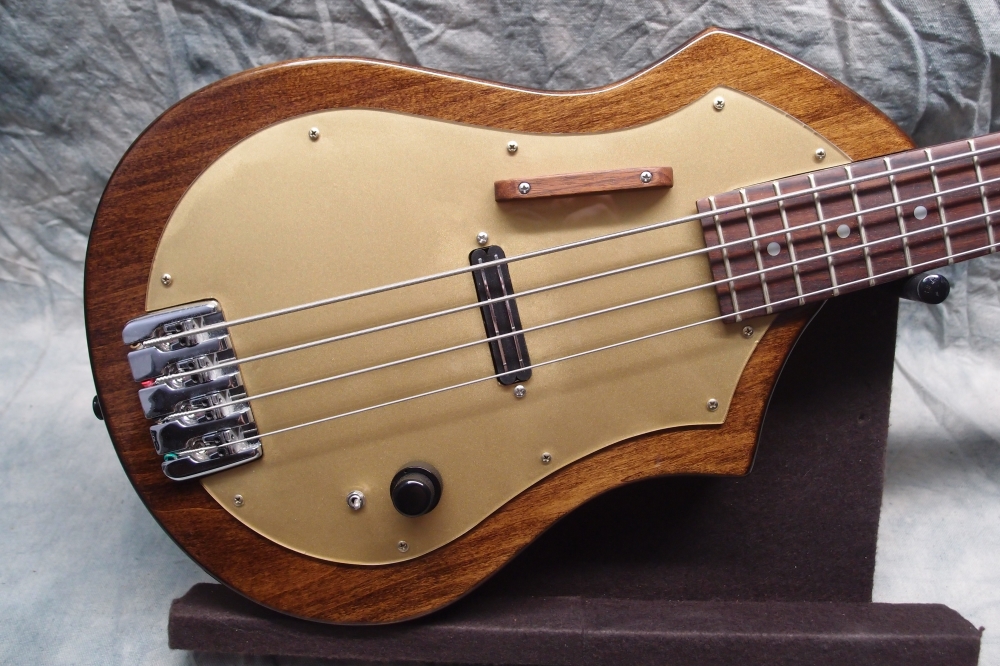
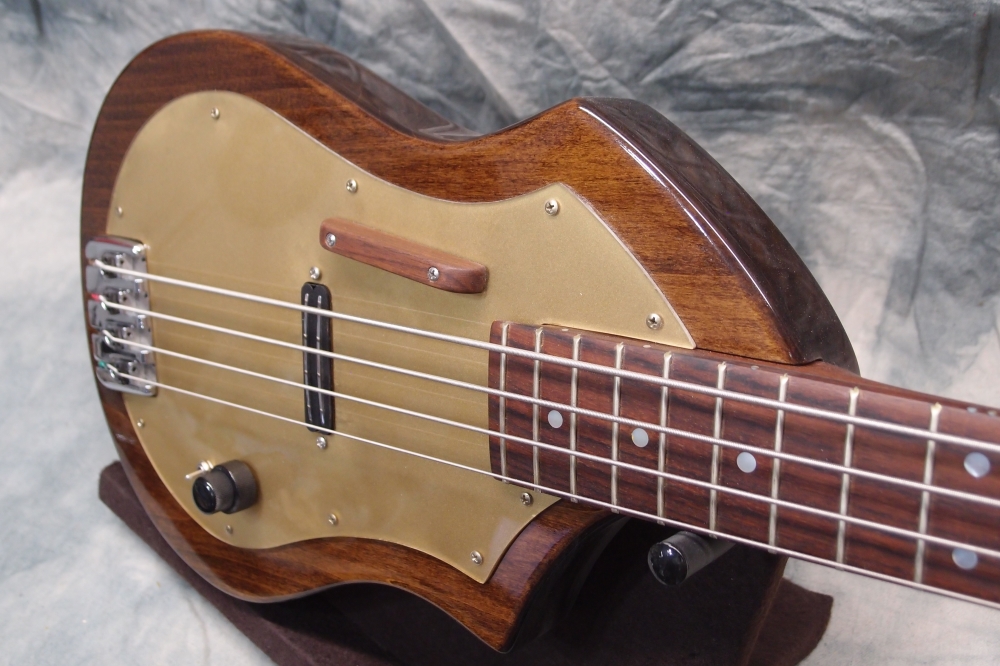
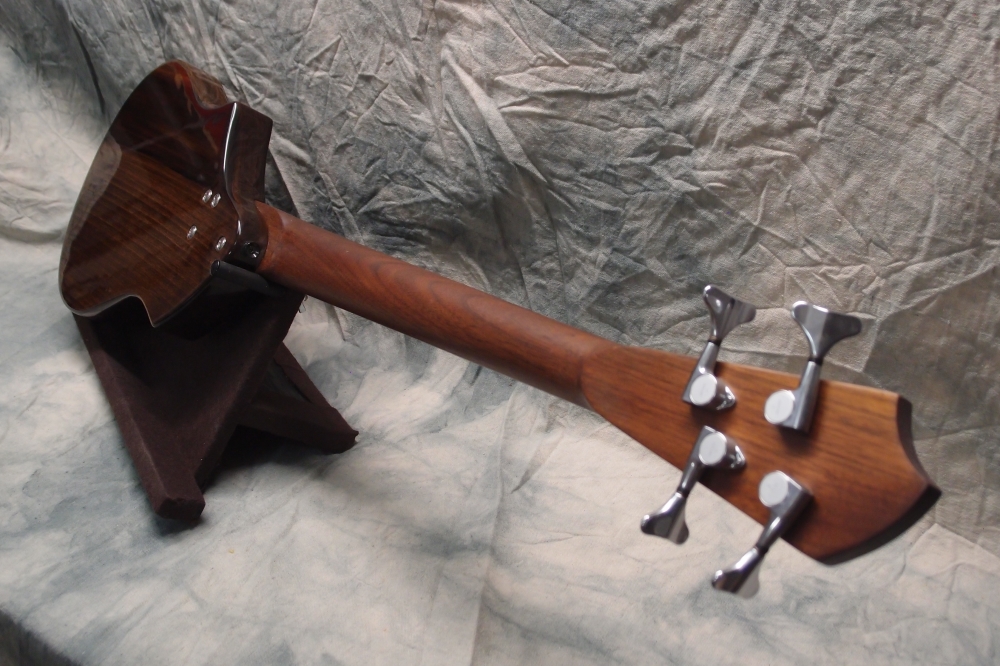
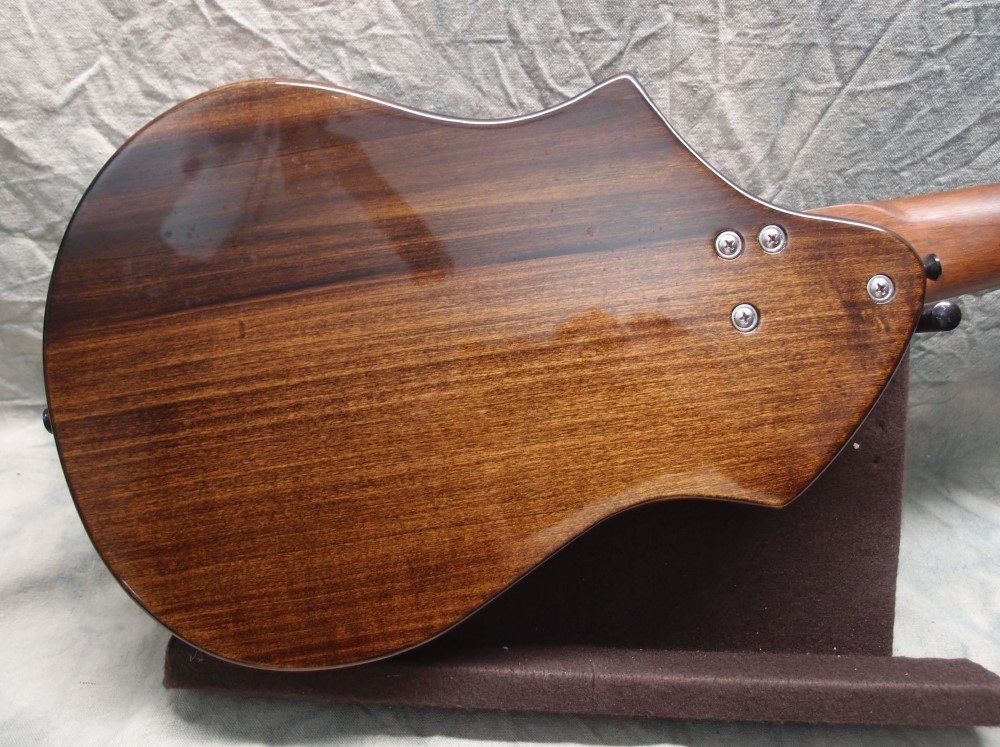
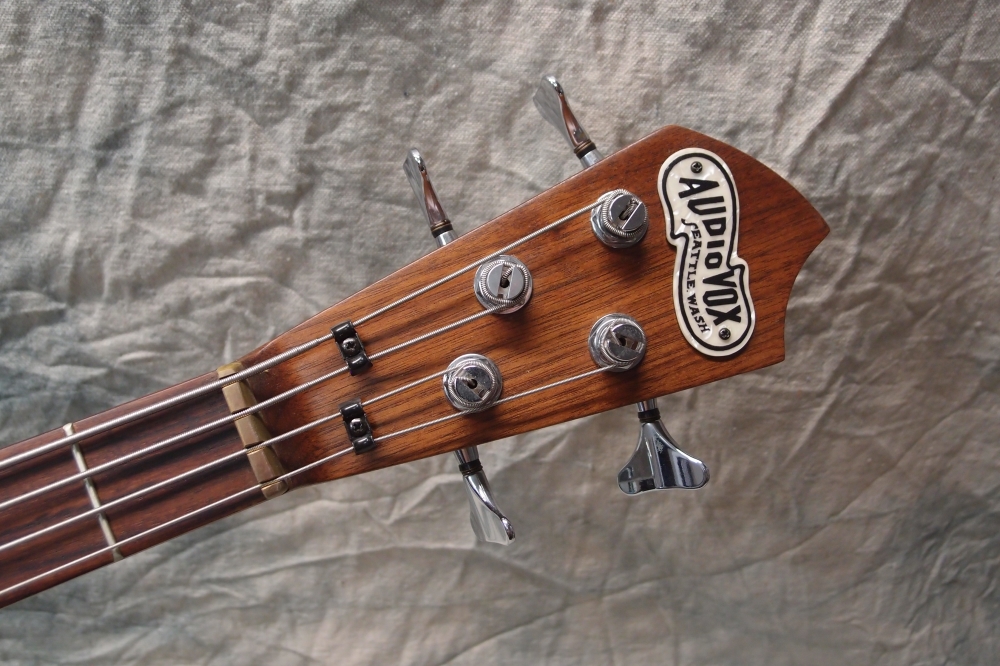
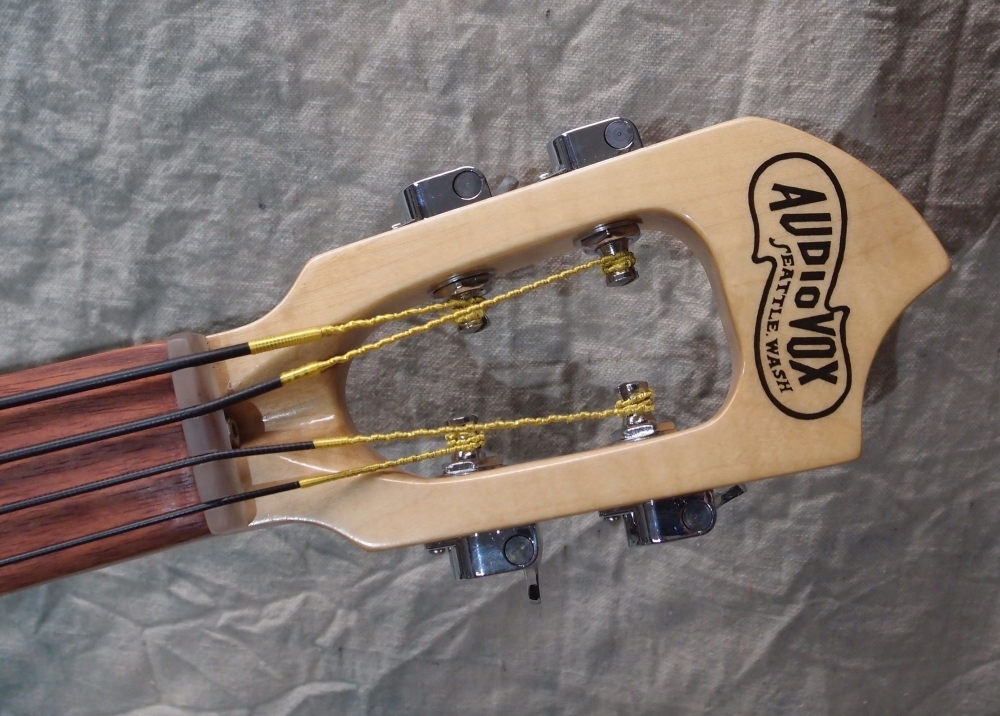
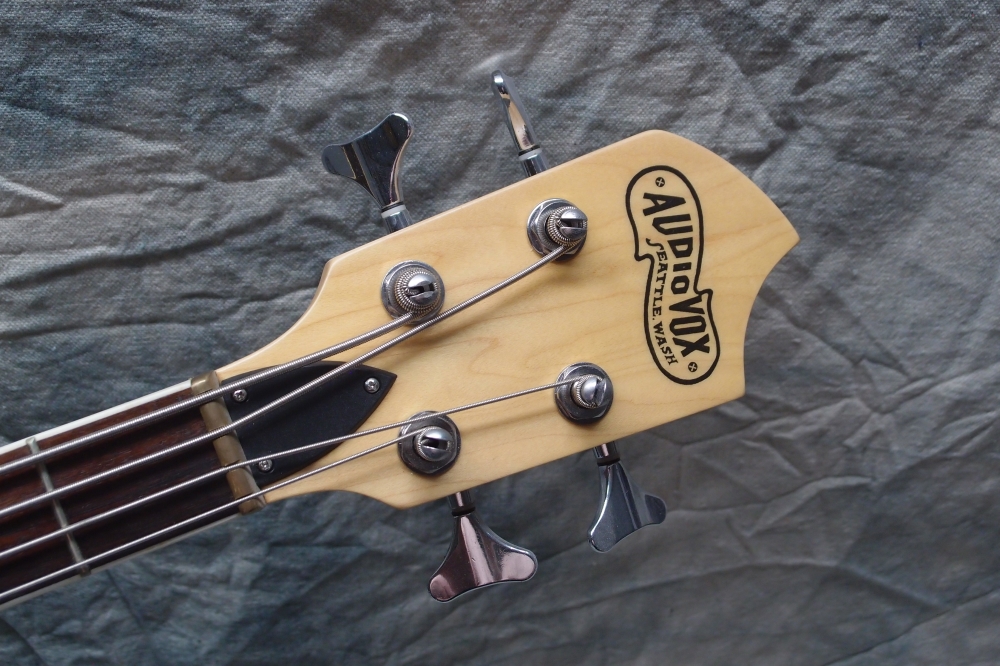
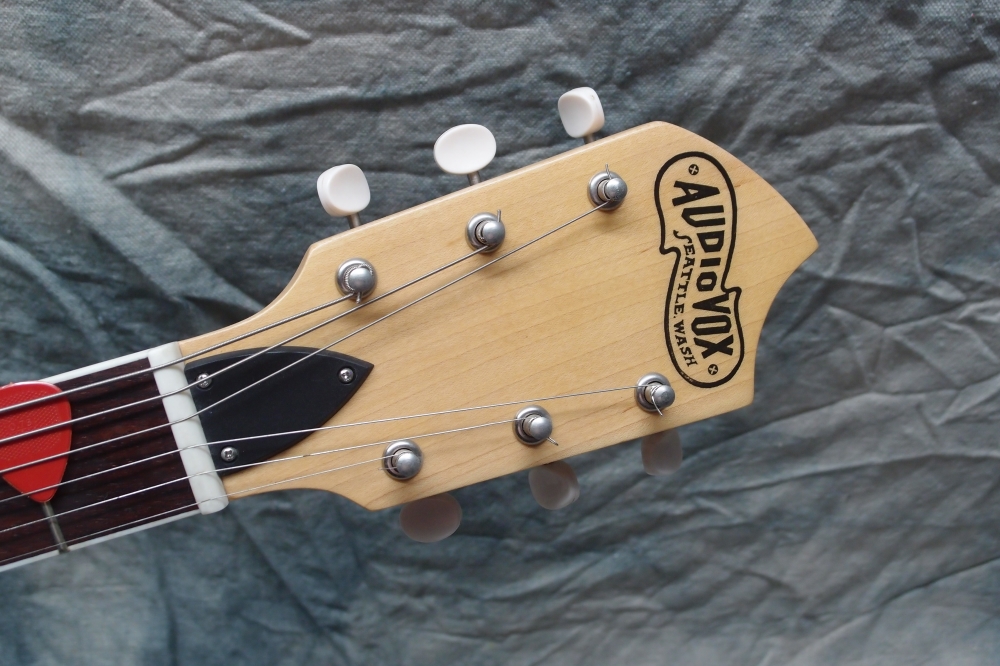
This was my first Audiovox project. Below is the original walnut body, fairly true to the original. My goal was to build the closest possible reproduction of the original Tutmarc Audiovox with modern parts. The ergonomics were very bad, much like a Steinberger. The headstock geometry is also not great, you can see how two of the tuners are reversed to make it work. These are expensive Gotoh tuners that are tight enough to work in reverse; I wouldn't try this with Chinese cheapies.
More: Audiovox 736 Bass ...
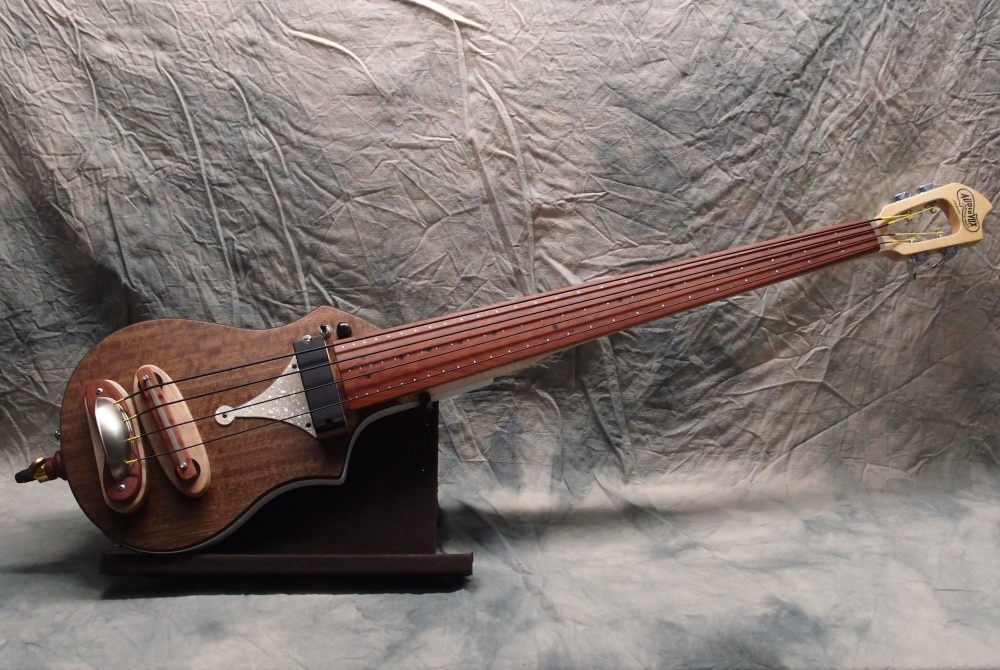
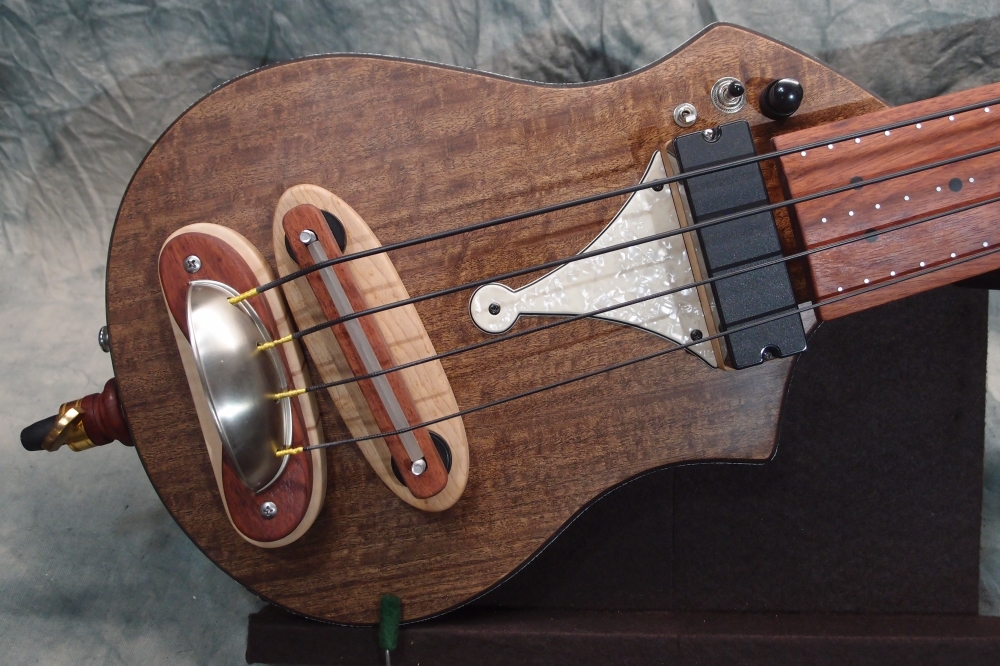
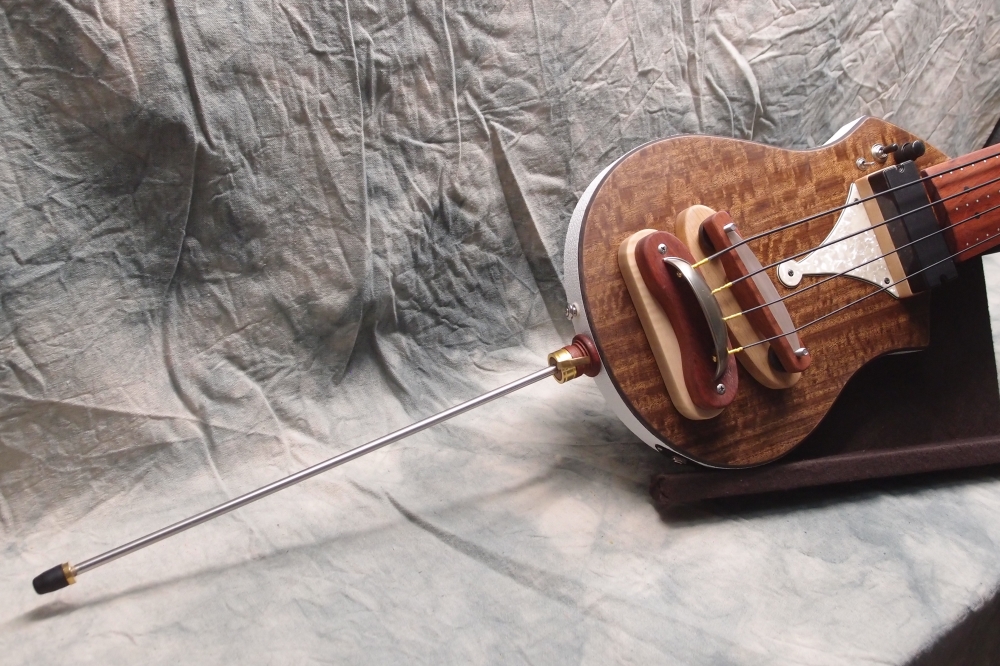
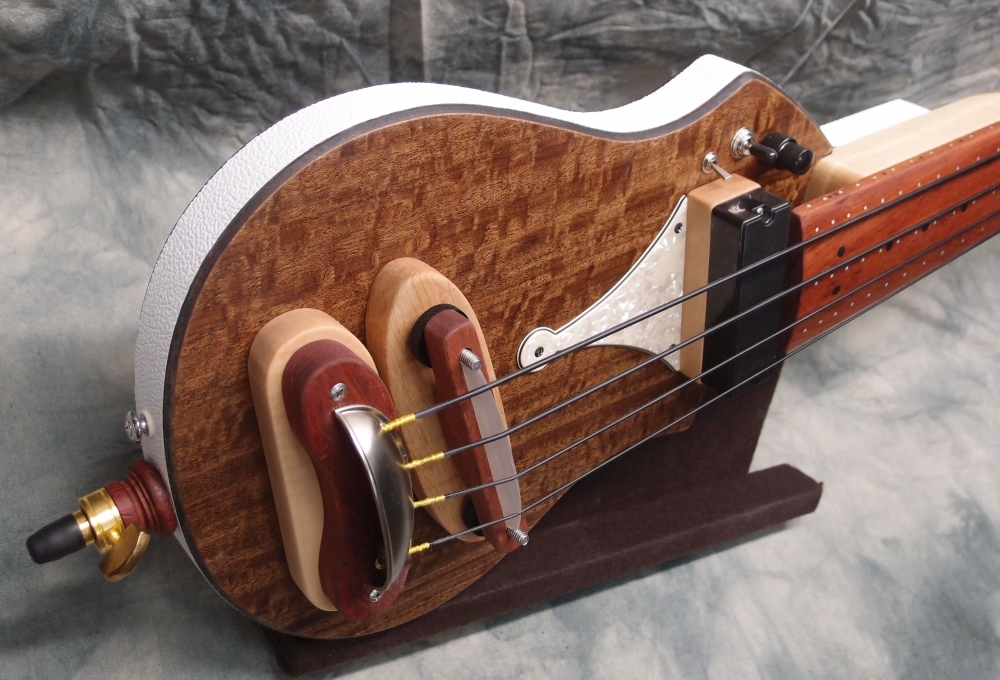
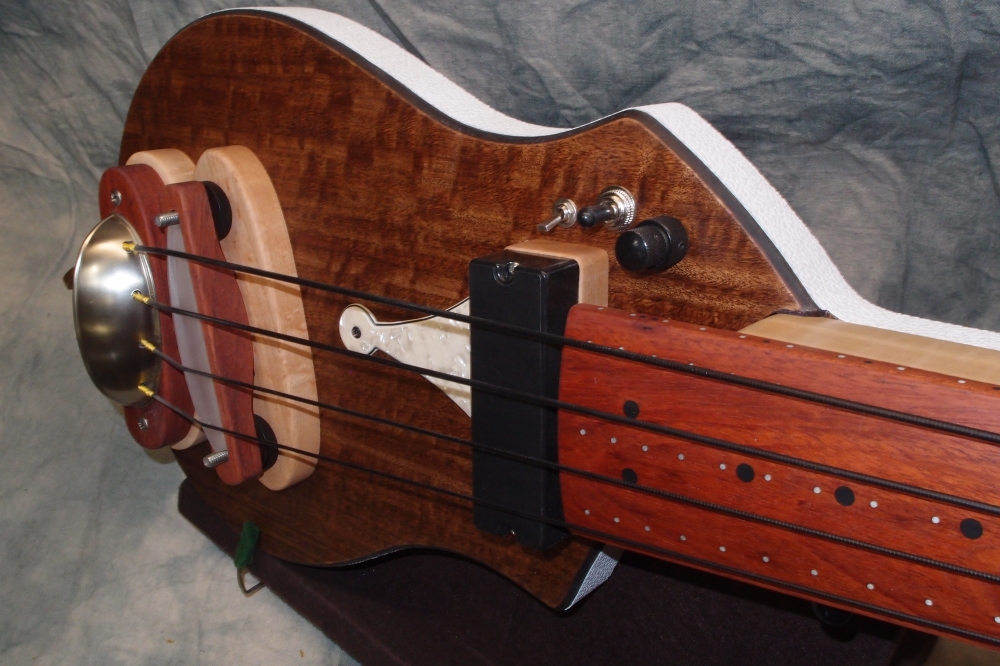
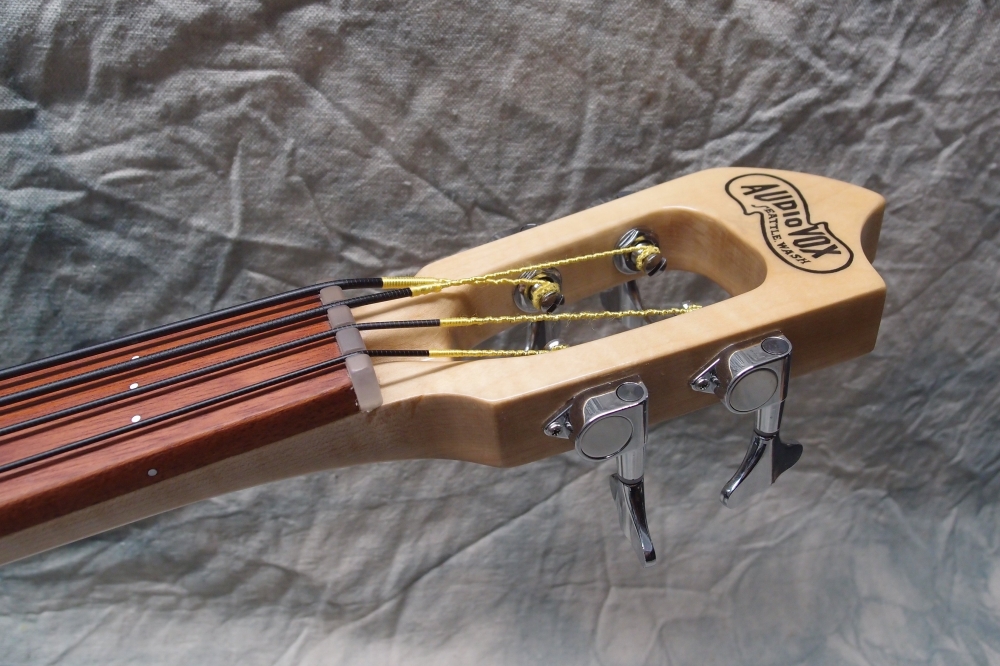
This is the biggest of the Audiovoxes, weighing in at a full 12 pounds, with a 36" scale. The neck is a Brazilian Cherry (Jatoba) floorboard over maple, with a straight cutout headstock. There are over 100 marker dots. The body is veneered masonite over solid plywood, with Danelectro-style Tolex binding. There are also strap buttons, this instrument can be played vertically or horizontally.
More: Audiovox Electric Upright Bass ...
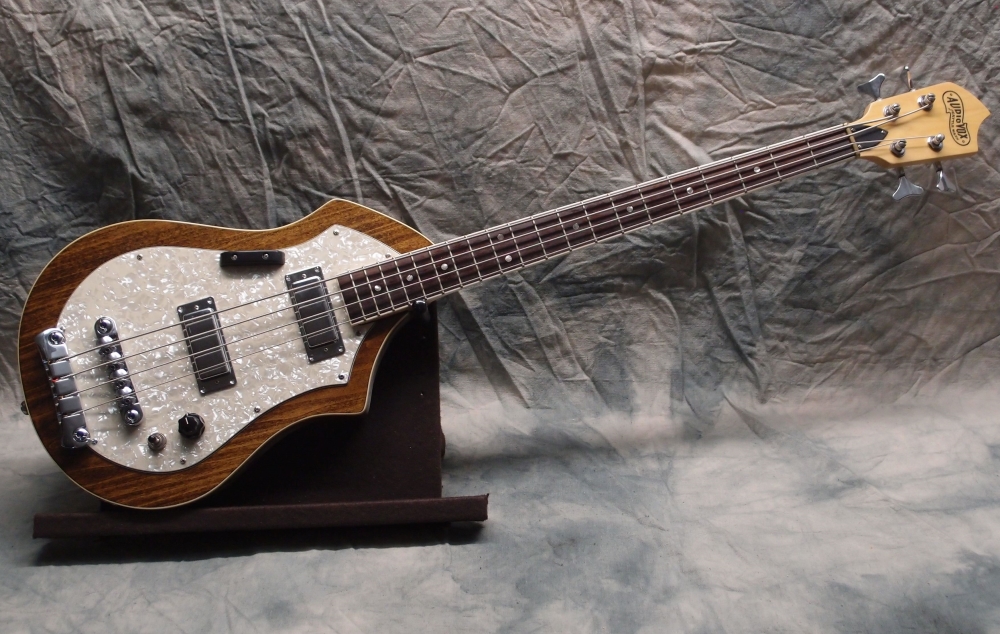
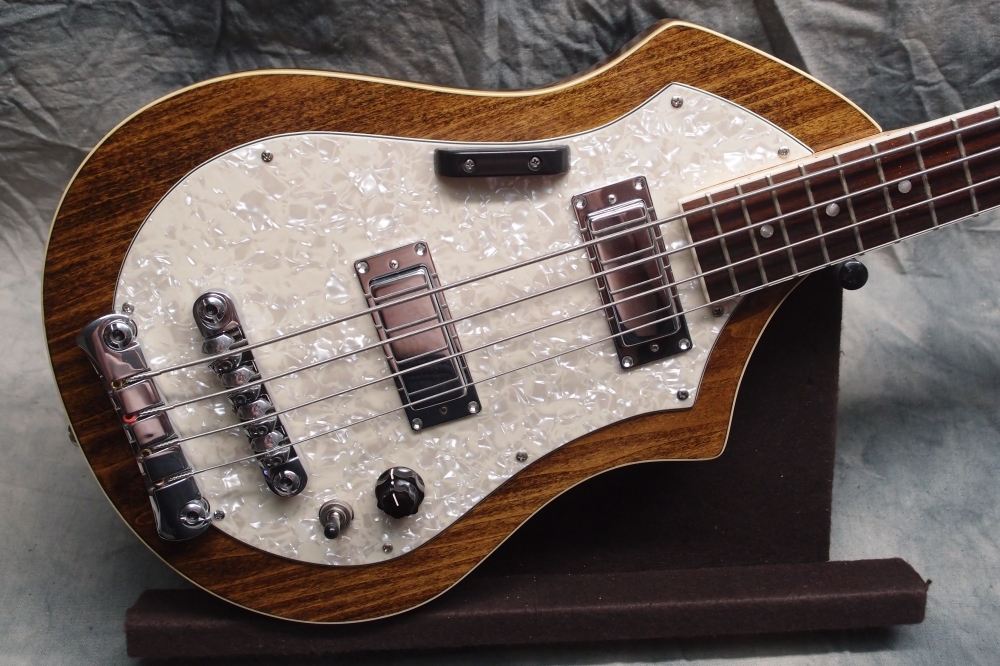
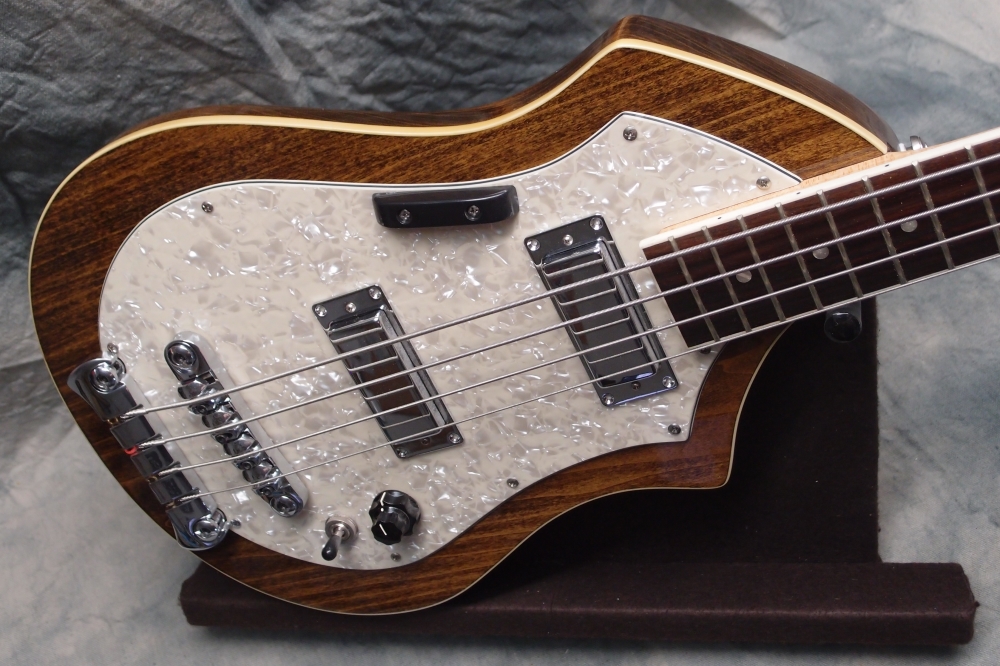
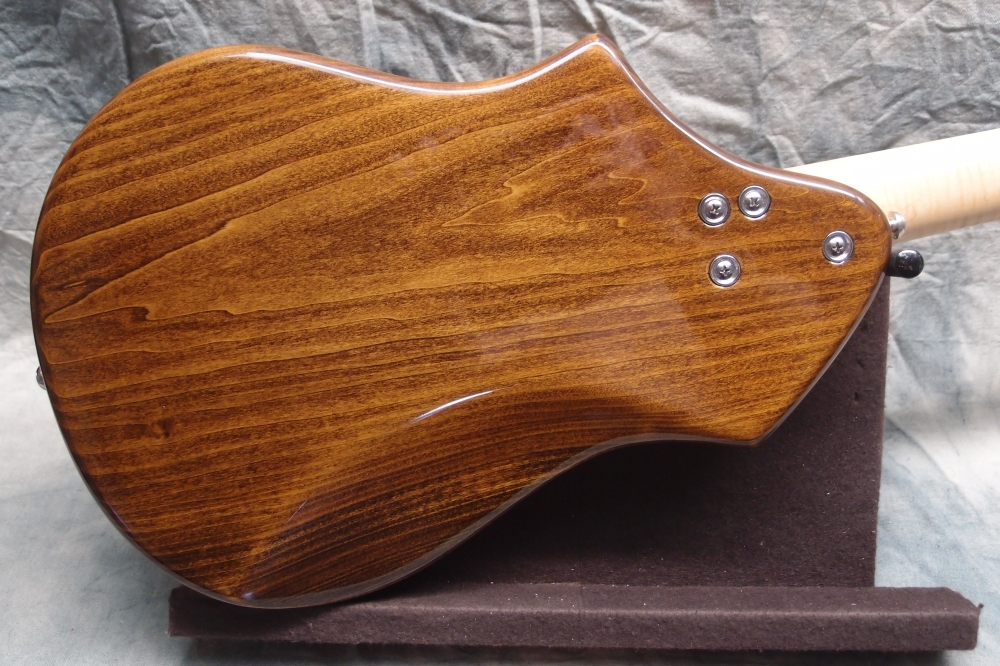
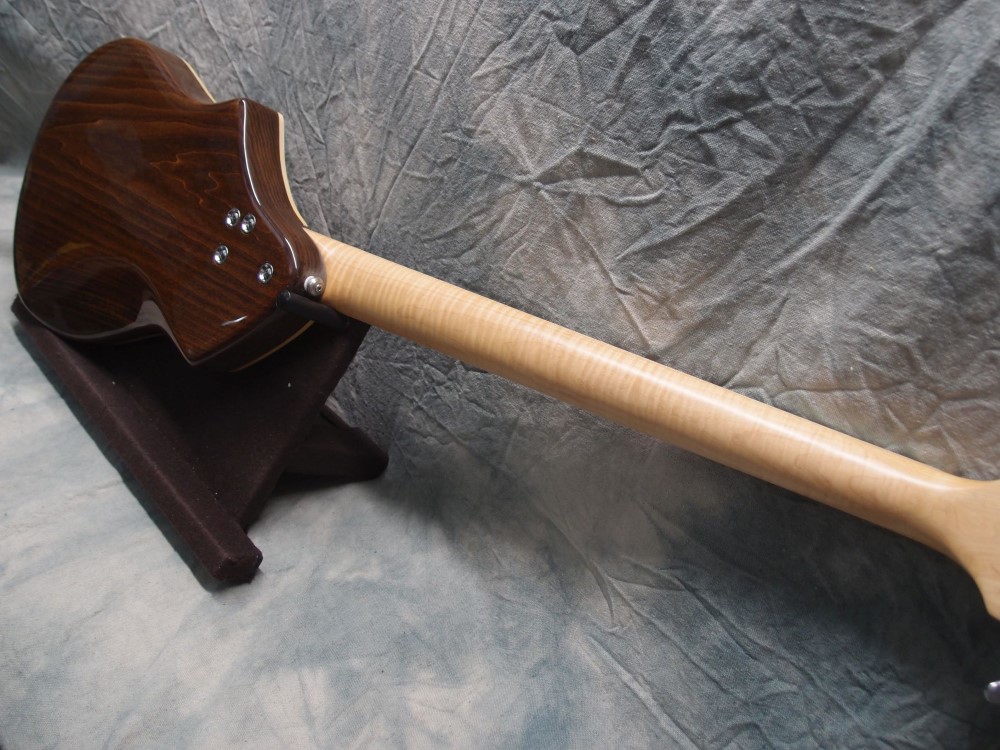
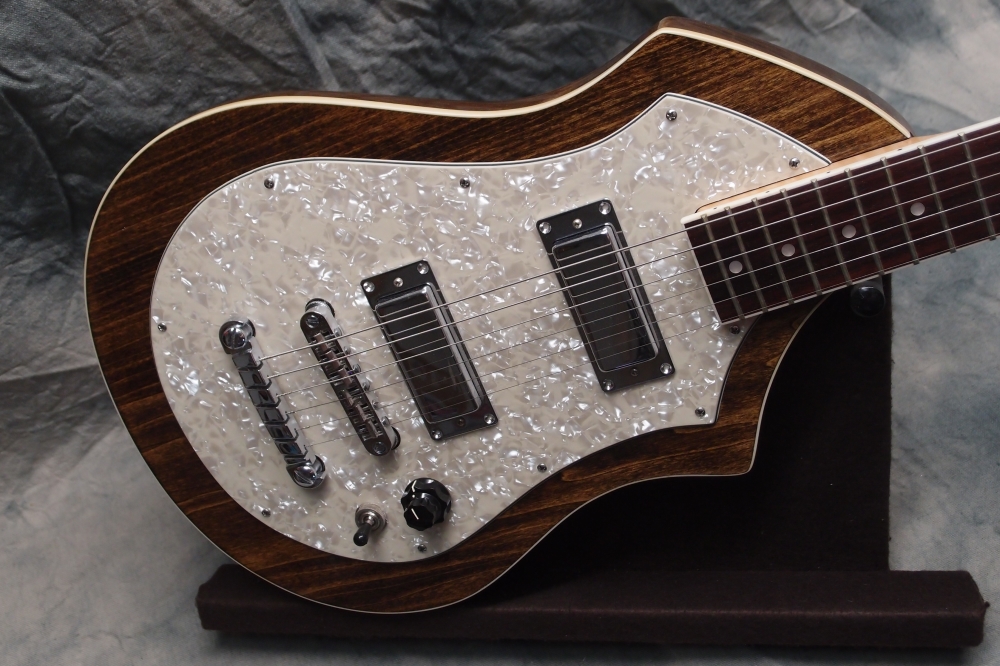
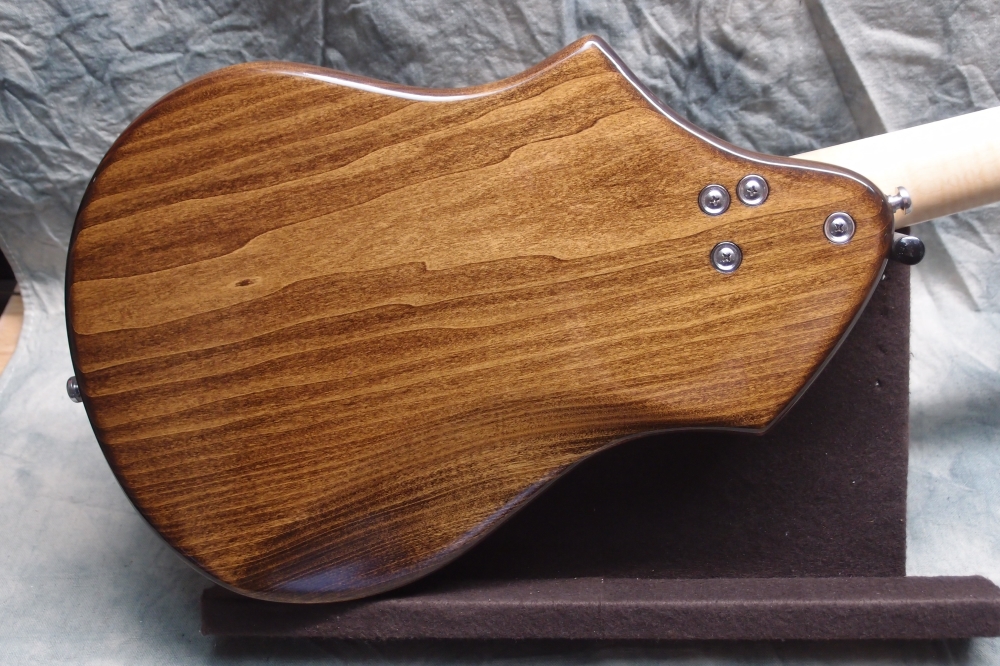
Together with the guitar, this was the first of my modified Audiovox design to be completed. Solid poplar bodies, stained to look like walnut, with single bindings. Each pickguard used an entire sheet of material; only these two got the pearl treatment, the rest got much less expensive masonite pickguards.
More: Audiovox Solid-Body Bass ...
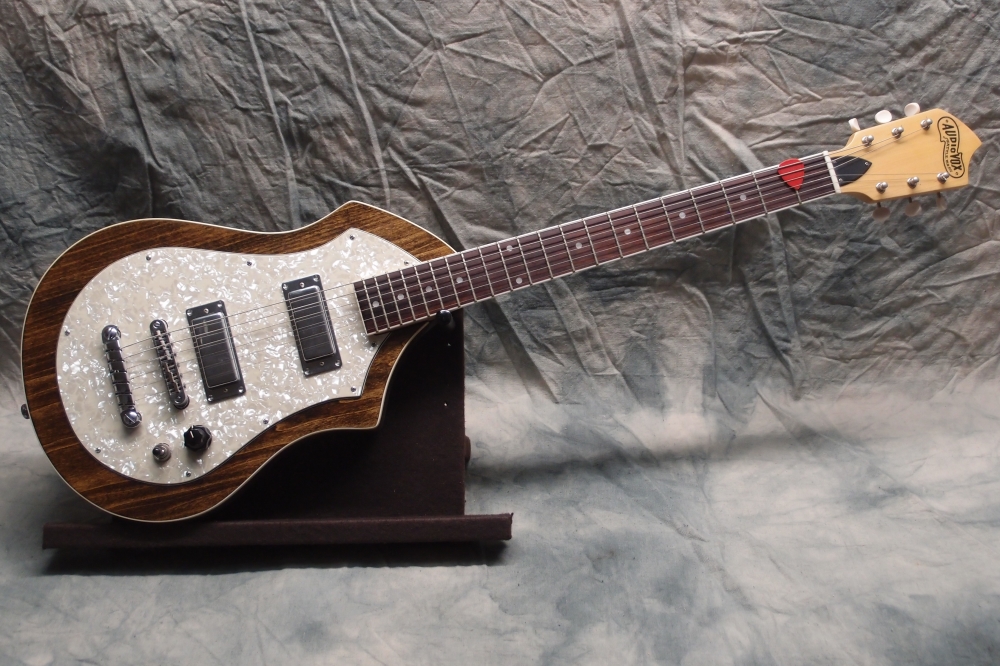
This was the first of my modified Audiovox design to be completed. Solid poplar bodies, stained to look like walnut, with single bindings. Each pickguard used an entire sheet of material; only these two got the pearl treatment, the rest got much less expensive masonite pickguards.
More: Audiovox Solid-Body Guitar ...
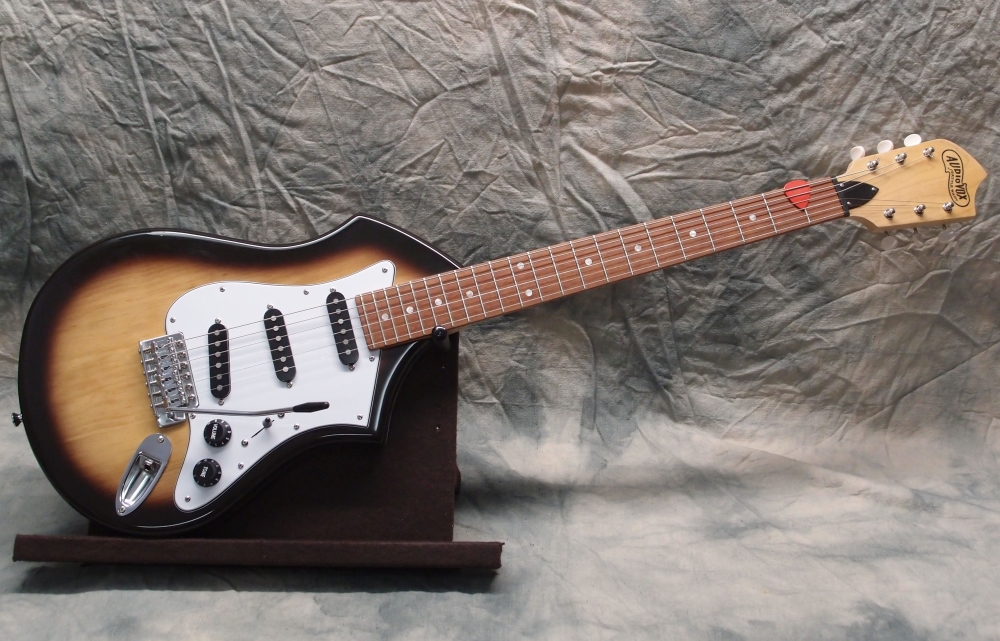
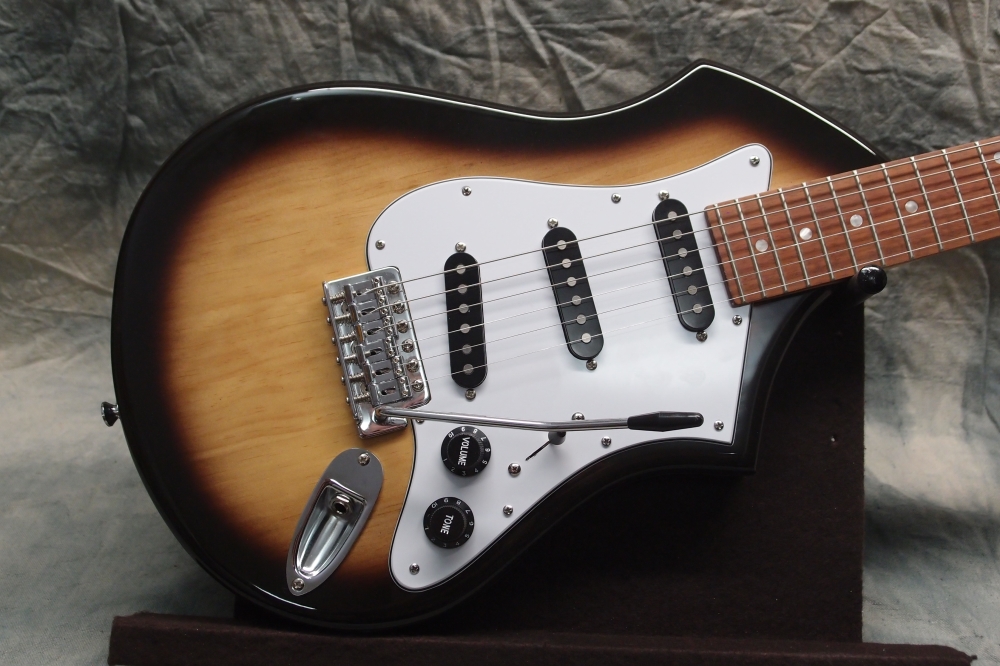
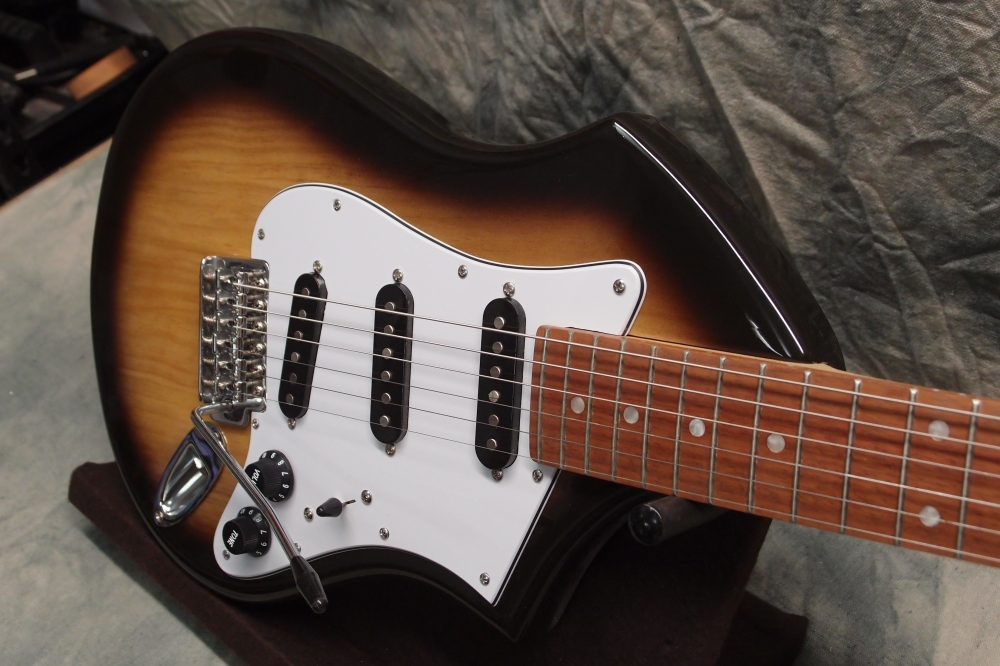
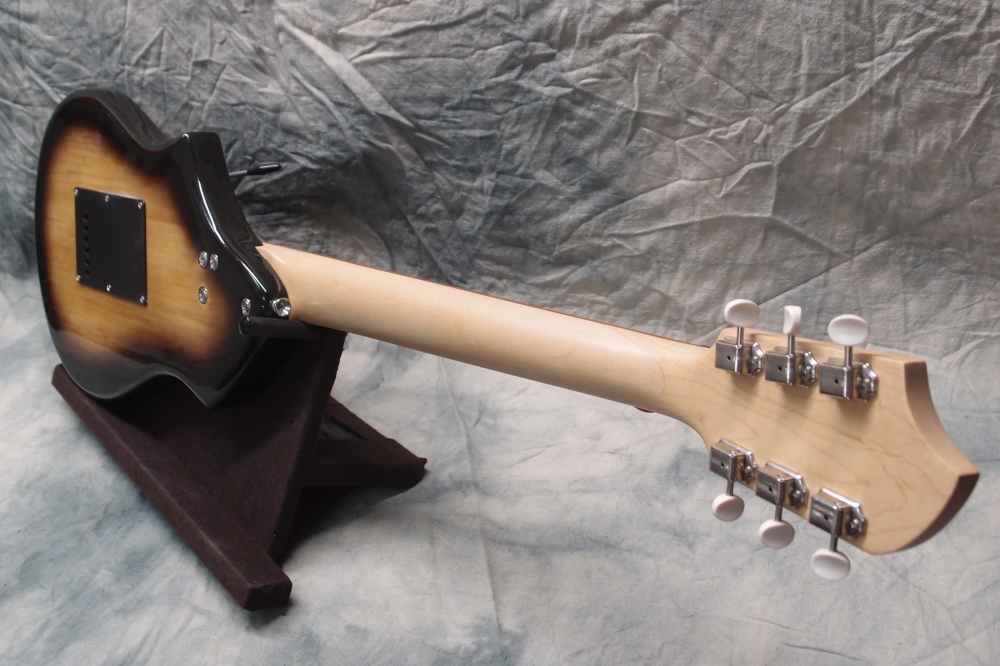
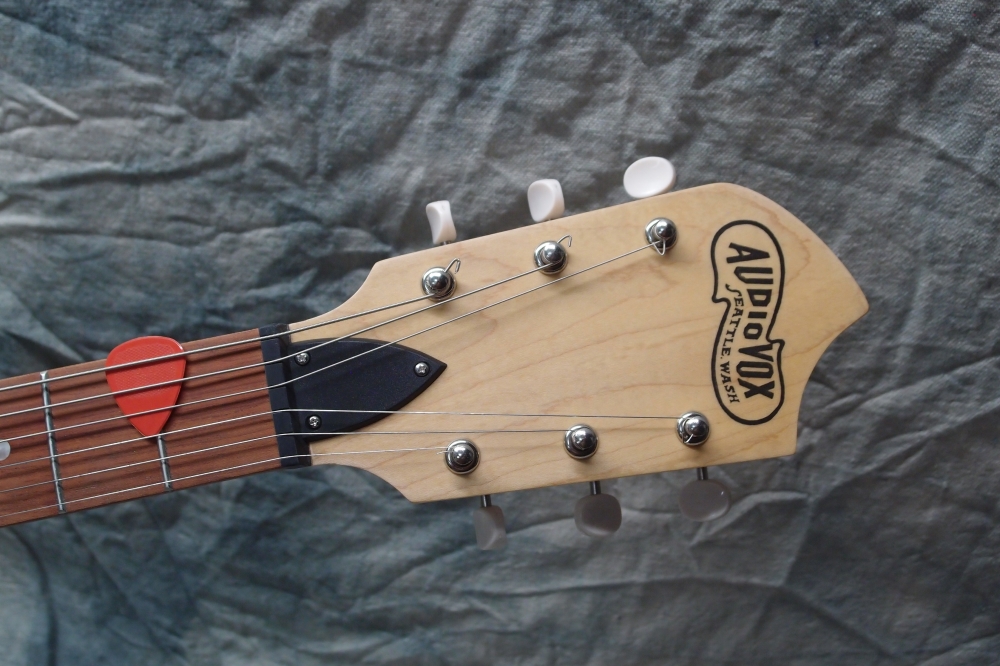
This one was a testbed for the Radiata glue-up body construction. I had lots of Strat hardware lying around from all the bass projects, so I decided to use some of it. As usual for my guitars, this has a fixed steel truss rod. This is the last of my Audiovoxes, and probably my favorite.
More: Audiovox Stratocaster-Style Guitar ...
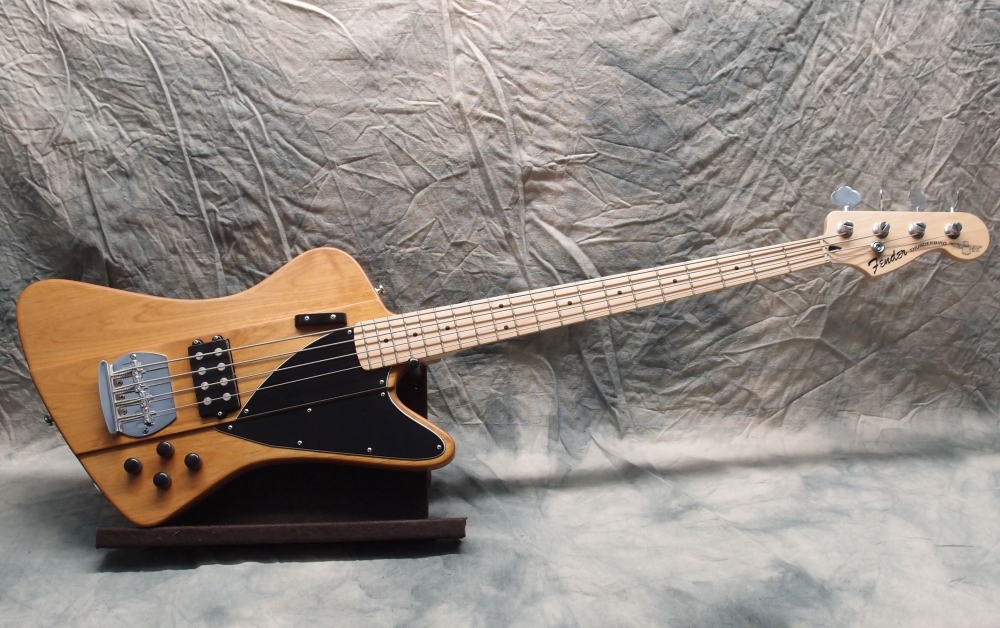
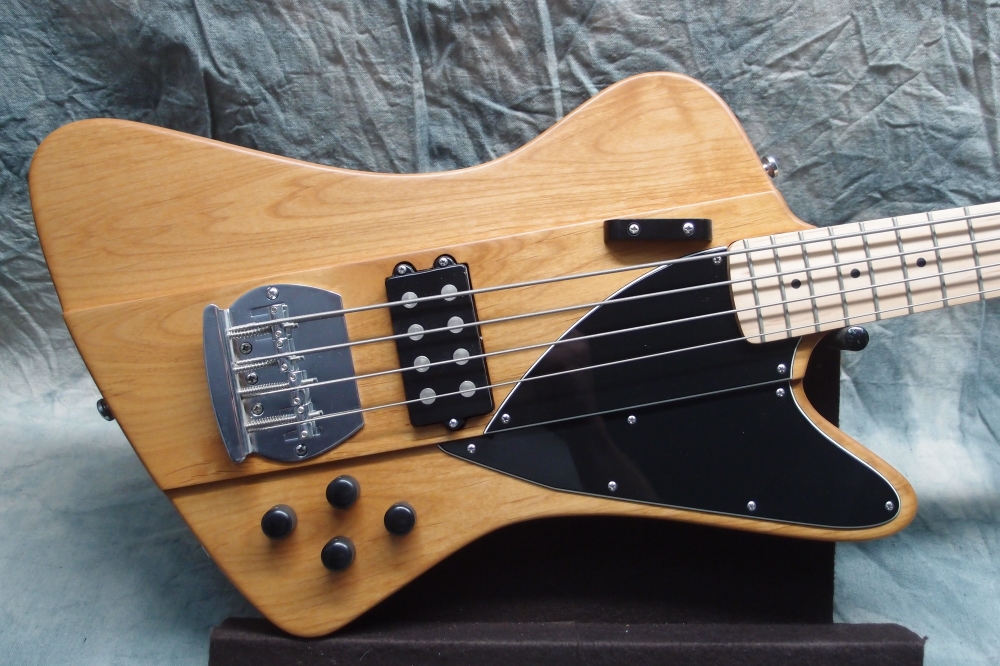
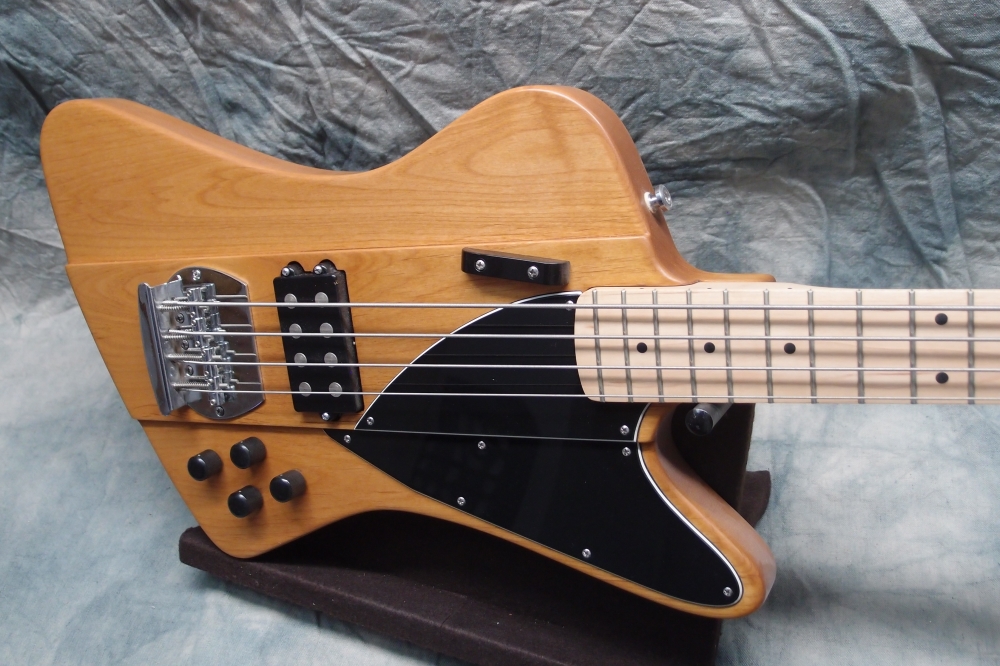
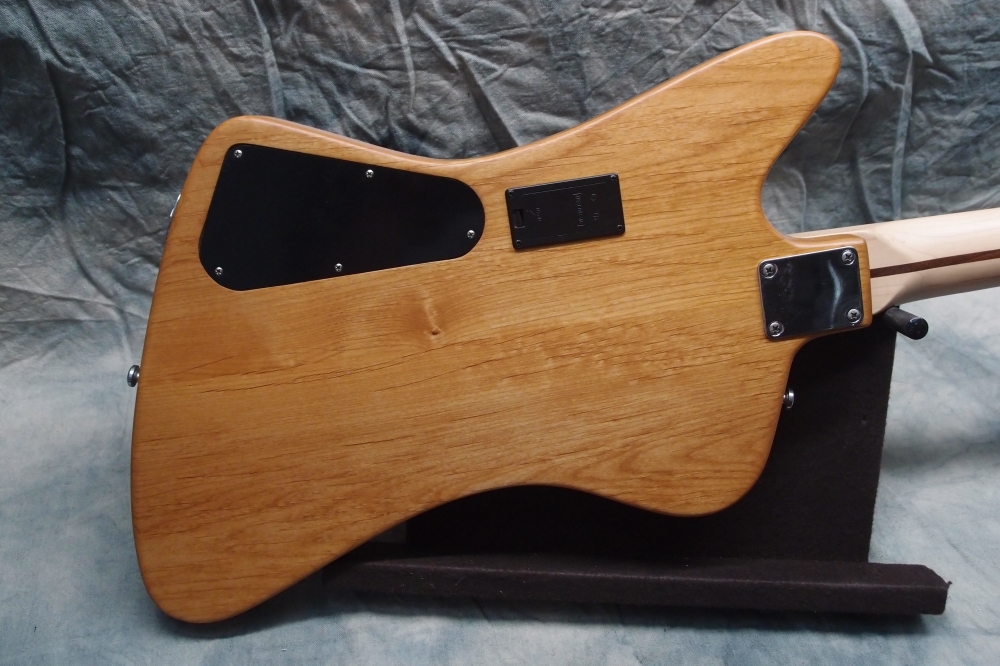
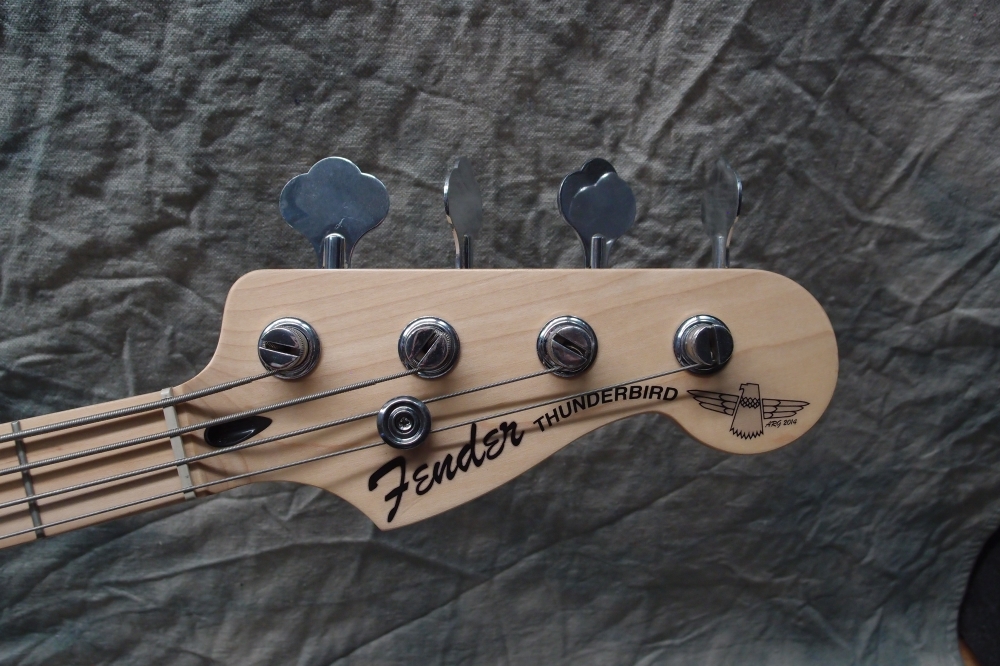
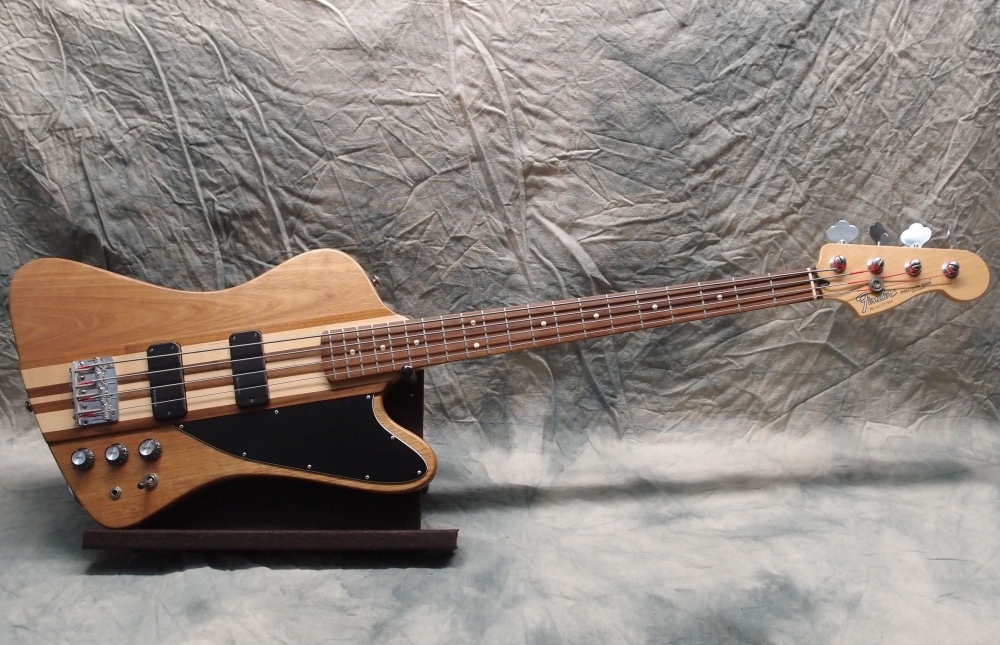
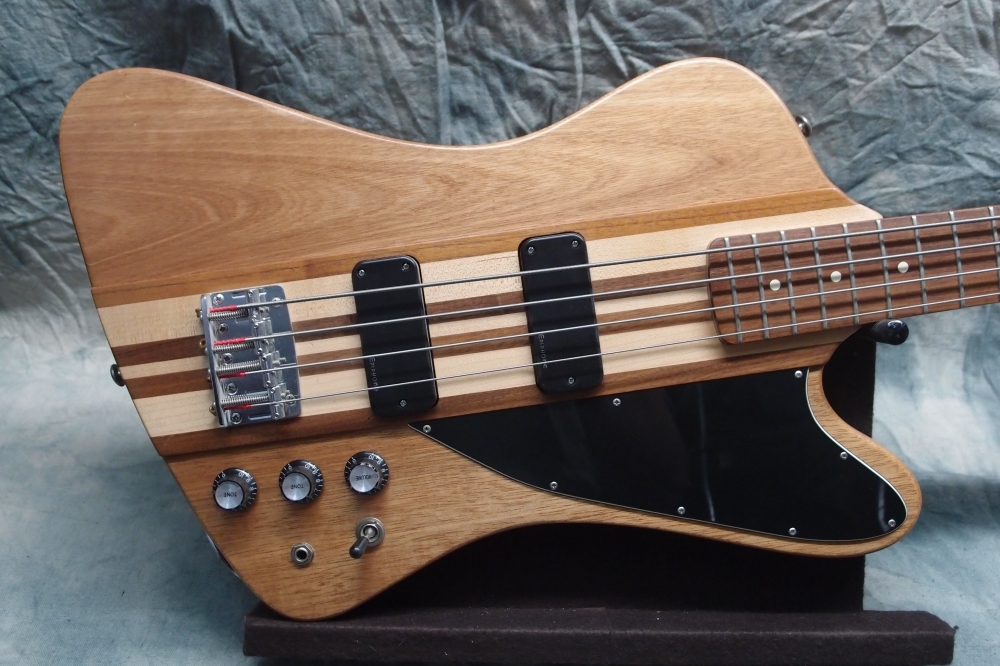
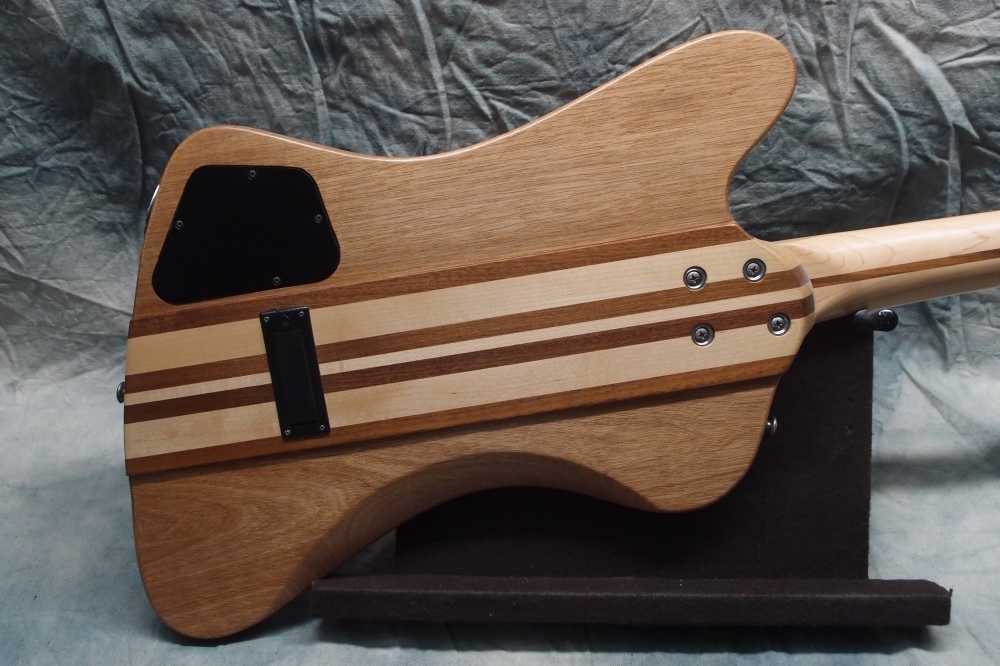
For those of you who thought my Stratocaster bass was an abomination, feast your eyes on this. The MusicmanBird. ThunderJazzRay. FenderManBird. I just call it FenderBird #2.
More: Cherry Fenderbird ...
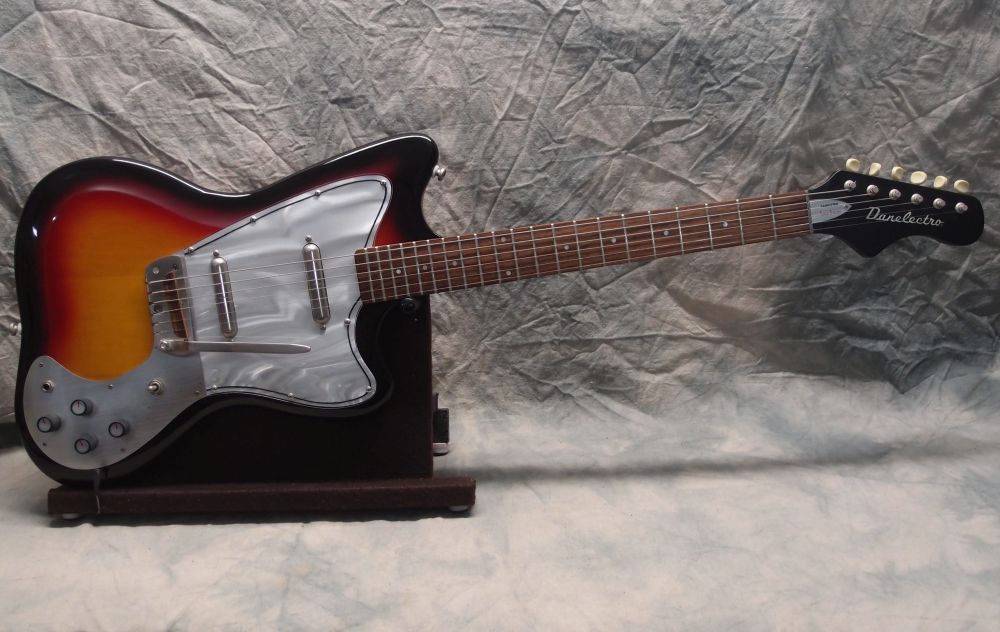
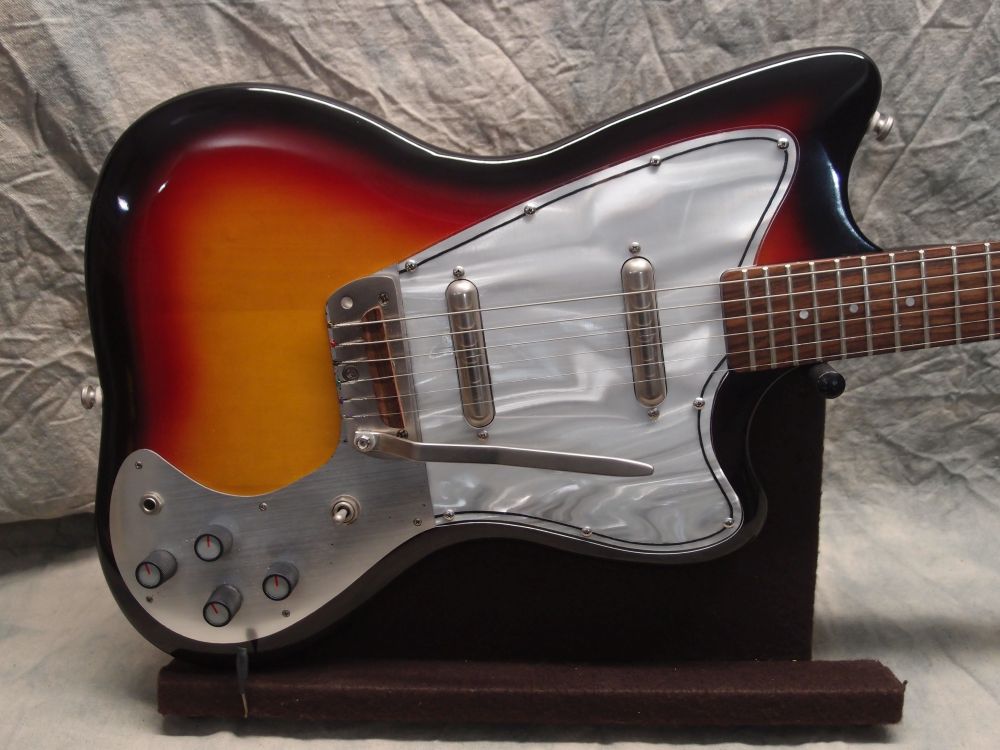
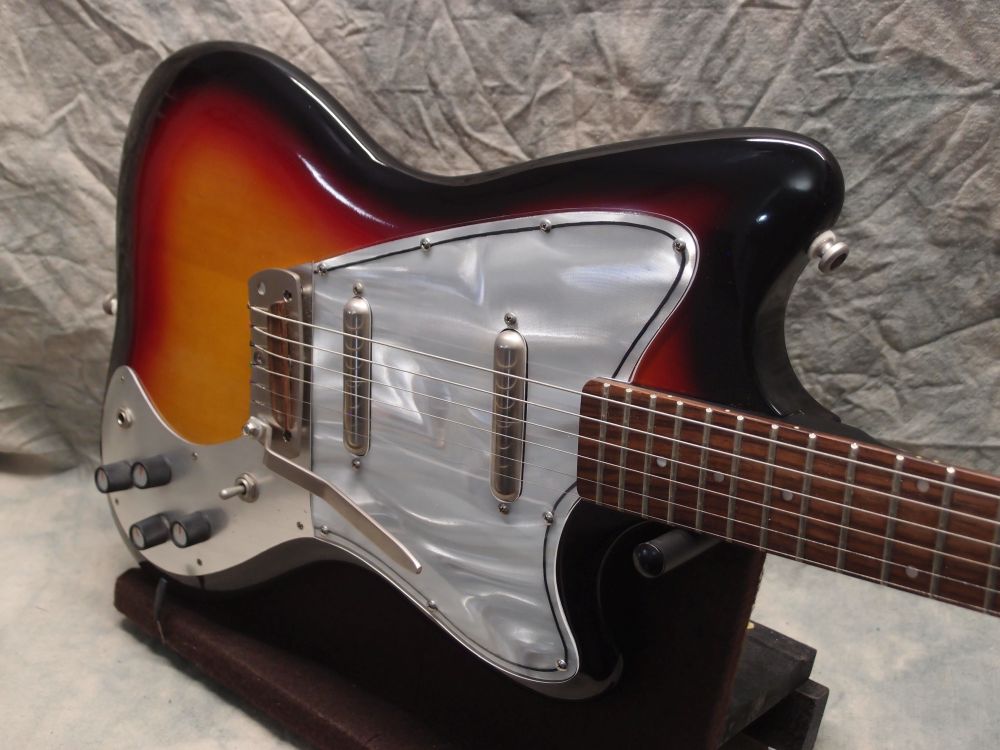
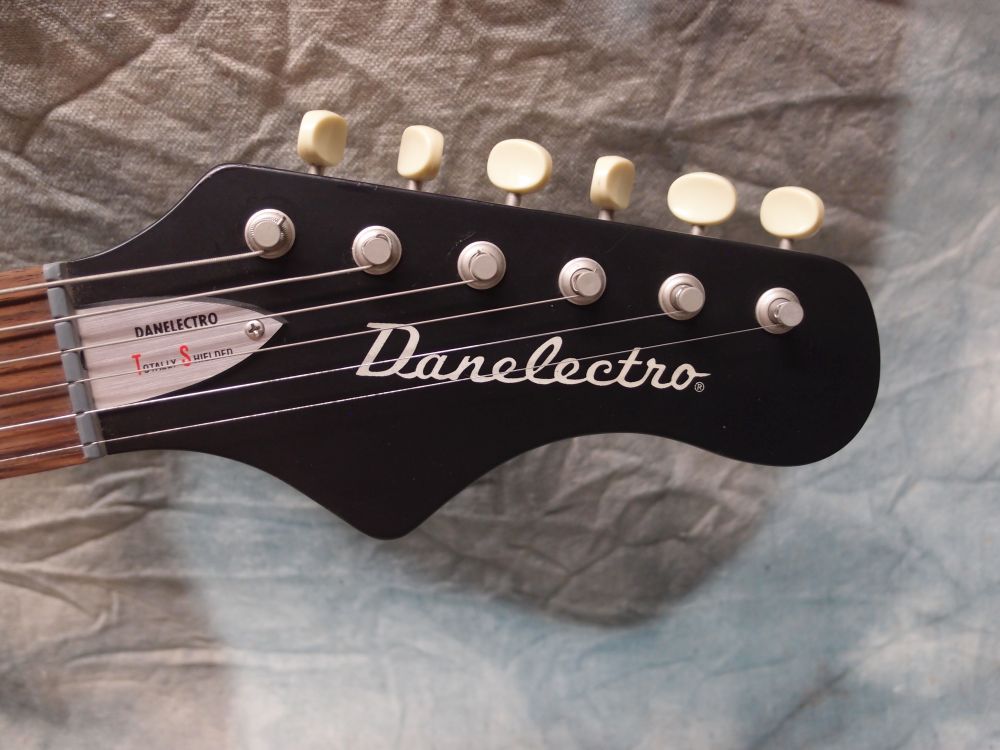
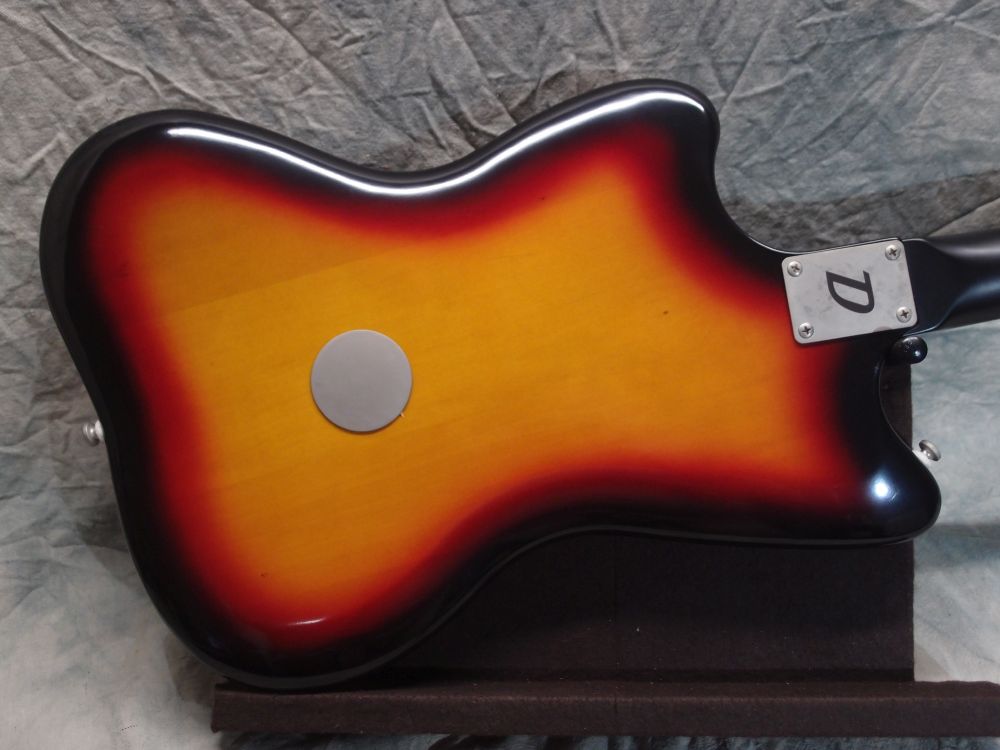
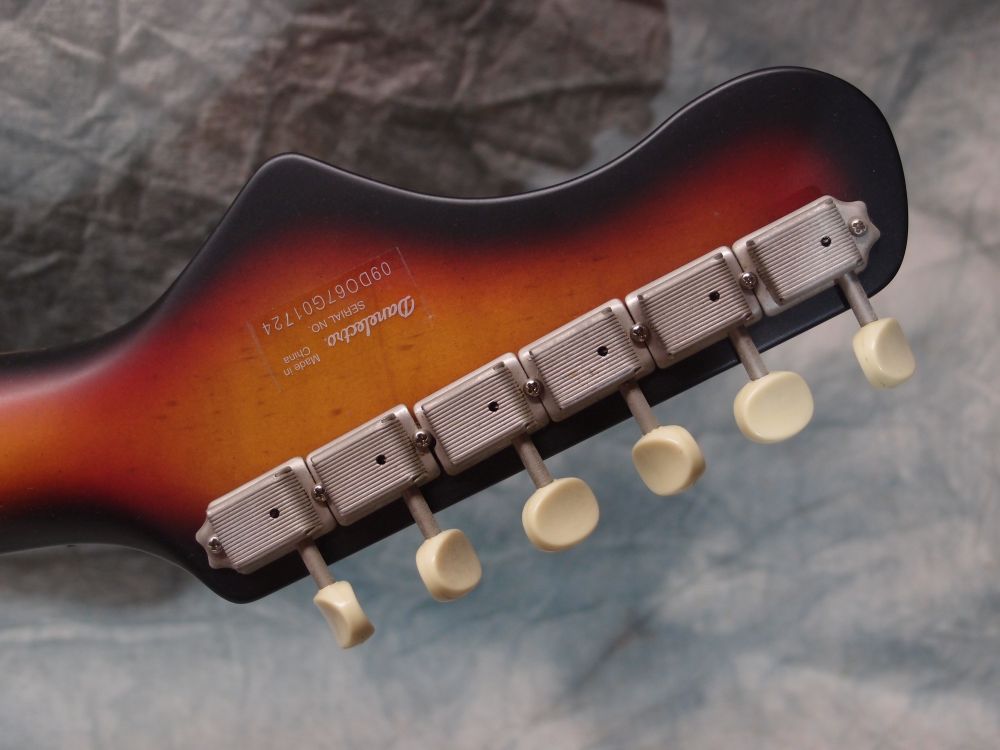
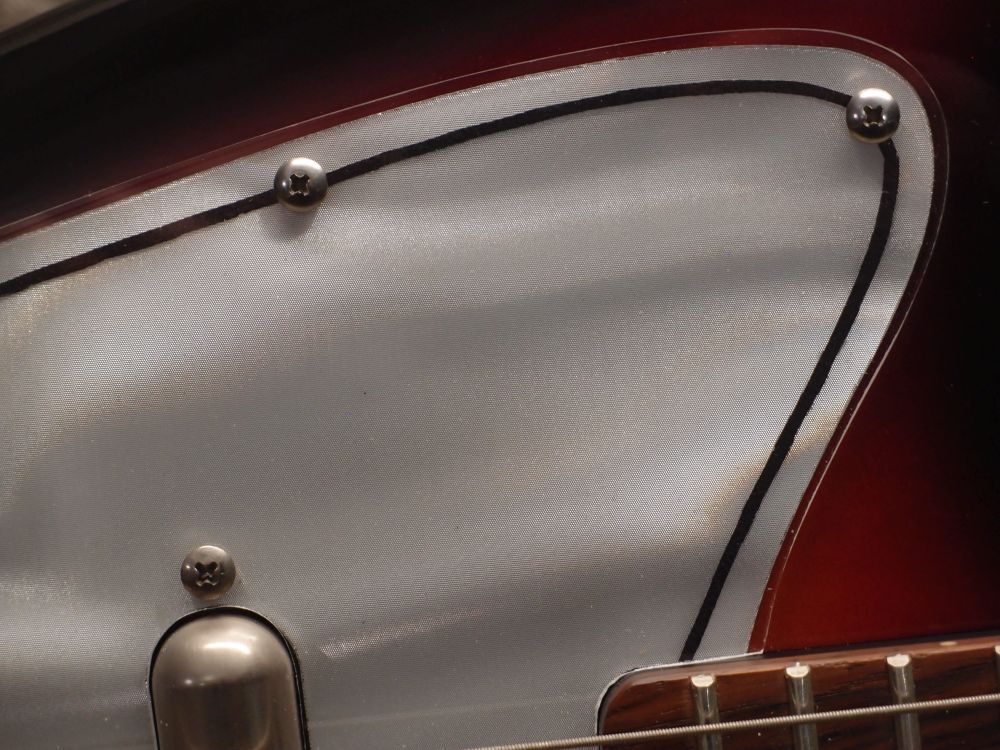
This beauty is Evets' reissue of a 1960s Danelectro Hornet. The solid-body Hornet has the same body outline as the Silvertone 1452, a sort-of cross between a 1457 and a Fender Jazzmaster. But unlike the slab-sided 1452, the body of the Hornet is a continuous curve, front and back, with a completely rounded edge. ( This is as sexy as a guitar gets, but makes it a little slippery on your knee. ) The reissue from Evets has the same contours as the original, and even the same 'lightshow' pickguard. The three-tone sunburst on this one was an exclusive to Guitar Center. I picked this one up as an 'open-box' from their subsidiary Music123 for a song, so to speak. The body was originally slathered in dullcote, which I polished off, resulting in a beautiful shine with just a bit of orange peel that I left.
More: Danelectro Dead-On '67 (Coral Hornet) Guitar ...
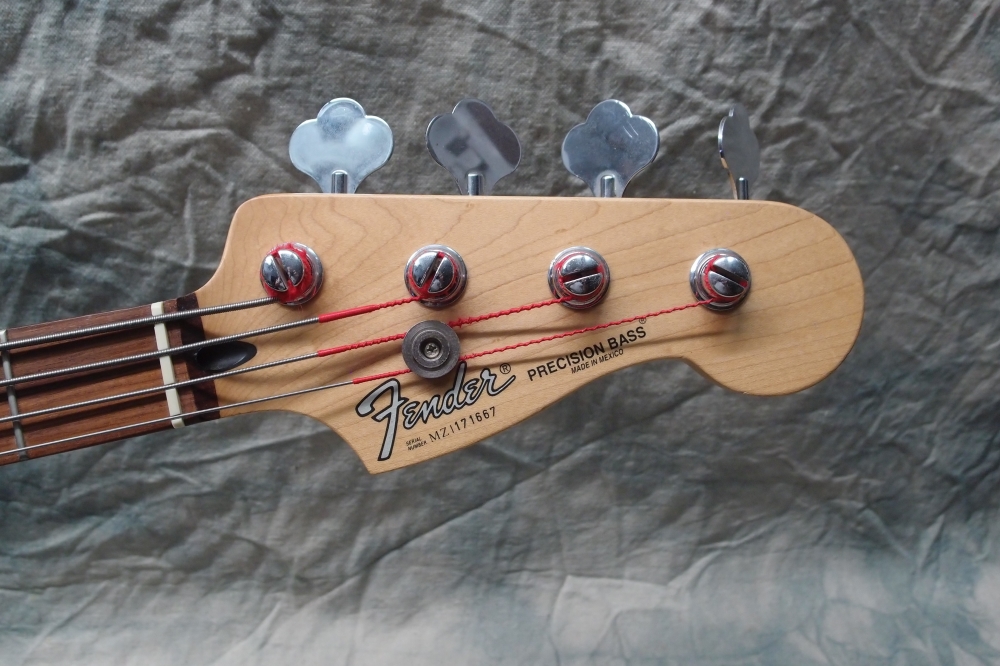
This started out as a broken Epiphone, one of the very nice Pro models. Turns out the Epi copy was a bit too authentic - it even reproduced the standard Gibson pop-off headstock. I removed the neck, re-finished the stump, routed out a neck pocket, and installed a Fender Mexico Precision neck. The pickups are stock, the active electronics are a replacement as the originals blew up. I also made the pickguard. The high frets are basically inaccessible, but the trade-off is much better balance.
More: Epiphone Fenderbird ...
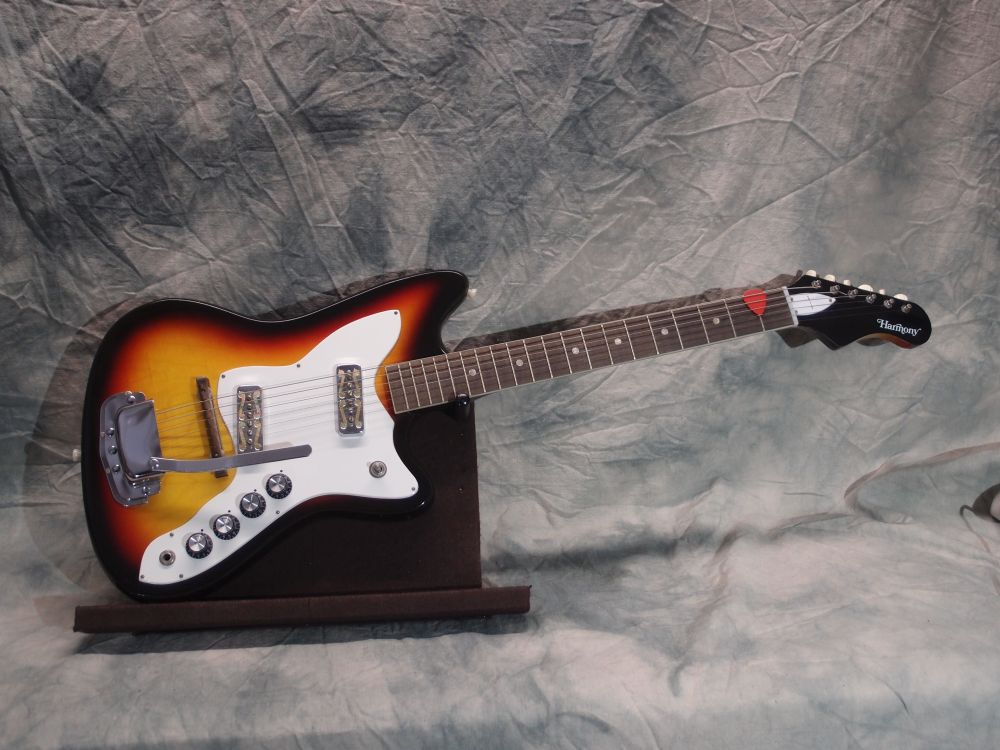
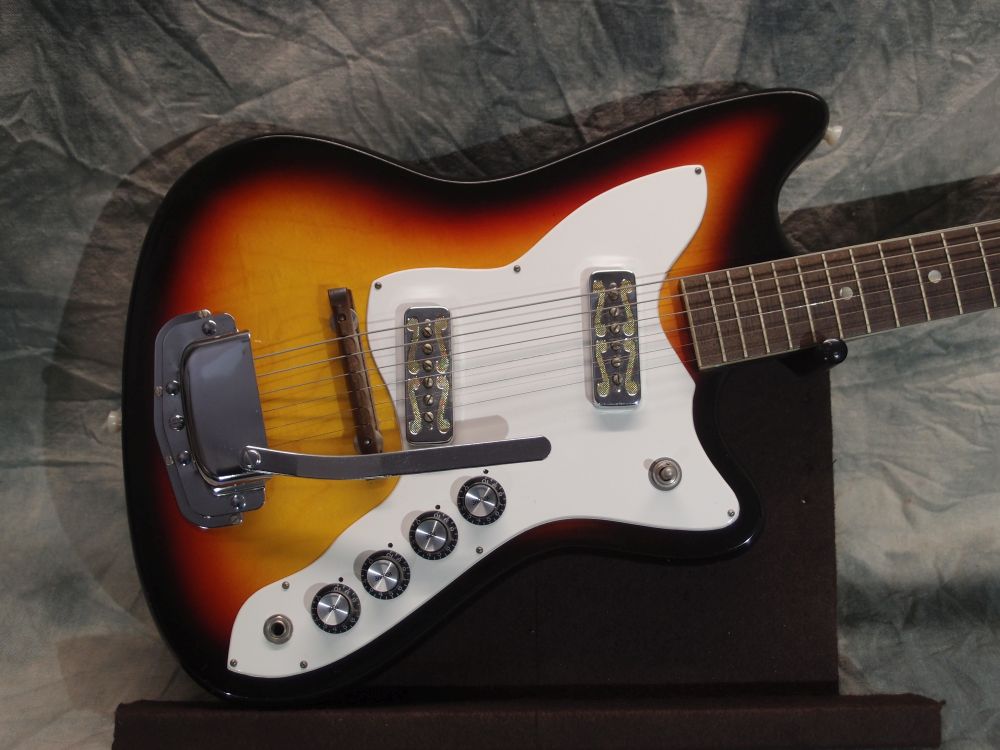
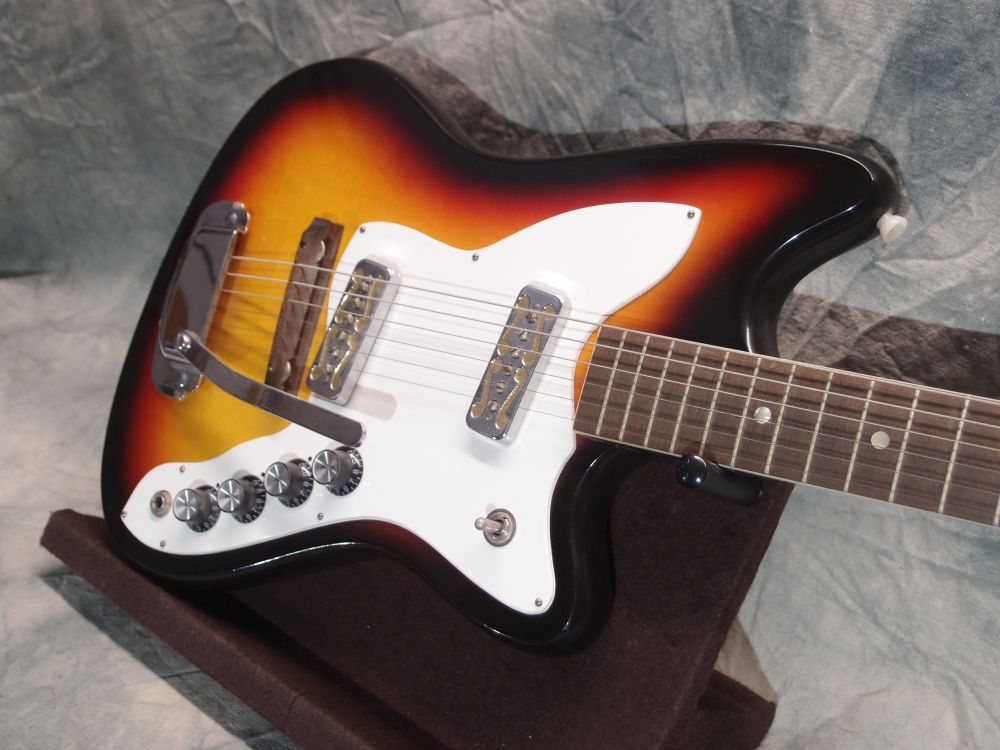
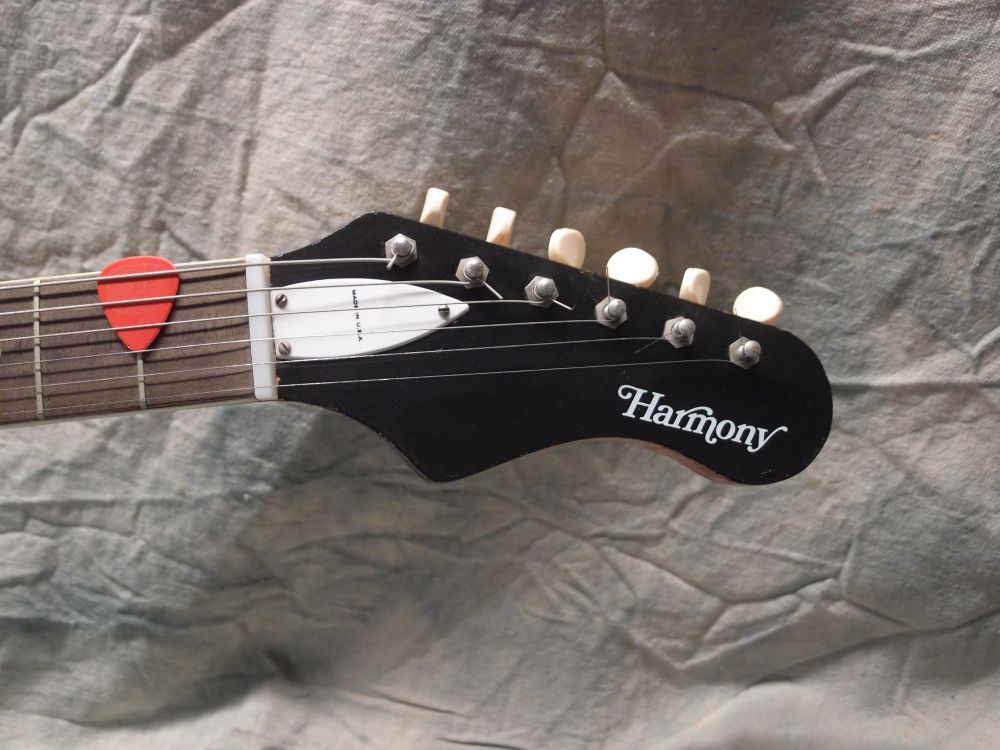
This pretty little thing is a Harmony H617 Bobkat. The H-bodied series of guitars, originally known as the Silhouette, began in 1963 and ended in 1973. This one is from 1972 or 1973. Harmony built a number of guitars for Sears under the Silvertone name, at first as a step up from the Danelectros, and ultimately replacing them. See the Silvertone 1478.
More: Harmony H617 Bobkat ...
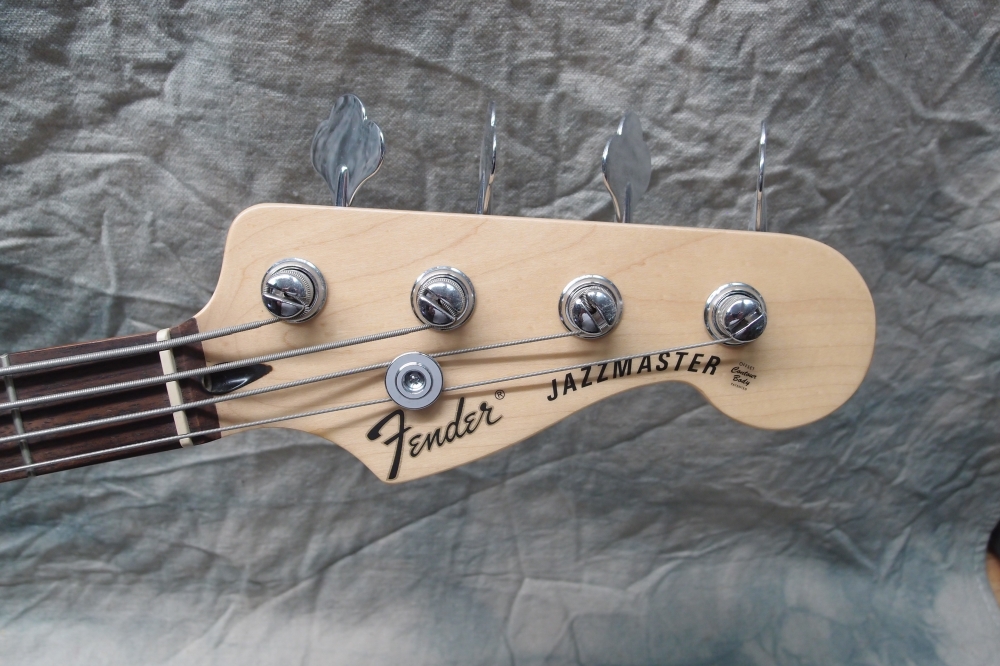
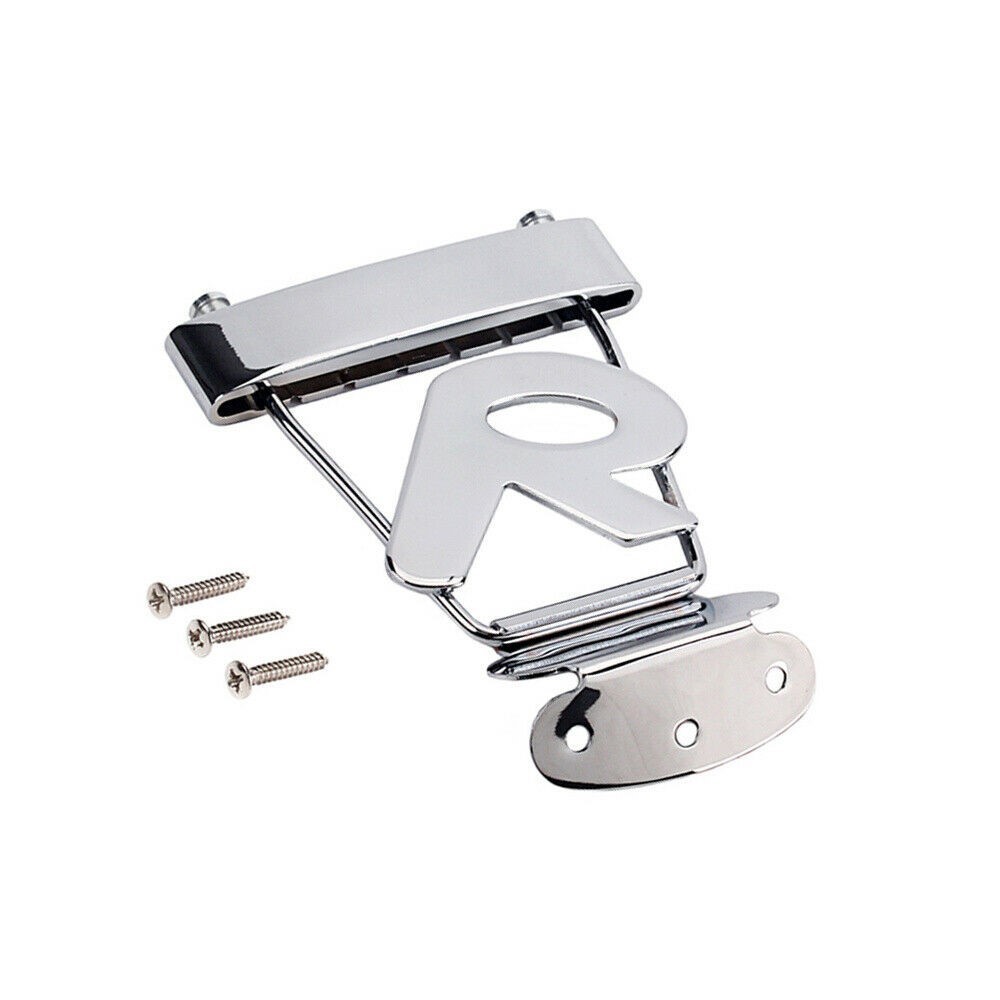
This started as a Squier Jaguar body with a Mighty Mite neck. Stock pickups ( which are pretty decent ) with cream-colored covers and upgraded electronics. I used a MusicMan bridge to evoke the round Jazzmaster tailpiece, and likewise cream Strat knobs. I think it is a vast improvement over the Jaguar it started out as. The Cowbell inherited some of the Jaguar electronics.
More: Jazzmaster Bass 1 ...


