September 14, 2020
Headless Bridge Re-dux
September 14, 2020
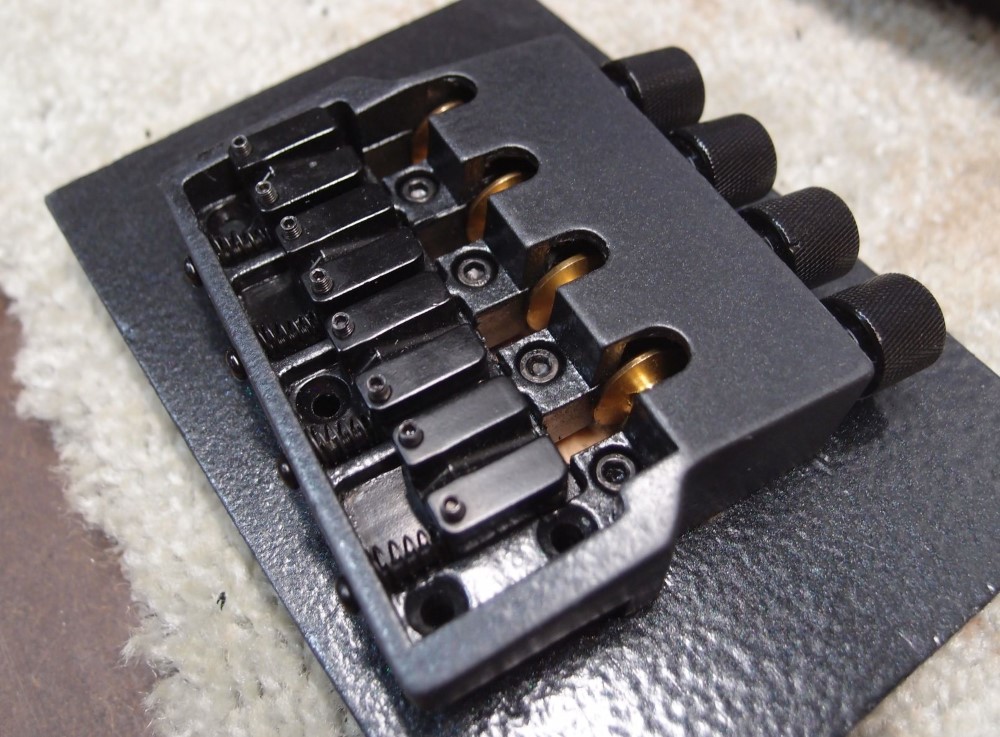
The new paint is dry enough to handle, so I re-assembled the headless bridge. It is sitting on top of the piece of scrap wood that I screwed it to while I was painting it. That gives you a good idea of what the hammered paint looks like if you lay it on thick enough. The bridge is smoother because I sanded between coats. I also rubbed some of the shine off it. By the time I get back around to this, the paint will be rock-hard. I had to do some careful scraping to get the saddles to fit back into the tracks.

The part originally had a thin black powder-coat that was surprisingly fragile. You can still see it on all the hardware. Not anodized or black chrome, just paint. I'd expect better for sixty bucks. However, the hardware itself is not bad - real steel and brass where you need it. The zinc alloy ( pot metal ) body is adequate.
This chunky thing weighs 1.3 pounds. Compare that to a Fender bridge which weighs practically nothing. Take the headstock and tuners off the end of the neck and add this counterweight to the butt, and you should have an instrument that balances very well.