Doing Things Wrong

Photo Studio

Well, it's that time of year again, time to renew the web hosting. And for those of you that don't know, that has become a lot more expensive than it used to be. Fifty dollars a year is now several hundred. Not to mention the price of domain names has gone up ten-fold.

And I just found out that the nice folks at PayPal disabled all my Support buttons, and I never got a notice (although that may be my fault.) In any case, it is all working again now, so if you would like to make a small donation to help defray these costs, it would be greatly appreciated.

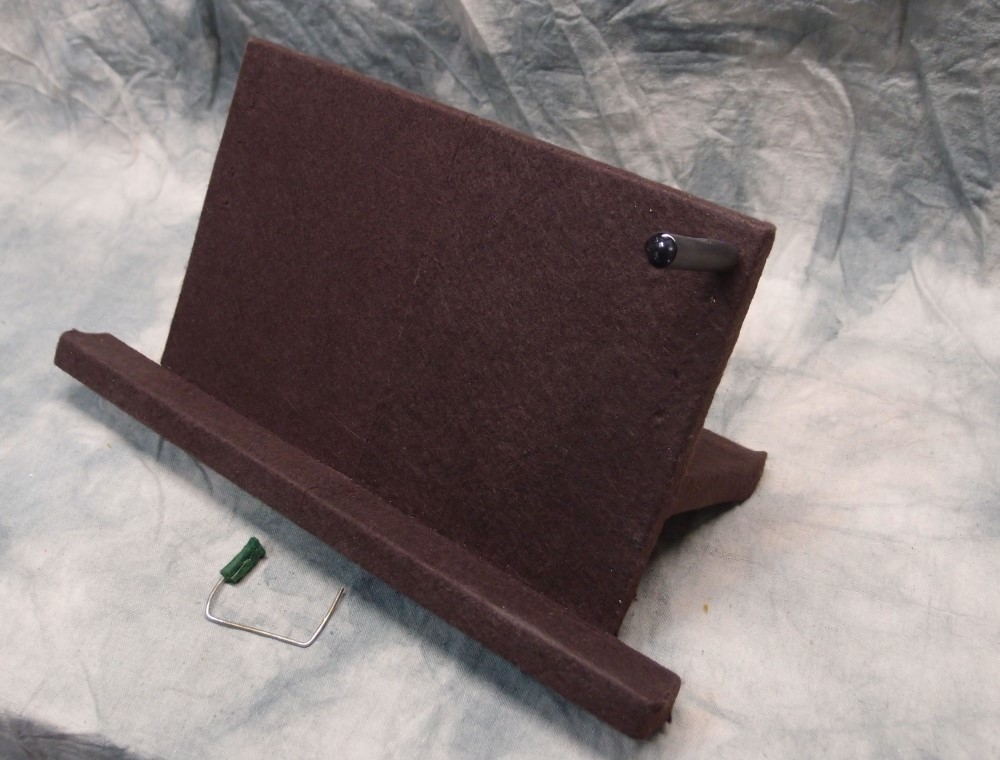
This is a stand you see in a lot of the photos. I cobbled it together from scrap and a dollar's-worth of self-adhesive felt. The neck support is just a padded bolt that adjusts up and down on either side. The stand fits everything from the most bloated Jazz bass body to my smallest Audiovox. It is not a secure stand by any means, just a temporary support for photography. The angle avoids most reflections.

The stand rests on a backdrop I made by tie-dying a drop cloth. At the top, I sewed a pocket for an old shower curtain rod. I never ironed out the wrinkles, I like them. This is all set up on the workbench, with the bright work light above and a couple of extra lights pointed at the ceiling to reduce shadows.
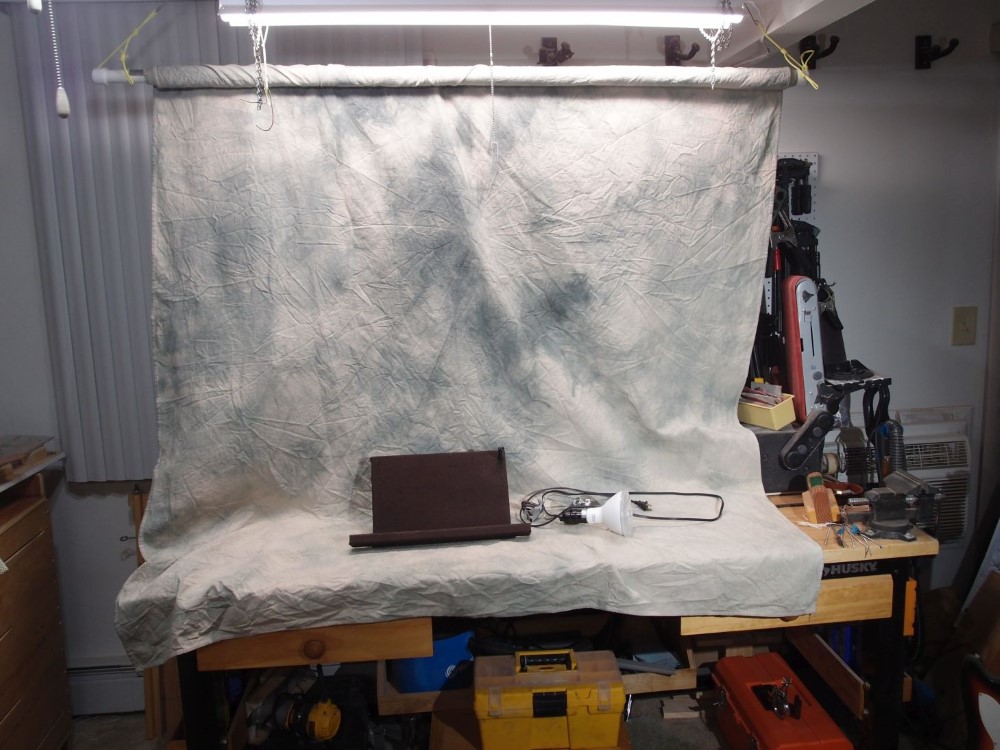
Here is the entire photo 'studio'. The workbench already has a bright overhead light. Next to the stand is a five-dollar photo light - a clamp-on with a daylight LED flood bulb. I have two - the other is illuminating the scene. With the overhead light and two strategically-placed floods, all 'daylight', I have nice even white lighting with no shadows or glare. I generally turn off the rest of the room lights, which can reflect in shiny surfaces.

Comments on Photo Studio

Questions or Inquiries?

Just want to say Hello? Sign the .

Submit a Comment

Your email address will not be published. Required fields are marked *


Click image to replace if unable to read.

Enter the digits from the image above, except for the last one:

This site uses Akismet to reduce spam. Learn how your comment data is processed.


image

This is the angled headstock jig I built from pine scrap, with an already-cut piece of 5" Home Depot maple headstock material attached with clamps. Basically, this jig is a 90-degree square brace, as precise as I could build it. It is square in all three dimensions, the most important being the vertical direction. The final stage of construction of the jig was to smooth all the surfaces on the sander, true up the saw, and then true-up the jig face by shaving it with the saw. You can see that the angle of the headstock is easily selected on the saw. The accuracy of this angle is not critical, as long as you are in the ballpark, anything will work.

Printed from luthierylabs.com