Guitar Racks (1/2)
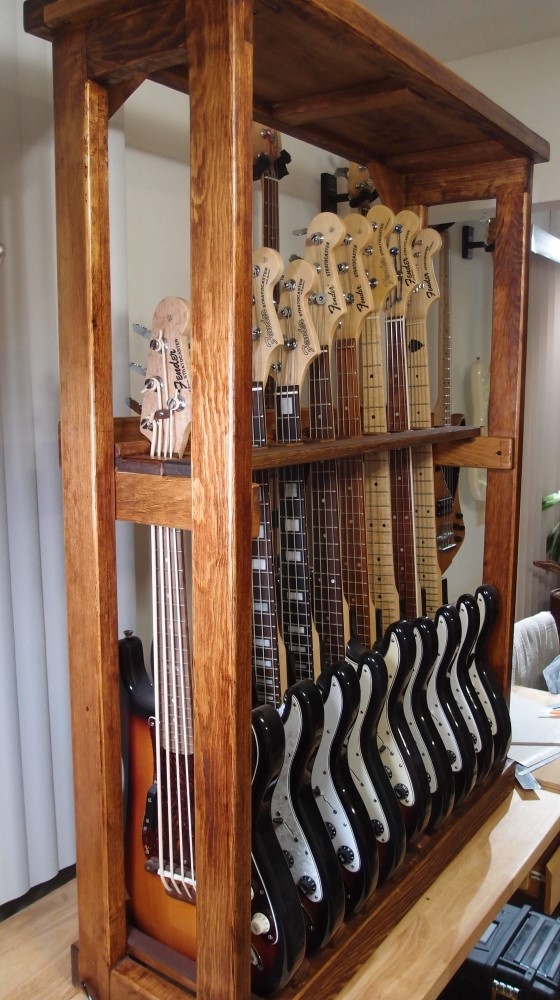
Build enough guitars, and eventually, you run out of places to keep them. So I took a different direction and built some racks.
All of these are built from dimensional lumber, mostly yellow pine; Radiata would do as well, but I would avoid white pine - it is too soft for furniture use and would mar badly over time.
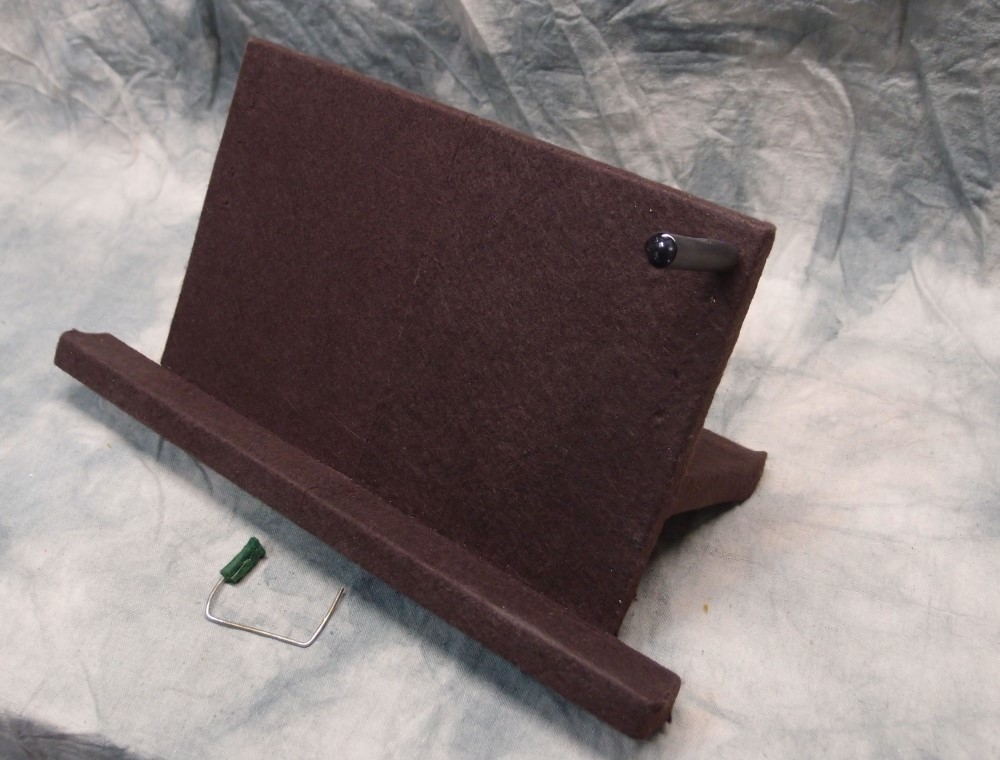
This rack is designed to fit in with my standardized shelving units, which can be stacked and arranged like Lego blocks. It is built mainly from 1x3s, with some wider boards for the top shelf and the "comb" that holds the guitar necks. Each guitar is held snugly so that it cannot touch its neighbors, and there is a bar across the necks to keep them from pivoting out. All the bearing surfaces are lined with self-adhesive felt, which is safe for all finishes, even lacquer.
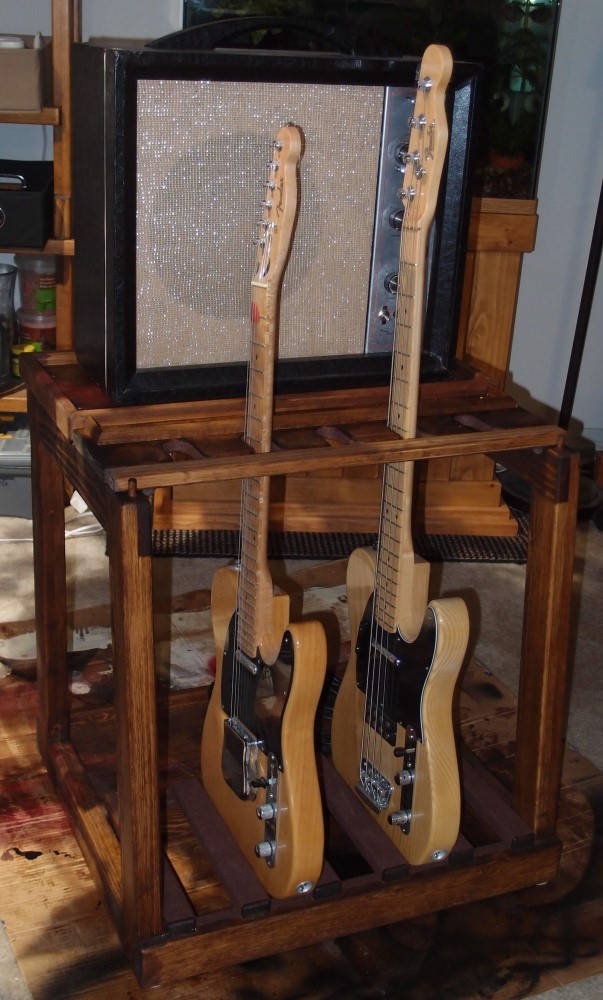
This is a smaller version that holds a few guitars and an amp, with some storage under the amp. You can also see the small storage bin behind the necks - perfect for picks, etc. This is featured on all the racks.
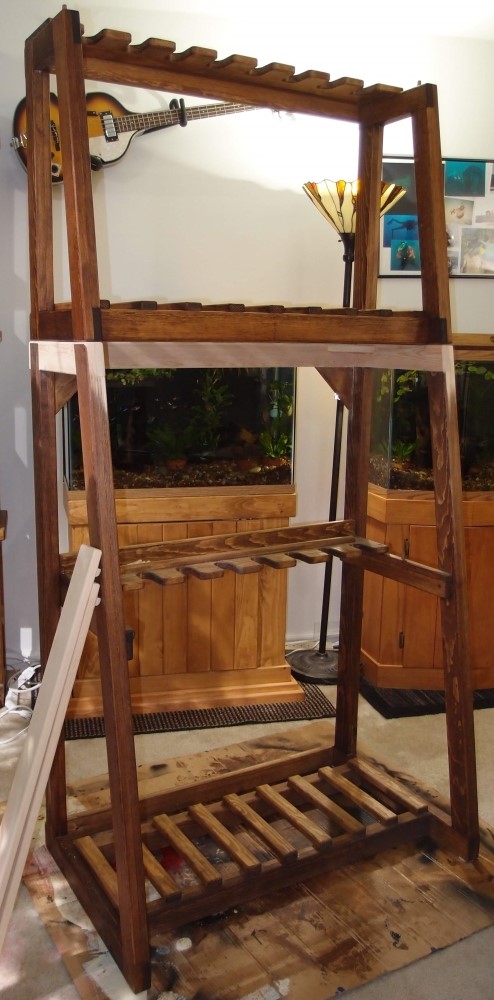
This is a double-decker rack. Originally build as one unit, but that was too bulky, so I cut it in two - you can see the new unfinished wood where I re-framed it.
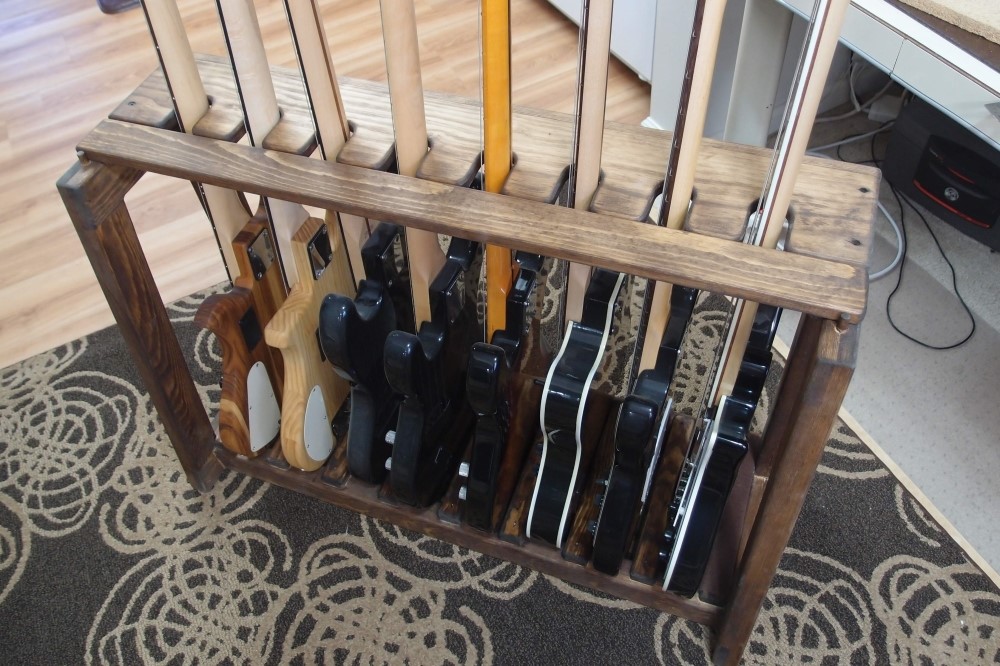
This is just the unfinished top section of the double-decker. The bottom section stinks too much of stain to bring it inside yet. The two parts fit together perfectly because I built them as one and sawed them apart. Dowels keep the upper section securely in place atop the bottom, or as you can see, it makes a nice floor rack all by itself.
I'm still working out some details, so I loaded it up with all different sizes and shapes. From left to right (all basses): the Osprey, the Factor, Geddy (MIJ), OLP Stingray, SX Precision, hollow-body Jazzmaster, a Stratocaster, and a 325. Except for the Geddy, I either built or significantly modified all of these.
To finish the rack, it still needs felt applied to all the bearing surfaces and few coats of Danish oil. The Danish oil doesn't smell too bad, I can put up with it in the house for a day or two. The finish of the wood is 80-grit sanding scratches, along the grain, applied with a belt sander as much as possible. In the process, I also smoothed all the glue joints. The scratched/oiled finish comes out better than you'd think, wears very well, and is easy to repair. I hate furniture that you can't use. All the edges are 1/4" roundover, applied with a file where the router wouldn't reach. Right now the fresh stain job looks pretty harsh, but after oiling and aging for a year, it mellows into a much lighter and more even color.
I found that the self-adhesive felt is less than half the price at Hobby Lobby than on eBay. This rack is built from mainly inexpensive #2 1x3 lumber, with some 1x2, and a piece of expensive #1 1x6 for the 'comb' at the top, all yellow pine. Radiata pine from Home Depot would do just as well, in fact, there is a piece or two mixed in there. It stained exactly the same as the yellow pine; that is always a worry when mixing woods. Either of these woods is far superior to white pine, which is much too soft for furniture use and also stains noticeably different.
This construction is surprisingly light and strong, owing to the large glued lap joints and judicious use of long drywall screws to secure the load bars to the sides. This piece has no flex whatsoever. The much taller bottom section flexes somewhat but is more than sturdy enough. With the two sections dowelled together, and the lock bar in place across the necks, nothing short of the building collapsing is going to disturb these guitars.
Oh, and the most important thing: the construction absolutely prevents the guitars from touching each other. You could turn the rack on its side, and the guitars could not touch each other. As well, the bars at the bottom make it easy to rotate and slide the guitars in and out without scratching their neighbors. I searched on the internet, and there is nothing on the market like this at any price. Almost all of the racks I found pretty much guaranteed your guitars were going to damage each other. I can post more details if anyone is interested.
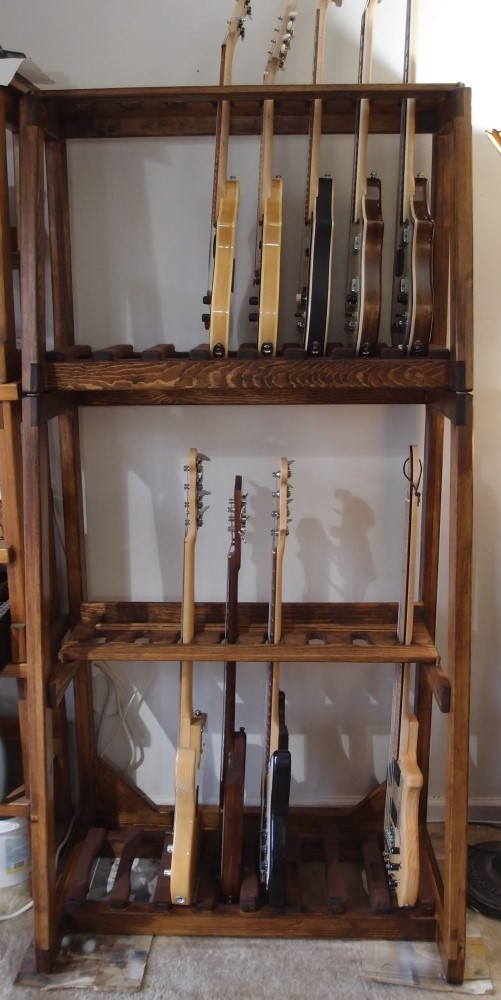
I finally finished this thing. Here are the two sections stacked. Each one is easily portable by one person, yet they are surprisingly strong and stiff. The upper section is fixed to the lower with dowels, and both sections have lock bars across the necks to keep the contents from falling out. The base is deep and wide, and although the stack is taller than I am, it is completely stable, even on carpet.
This is the second of this design that I have built, with some improvements that I will incorporate into the original one. The upper rack has been specialized to hold my small-bodied Audiovoxen. The lower rack has provision for two large acoustics, each one trading off for two electrics. The lower rack will hold a standard-sized bass with room to spare. The upper rack depends on your ceiling height; with an eight-foot ceiling, it will hold up to a short-scale bass.
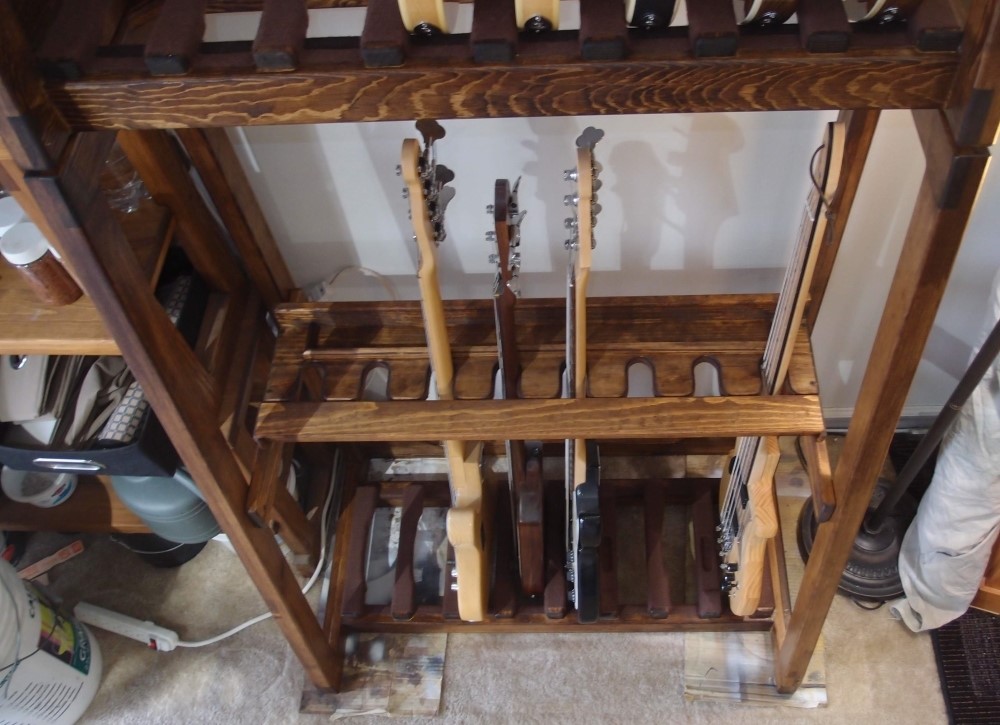
Here's a shot of the lower section. You can see how the spacer bars at the bottom are cut out on one side to make clearance for top-mounted hardware. All the bearing surfaces are covered in self-adhesive felt. I have been using this stuff for several years now, and have found it to be completely un-reactive with any finish, even the most troublesome nitro. In addition, the pine of the framing is softer than most finished guitar woods, so any accidental bump is more likely to ding the rack than the guitar. Compare that to a tubular metal rack with finish-eating foam padding and no spacers.
I did some numbers on this project, and there are about 100 pieces of wood, about 150 linear feet, and over sixty pieces of cut felt. That makes about 300 feet each of belt-sanded surfaces and round-overs. Building one of these is no small undertaking, but it is worth doing because there is simply nothing on the market that is even remotely as good. In fact, I cannot find anything on the market that I would rate even acceptable, at any price. The only safer place you could keep a guitar is in a hardshell case.


Questions or Inquiries?
Just want to say Hello? Sign the .