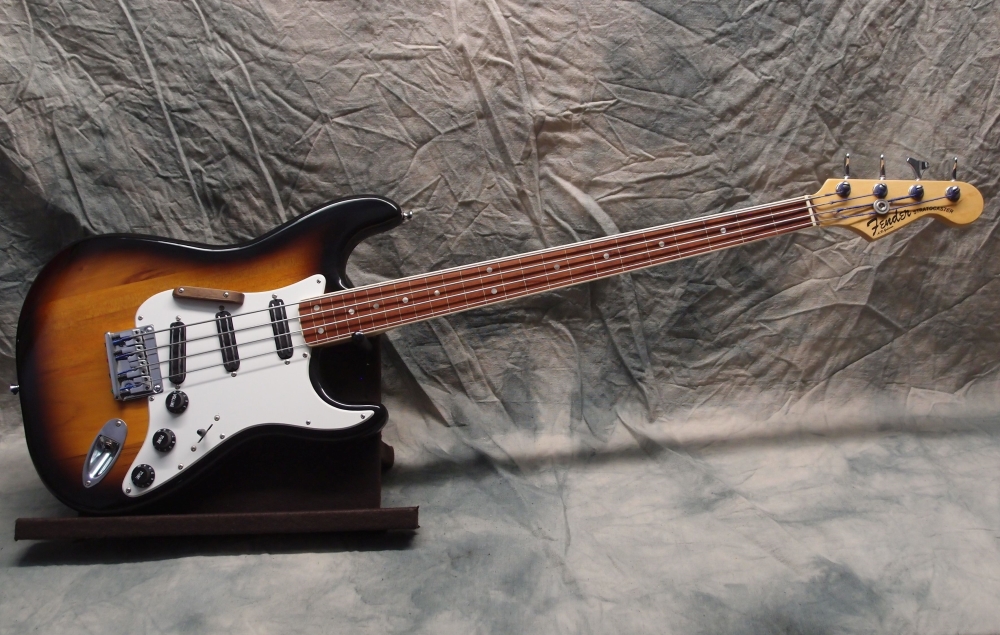
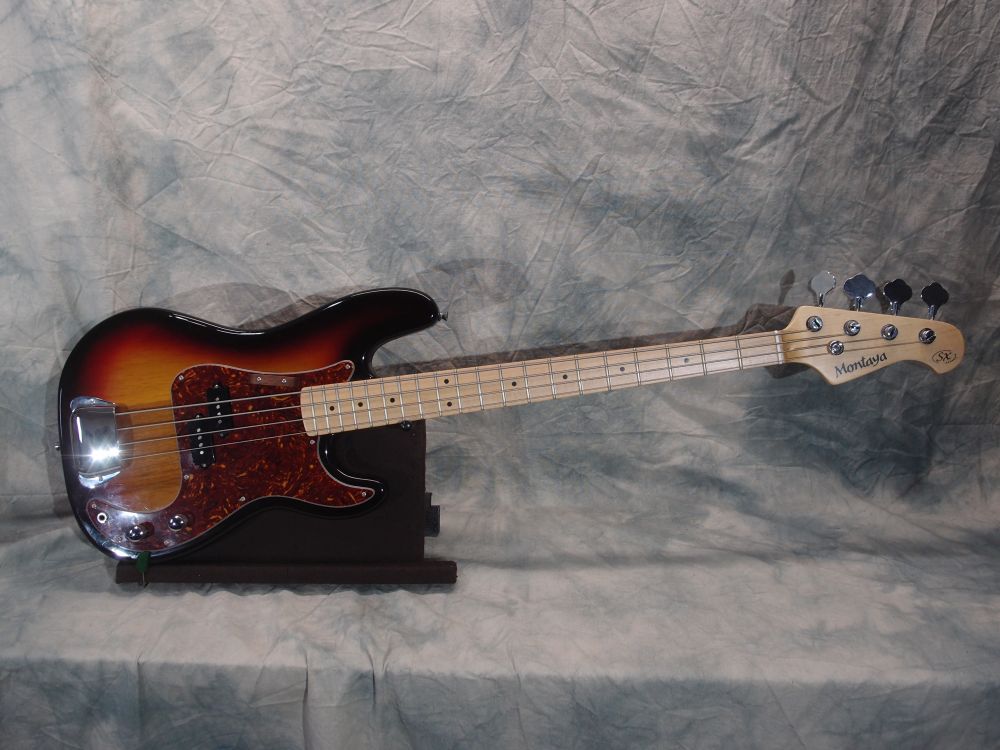
Stratocaster Bass 1 (2/3)
This was one of my earliest builds, and I never took any pictures. It is also one of the more interesting Strat builds, and deserves some details.
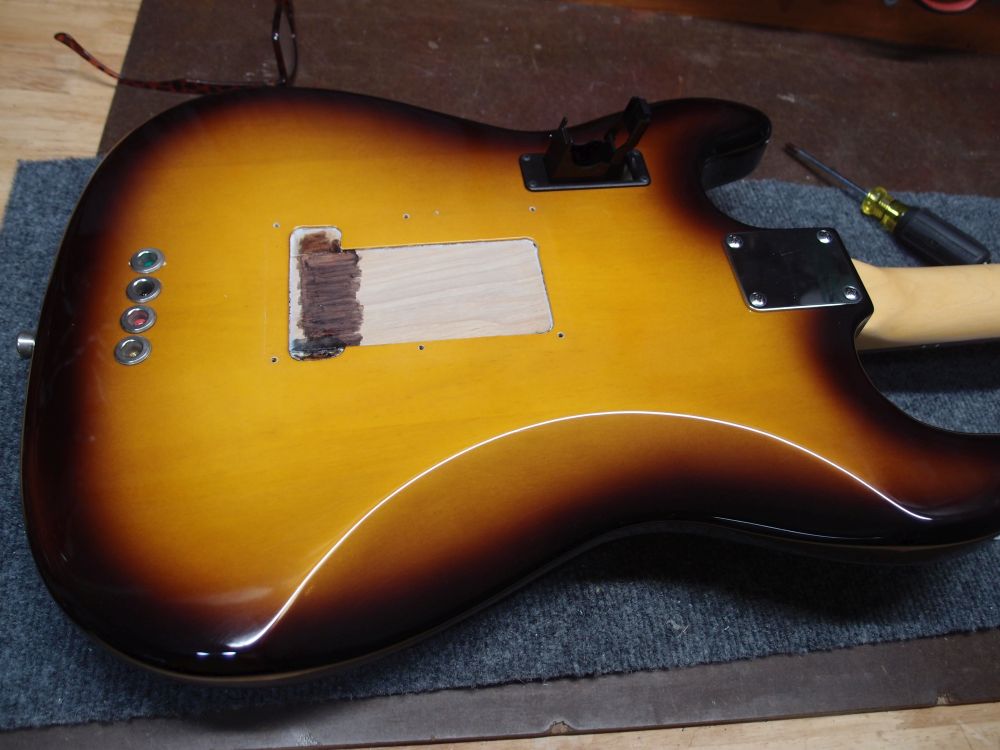
On the back, you can see that I filled in the spring cavity and tremolo hole with plywood blocks. This is to take the pickup mounting screws from the other side, and I'm not sure where those screws are going to end up. I don't exactly remember, but the best way to make custom-fit parts like this is on the belt sander. Everything is installed with wood glue after stripping the finish out of the body interior.
You can also see the ferrules for the through-body bridge. That is just a needless complication, I try to avoid it, but this bridge requires it. The battery box is a nice Gotoh, located in a place where there is plenty of wood and an easy drill through to the control cavity.
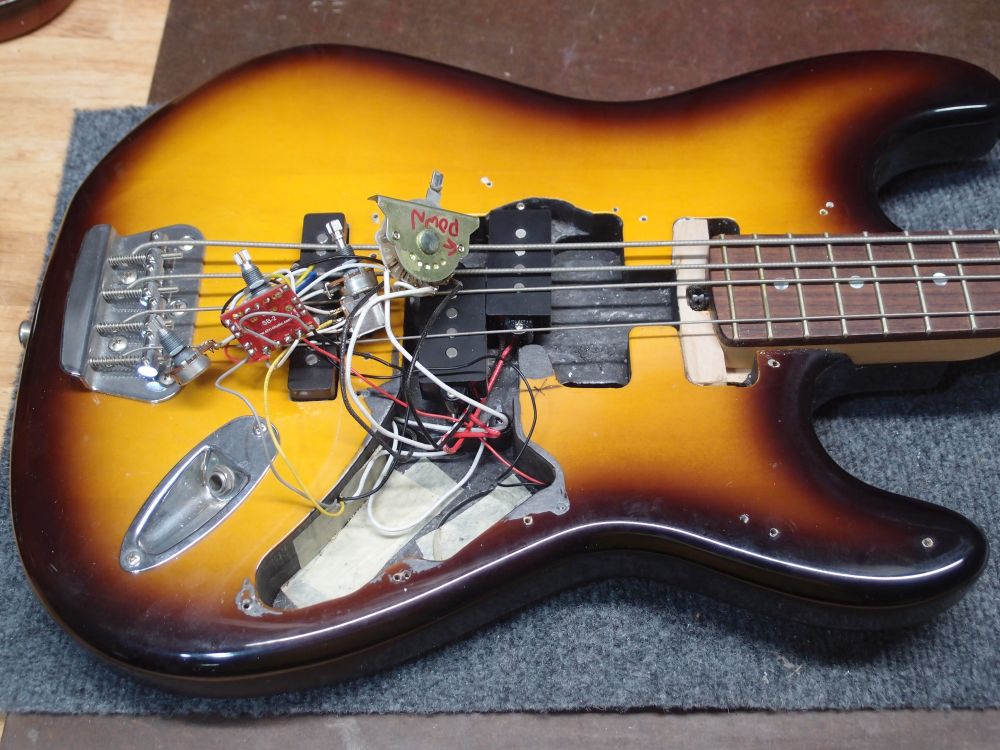
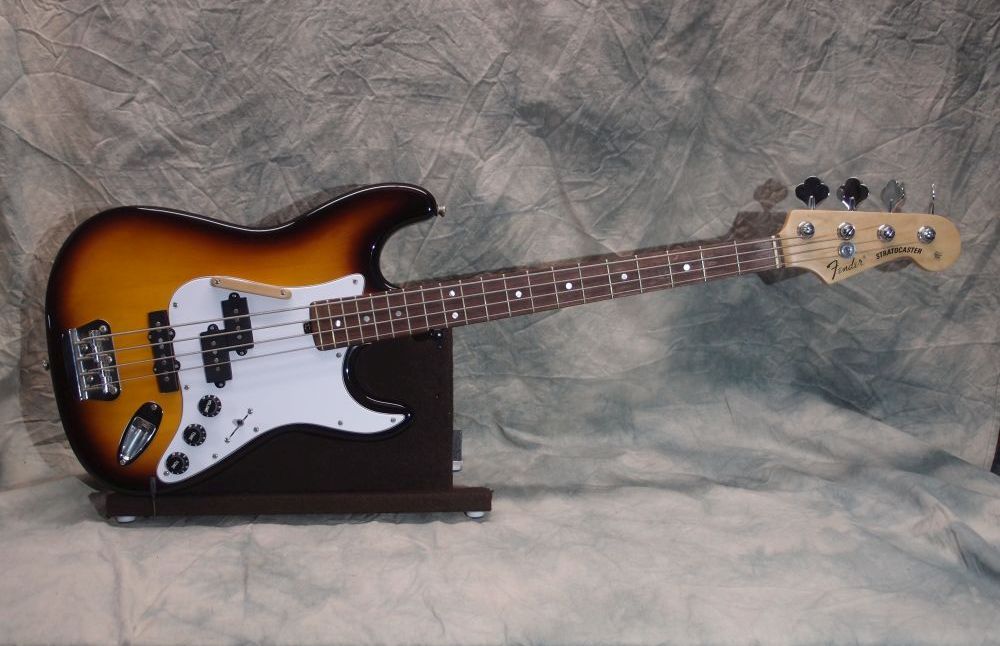
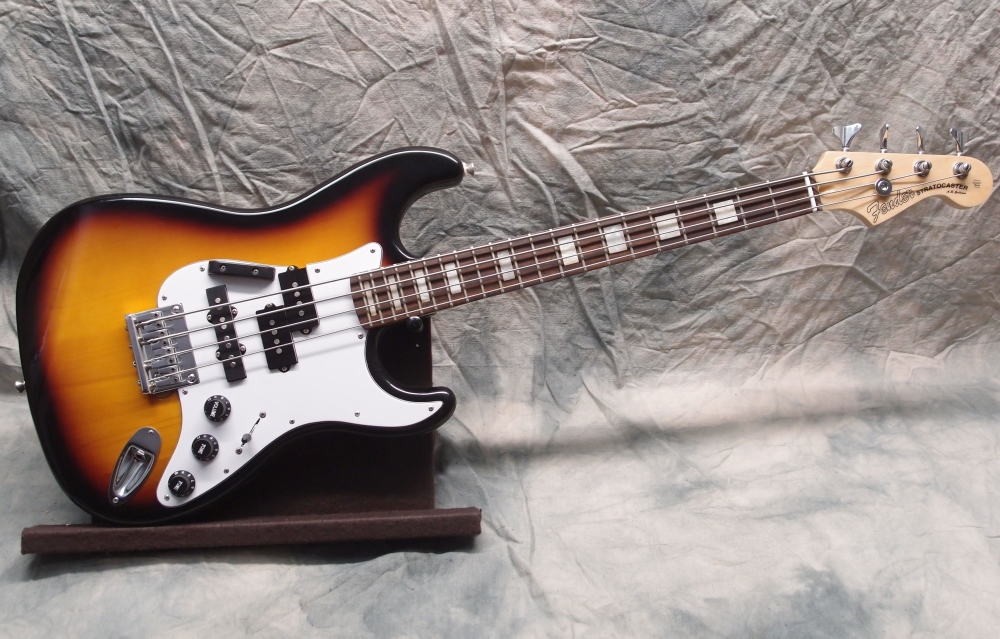
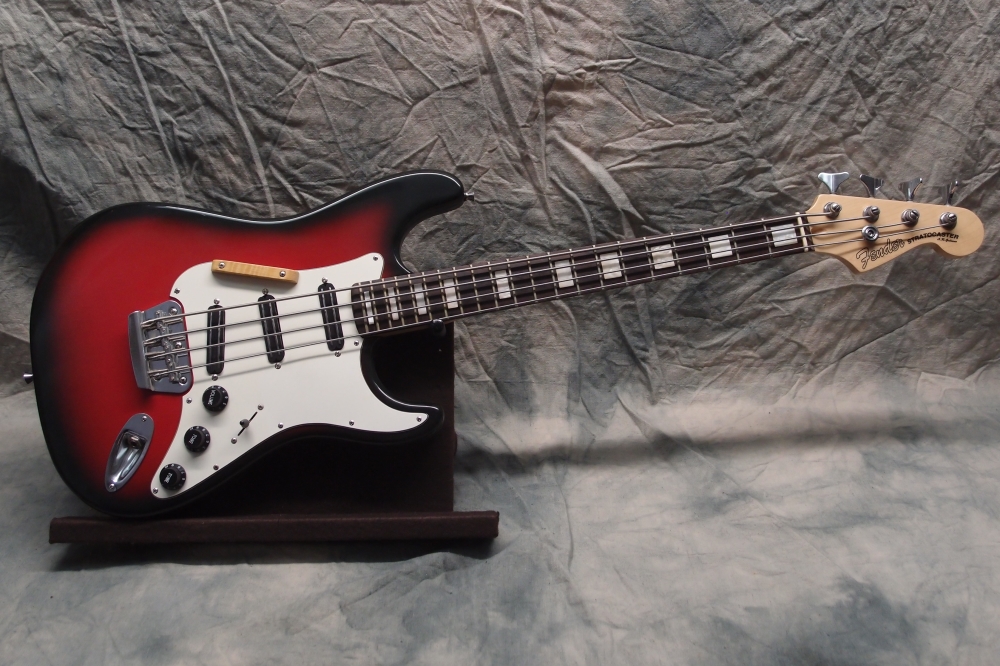
On the front, you can see where I routed away the heel of the neck pocket, extending it into the first pickup cavity, Then I installed a new heel block for the neck to bear against. Over by the bridge, I enlarged the tremolo hole into a Jazz pickup mount, with a new plywood floor as described above. The Precision pickup required a bit of routing, which is all hidden by the pickguard. The outer screws landed in solid wood, but the inner ones would have been in a 1/8" thick wafer of alder and torn right out if I had not reinforced it first. A custom pickguard covers the six unused tremolo mounting holes.
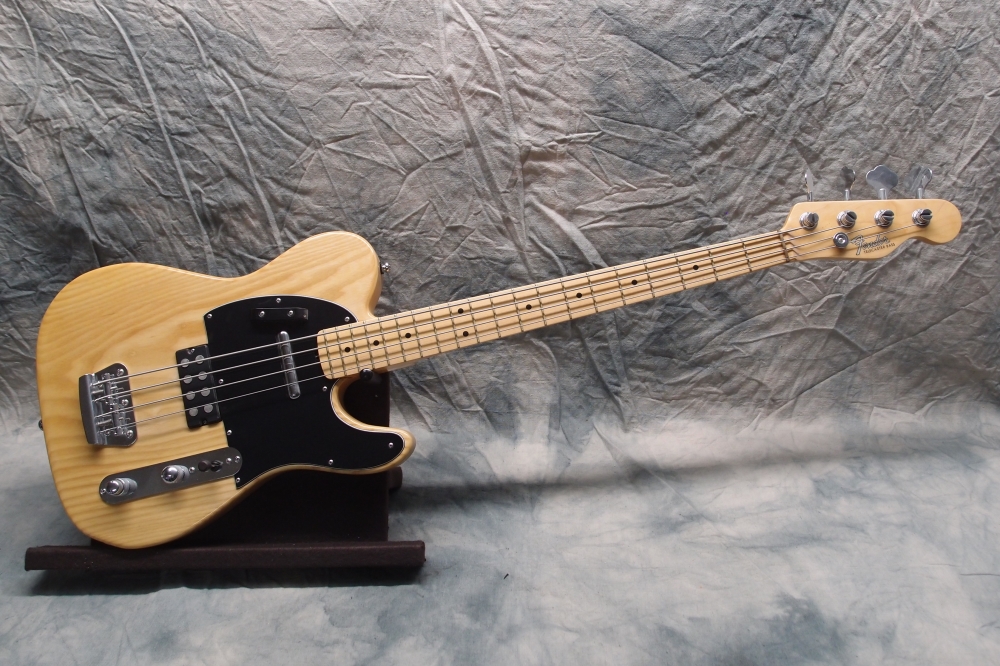
The pickup locations are mathematically the same as on a P/J bass, scaled down to 30". In fact, the 30" scale, 20 fret neck, and location of the J-pickup in the tremolo hole dictated the entire design. The (scaled) distance from the pickup to the nut located the neck, and the bridge and P-pickup fell into place last. None of it was simply "eyeballed", it is all precisely calculated, and luckily fit onto a Strat body. That expansive Strat pickguard covers a multitude of sins and makes the Strat one of the easiest guitars to modify. The Telecaster is a completely different story.
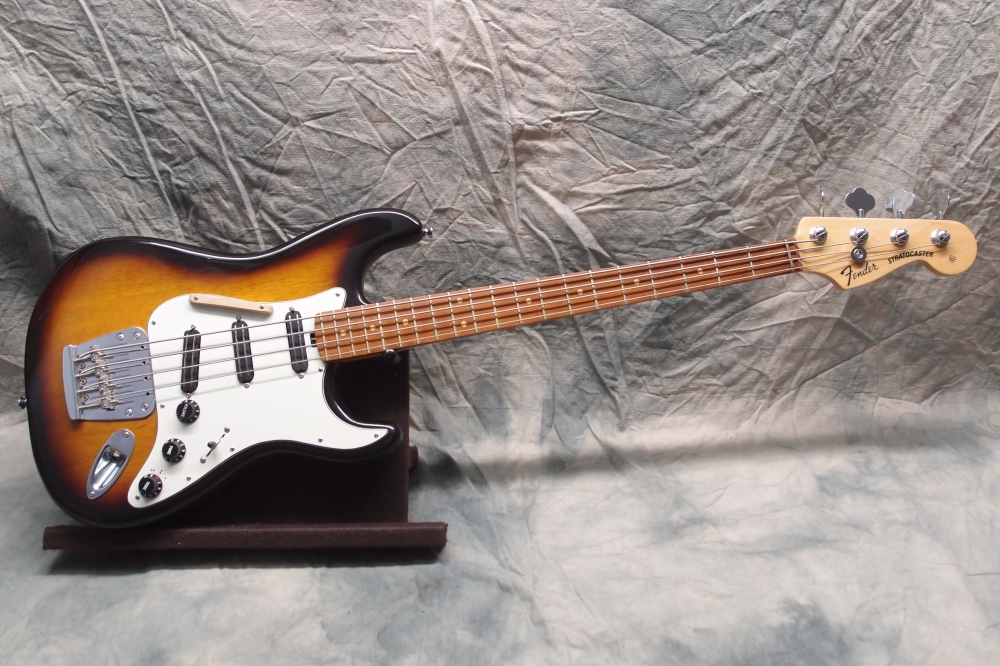
That four-saddle bridge is a Fender "Musicmaster" if I recall correctly. I've never seen them for sale since I got the one on eBay; I wish I'd gotten several. It has the narrower string spacing needed for a guitar-sized neck. On the other hand, string-through-body is a needless complication that I can do without. A two-saddle Bronco bridge intonates well-enough, and is much less bother; I've used quite a few of them. The active controls are SBK-2, along with a series/parallel switch. I don't recall anything about the pickups, they are generic and sound fine.
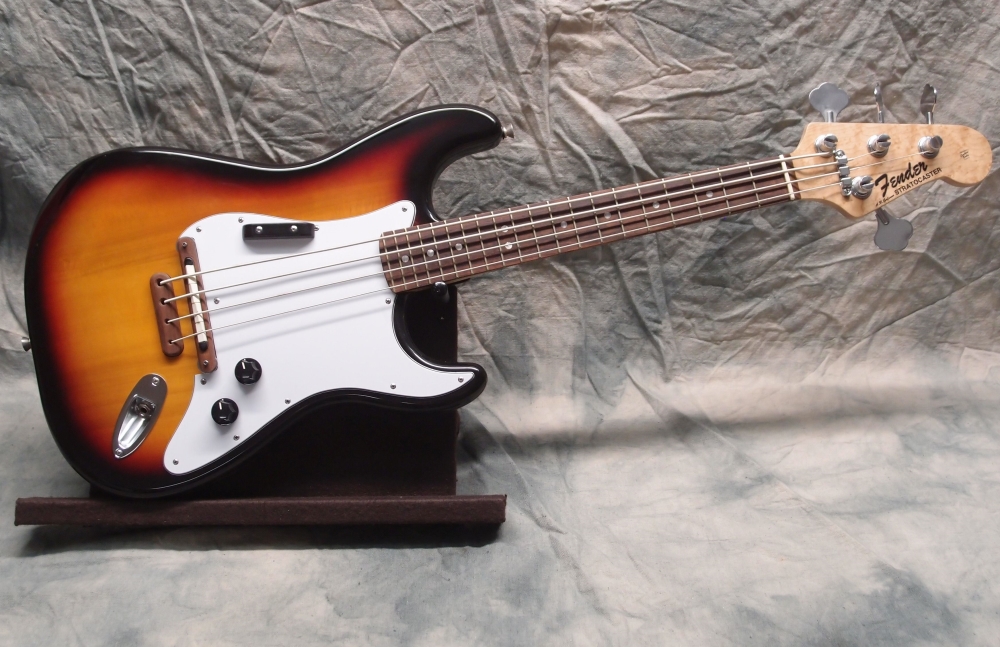
The headstock decals were purchased online, and are printed with beautiful metallic gold ink on waterslide material. I think on this early job I used lacquer over these decals, but later I switched to poly, which is much better. These bought decals were rather expensive, and eventually I learned to laser-print my own custom decals much cheaper. Take a look at the "Stingray" bass, ha ha. ( If this finish was poly, it would have 'ambered' somewhat by now. Instead, I can see the outlines of the decals pulling through the ever-thinning lacquer that was once flush and smooth. I could shoot some more lacquer on, but what's the point - lacquer will always do this. )
This conversion turned out very nice, with reach and balance like a guitar. The final product looks like it left the factory that way, with all the modifications hidden under the pickguard. The highest frets are a bit buried in the body. If you build a 24-fret neck, you can bolt it right on to a guitar body and not have to relocate the bridge, which is how I did all the other Strat basses. I think that's a better way to build a Strat bass - it's easier, and you get more frets. But if you want to get clever, and don't mind a lot of custom fabrication, this is the most compact conversion you can do.


