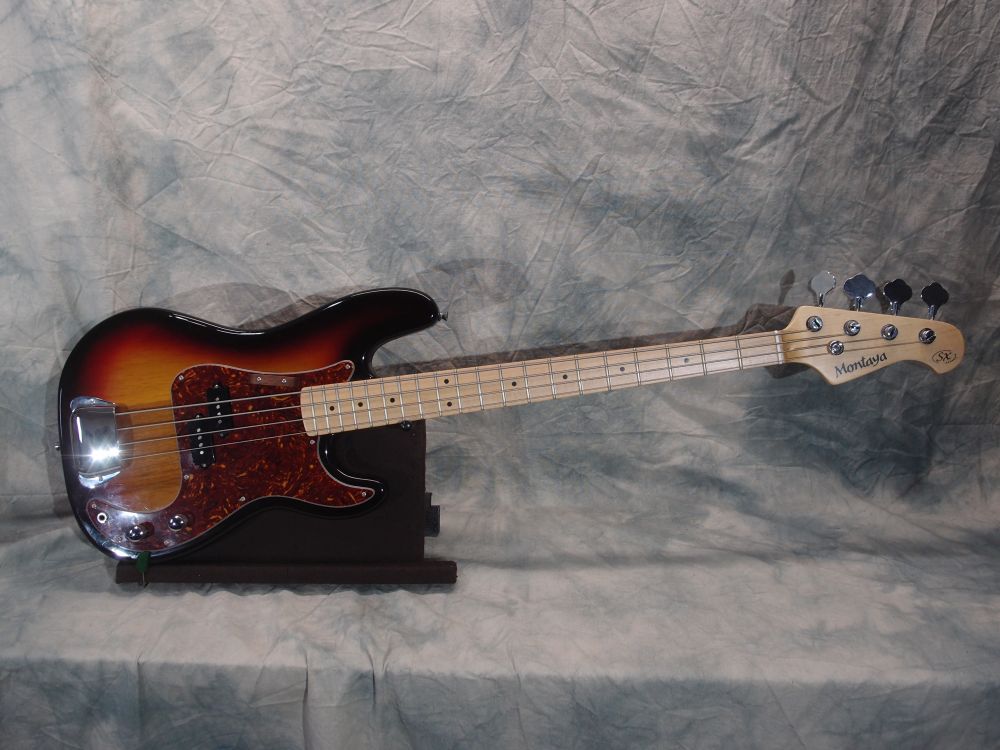
Jazzmaster Bass 3 (4/5)
Starting the Clear Coat
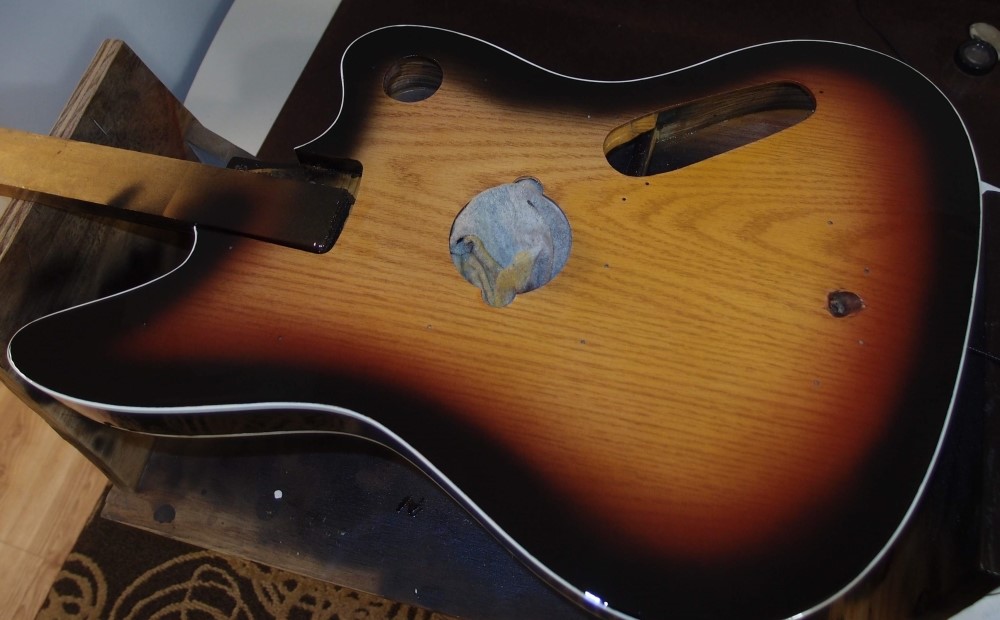
This is a super-thick layer of Polyurethane, applied first with a sprayer, then with a brush. Long story, experimenting with different techniques, making mistakes, and fixing them. Now letting the wet poly flow-out on its own, then flip it over and do the other side. The painting stand is invaluable.
I'll scuff this up and do it again at least once more before I go for final smoothing and a shiny skin coat. I don't mind putting some extra coats on, I like the look of a really deep clear coat, and I'd rather get it in a couple of thick coats than be spraying on super thin coats forever the way you are supposed to do it. The sides are a drippy mess too, they will get the same treatment. This poly adds a nice amber cast to the overall color as well.
I have a really cheap Chinese violin bass with a gorgeous finish so deep I think they dipped it. Close inspection ( very close, it is a very clean finish ) reveals drip marks that weren't completely removed. They must have laid it on heavy. I am not a believer in thin finishes, and I have come to despise lacquer. Just because they did it that way in the 1950s because that's all they had and they were cheapskates to boot does not make it better. How would you rather have your car painted - with 1950's technology, or modern paints and methods? There is nothing magical about an electric guitar that demands that it be finished in corn syrup.
The burst finally looks nice under the clear. It will look even better with the black and white hardware installed. You can really see where I sprayed the yellow and where I didn't. I ordered some more tints for the next time I do this - a redder red and a brighter yellow. The black comes right from the hardware store, I will have to try some of the other colors someday.
I'm not unhappy with this progress, although I have once again fouled things up somewhat. A careful camera angle makes it look better than it is. Actually, this initial clear coat was a disaster. I made a huge mistake in thinning the poly mix with mineral spirits. I have since determined that it needs no thinning at all to spray through the vFan, and if I ever do need to thin anything, I will use acetone, because it flashes off fast and therefore has less likelihood of running. Also, I found that the vFan, while a bit small for a job this size, gives an almost perfect finish, whereas the touch-up sprayer leaves much to be desired, and I will never use it again on a guitar.
So now after two weeks of re-coating and sanding, I finally have a smooth surface for the final finish. I layered it up with a brush to get it thick enough to protect the color coats when I went for the final smoothing. That was done in part with a scraper, then block sanding 320 and 1000. On the plus side, the result of this is that the poly on the front and back is about a millimeter thick. That will look great when I shine it up. While I was at it, I also re-shot the black band on the back, because I hadn't made it thick enough the first time and the red was peeking through under bright light. That came out so nice that I did the front too - really cleaned up the binding edge.
I'm in no hurry, and I'm not getting paid for this, so I don't mind - I chalk it all up to experience. I think I have now finally worked out how to do this - to get that glass-like finish in nice tough polyurethane. And also shooting the sunburst, I have much greater confidence now, knowing what tools and what techniques work best. And working with binding, with a non-clear finish. And the oil-based poly I used. That's a lot of new things for one project, but in the end, I think I will have overcome all my mistakes.
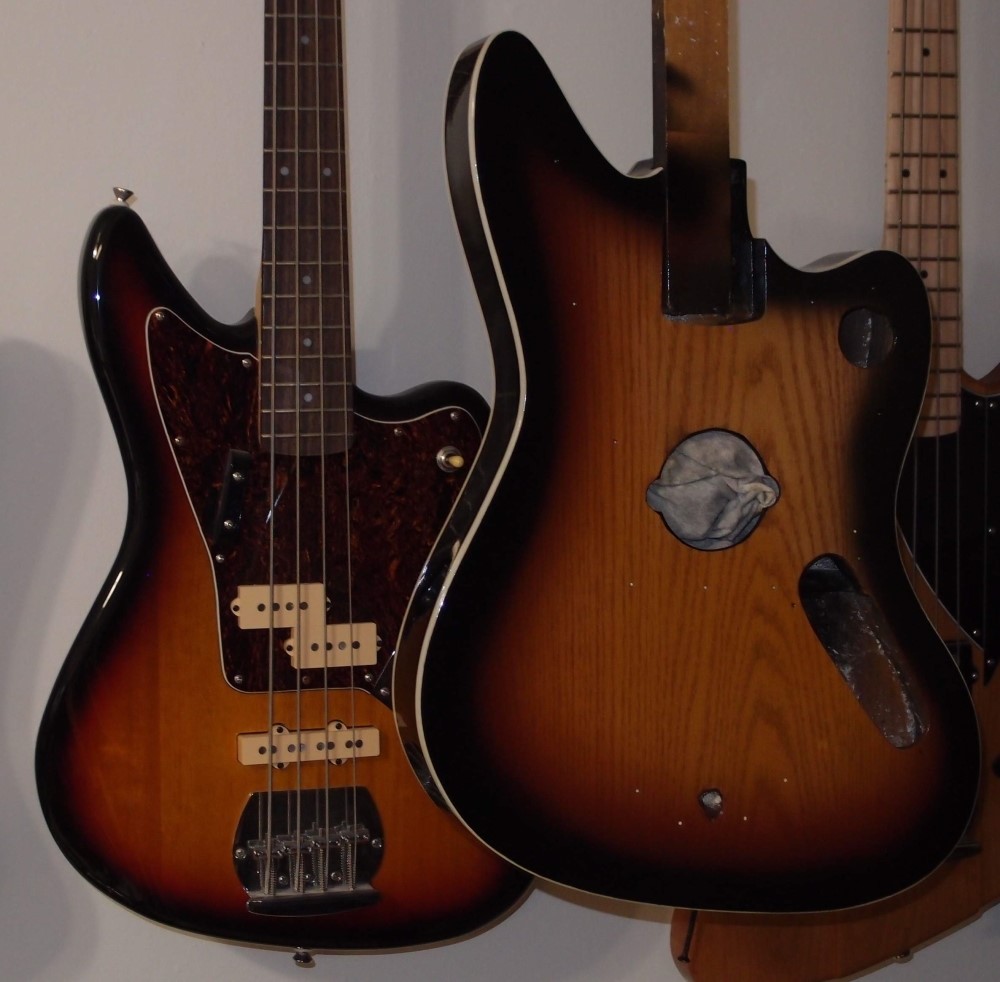
I re-shot the black band, which really cleaned up the binding. It was too thin on the back, and the red showed through, so I re-shot that, and it came out so nice I decided to do the front as well. Masking the binding and then cleaning up a little afterward is much easier than over-spraying it and having to scrape the whole thing. Now it has the first couple of coats of the final clear. I blackened the edges of the soundhole, so they will disappear under the pickguard. I will blacken the belly-button before I install the bridge, the big hole is needed for the piezo wires. The end is finally in sight.
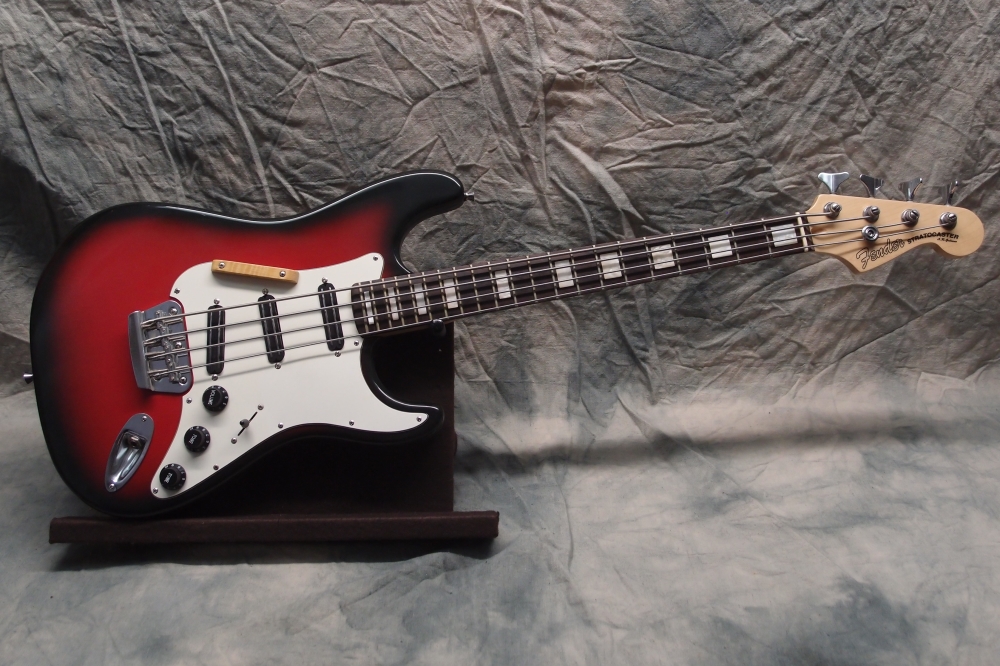
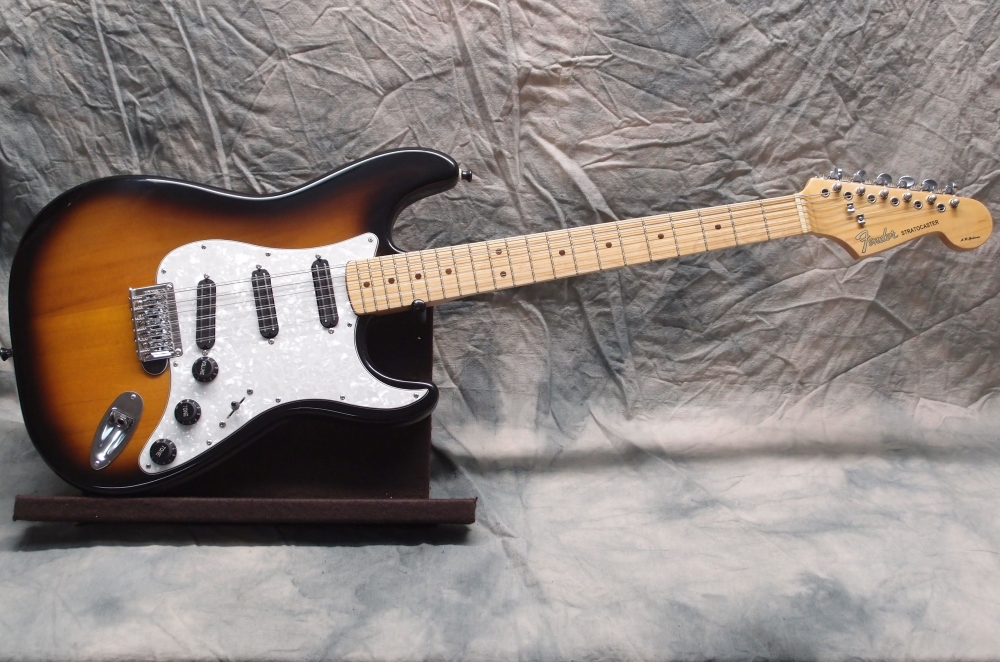
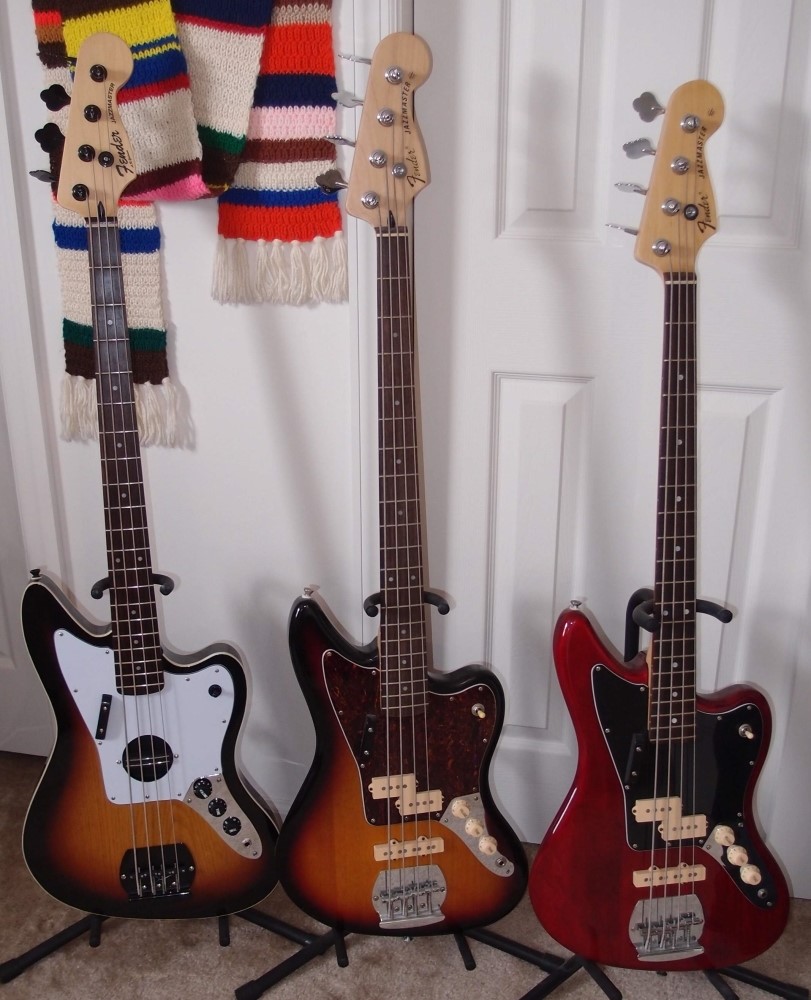
Notice the older brother in the background. It is a Squier Jaguar body and ( surprisingly good ) pickups, with a much better Mighty-Mite neck. I made the torty pickguard, and swapped out the pup covers for cream. A nice round MM bridge, cream Strat knobs, and a toggle switch, and it is no longer a Jaguar, it is a Jazzmaster. The electronics are also a huge upgrade from the crummy stock ones. This is the sort of thing Fender ought to be doing instead of their horrific 'Pawn Shop' line.
Into The Home Stretch
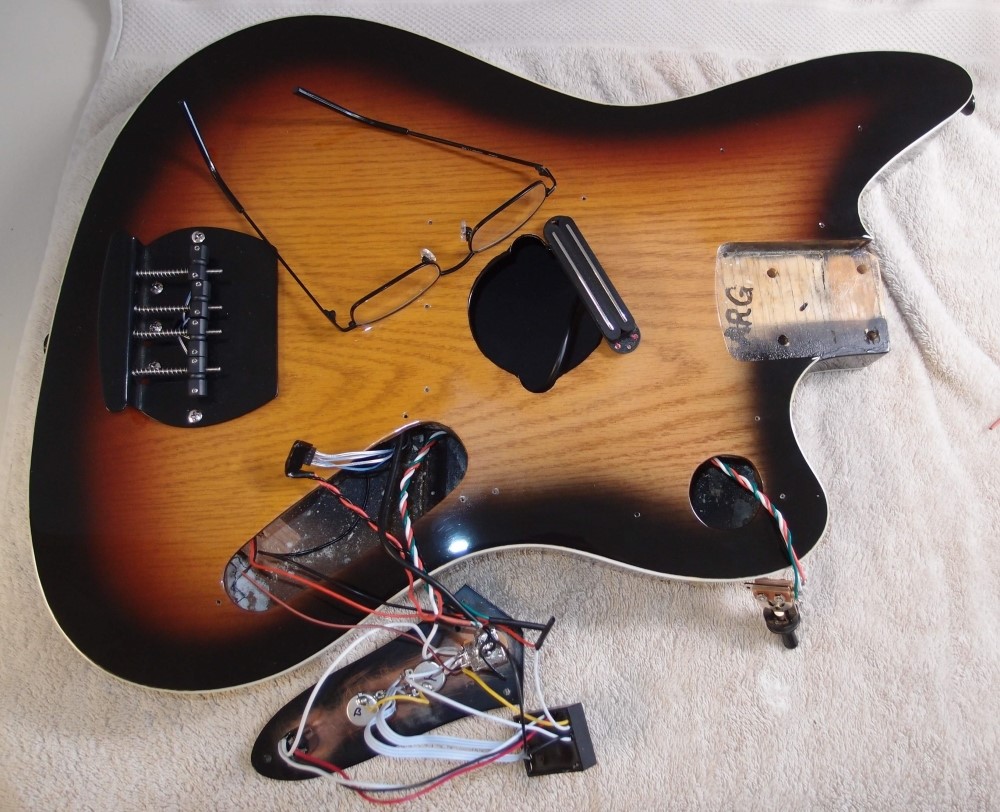
Got the body all polished up during the big snowstorm, and installed the electronics. You can see the GraphTech Ghost(R) saddles on the black bridge plate, with the leads going down through a big hole and plugging into a GraphTech collector thingy. I did not want to cut the connectors off the $100 piezos, instead, I hacked up the $4 collector and soldered leads onto it. The bridge ground uses the same hole. Both the switch and the mag pickup mount to the pickguard, with long leads going through the body, so all connections may be accessed from the control cavity. In other words, the switch is wired with extension leads, so that I should never have to disturb the pickguard to make wiring changes.
On the back, the battery box is in. The active electronics are Chinese cheapies, which I modified with a bypass switch on the volume control. Everything tests out good. What I don't know yet is the volume balance between the piezos and the mag pickup; one or the other may need a trim pot, but I will find that out later. Another reason why I wired it the way I did. I also cleaned out the interior where you can see inside through the soundhole. Before installing any hardware, the body weighed a mere 4 pounds.
The bridge plate sets the overall color scheme - blacked-out hardware, and the GraphTech saddles fit in nicely. I had this black hardware lying around for a long time, finally, I get to use it up. The black is set off by all bright stainless fasteners. The sunburst and the binding are not perfect, but nothing you could see from a few feet away. The finish is pretty much mirror-smooth and you can clearly see your reflection in it. Considering how many 'firsts' this was for me, I'm pleased enough with it; certainly nothing I'm ashamed of.
I fooled around with some detail variations and finally settled on a chrome control plate with black knobs. The black control plate blended with the body colors and made the pickguard look strangely abbreviated. This is not the first time I have rejected that part, I guess it is going to be in the junk box forever.
So then I finally got to try it. First, that cr@ppy six-dollar guitar pickup sounds great, as I knew it would. Deep and punchy, sitting there in the P-position. I didn't bother with any wiring tricks with it, it is just a simple series humbucker, the up position on the switch. The hollow body with soundhole is somewhat louder than a solid body, but by no means acoustic. The fact is, this body is just not big enough or deep enough to resonate bass frequencies in any useful way. The sound hole is more of a decoration, and it also makes a neat and easy way to mount the pickup. I saved the routing template for the hole, I can see using it on other projects.
The expensive piezo saddles are a big disappointment, so far. They sound awful in all the ways that piezos sound awful. I attribute this to a lack of a dedicated piezo buffer. Apparently, the active electronics do not have a high enough input impedance to suit these piezos. I was hoping it would work, based on my experience with the Stratbory. The under-saddle piezo in that one doesn't seem to care what you plug it into, several different circuits all worked fine. But these Graph Techs are different, they want their momma. So I ordered up an ultra-high impedance piezo buffer for them. It is my hope that will fix it.
Good thing it is a hollow body, there is going to be an awful lot of electronics stuffed in there. At the moment it is set up with some strings that I wanted to test, not my usual favorites, but that is not the problem, they sound fine through the mag pickup.
After some careful setting-up, the Mighty-Mite neck plays great, as every one I've ever used does. I used a tiny shim back, just 4 plies of duck tape (tan) to bring the bridge adjustment to the middle-top of its range. The height screws in the GraphTech saddles are extremely tight, several of them are already ruined just from breaking them loose. I asked GraphTech for a replacement set, as this just can't be right.
The strings are Darco nickel roundwounds 105-080-060-040 - a bit lighter than my usual D'Addarios, but they play and sound fine. They are actually the top four strings from a 5-string set; the low-B 125 went to one of the pico basses. Darcos are rather less expensive than D'Addarios, I was dubious, but so far I like them - a worthwhile experiment. The whole set cost $12, a single replacement for the broken E on the pico would have been $8, so I strung-up the Jazzmaster essentially for free. I have a second set for the other pico.
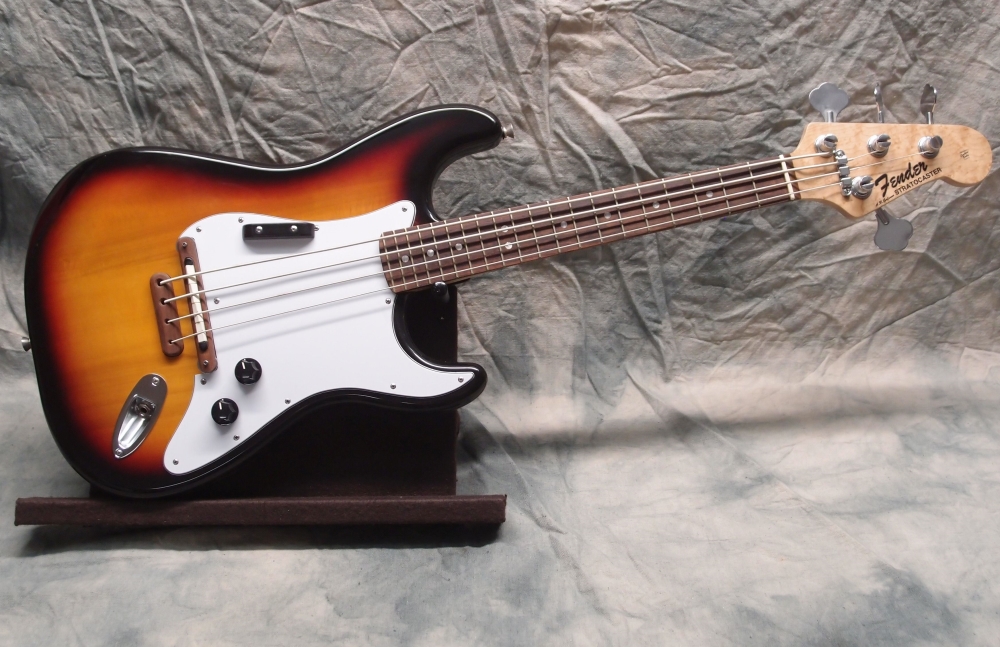
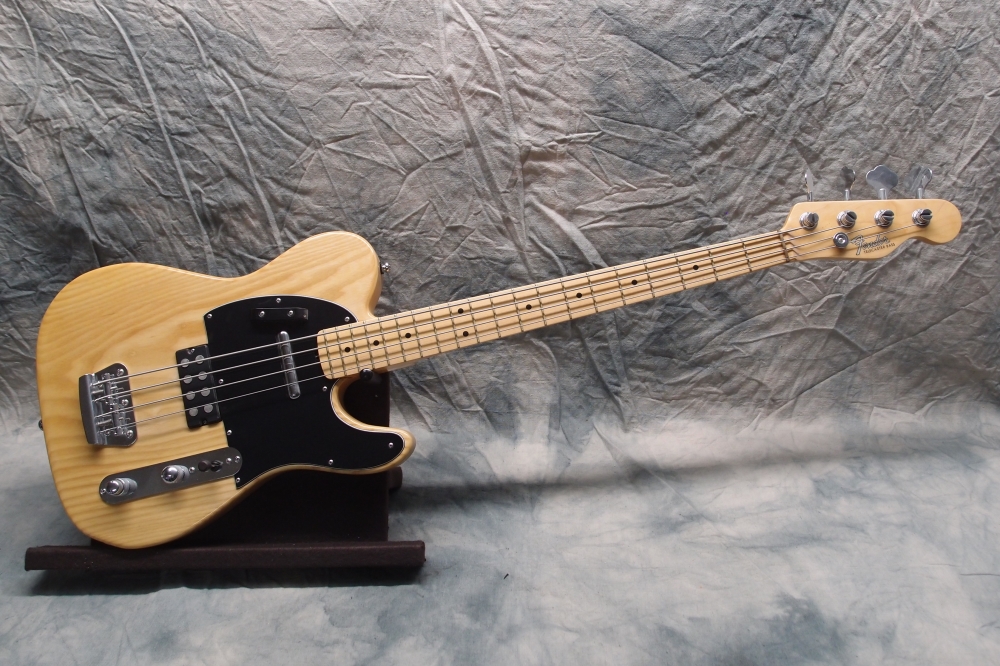
All-up weight is just under 8 pounds, a half-pound lighter than the solid-body. Pretty light for a full-sized bass. For comparison, the Strat basses all weigh in between 7 and 8 pounds, while the solid ash Tele bass feels like a back-breaker at 10.2 pounds.
I also started collecting parts to build my own piezo buffers. These circuits are ridiculously simple - a single transistor and a handful of caps and resistors on a perf board. The design I chose even has variable gain. I also got a dozen large piezo elements to play with, and some nice clip-less battery boxes. I will be able to properly 'piezo-fy' any guitar for about $10. That's less than a tenth of what this setup cost. It's incredible how you can crush the cost of building an electric guitar.
I only use clip-less battery boxes for two reasons. First, those 9-volt battery clips may be tolerable for a smoke detector, but if you plan to use it a lot, it is a pain in the ass, and then it breaks. And second, 9-volt batteries ( all batteries, really, but especially 9-volts ) are guaranteed to leak, and should never be left inside a device unless absolutely necessary. I only put a battery in a guitar ( or anything else ) when I want to use it, and then take it out afterwards and keep it in a little dish. That's much easier if it just slips in and out and you don't have to mess with one of those stupid clips. And if when it leaks, I just throw it away and wash out the dish.


