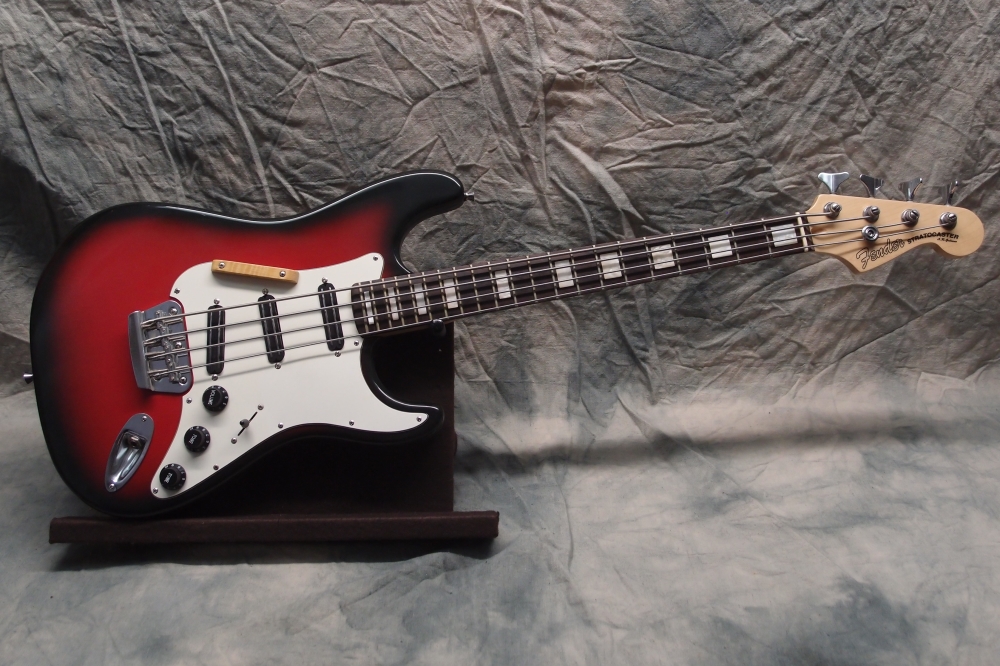
Jazzmaster Bass 3 (3/5)
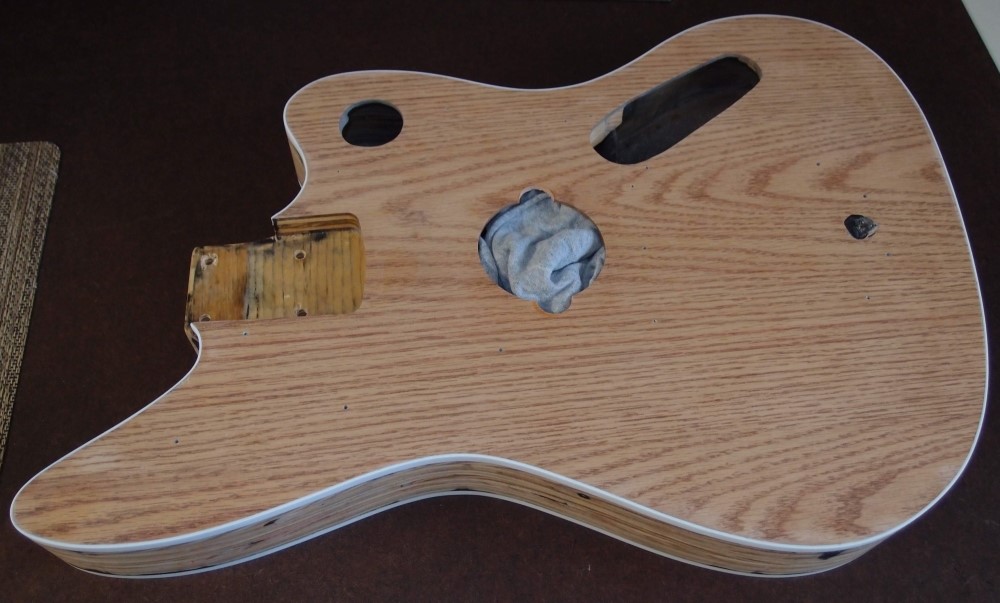
The binding is on and the final holes and notches are done. As you can see, my pre-finishing of the sides was for naught, it is all gone. Binding is a messy job that is definitely part of construction, not part of finishing. By the time I got it to this point, I looked like a coal miner, covered in black filth. But it is a nice tight even binding job, so all's well that ends well, I guess. The next step is to go over it one more time and spot fix with 320 grit, and then start spraying the burst. No hurry, I still don't have the electronics for it, and I have other projects I can work on when I get the urge. At this point, this body weighs about 3.9 pounds, light for a large bass.
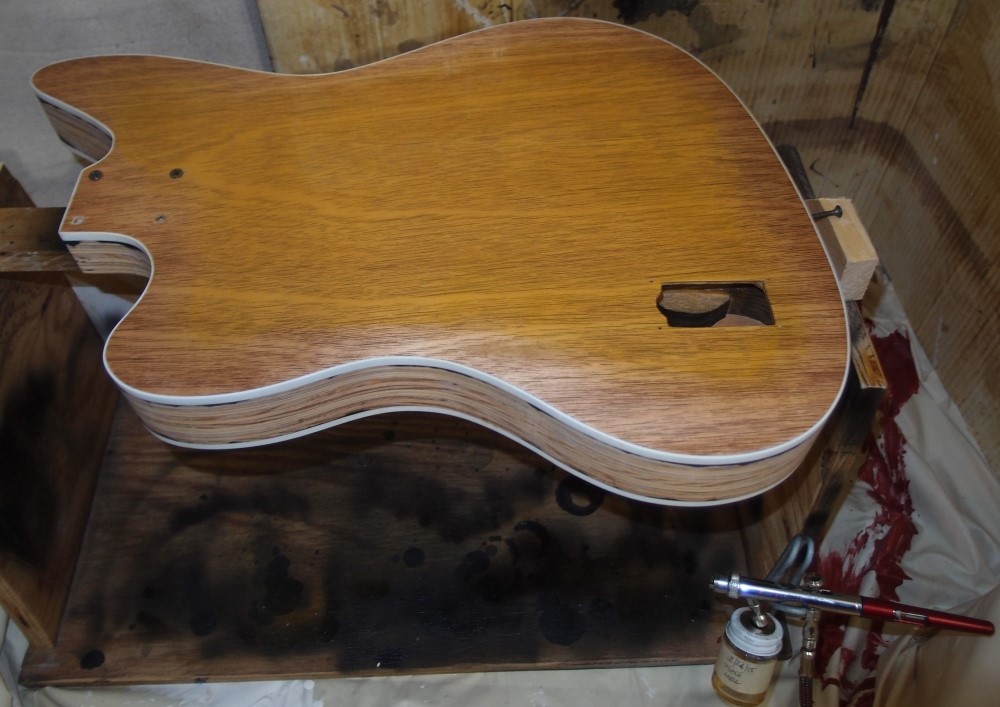
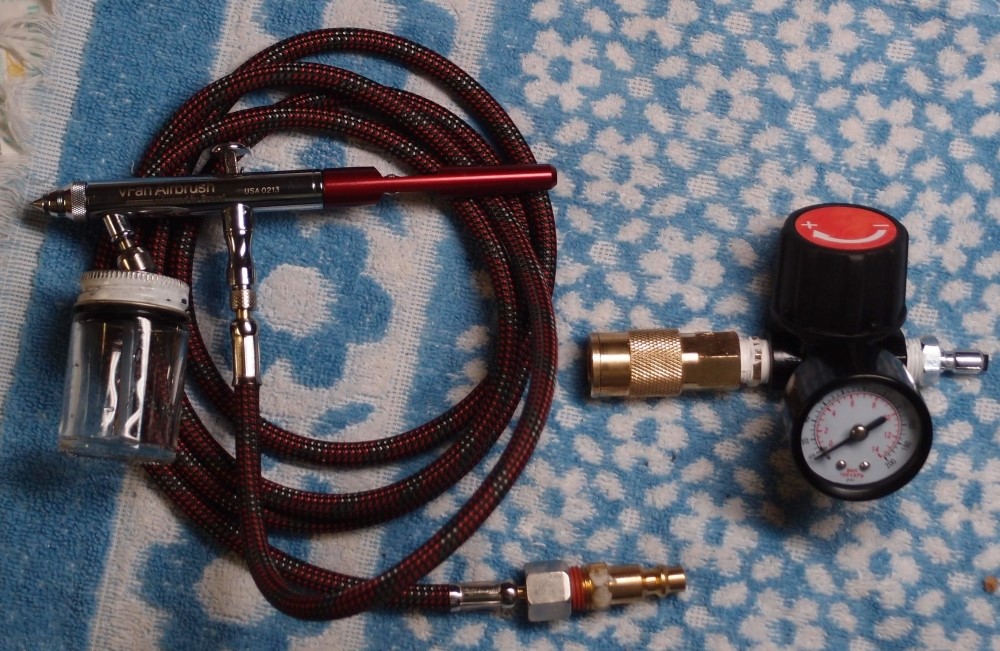
Started doing the burst on the Jazzmaster. How's that for a nice Fendery yellow? I used Mixol yellow pigment in Minwax oil-based poly with a bit of mineral spirits for thinner, and sprayed it through the vFan there. Laid it on pretty thick in several coats to get that color, and let it flow out nice and even. I may have to feather the edges a bit with 400. I was worried that I might have to settle for the drab tan that the grain filler turned the board, but you can't get much more yellow than this. Hopefully, the other colors won't need to go on so heavy. I've already mixed up the red and stashed it in the freezer for now, the black comes pre-mixed.
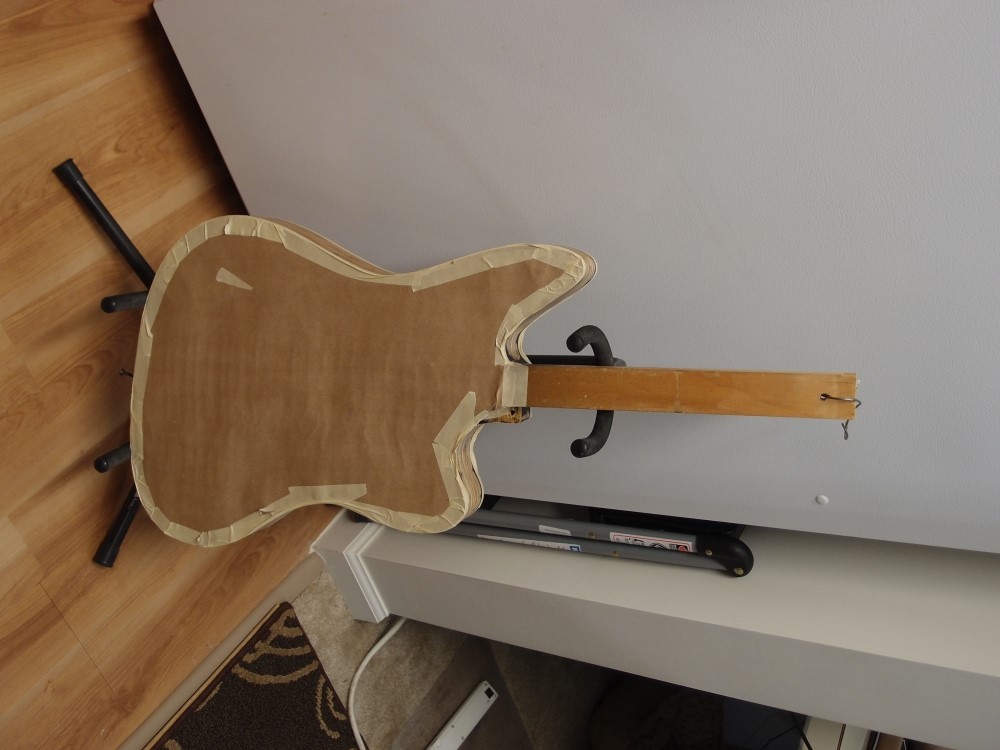
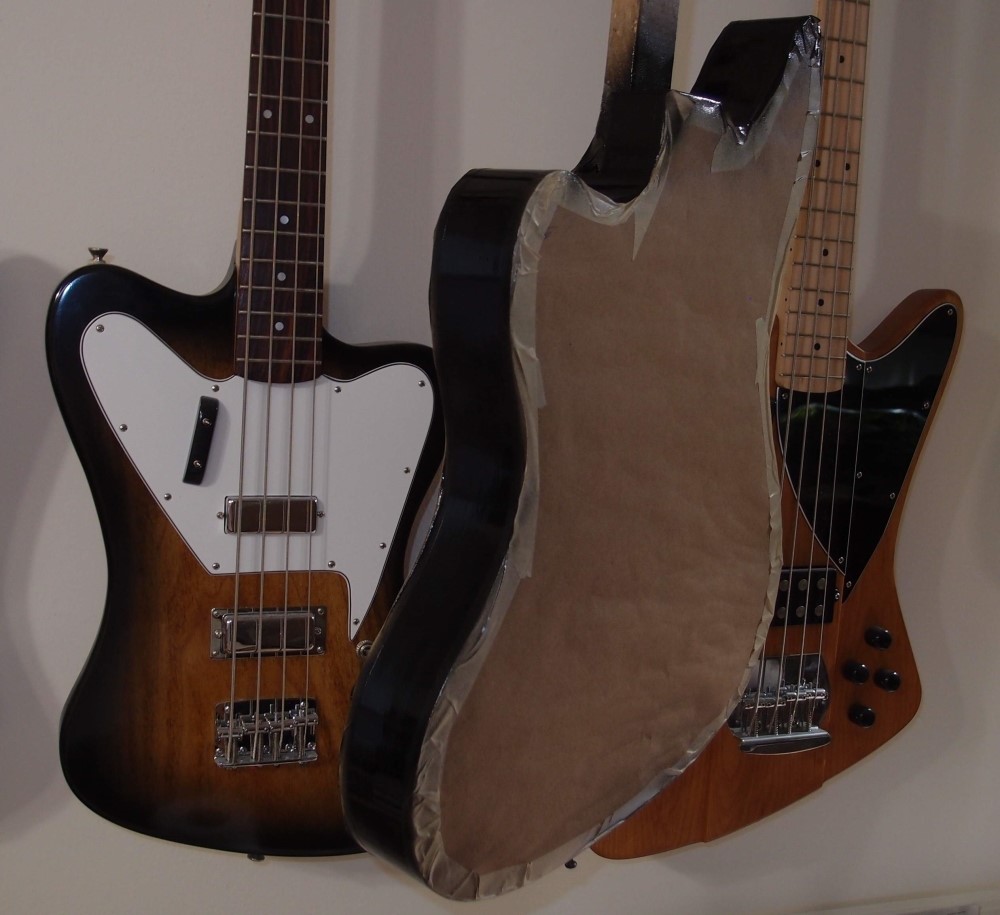
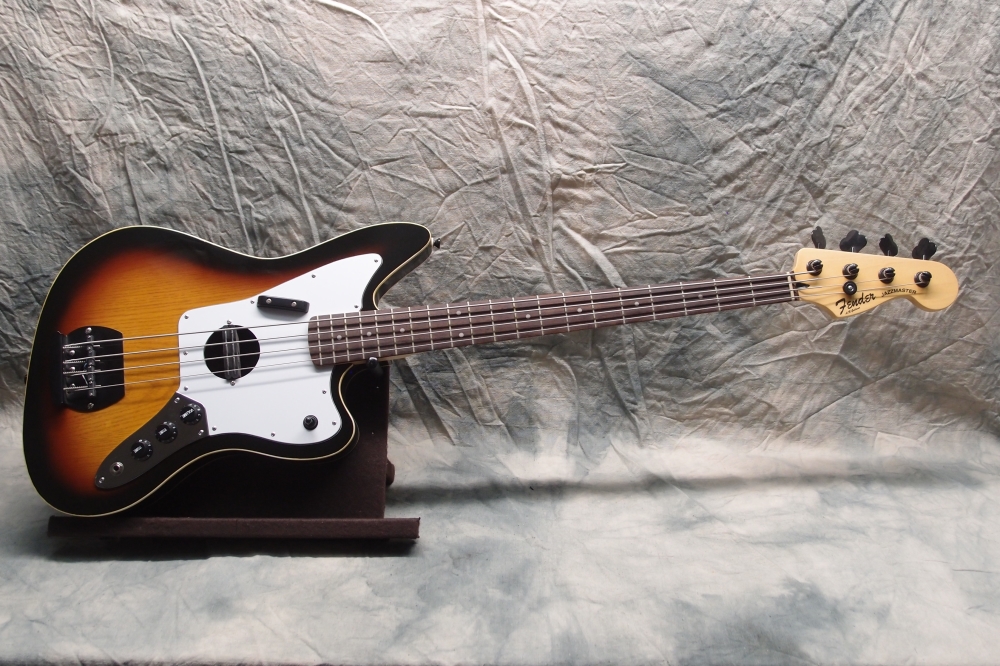
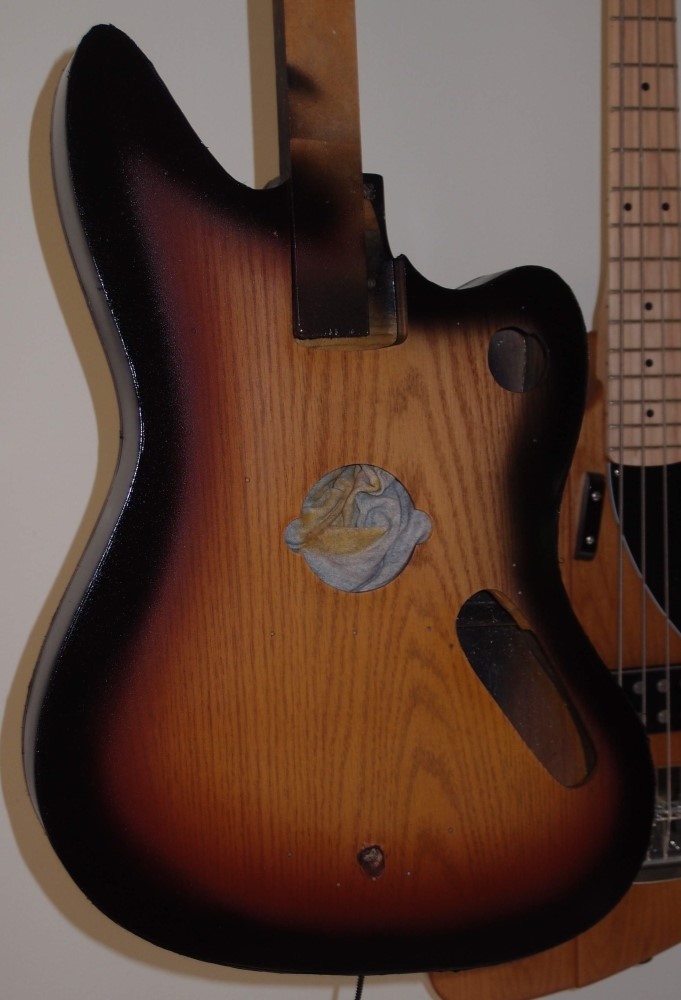
Now the yellow has hardened-off and I have masked-off the binding and the top and back, and sprayed a base coat of black on the sides. When this dries, I will sand down some spots I don't like and retouch. The plywood is not showing as badly as it could, but it could be better. Then I think the red fade, and finally the black fade, and many coats of clear for a thick covering. Anyone have any advice? I've never shot a 3-color before, I just making it up as I go along. I did the tobacco-burst in the background in polyurethane.
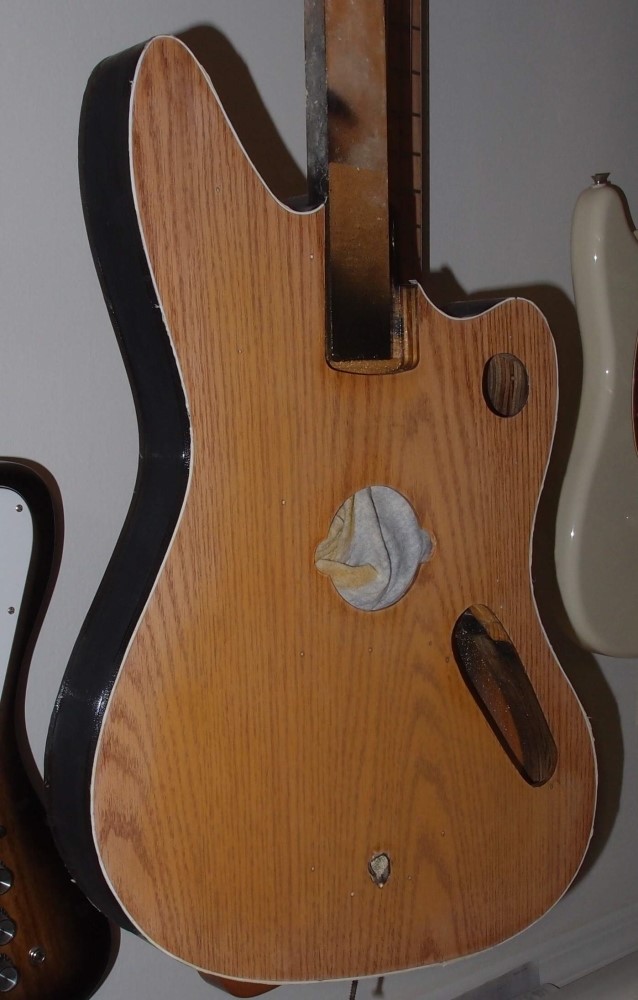
Now I've slit off the masking from the top and back, but left it on the sides. I also gently smoothed-down the yellow, which I had really gooped on to get the color, and touched-up a few spots on the sides.
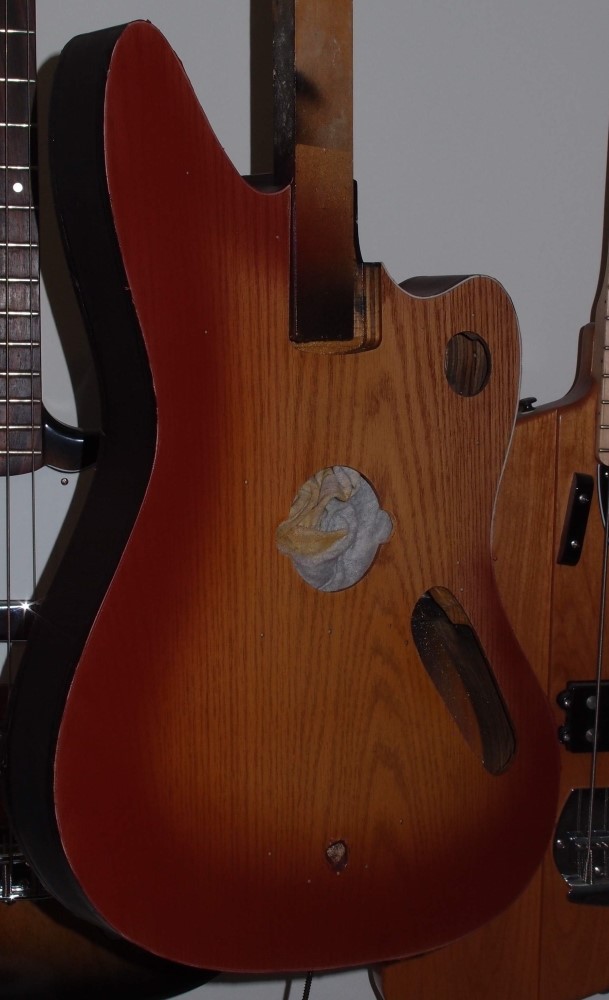
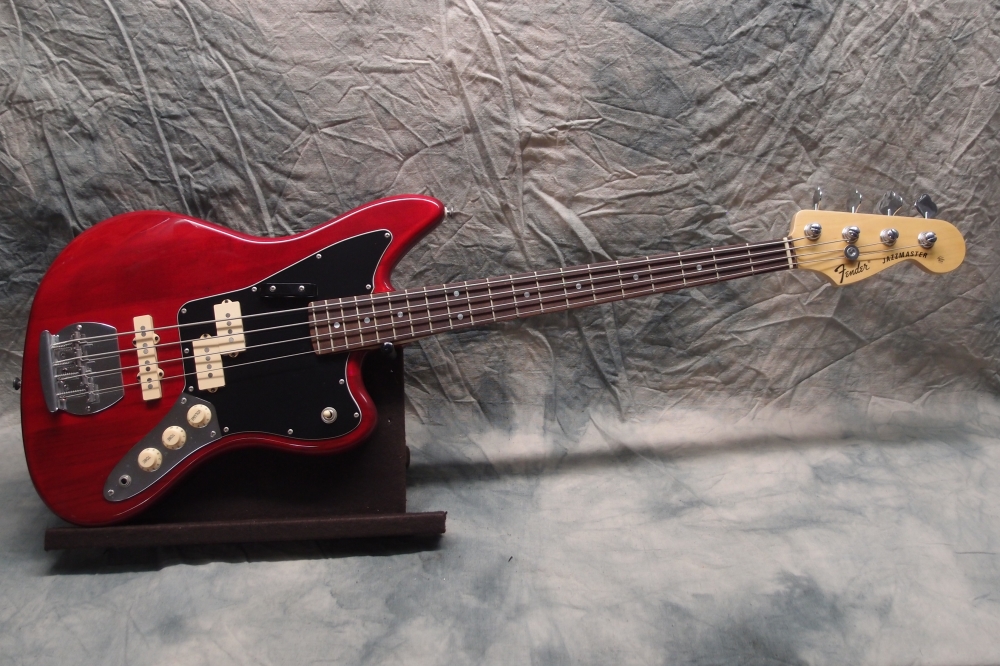
And shot the red. I'm not very pleased with the shade, it is more brick red than the red red I was hoping for. The pigment is Mixol Red #4, oxide-based, therefore fade resistant. Next time I will try Red #10, which looks much brighter. Oh well, done is done, maybe it will look better under a clear coat. The reason the red looks so wide is that the body is squared off. In fact, the whole thing looks bigger than a solid body, but it is actually exactly the same outline. The photo is deceiving, it looks like I really overdid it. The red band is much more transparent than the picture, it looks much better in person.
Man, this picture looks awful, must be the light or something.
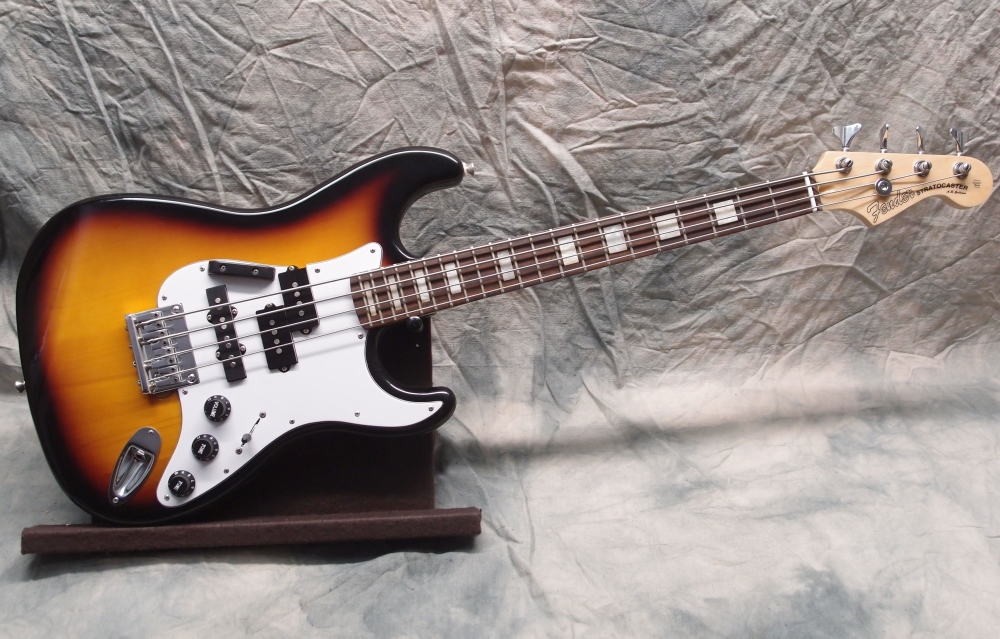
Ahh, now that's looking better, with most of that yuchy red covered up. The camera is still picking up a lot more red than there really is. The black was easier to shoot than the red. The sides had reddened a bit, so I lightly re-shot those as well, now looking as smooth as before I did the binding. Once I get the binding out and a nice smooth shiny clear coat, this should be sharp. The burst also covers up the repeating pattern in the veneer, which I didn't like. Doing all this with an airbrush is really not difficult, whereas with aerosol cans it is an adventure.
Another thing I've determined about aerosol cans is that they are all contaminated or something. Time after time I would be spraying in a still, dust-free environment, only to find not just dust, but frigging chunks of $#%@^ ending up in the finish. I didn't see any of that floating around in the air, in fact, they are too big to float, yet there they are. This just doesn't happen with the airbrush or the spray gun. That crap is coming from inside the can. Then you end up sanding it out and then trying to polish it back to a shine. With lacquer that's relatively easy, but with poly I have never had much success. Light-colored clear finishes can come out ok, mainly because they hide so much damage, but polishing a black poly finish is hopeless and frustrating - it never comes out right.
I will never attempt a gloss finish from an aerosol can again, not for any reason. Thin clear satin finishes on necks and small parts are still easiest from a rattle can, as there is no set-up or clean-up afterwards. The satin has the same problems as the gloss, but it is relatively easy to fix when you're not going for a mirror-shine.
For the clear coat, I will switch to an automotive-style touch-up gun, the airbrush would take forever to cover the entire area. I've also shot sunbursts with the spray gun. They come out acceptable, but the airbrush does it better, with a much finer fade and better control. I will also thin the poly with mineral spirits so it goes on slick. Spraying and thinning are two things the can says not to do. Bah.
I'm going to entomb it in polyurethane. The pores will never breathe again. I have a theory that 'tone' goes into the wood pores and is lost. Fender seems to agree, and dips every single one of their bodies in plastic sealer, to plug up those tone-sucking pores forever. Sometimes you can tell just by looking at a guitar that all the 'tone' is going to get trapped in those damn pores, you don't ever have to hear it. Some manufacturers actually charge extra for inadequate finishes that let the pores suck 'tone'. I also think it is important to get plenty of finish in the neck pocket, to keep the body pores from communicating with the neck pores. All of this has been scientifically proven by opinion and mythology.


